

In this guide I will show you how to connect Puppet Enterprise with your Control Repository using GitHub.
Why is it good to connect Puppet Enterprise with a Control Repository?
Ideally you want to connect Puppet Enterprise with a code repository as this will allow to keep all your files and folders that you are working on together in one place.
That way, you can continue to collaborate whilst applying best practices such as managing change management, versioning, pull requests, etc. In this code control repository you can store your code and data to deploy your environments, just as you would with your usual repositories, such as GitHub, BitBucket, and/or GitLab.
What's the best way to get started and connect a Control Repository?
Puppet has set up a control repository, the Puppet Control Repo, which has been created to be used as a template.
This is designed to save you time, so you can choose to clone this and use this for managing your Puppet related files and folders. Or simply refer to it as you create something similar on your own code repository (such as Github, BitBucket and/or Gitlab).
How to connect Puppet Enterprise with your Control Repository GitHub
For this guide, I will be walking you through how to set up a GitHub code repository. The steps will be similar to GitLab and BitBucket.
Prerequisites:
- Puppet Enterprise installed on Puppet Master (follow this Puppet Enterprise install guide if you need help there)
- GitHub account (or local GitHub Enterprise server)
Step 1 - Set up SSH that will allow you to connect to your GitHub account
We want to be able to use your Puppet Master to interact with Github.
On your Puppet Master machine you would like to connect to the code repository, Github, you will want to configure SSH on it so that your machine has authorisation to interface with your Github (or your local Github Enterprise instance).
This step will require you to generate a SSH key and add a new SSH key to your github account. I have linked these steps to the Github help guides on how to do these steps, depending on how you want to set up.
Here is how I are doing this on my Puppet Master running Puppet Enterprise on Centos 8.
$ ssh-keygen$ cp ~/.ssh/id_rsa /etc/puppetlabs/puppetserver/ssh/id-control_repo.rsa$ chown pe-puppet:pe-puppet /etc/puppetlabs/puppetserver/ssh/id-control_repo.rsa$ cat ~/.ssh/id_rsa.pub
Then copy this SSH public key details and add this SSH key to your GitHub account.
You should be able to set it via GitHub.com > Profile> SSH and GPG Keys https://github.com/settings/keys.
Essentially what we are doing here is, then generating a new SSH key and copying it to the Puppet Server folder on our Puppet Master. Then what we want to do is on GitHub we assign the SSH public key to it, this can be to a user or service account on GitHub.
- Private key: /etc/puppetlabs/puppetserver/ssh/id-control_repo.rsa
- Public key: /etc/puppetlabs/puppetserver/ssh/id-control_repo.rsa.pub
Step 2 - Install Git
We want to install Git on our Puppet Master (if it is not already installed on my Puppet Master). We will need this later on.
For Centos, you can install Git using the following command.
$ yum install git -y
For Ubuntu, you can install Git using the following command.
$ sudo apt-get git -y
We can then set our initial GitHub settings:
$ git init$ git config --global user.name "Your Name"$ git config --global user.email your.email@address.com
Step 3 - Create a repo by cloning the Puppet Control Repo template
We want to create a repository (repo) and will be leveraging the template repo made available by Puppet, the Puppet Control Repo.
We now want to create a repository called control-repo in your Github user account or organization. So we will clone the Puppet Control Repo template for this.
On the Puppet Control Repo on Github, you will see something like the following:
Click on Use this template.

Give it an appropriate name such as "control-repo", etc.
Then click on Create repository from template.
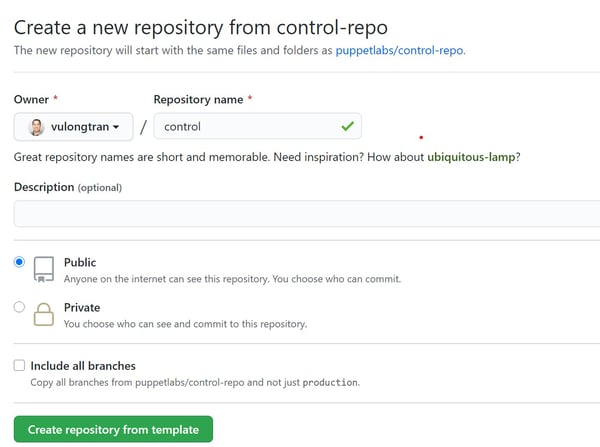
Then make a note of your new repository URL (you may see a HTTPS or SSH repository link. You can refer to Github's remote URL guide if you are unsure).
In my example, it is:
https://github.com/vulongtran/control-repo
Step 4 - Clone this GitHub repo to our Puppet Master machine
Let's clone this new GitHub repo to our Puppet Master machine.
To be organised, we can now create a folder called "code" or similar, so we can place our Github files into it.
$ cd ~
$ mkdir code
$ cd code
Then we can clone the GitHub repo to our Puppet Master Machine.
$ git clone https://github.com/vulongtran/control-repo$ cd control-repo
Then we want to ensure that the repository as your default source is our GitHub repo (Else it may refer to the Puppet Control Repo template).
$ git remote -v
$ git remote remove origin
$ git remote add origin https://github.com/vulongtran/control-repo
Then we want to check that this is set up correctly. As git remote -v will list the URL of the remote repo.
$ git remote -vorigin https://github.com/vulongtran/control-repo (fetch)origin https://github.com/vulongtran/control-repo (push)
Step 5 - Connect to our Github repository from our Puppet Master machine
When you are ready, we can try connect to our Github repo by making a push request to GitHub. We are doing this to test connectivity only since we will have no active changes or updates to push.
$ git push origin master

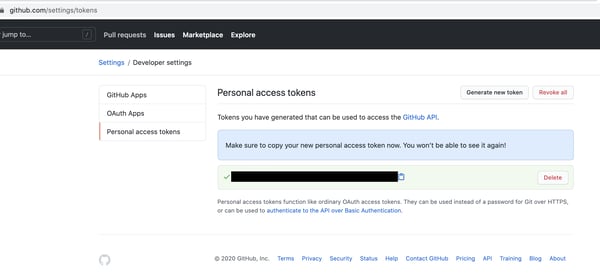
It will ask you for a password after this. So depending on your set up, you may need to create a Github Personal Access Token to be able to log in via command line.
This is a screenshot of the Github personal access token that I later used as the Github password for this step.
Once successful, you should see something like this with the message "Everything up-to-date".

Perfect, you have connectivity with our Puppet Master machine and Github!
Step 6 - Set up Code Manager to engage with your GitHub repository
We want to set up Code Manager in the Puppet Enterprise Console to engage with our GitHub repository.
The reason we want to use the Puppet Code Manager is that it automates the management and deployment of our Puppet files and folders and keep it synchronised.
For example, when a member of your team pushes code updates to your GitHub repo, then Puppet Code Manager will syncs the code to your Puppet Master, which in turn will ensure that all your servers will start running new code at the same time.
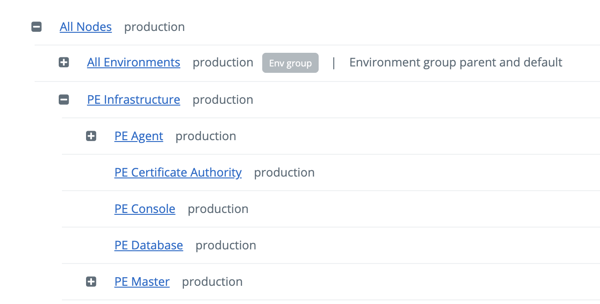
So in your Puppet Enterprise console, go to the puppet_enterprise::profile::master class in your Puppet Enterprise (PE) Master node group.
This is located under Inventory> Node groups> PE Master> Classes.
Inventory> Node groups

PE Master
Classes
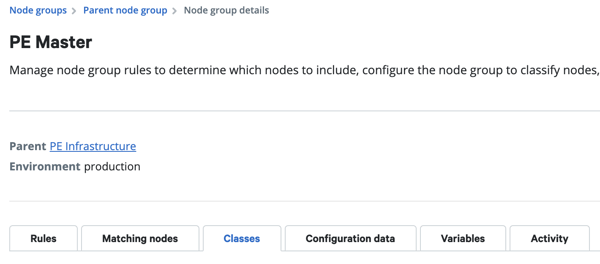
Class: puppet_enterprise::profile::master
So now we need to find the puppet_enterprise::profile::master class in the list of classes or add it into the PE Master node group if it is not there.

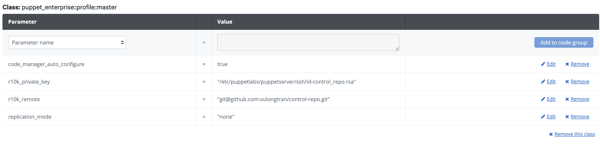
Once we have the puppet_enterprise::profile::master class, we can start adding parameters to it.
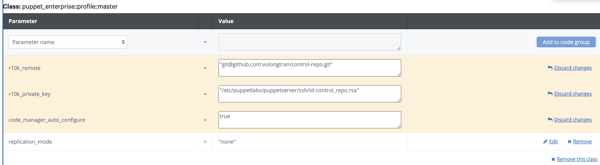
We want to set these fields:
- r10k_remote - The location for your GitHub repository.
- r10k_private_key - The path to the file containing the private key used to access the applicable GitHub repositories. Note this is required when using the SSH protocol; optional in all other cases.
- code_manager_auto_configure - Specifies whether to autoconfigure Code Manager.
In my example:
- r10k_remote = "'git@github.com:vulongtran/control-repo.git"
- r10k_private_key = '/etc/puppetlabs/puppetserver/ssh/id-control_repo.rsa'
- code_manager_auto_configure = true
Step 7 - Set up authentication for Code Manager
$ puppet-access login --lifetime 180d 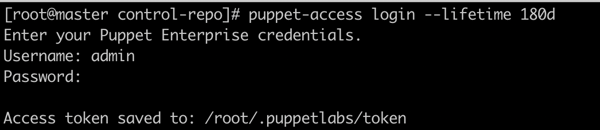
puppet-access show.$ puppet-access show && echo 
Step 8 - Test our Code Manager is working properly
Now we have the right authentication, we can test our Code Manager is working properly and is connected to our control repo.
On your Puppet Master machine, we can run the following command to check this:
$ puppet-code deploy --dry-run

This command fetches and displays the number of environments in your control repo. So as we can see in my example, we "Found 2 environments", so we know it is working properly.
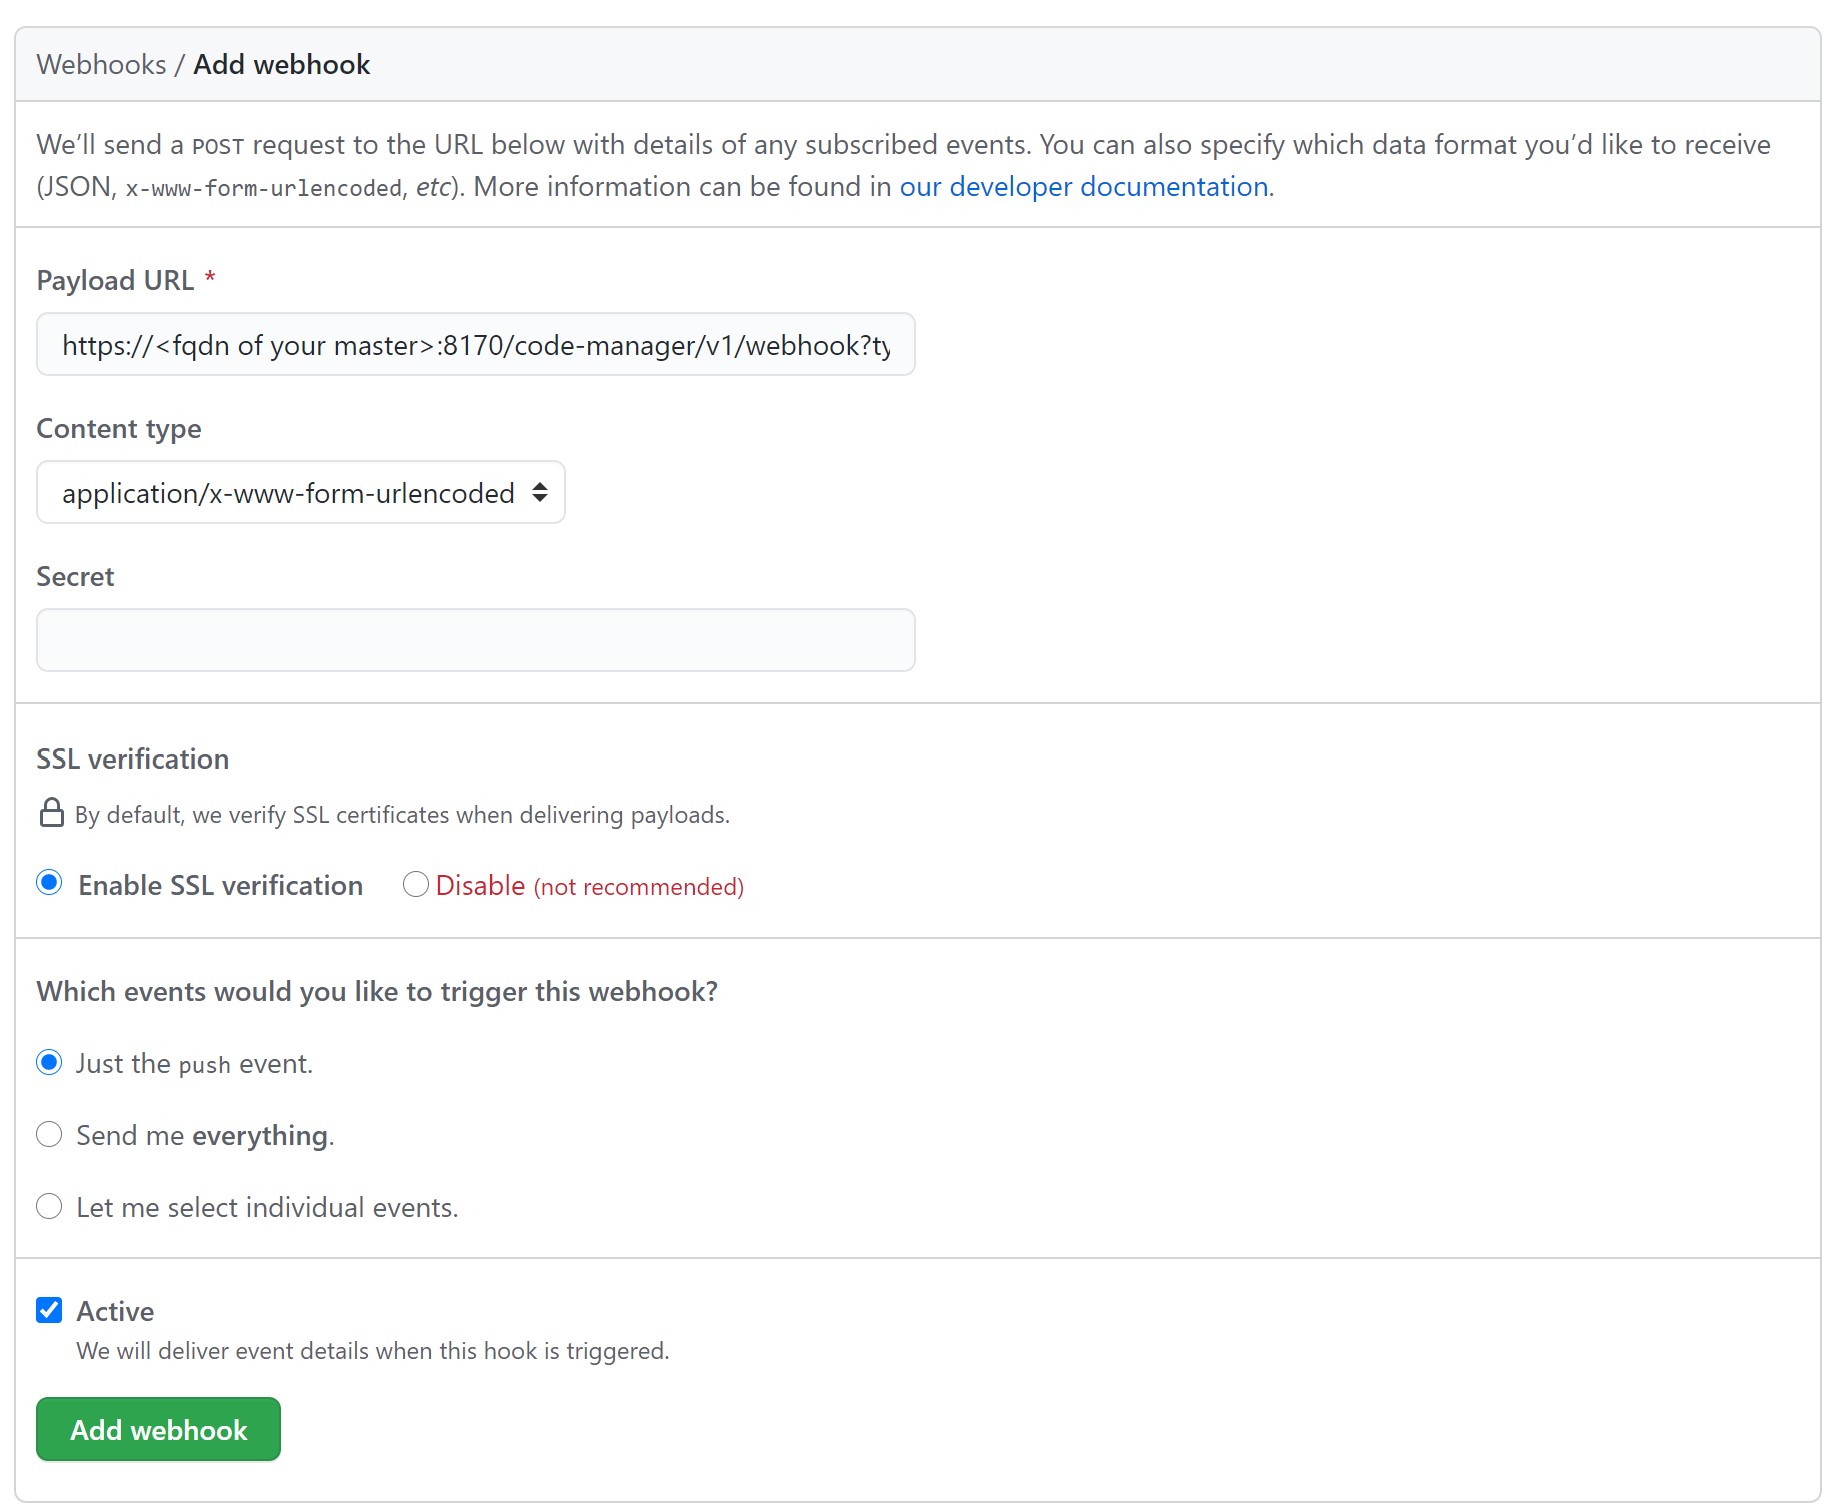
Step 10 - Add Puppet Master details to our GitHub repository to allow them to sync
Add Puppet Master details to our GitHub repository to allow them to synchronise via a webhook.
We do this by browsing to your control-repo project in GitHub and go to Settings.
Click on the ‘Webhooks’
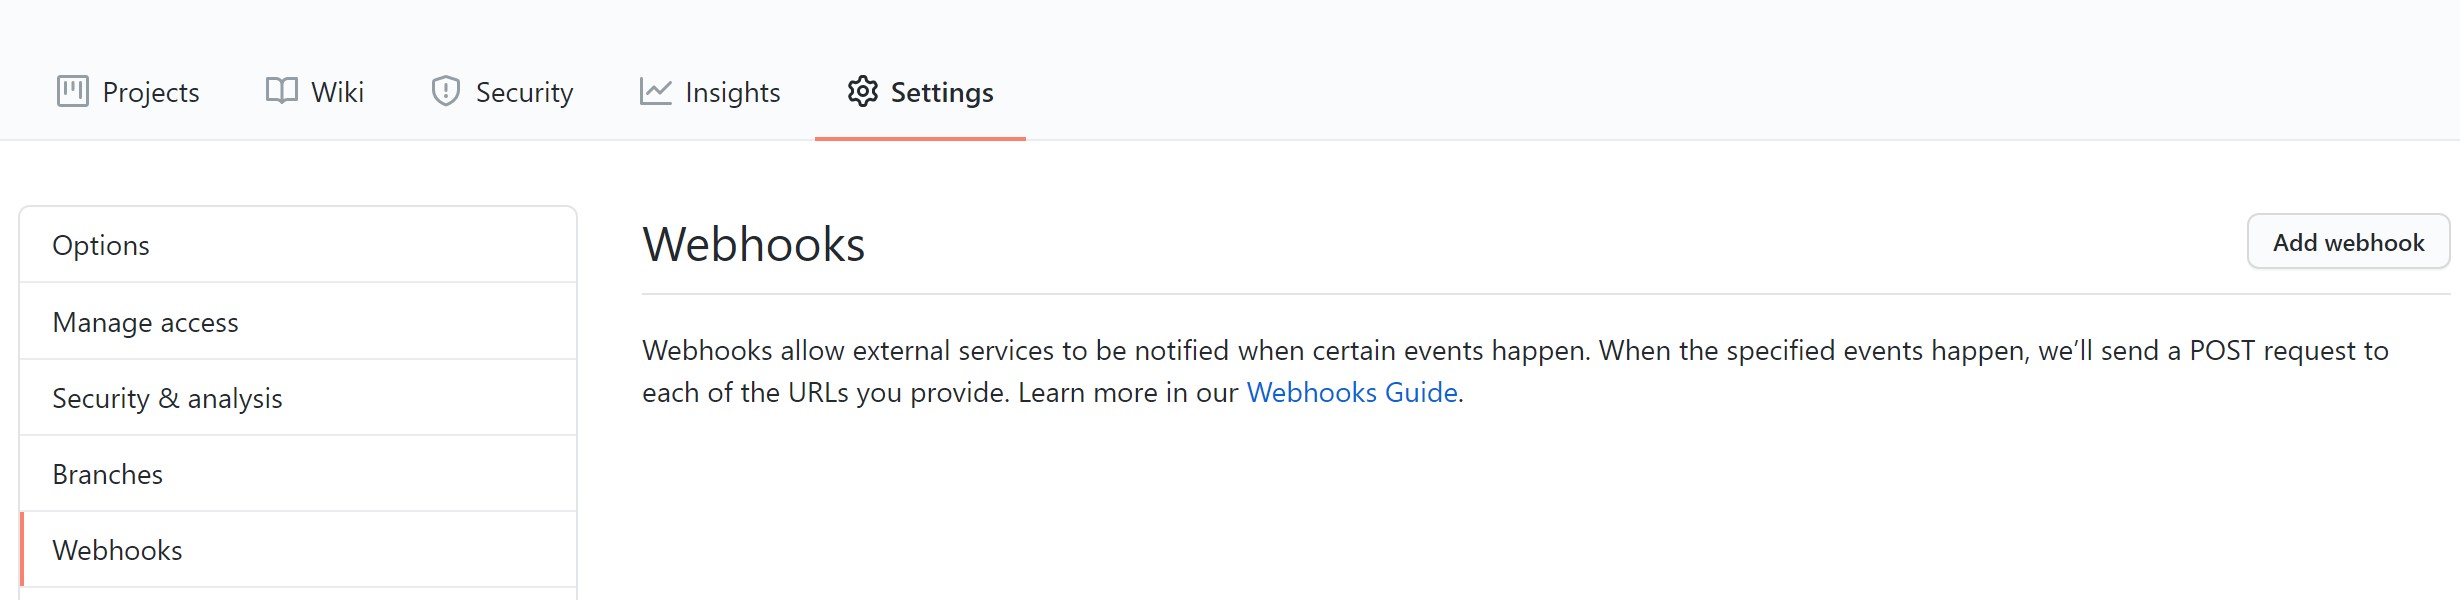
Click on ‘Add Webhooks’
Then set your webhook settings. You can consider setting it to the following:
- "Payload URL"*:
https://<fqdn of your master>:8170/code-manager/v1/webhook?type=github&token=<paste access token here> - SSL verification: enable SSL verification.
- Set your trigger to "Just the push event" (unless you want to set it to have more updates for you).
*Make sure you replace the details with details from your set up. For example, https://master.vulongtran.com:8170/code-manager/v1/webhook?type=github&token=a83bj4huih34hjkh1kjj4
Step 10 - Our GitHub repository is now connected to our Puppet Master
You are all set. You now have Puppet Enterprise connected with your Control Repository using GitHub.
You are ready to start configuring your Puppet Enterprise further to use Puppet to help you manage your suite of server/s.
This includes playing with your Puppetfile and adding/ removing modules from the Puppet Forge!


