I have been learning more about Puppet and am working on trying the Puppet Learning Virtual Machine (VM).
So this guide aims at helping you to understand how to utilise Puppet's Learning Virtual Machine
Puppet has built this to allow you to learn puppet at your own pace with quests and understand how the features work using a guided command line process.
Getting started
To get started, you will need two key things:
- PuppetLearning VM - Sign up for the Puppet Learning Virtual Machine (VM) and download the Puppet Learning VM https://puppet.com/try-puppet/puppet-learning-vm
- VirtualBox or similar - download and install the free VirtualBox virtualization software https://www.virtualbox.org which allows you to load up the virtual machine box created by Puppet. Alternatively if you have access to the paid software, VMware has several desktop virtualization applications, including VMware Fusion for Mac and VMware Workstation for Windows.
Minimum requirements
Ideally, you will also have a computer that meets the minimum requirements that are needed to run the virtual machine. These currently are:
- Internet-enabled Windows, OS X, or Linux computer with 10GB free space and a VT-x/AMD-V enabled processor.
- 4GB free memory to allocate to the virtual machine
- 2 Core 2.5 Ghz (or better) CPU with 64-bit architecture
- Up-to-date VirtualBox or VMware desktop virtualization software
How to set up the Puppet Learning Virtual Machine on your computer
For my example, I will be using a Macbook Pro and VirtualBox.
Step 1 - Open VirtualBox
Open VirtualBox on your computer.
Step 2 - Download and unzip the Puppet VM
After downloading the Puppet VM, unzip the file containing the Puppet Learning VM which will be in open virtualization archive (OVA) format. You can download the PuppetVM from Puppet here if you have not already done so https://puppet.com/try-puppet/puppet-learning-vm/.
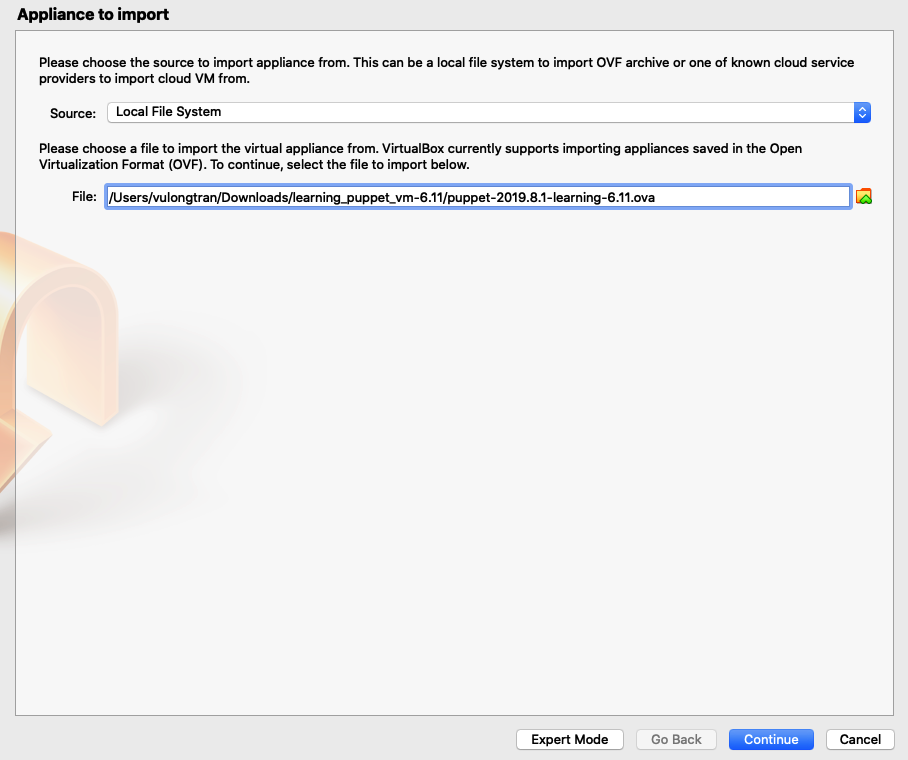
Step 3 - Import the Puppet VM into VirtualBox
If you are using a Mac you can actually just download click on the open virtualization archive (OVA) file. In my example it is puppet-2019.8.1-learning-6.11.ova.

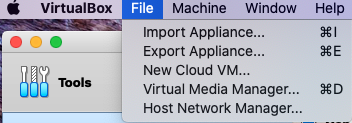
If you are using a Windows PC or double clicking it does not work, you can go to File> Import Appliance.
Step 4 - Set the VirtualBox Virtual Machine settings for the Puppet VM
Set the VirtualBox Virtual Machine settings for the Puppet VM. I have left most settings to default. When you are ready, click Import.
Optionally, you can choose to customise it as you like, including exactly which folder you would prefer to store your VirtualBox VMs. 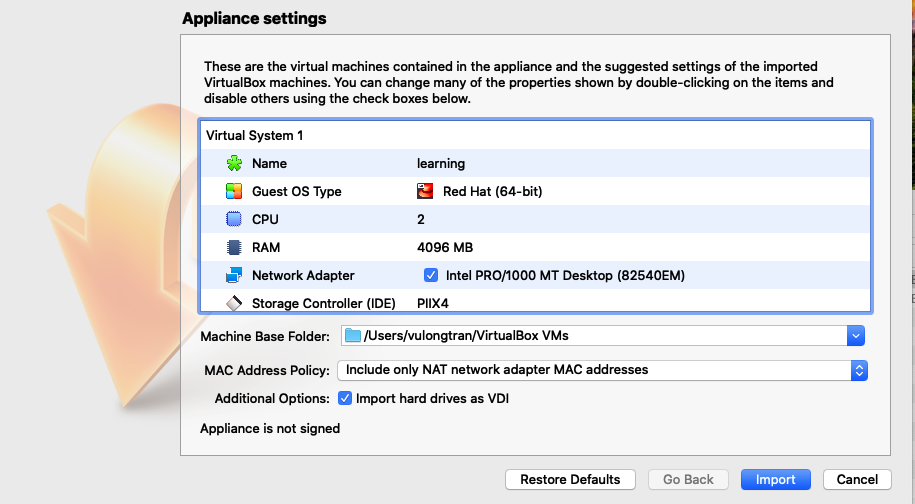
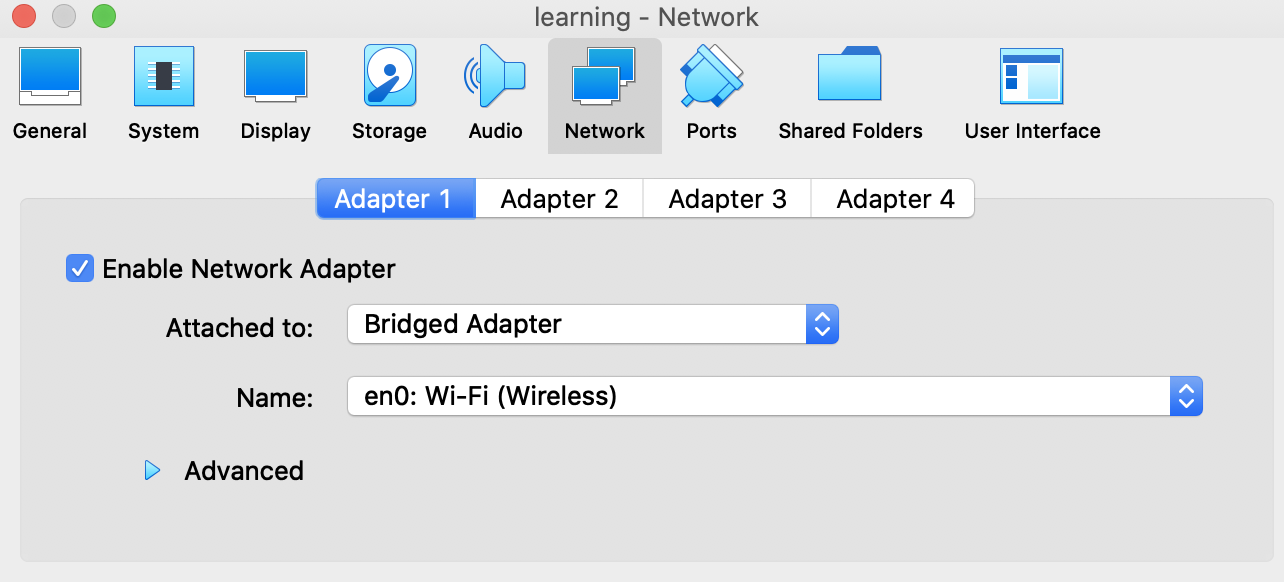
(Optional) Step 4b - Set the VirtualBox Virtual Machine settings for the Puppet VM
Optional step but you want to configure your "Network" settings. The reason is that it will be helpful for you to set your IP address so that displays accurately and consistently in your Puppet Learning VM splash screen.
There will be several interfaces listed, including those used for internal docker networking. The correct interface will usually start with eth or enp.
- Attached to: Bridged Adapter
- Name: <Your network adapter for your computer (every computer can be different)>
Note: If you continue to get no IP address or an invalid IP address, restarting the VM is generally the quickest way to ensure that the network services are correctly reset. (Unfortunately restarting the network service directly isn't always reliable.)
If your network connection has changed since you loaded the VM, it's possible that your IP address is different from that displayed on the Learning VM splash screen. Log in to the VM via the virtualization directly (rather than via SSH) and use the ifconfig | less command to show the IP address associated with each network interface.
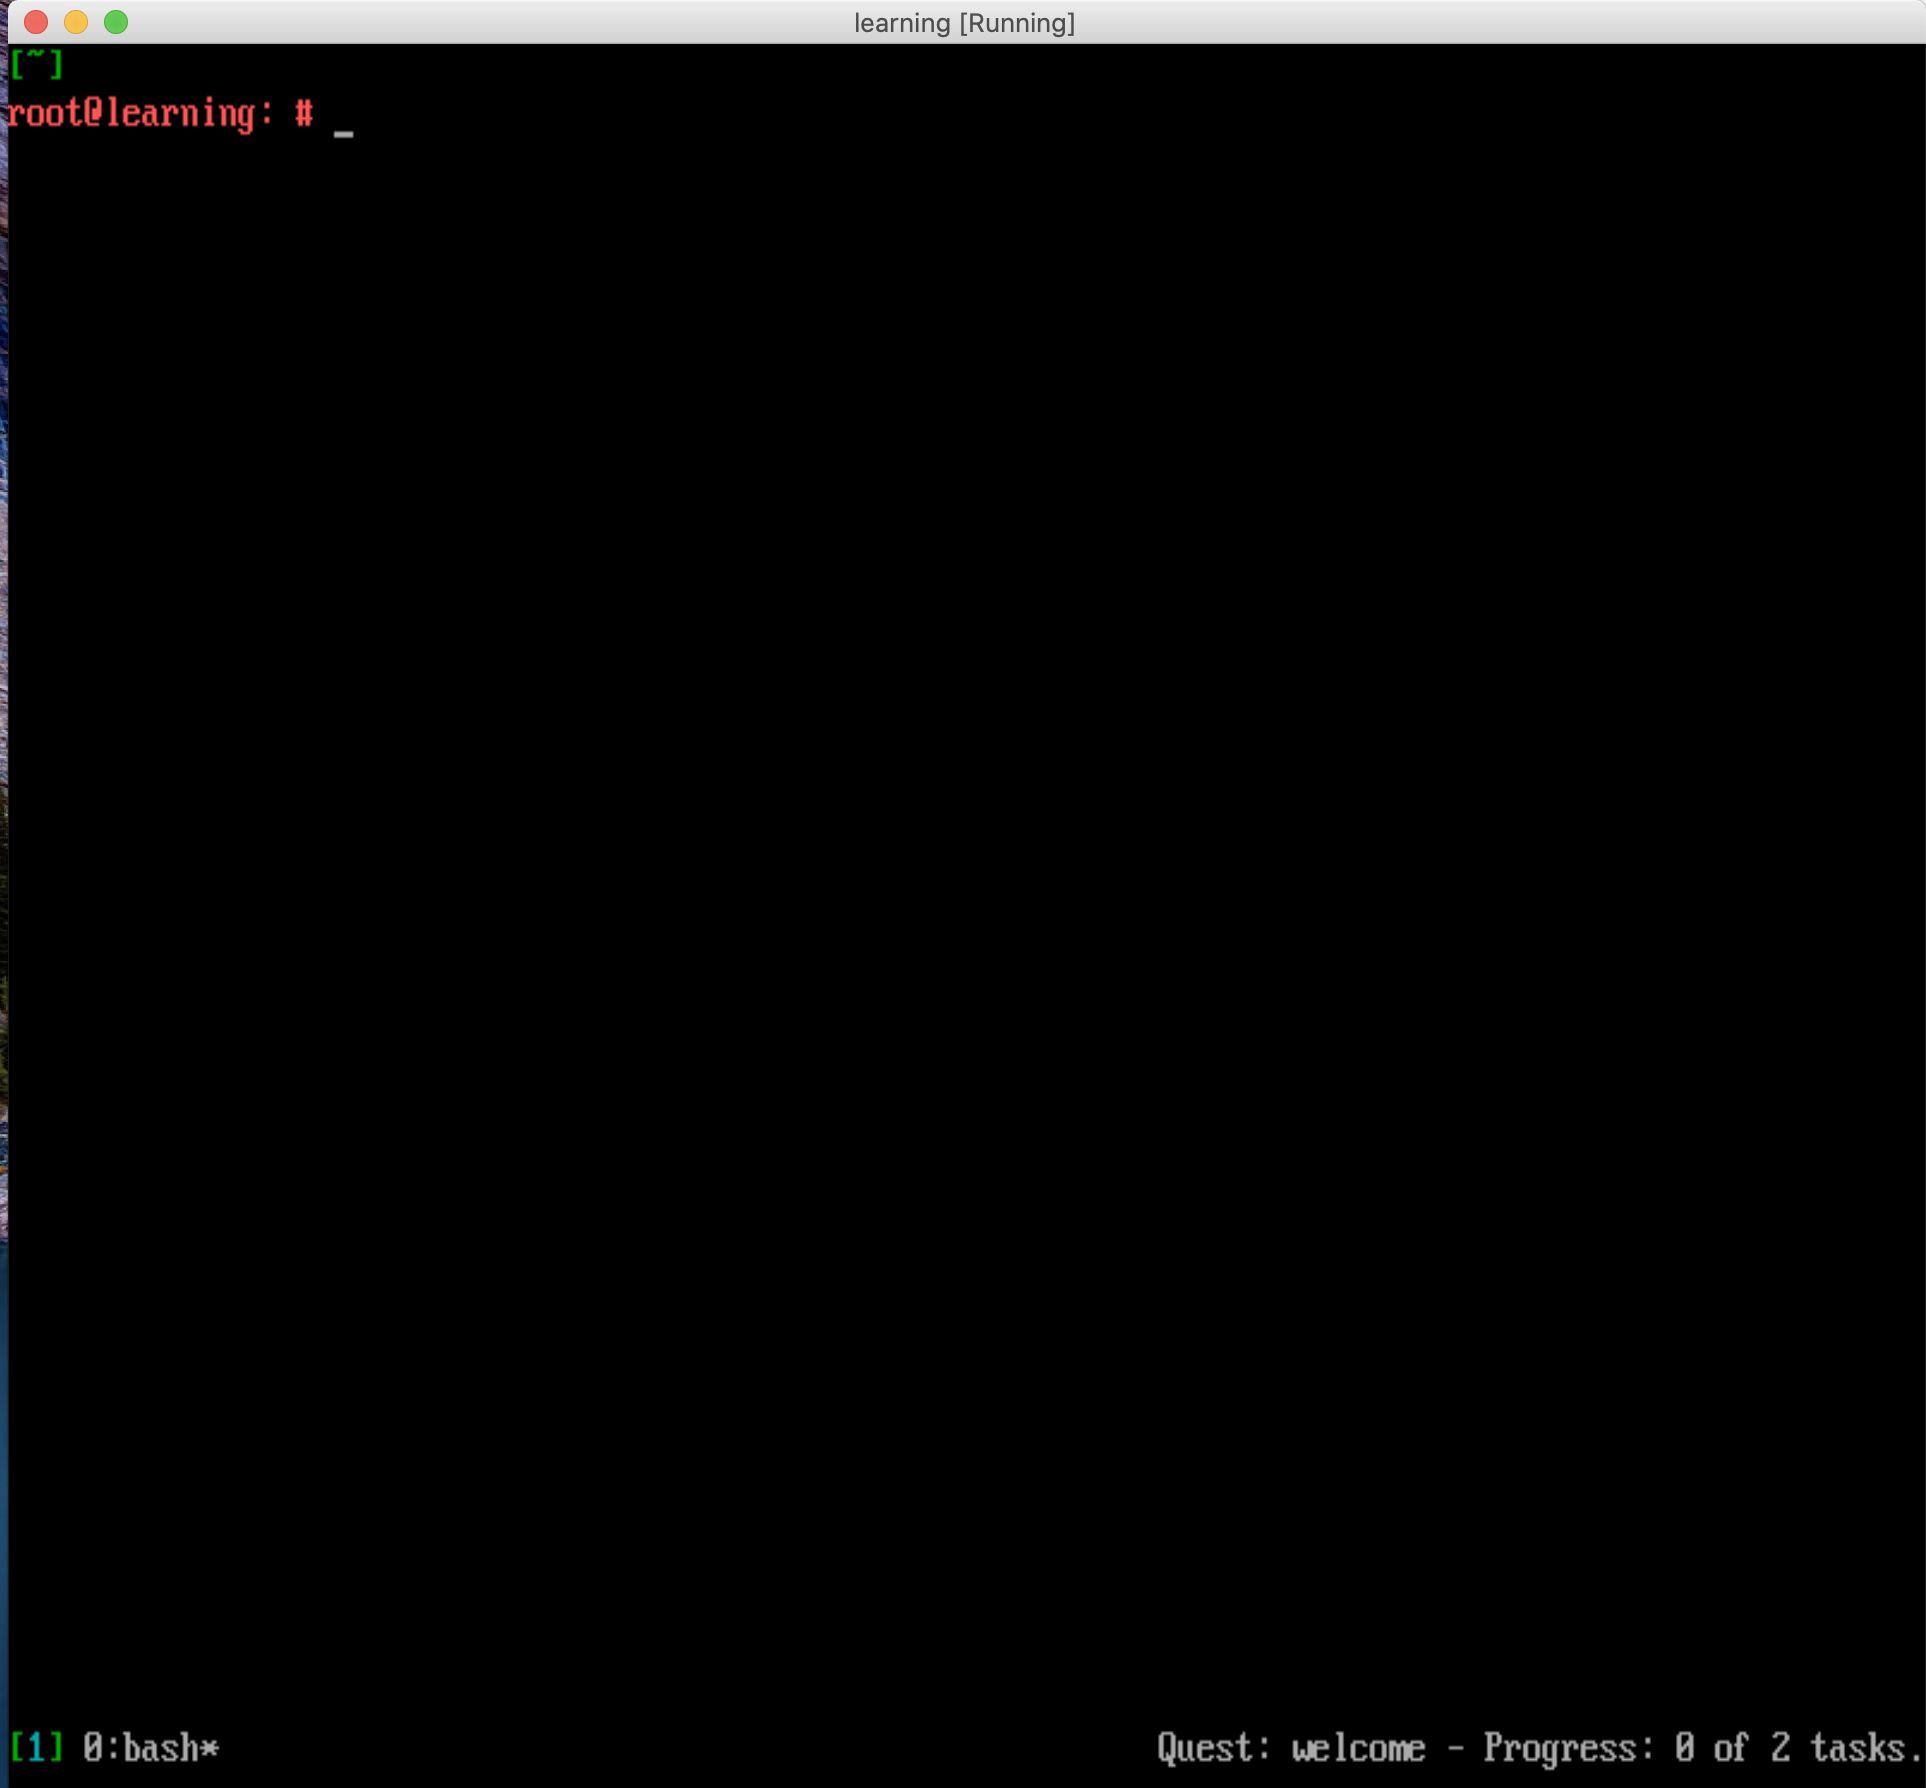
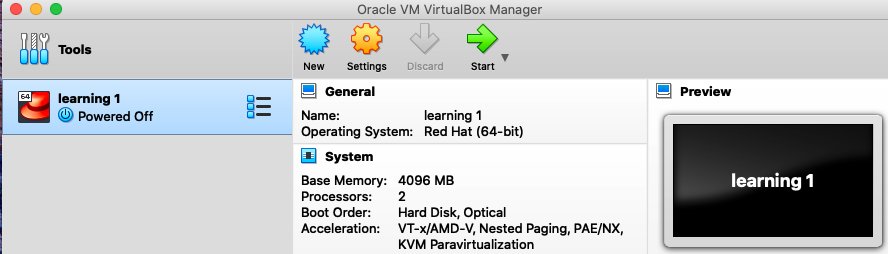
Step 5 - Start the PuppetVM in VirtualBox
Start the PuppetVM in VirtualBox. You can double click on the PuppetVM or you can click on the virtual machine and click "Start".
In my example, it is automatically titled as "learning 1" and I can doubleclick on it and it starts.
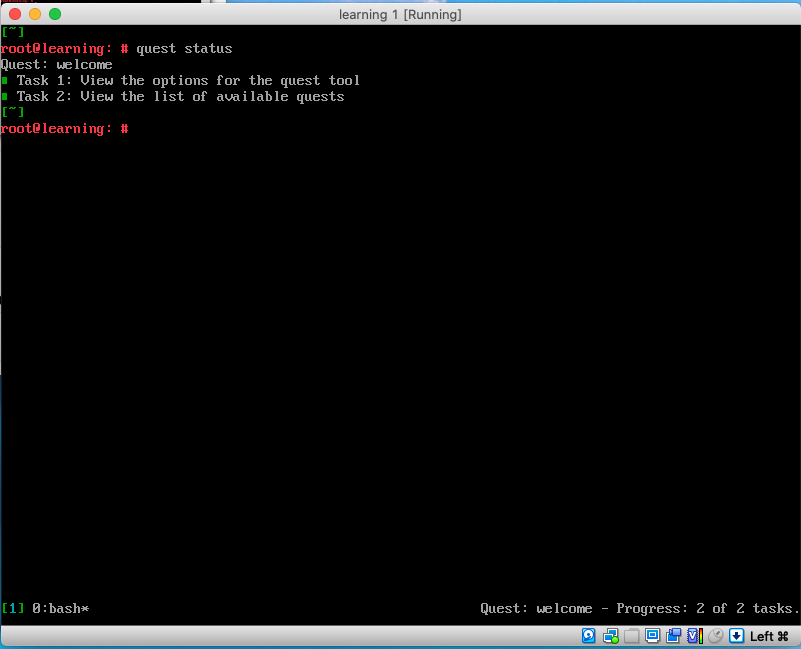
Step 6 - Ensure the PuppetVM has loaded up okay
Ensure the PuppetVM has loaded up okay. You should see a splashscreen that looks something like the following.
Please take note of the randomly generated username, password and IP address. You will need these details.

Step 7 - Open the PuppetVM Quest Guide in your browser
The IP address you have taken note of is where the PuppetVM Quest Guide is located.
Type that into your web browser. When you do that you will be able to open the PuppetVM Quest Guide.
It will look something like this: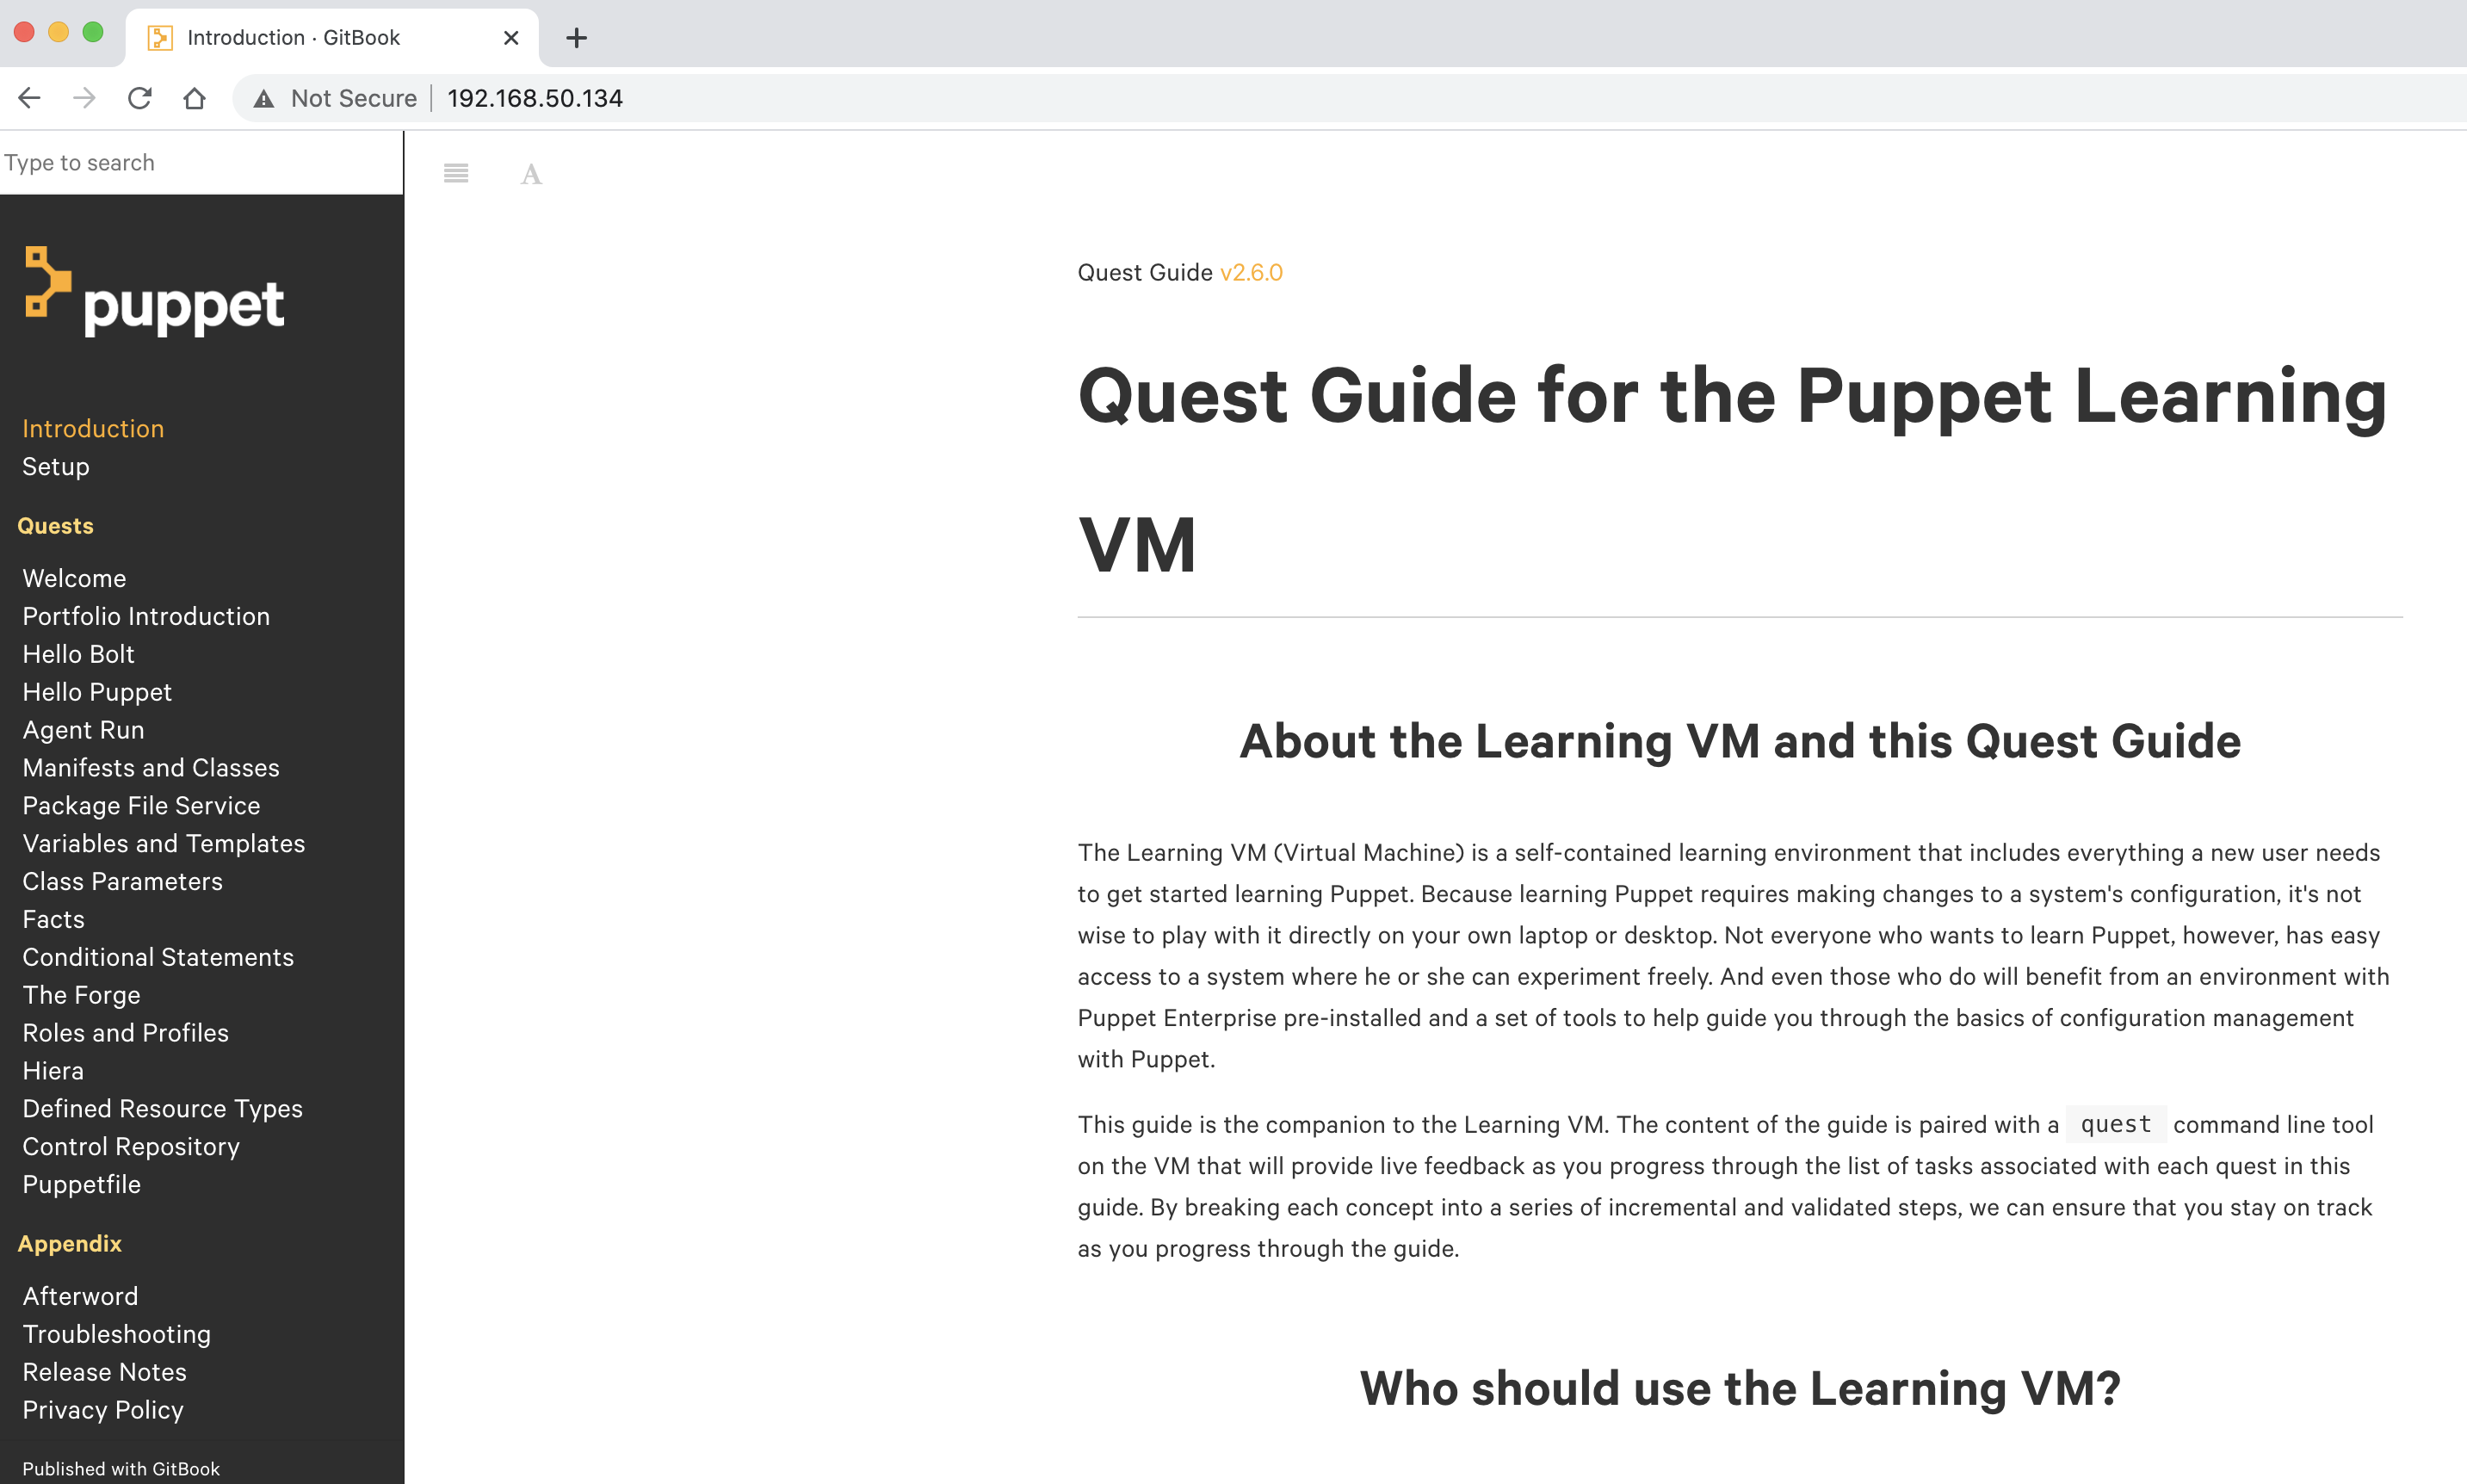
Step 8 - Congratulations!
Congratulations, you are all set to go and start your Puppet Learning Quest. Have fun!