

This is a step by step guide on how to set up SSO for Amazon Web Services (AWS) Identity and Access Management (IAM) on Okta.
Essentially by federating Okta to Amazon Web Services (AWS) Identity and Access Management (IAM) accounts, end users get single sign on access to all their assigned AWS roles with their Okta credentials.
Such that when users sign into AWS from Okta, they are automatically logged into their assigned AWS role on AWS.
- Prerequisites
- Add AWS IAM app to your Okta instance
- Set up SSO settings on AWS IAM
- Set up SSO settings on Okta
- Test and confirm that it is working
Prerequisites
Before you can start setting up Single Sign On (SSO) for Amazon Web Services (AWS) Identity and Access Management (IAM) and Okta, we need to check the following:
- Access to Amazon Web Services (AWS) Identity and Access Management (IAM) Admin Console - Confirm that you have administrator access to Amazon Web Services (AWS) Identity and Access Management (IAM) Admin Console.
- Access to Okta Admin Console - Confirm that you have administrator access to Okta's Admin Console. If you do not have an Okta account, you can create a free Okta Trial account or Okta Developer account.
- (Recommended) Use the same email address for your Amazon Web Services (AWS) Identity and Access Management (IAM) administrator account as your Okta administrator account. This will make it easier for you to administer the accounts.
1. Add Amazon Web Services (AWS) Identity and Access Management (IAM) app to your Okta instance
Log in to your Okta account as an administrator (with administrator access).
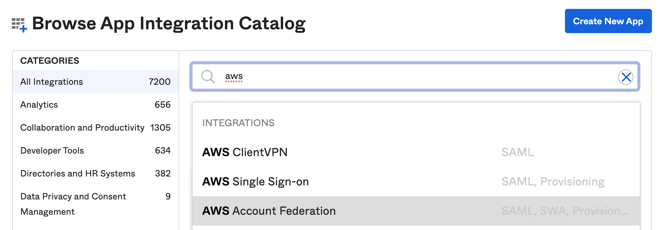
Under Applications> Applications, search for the AWS Account Federation app in the Okta Integration Network (App Integration Catalog). The AWS Account Federation app, is the Amazon Web Services (AWS) Identity and Access Management (IAM) app we want to use in this example.
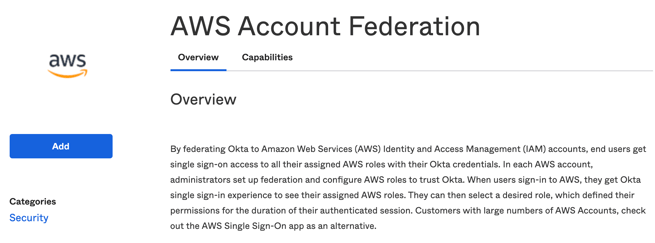
Add AWS Account Federation app in.
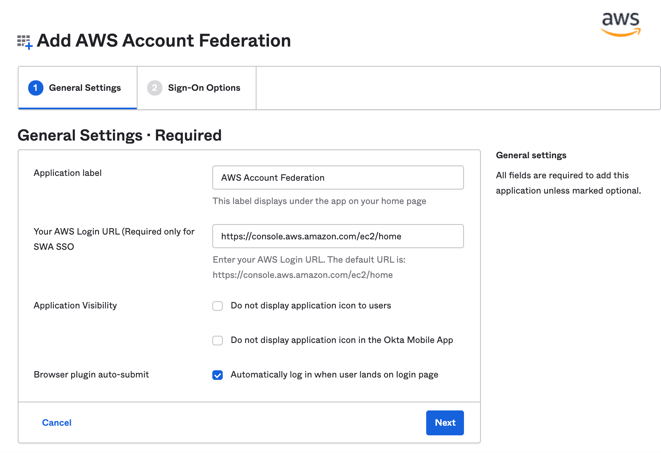
Fill in the AWS Account Federation options and click Next.
- Application label - Name yourAWS Account Federation app.
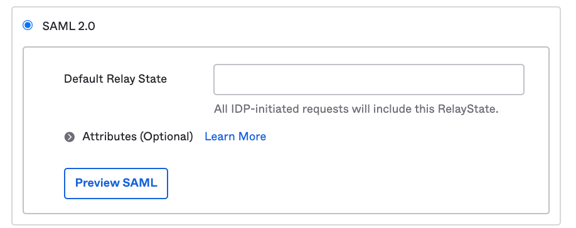
Click SAML 2.0.
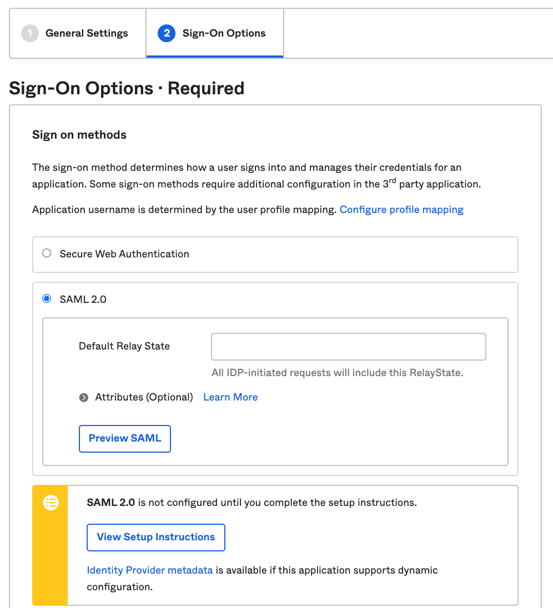
Scroll down and click on "View Setup Instructions".
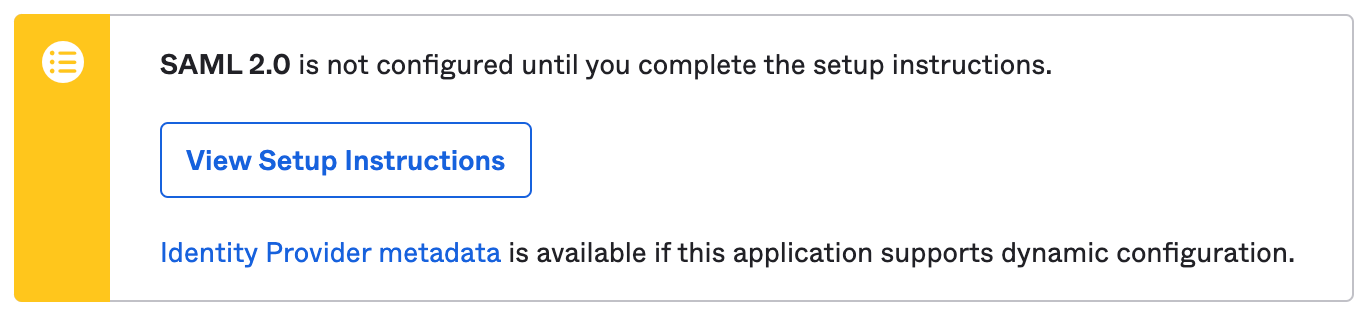
You will then be sent to View Setup Instructions for Amazon Web Services (AWS) Identity and Access Management (IAM) in a separate web browser tab.
Click back on Okta.
Right click on "Identity Provider metadata".
Click "Save Link As..." from the right click menu.
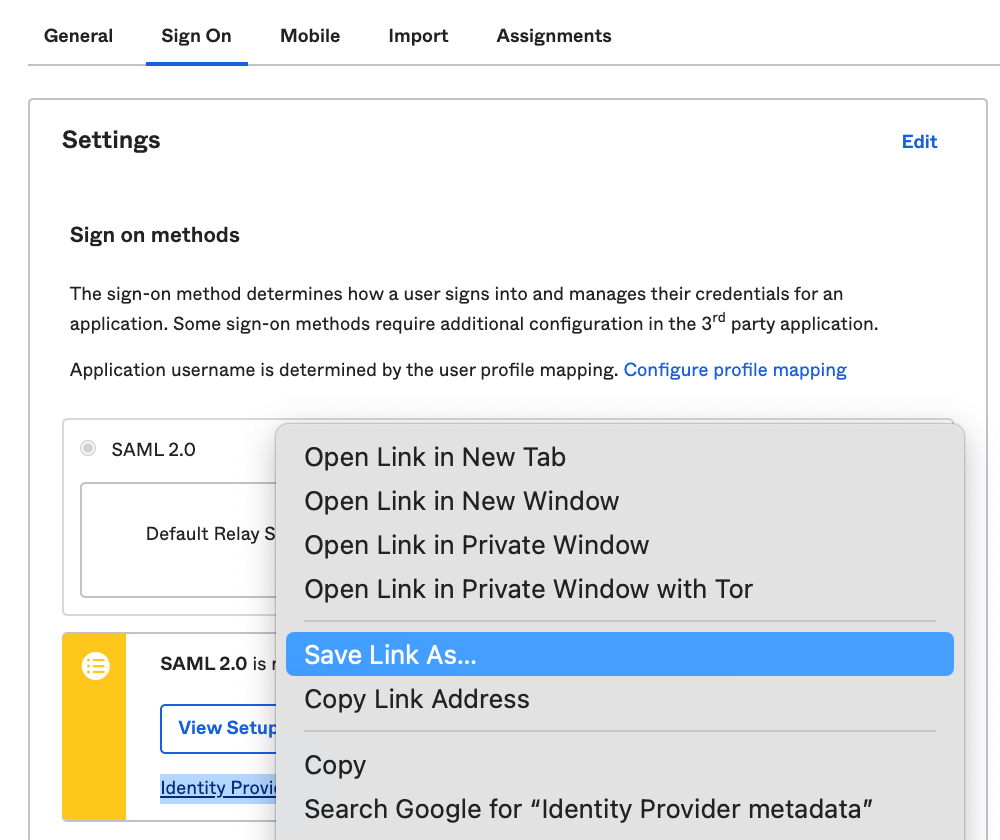
Save this to your computer.
Give it a name, for example "metadata.xml". Please make sure you save it as .xml file extension.

We will need this later for our AWS IAM SSO settings.
On Okta, leave the default settings and click Done.
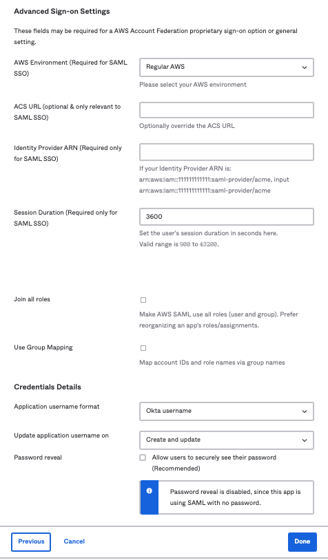
We will come back with AWS details to populate the fields here.
That is, leave these as default for now:- AWS Environment (Required for SAML SSO) - Regular AWS
- ACS URL (optional & only relevant to SAML SSO) - Leave as default
- Identity Provider ARN (Required only for SAML SSO) - Leave as default. We will copy and paste the identity provider ARN from AWS later.
- Session Duration (Required only for SAML SSO)- Leave as default
- Join all roles - Leave as default
- Use Group Mapping - Leave as default
2. Set up SSO settings on Amazon Web Services (AWS) Identity and Access Management (IAM)
Log into your Amazon Web Services (AWS) Identity and Access Management (IAM) account
In a new browser tab, log in to your Amazon Web Services (AWS) Identity and Access Management (IAM) account as an administrator (with administrator access). https://aws.amazon.com/console
Open Single Sign-On Settings
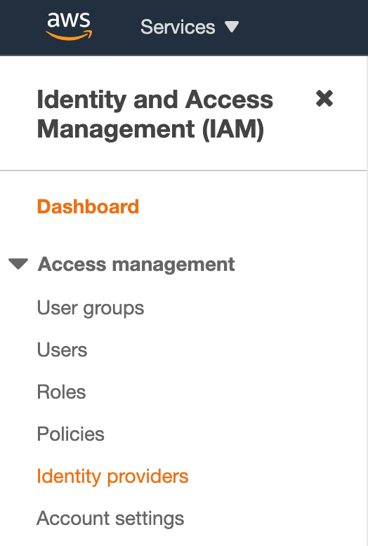
In Amazon Web Services (AWS) Identity and Access Management (IAM), open your Single Sign-On (SSO) settings. We will find this in the "Identity Providers" section.
To get there, go to:
AWS Console > Services > Security, Identity & Compliance > IAM > Identity Providers
Once there, click on "Add Provider".
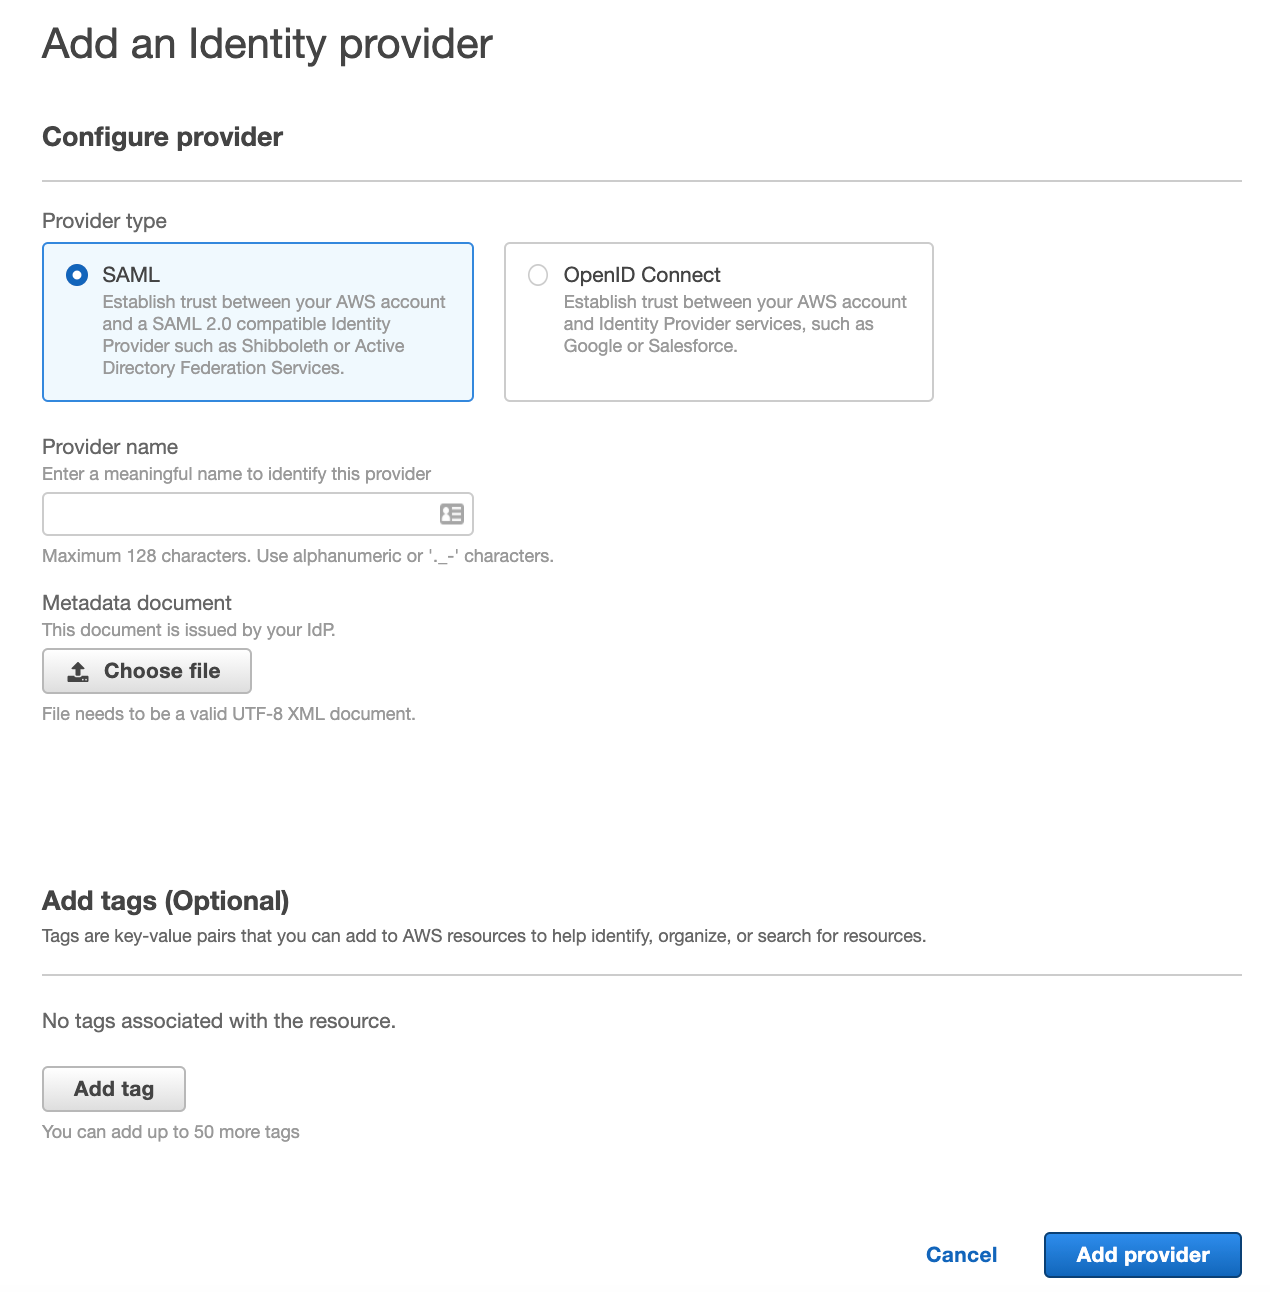
Then you will be presented an "Add an Identity provider" page. We will fill this in as follows and click "Add provider" when we are done.
- Provider type - SAML
- Provider name - Okta
- Metadata document - We will upload the metadata.xml file we downloaded from Okta earlier.
Once added, you will be presented an SSO summary page.
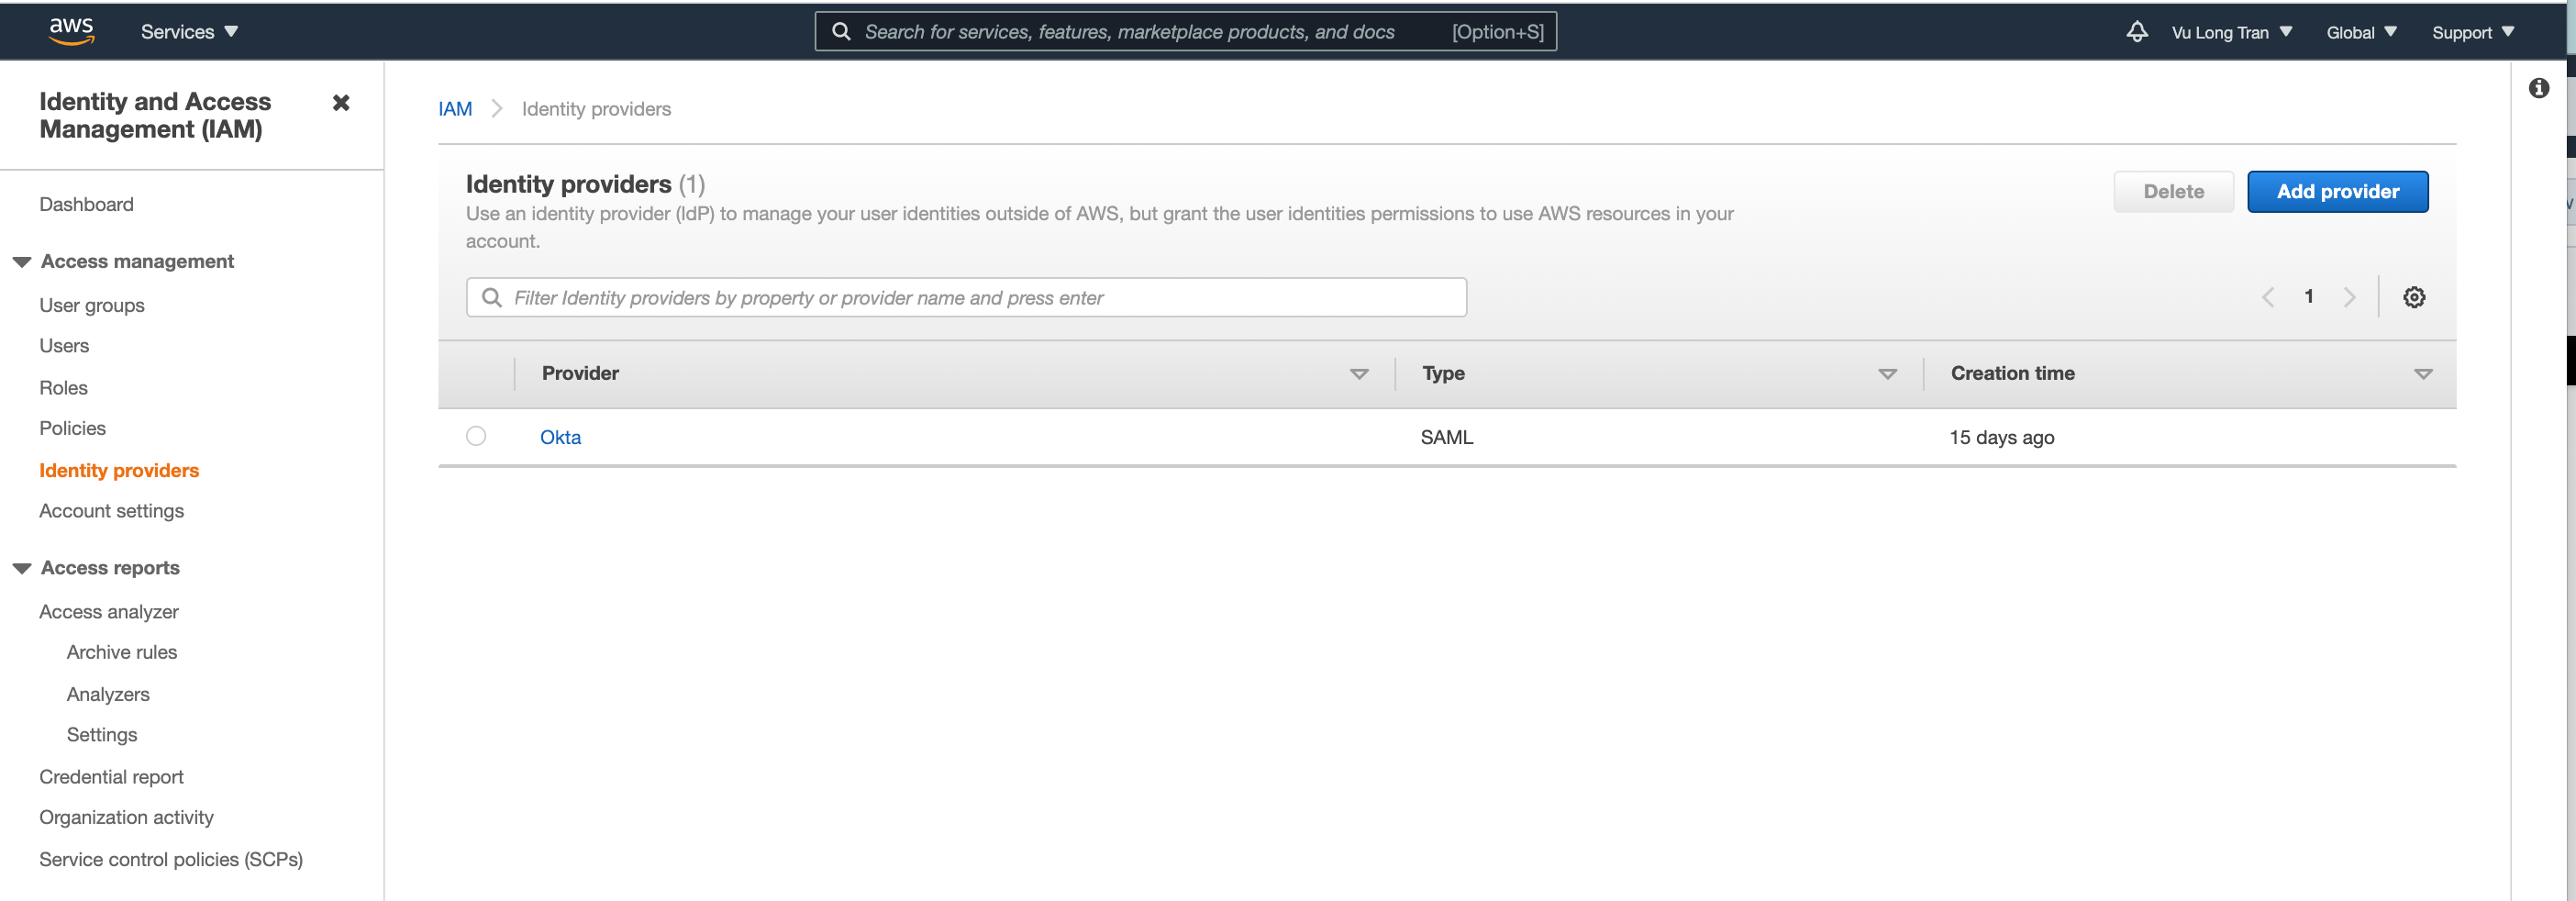
Click on "Okta" and review your settings.
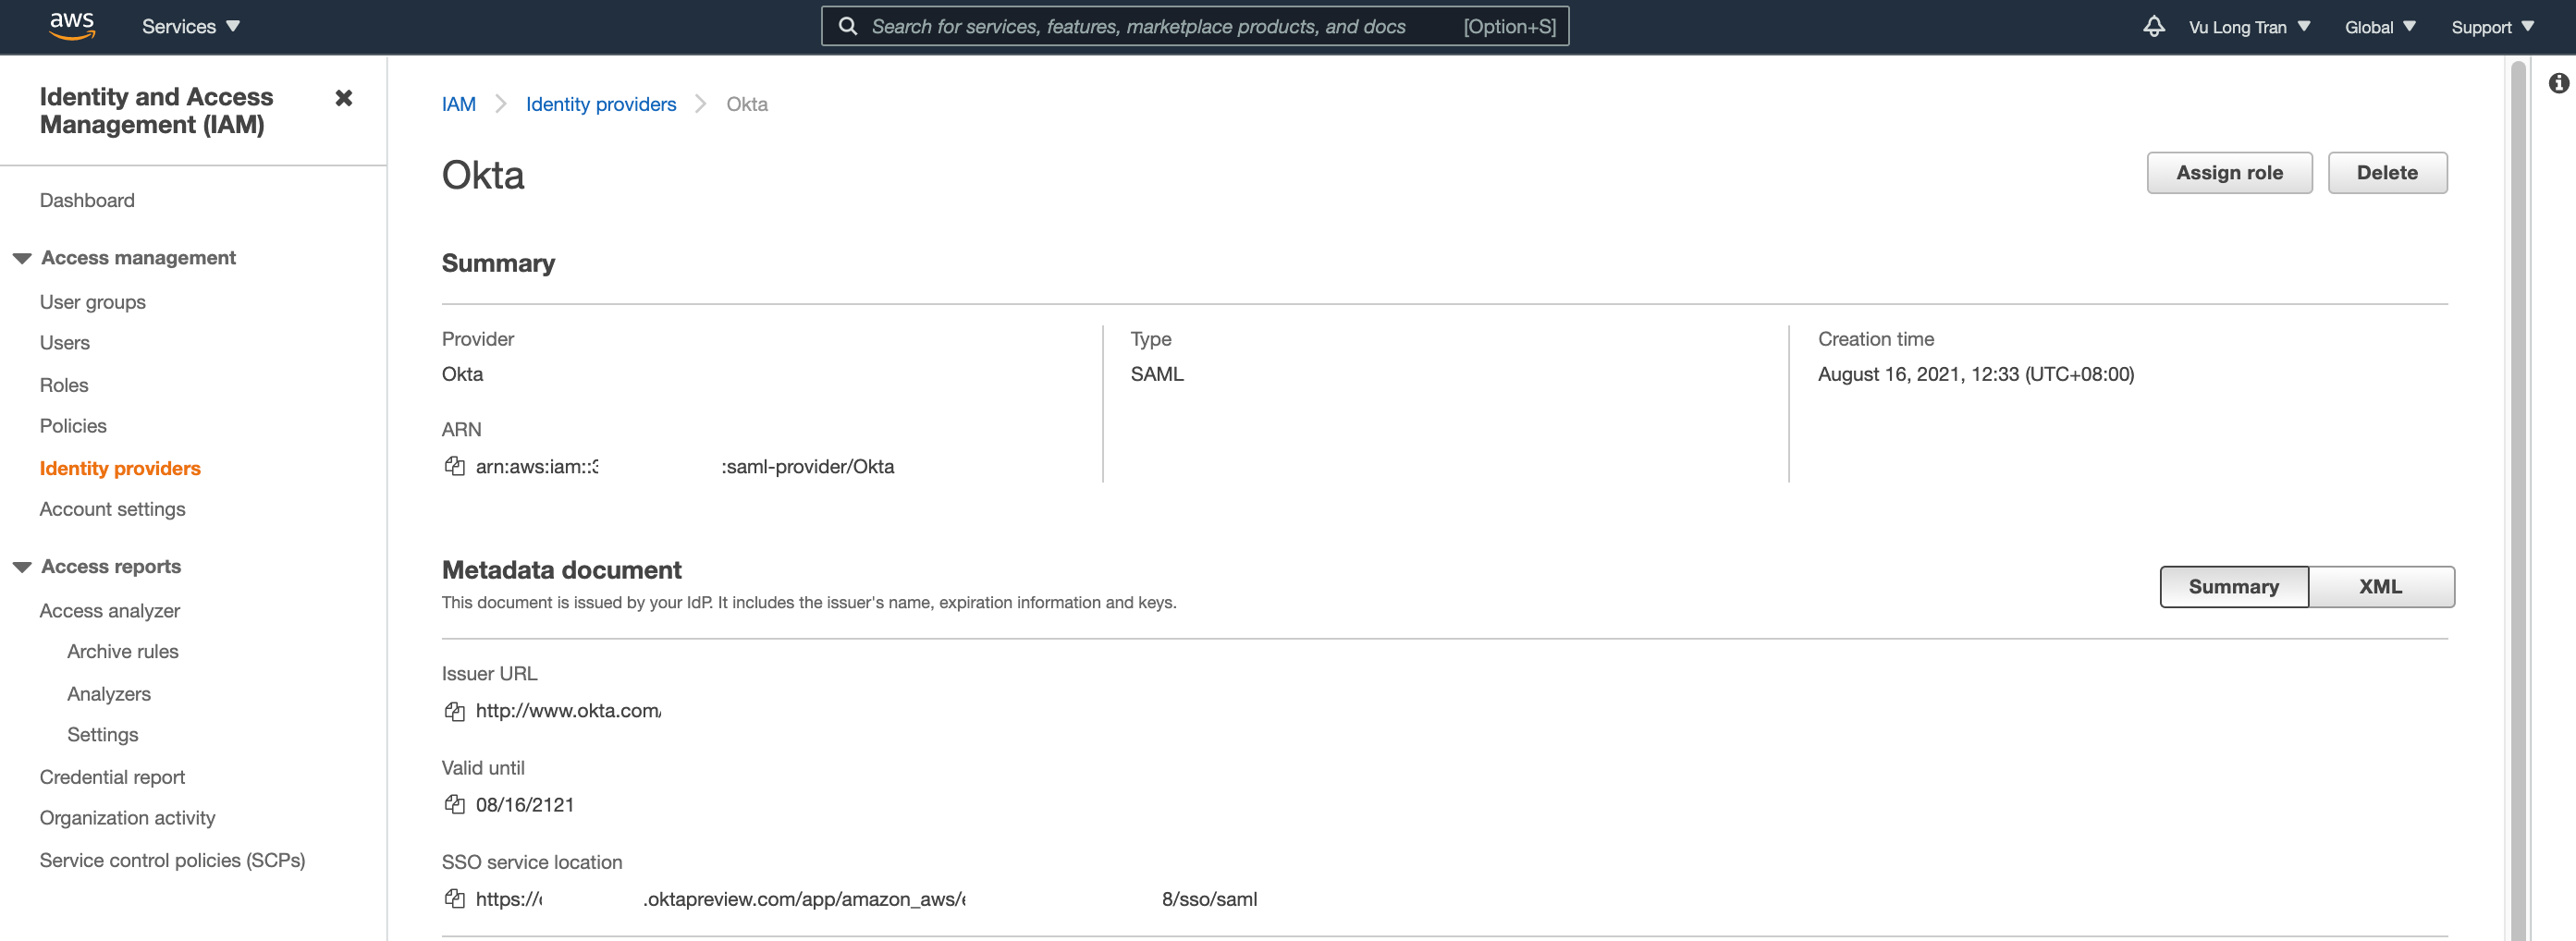
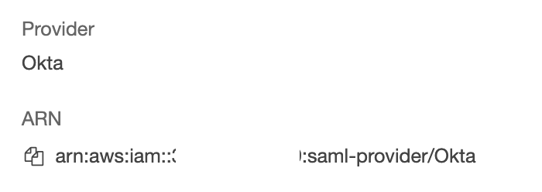
We will need copy to Identity Provider "ARN" details here. Identity Provider ARN value. You will need it later during this configuration.
Add Okta as a trusted source for AWS roles
We need to create and/or update your existing AWS IAM roles to provide permissions for Okta to retrieve and assign roles to users (that will log in from Okta to AWS).
To do this, we need to add Okta as a trusted source for your AWS roles.
I will show you an example of this through creating a new role, where we need to create a new policy and create a new role. Then attach the new policy to our role.
The next section will cover:
- Creating a new policy
- Creating a new role
Creating a new policy
In the AWS Console, we will go to:
AWS Console > Services > Security, Identity & Compliance > IAM > Policies
Click "Create policy".
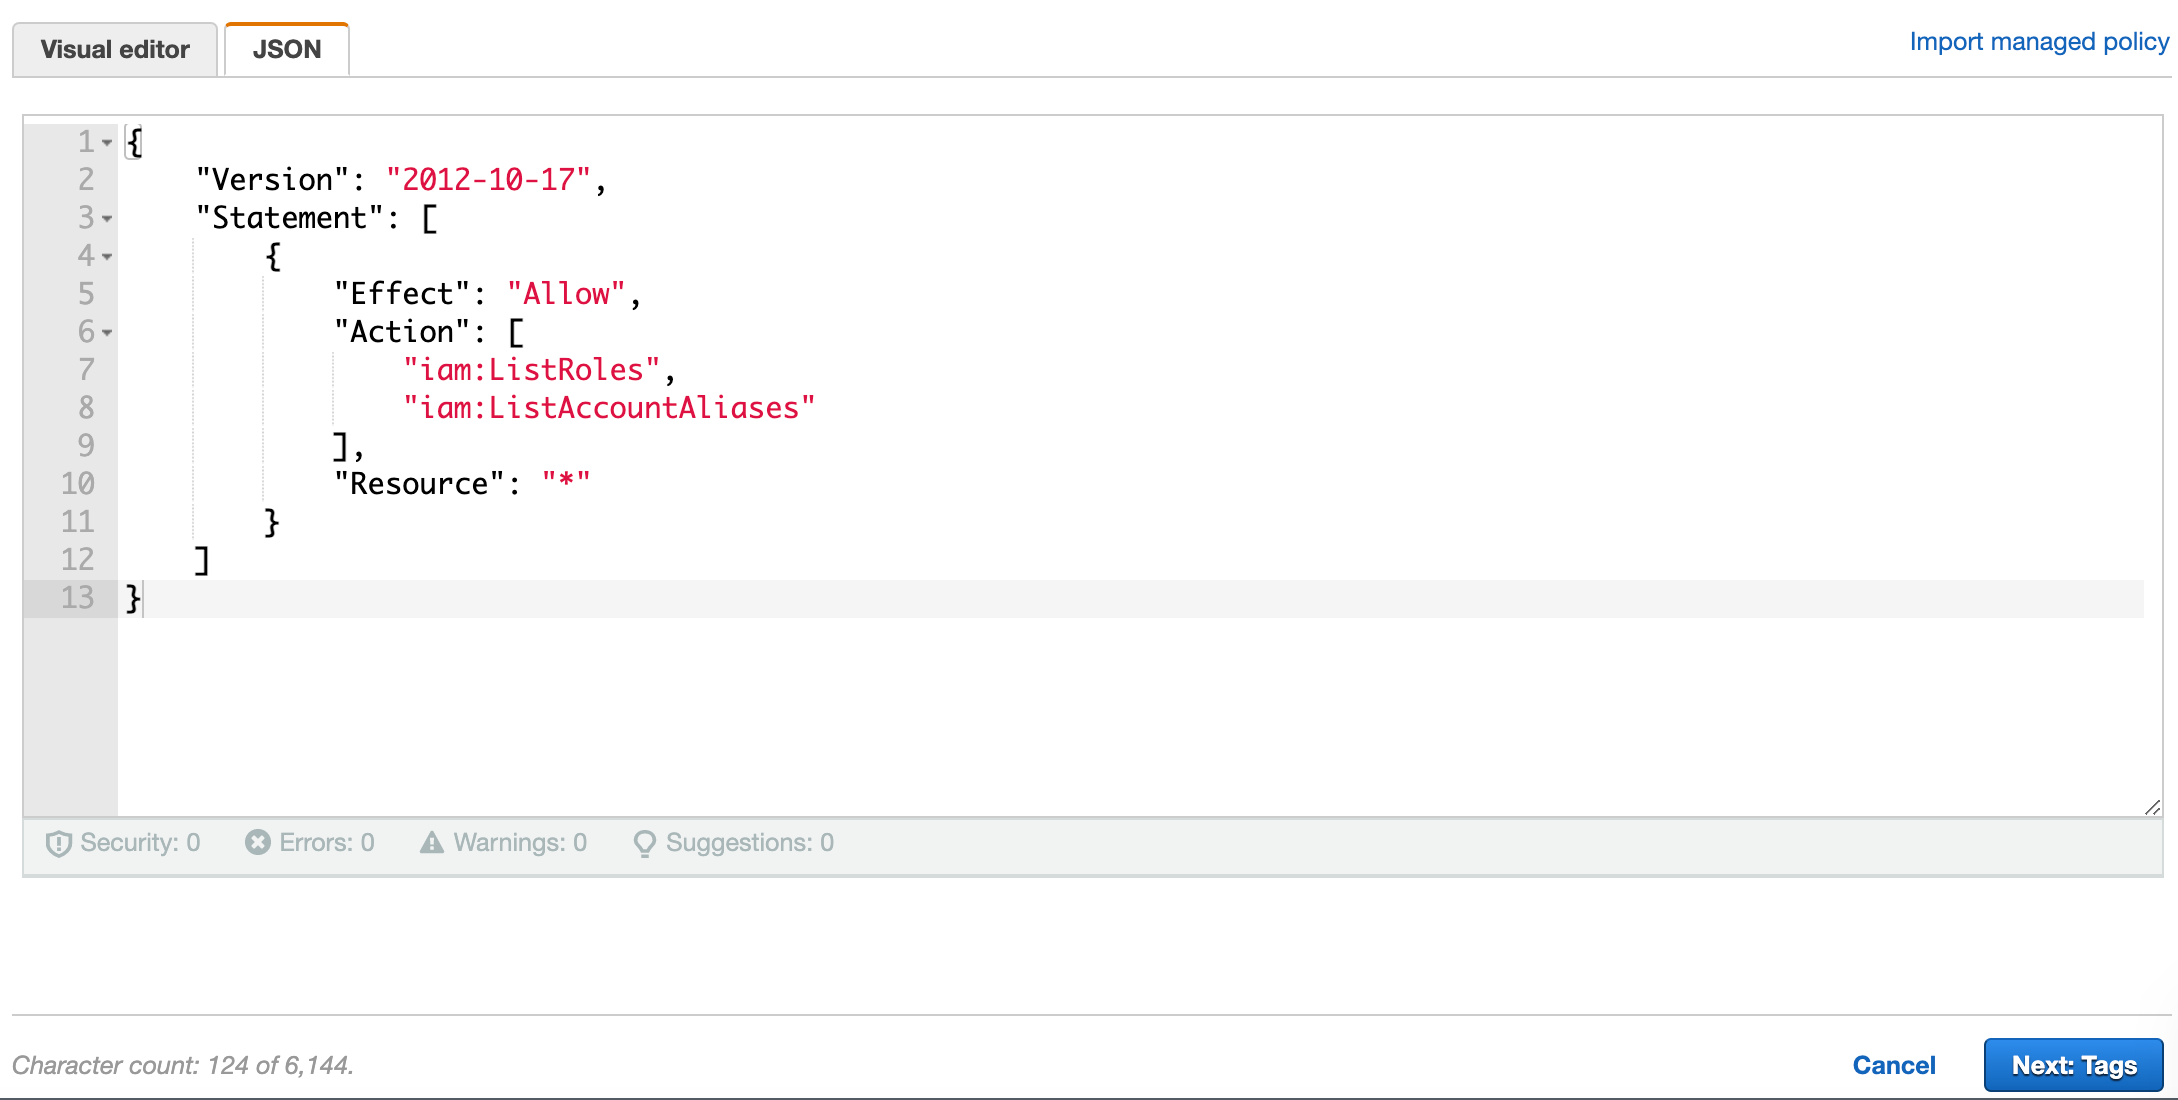
Click on "JSON" tab.

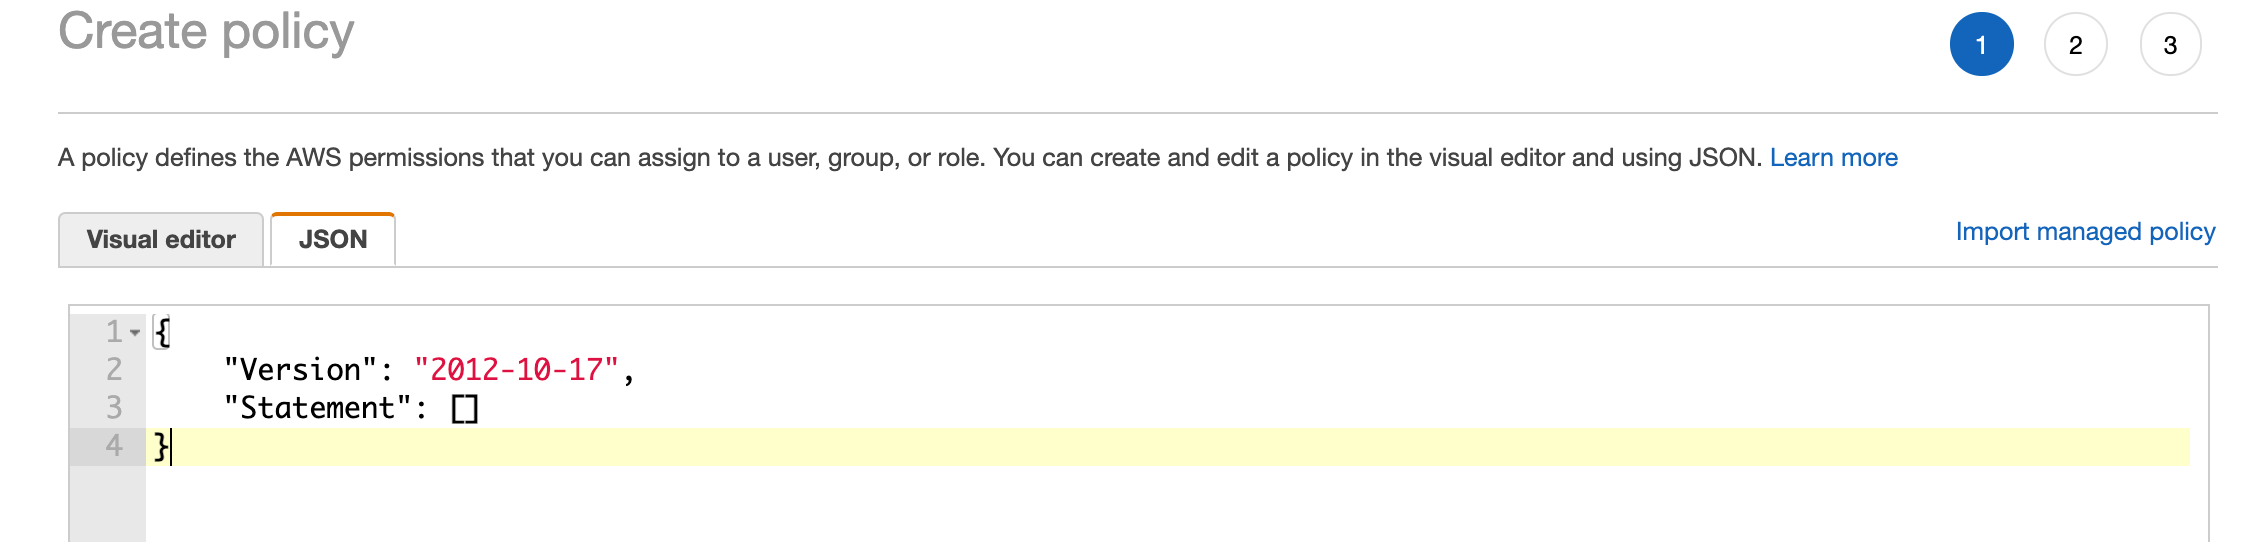
Copy and paste the following json detail to your set up.
{"Version": "2012-10-17","Statement": [{"Effect": "Allow","Action": ["iam:ListRoles","iam:ListAccountAliases"],"Resource": "*"}]}
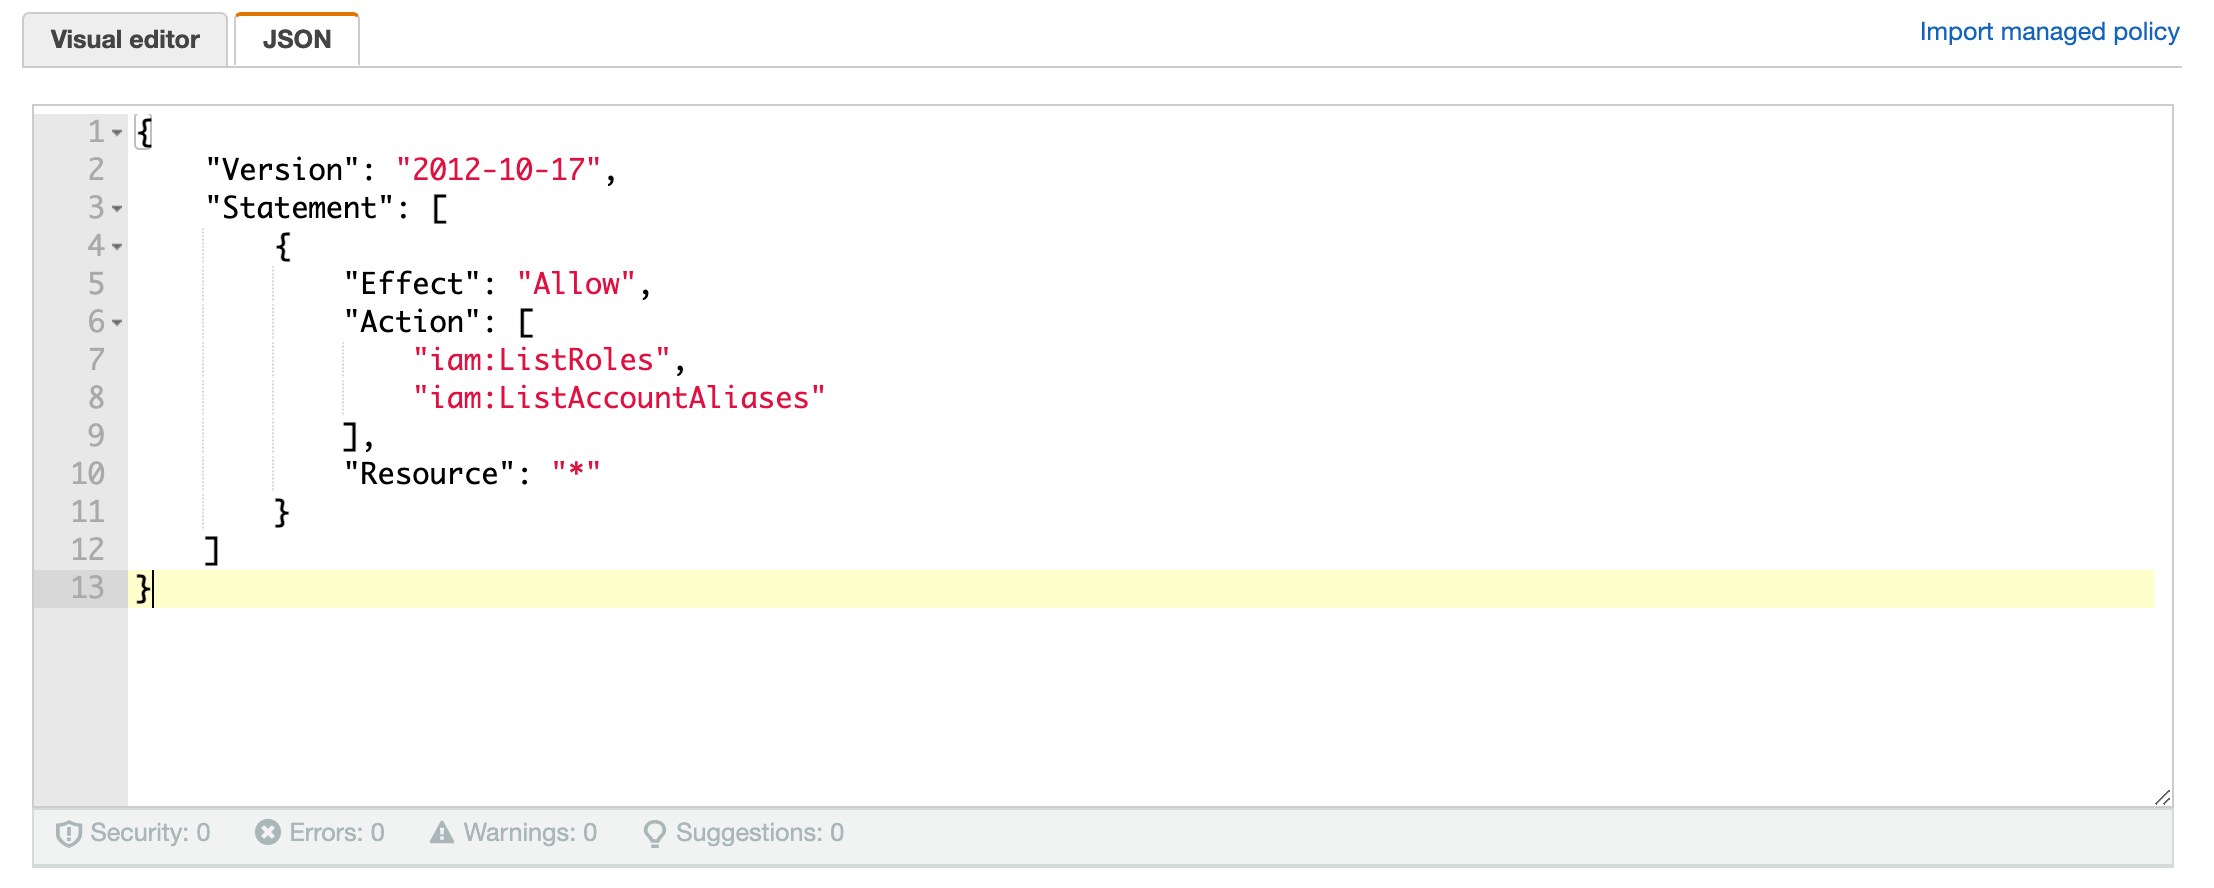
(Optional) But you can click on the "Visual editor" tab and you will see how this is reflected:
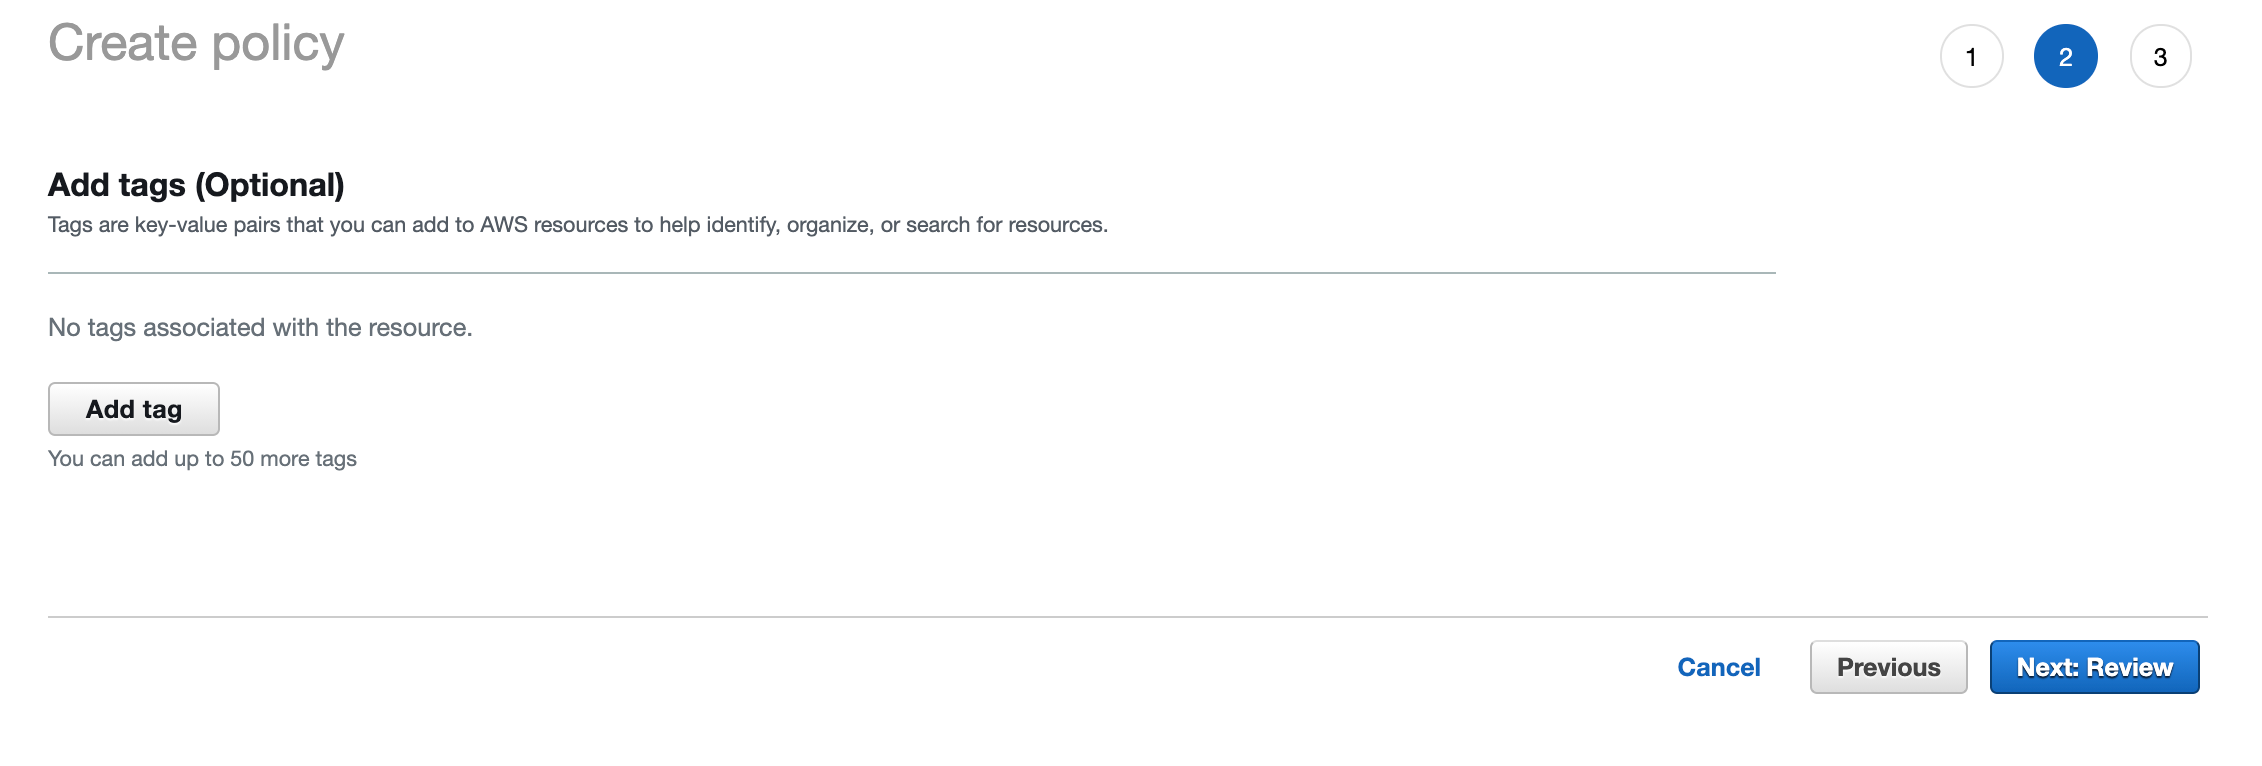
Click "Next: Tags" when you are done.

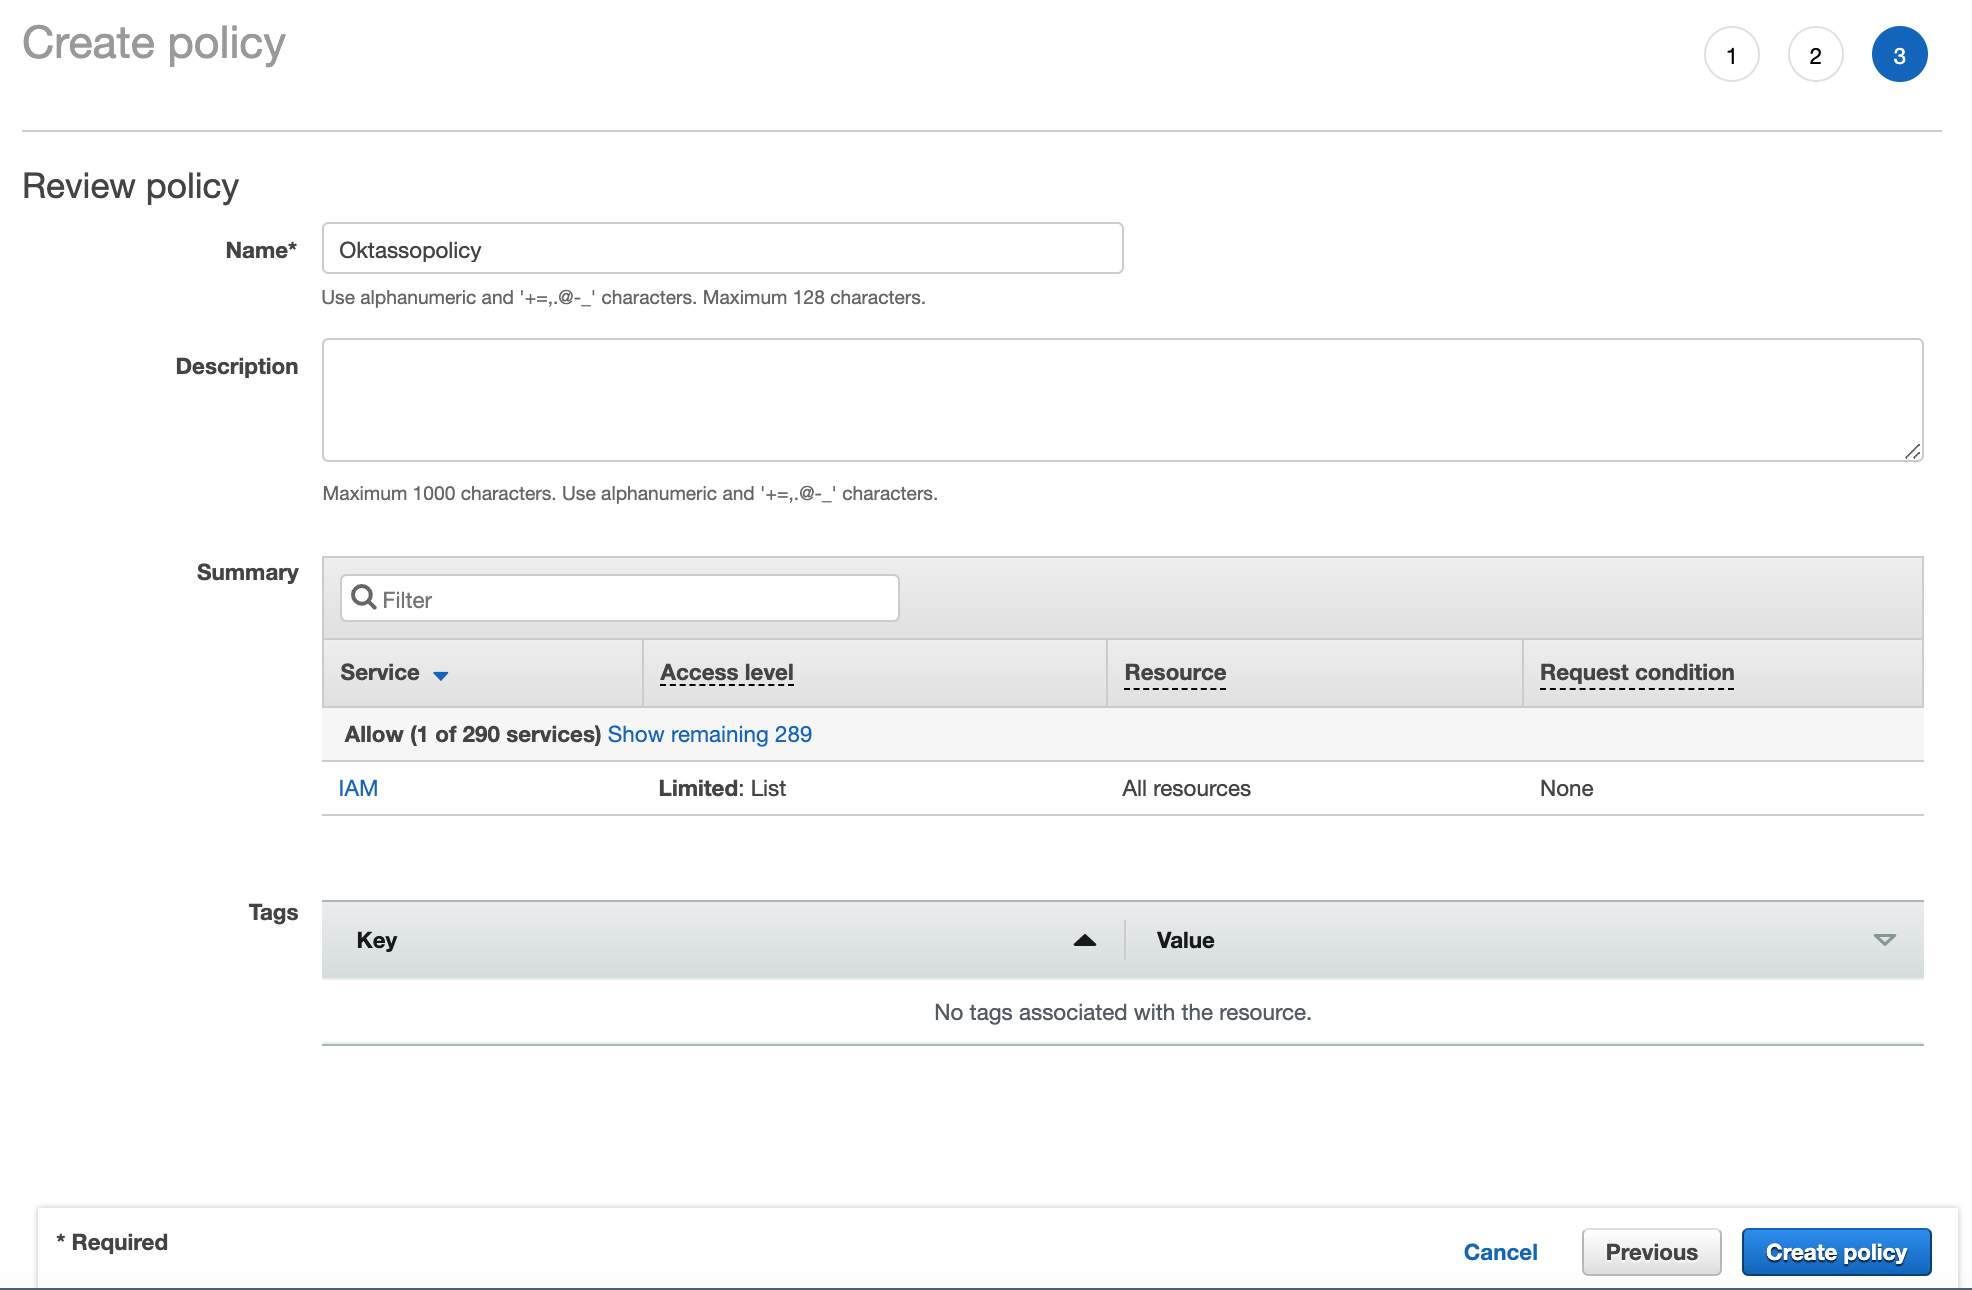
Click "Next: Review".

Give your policy a name, for example, "Oktassopolicy".
We can then leave the rest defaults, and click "Create policy".
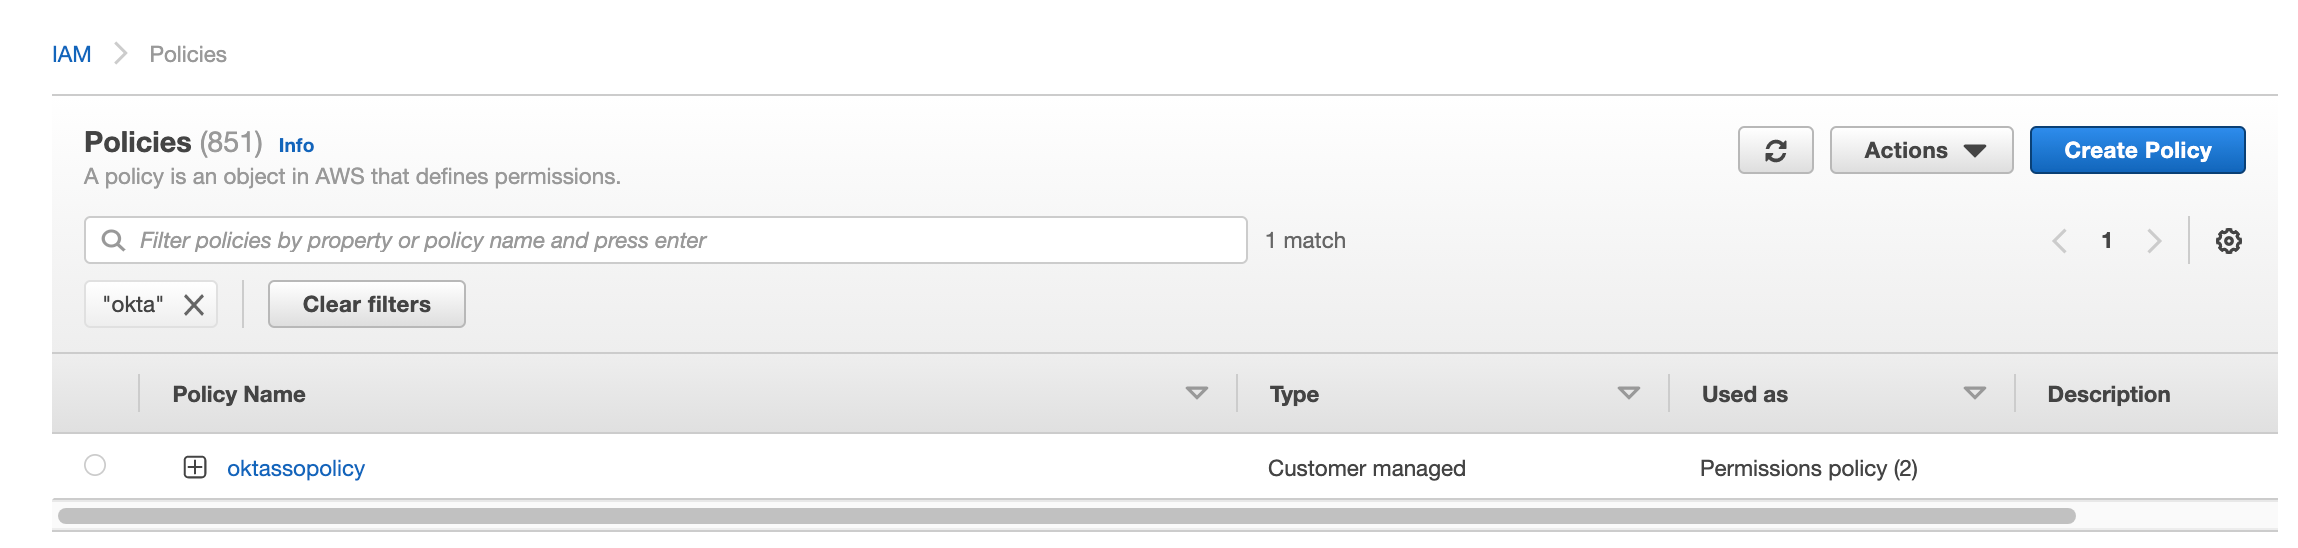
You will then see your new policy when you search the name you have defined.
Creating a new role
In the AWS Console, we will go to:
AWS Console > Services > Security, Identity & Compliance > IAM > Roles
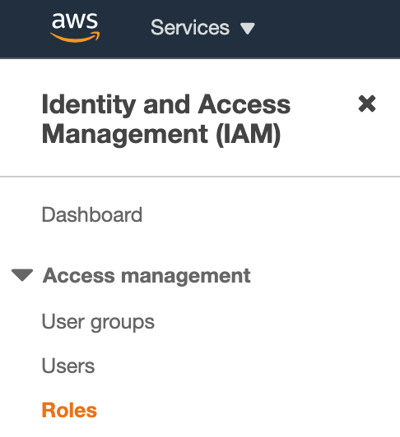
Click "Create Role".
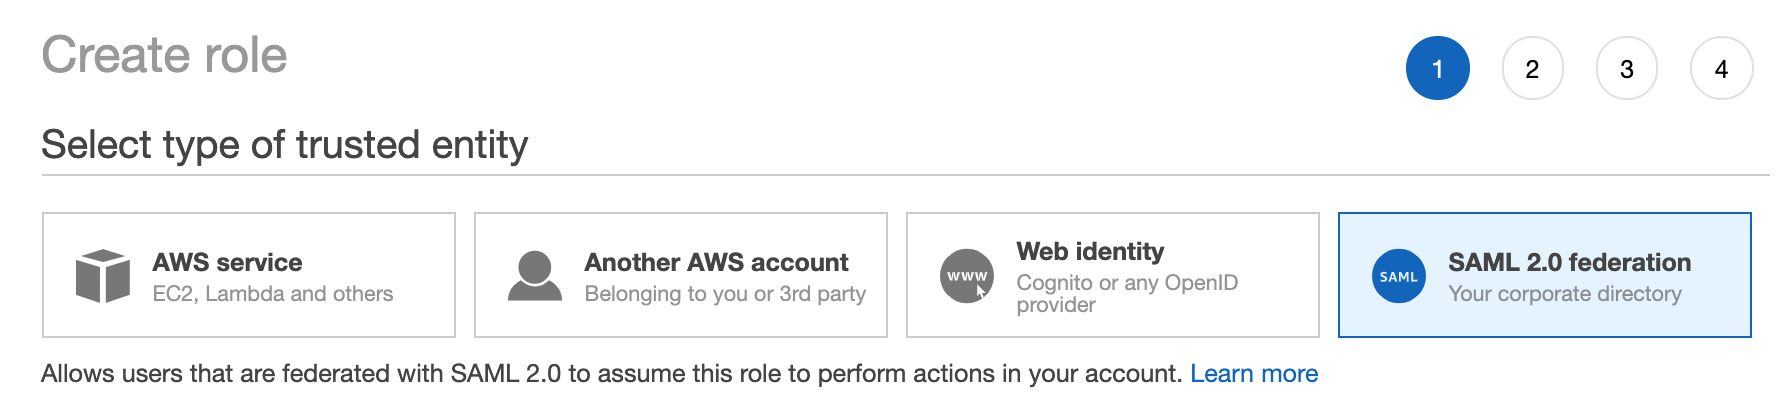
Click on "SAML 2.0 federation" under the "Select type of trusted entity" section.
Select "SAML provider" as "Okta"
Select "Allow programmatic and AWS Management Console access"
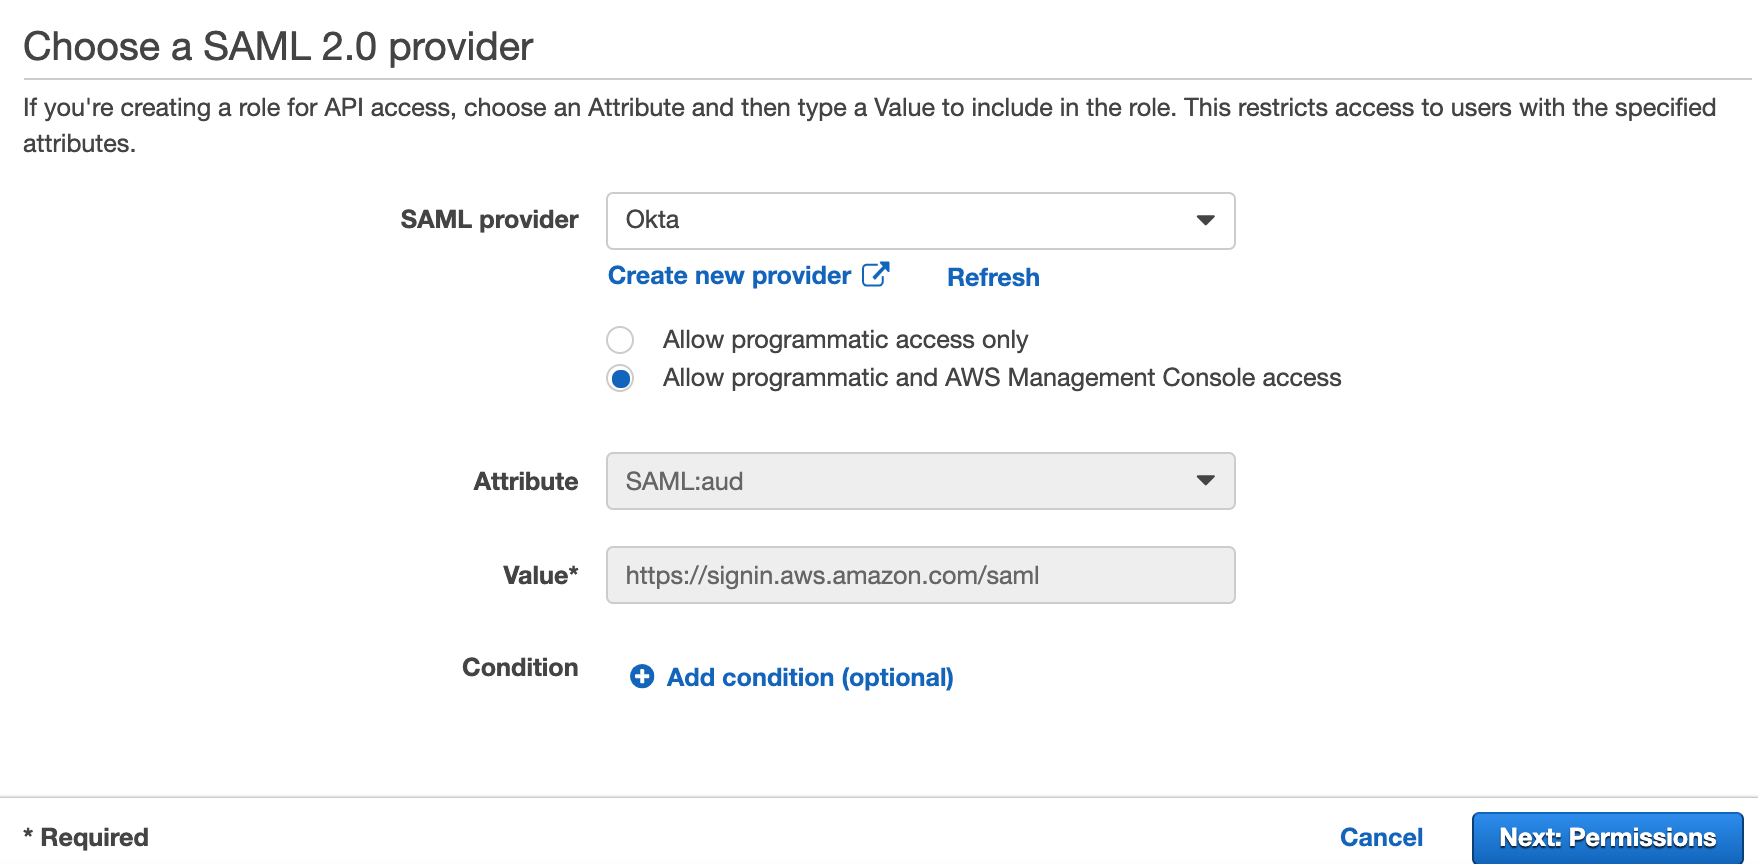
Click "Next: Permissions".
With the policy we created earlier, we can now attach this new policy to our Role.
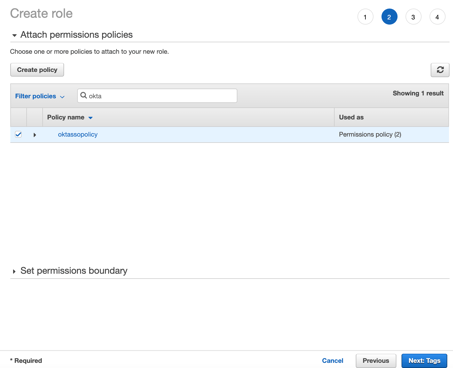
We can click on "Next: Tags".
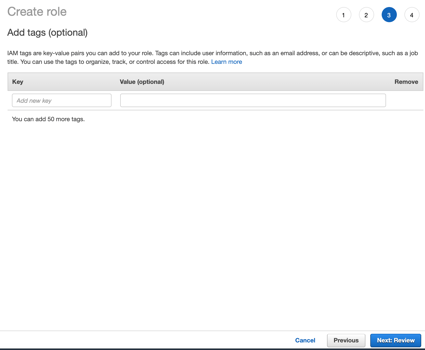
On the "Add tags (optional)" page, click "Next: Review".

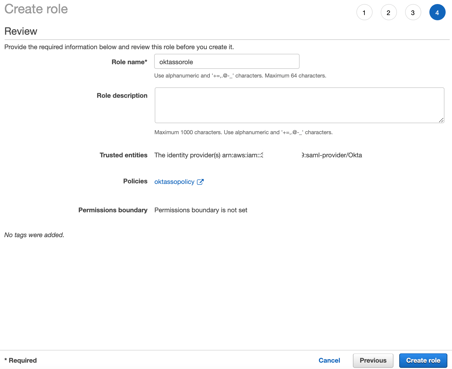
Give your policy a name, for example, "Oktassorole".
We can then leave the rest defaults, and click "Create role".

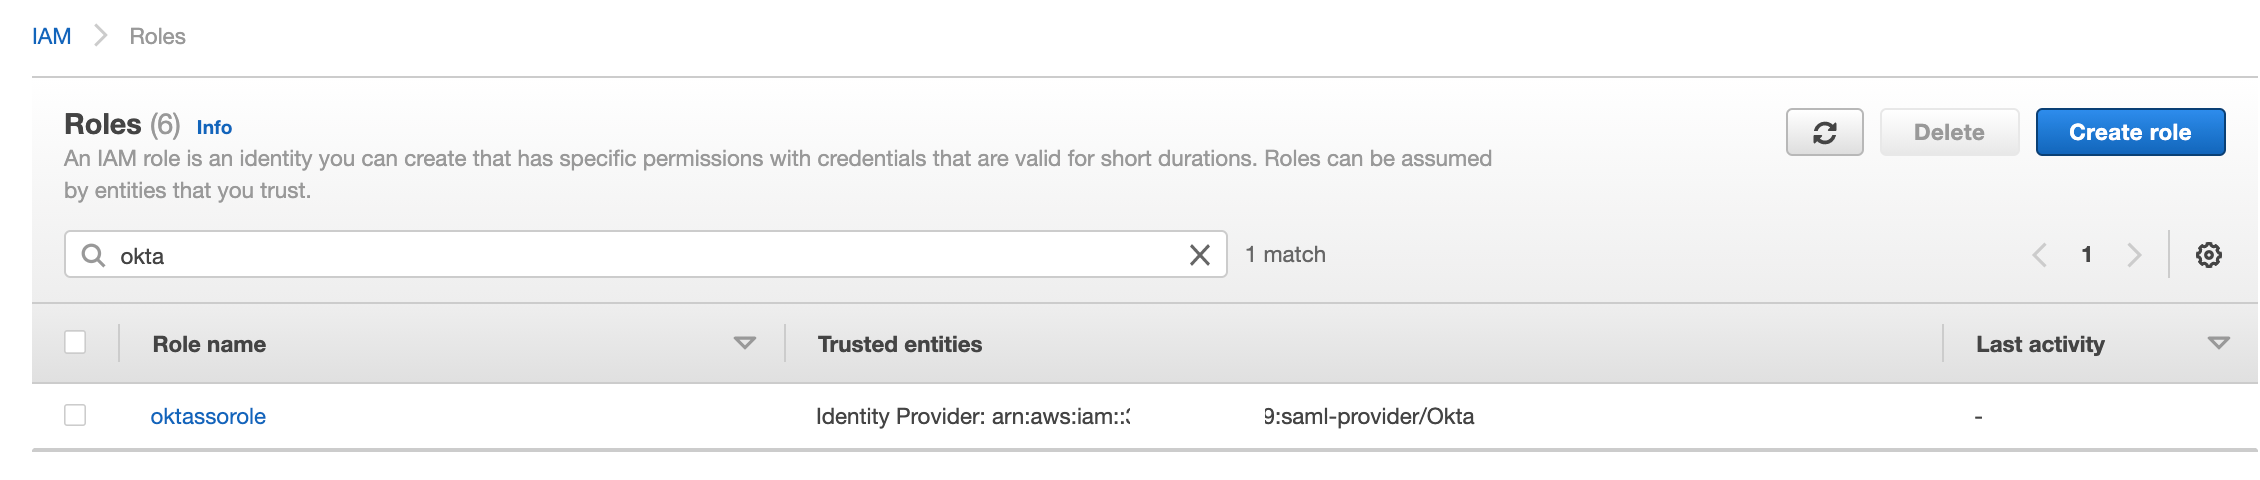
You will now see the new role we have created, with a "Trusted entities" relationship with our Identity Provider Okta.
Add a user to AWS to generate the AWS API access key
In the AWS Console, we will create a new AWS user with specific permissions that will allow Okta to dynamically fetch a list of available roles from your accounts.
This is important so that we can populate the roles in Okta to assign roles from Okta to AWS later. Example below.
This will also make assigning users and groups to specific AWS roles easy and secure for administrators.
Creating a new user
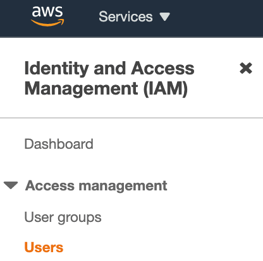
In the AWS Console, we will go to:
AWS Console > Services > Security, Identity & Compliance > IAM > Users
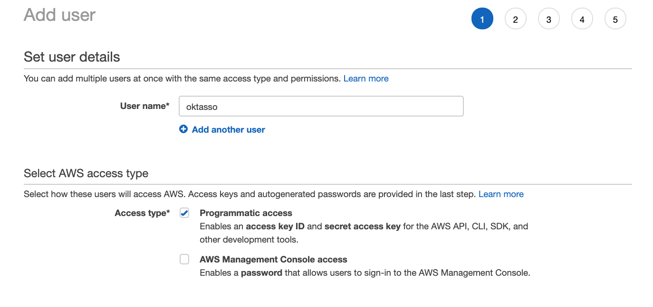
Click "Add Users".

Set user details and click "Next: Permissions" when you are done.
- User name - oktasso
- Access type - Programmatic access
Click "Next: Permissions".

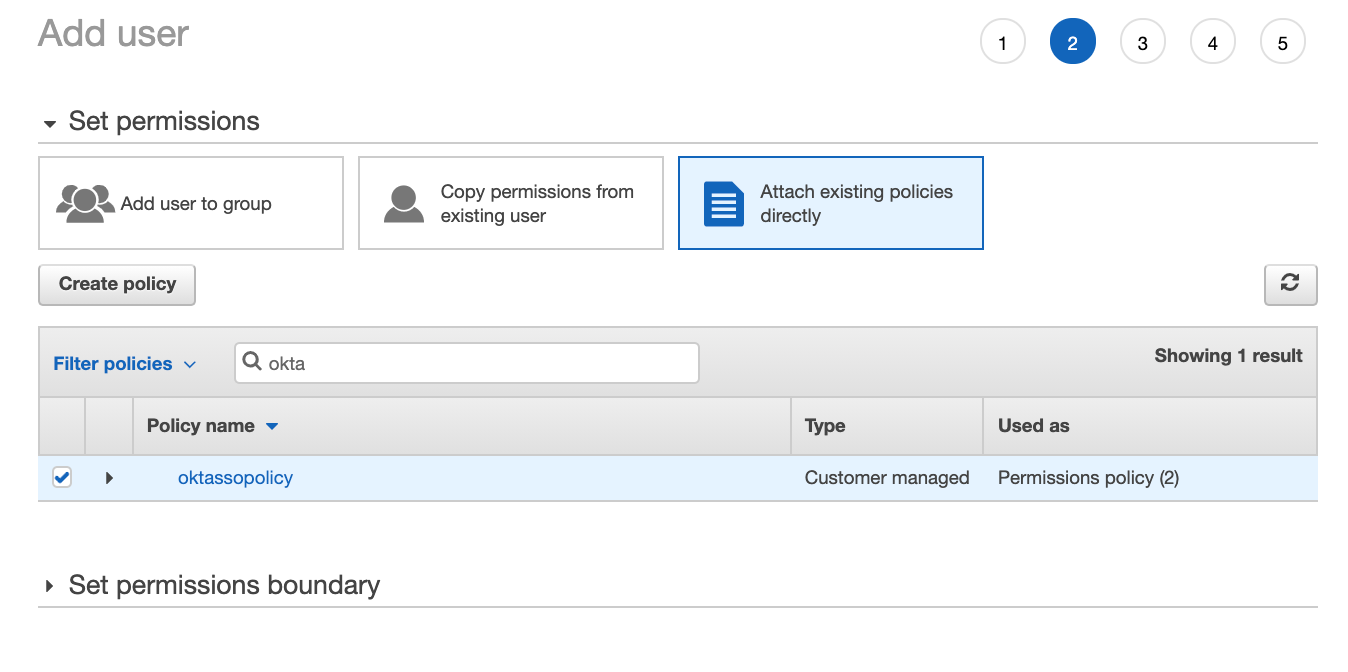
Select "Attach existing policies directly".
Find the policy we created earlier, and attach this policy to our user.
We can click on "Next: Tags".

On the "Add tags (optional)" page, click "Next: Review".

We can now review the user and when we are ready click "Create user".
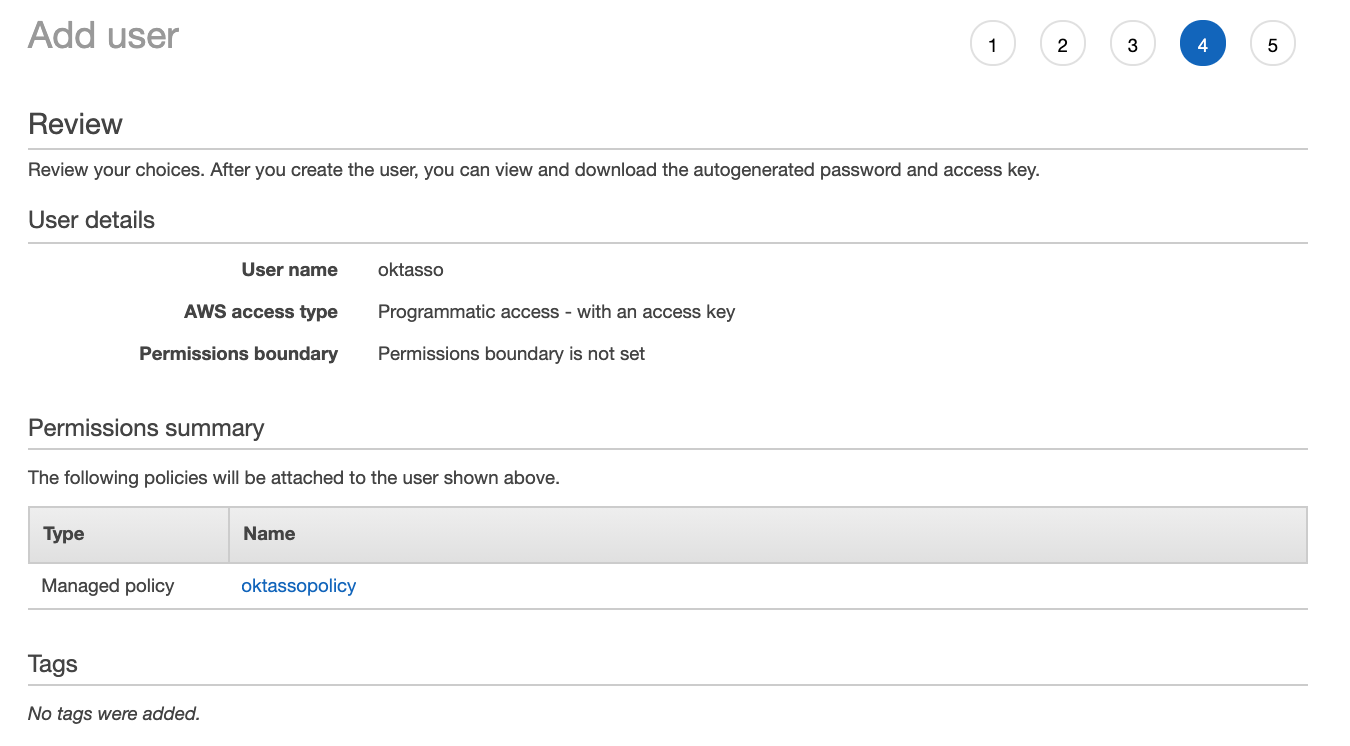
Click "Create user".

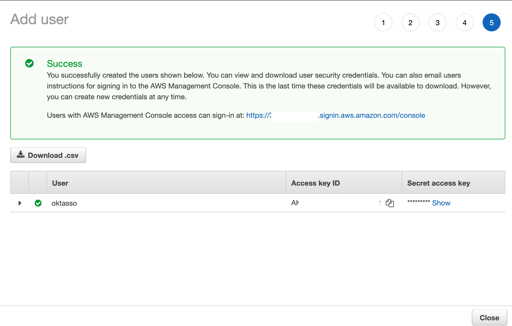
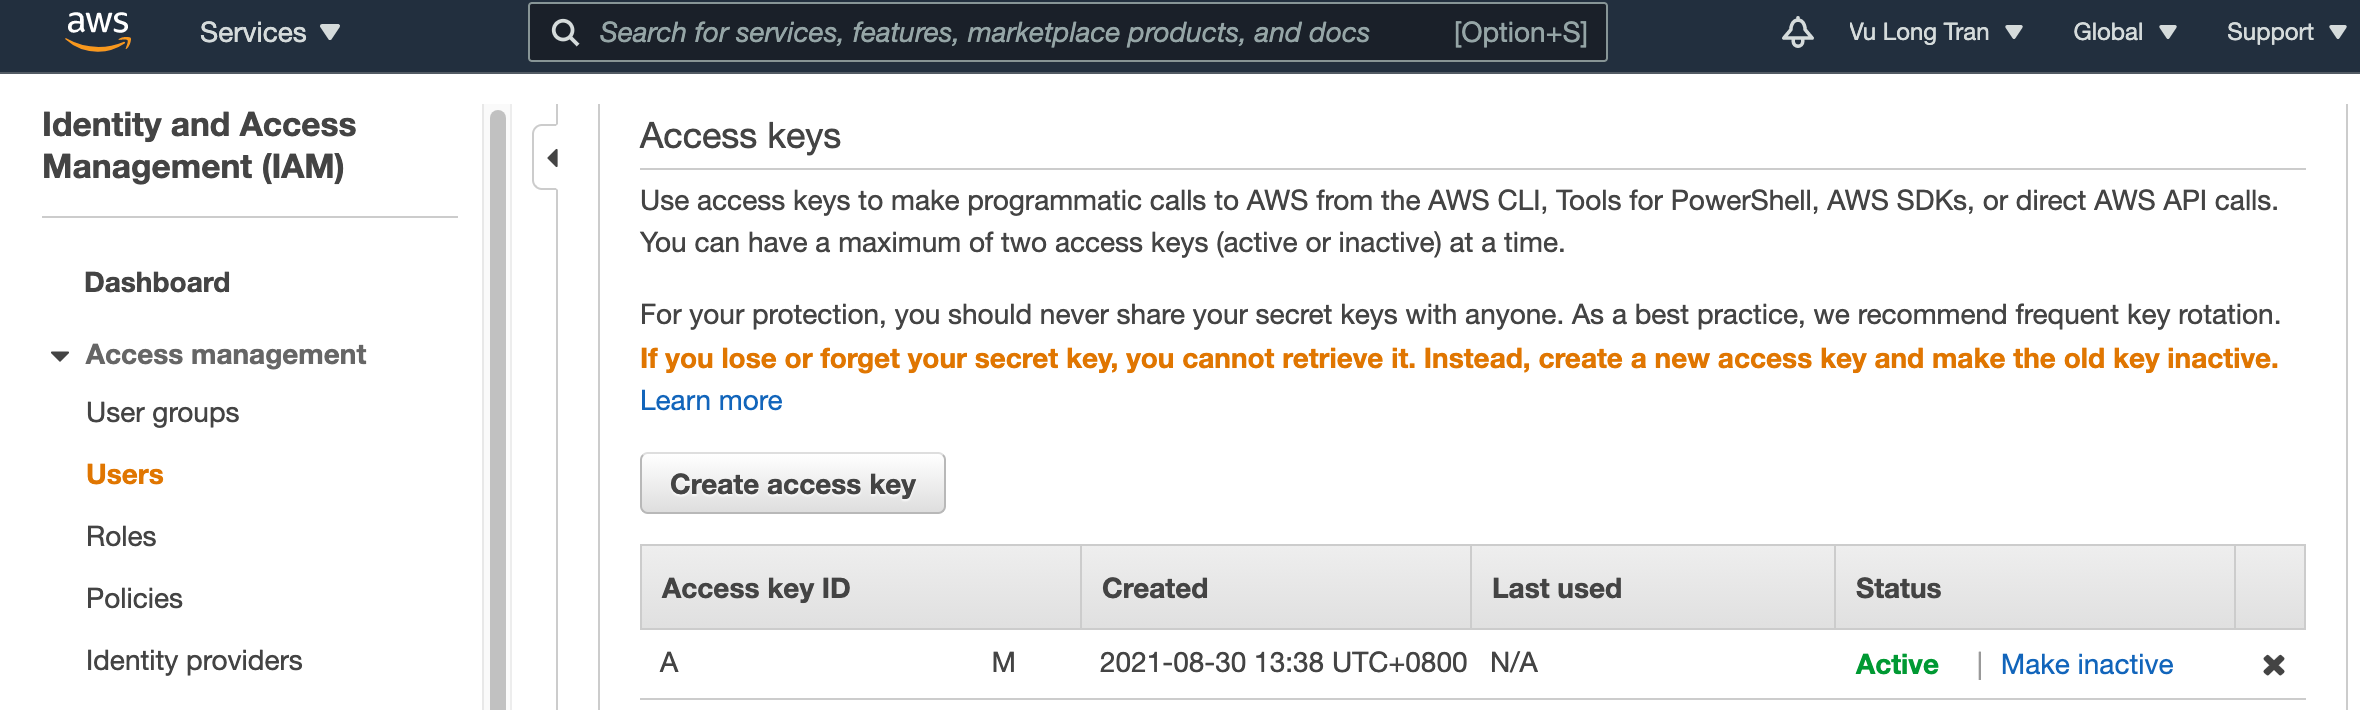
You will now see the new user details successfully created page.
Copy the keys in the Access key ID and Secret access key somewhere safe and click Close.
We will need these keys to complete our configurations.
3. Set up SSO settings on Okta
We now need to configure the Amazon Web Services Account Federation app in Okta.
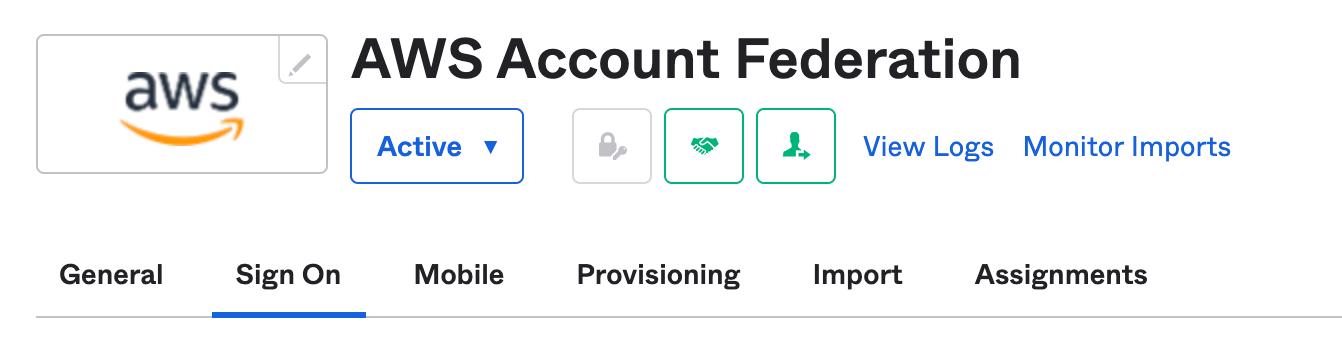
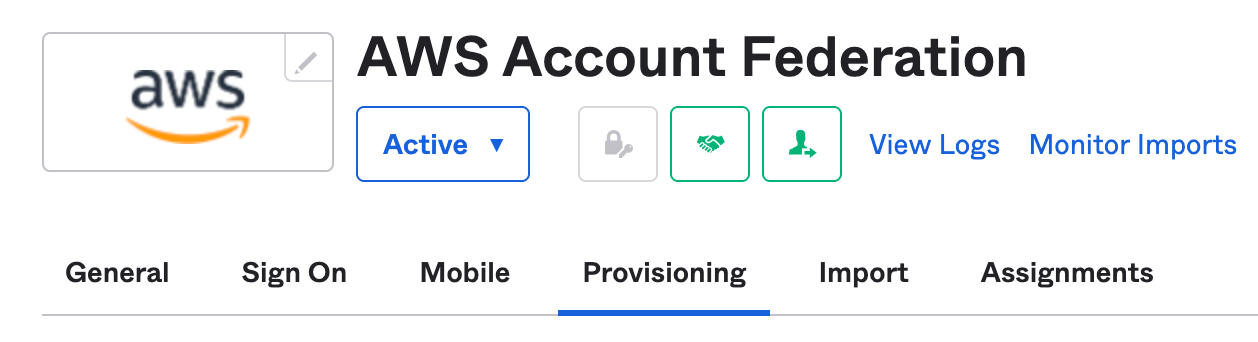
In Okta Admin Console, go to Applications > Applications >AWS Account Federation app.
- On the "Sign On" tab
- On the "Provisioning" tab
On the "Sign On" tab
You will see the details you need to fill in your AWS Account Federation "SSO Provider details". (Under "Sign On" tab).
On this page, click Edit and fill in the details. Click Save when you are done.
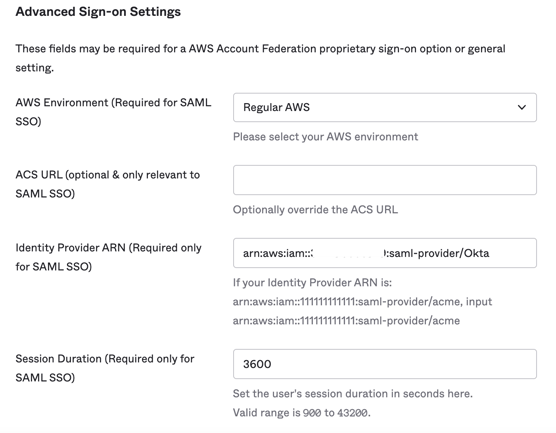
- AWS Environment - Regular AWS
- ACS URL - Leave as default
- Identity Provider ARN: Paste the identity provider ARN you copied. For example arn:aws:iam::111111111111:saml-provider/okta
- Session Duration: Leave the default value, or enter your preferred value.
- Join all roles: Only select this check box if you want to make AWS SAML use all roles.
- Use Group Mapping: Only select this check box to connect Okta to multiple AWS instances using user groups functionality.
Click Save.
On the "Provisioning" tab
Provisioning setup is needed to import information from AWS for SAML single sign on (SSO) to work. In particular is the AWS roles, which will be used by Okta for assigning users/ groups to specific AWS roles that you have set.
This setup under the (Provisioning tab) is required to provide API access to Okta in order to download a list of AWS roles to assign during user assignment. The AWS app integration enables you to assign multiple roles to users and pass those roles in the SAML assertion. Please note that the AWS Account Federation app does not support true user provisioning.
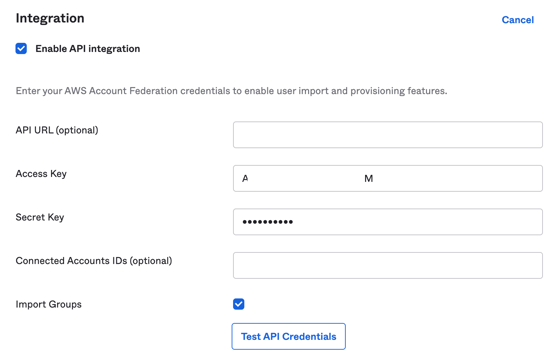
You will see the details you need to fill in your AWS Account Federation "Enable API integration". (Under "Provisioning" tab).
Click the "Provisioning" tab.
Click "Enable API Integration" checkbox.
Fill in the API integration details and click "Test API Credentials".
- API URL (optional): Optional, we can leave this blank.
- Access Key: Paste the access key you copied from AWS earlier.
- Secret Key: Paste the secret key you copied from AWS earlier.
- Connected Accounts IDs (optional): Optional, we can leave this blank.

If you are looking for your Access Key and Secret Key, you will find them in the "Access keys" section.
AWS Console > Services > Security, Identity & Compliance > IAM > Users> select a user > "Access keys"
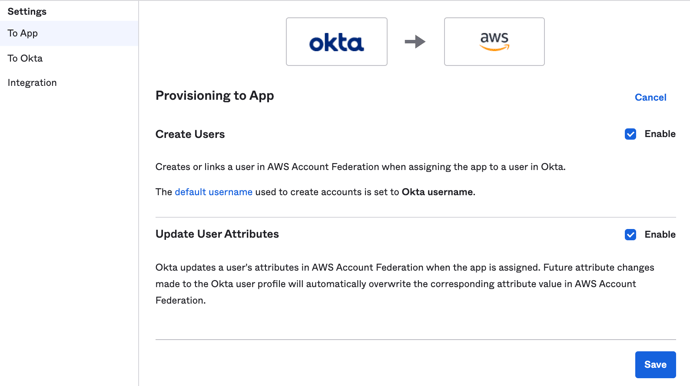
Once API integration is successful, we can turn on functions.
Under Settings> To App> Provisioning to App > Edit
Check the "Enable" checkboxes for the following and click Save.
- Create users
- Update user attributes
4. Test that SSO is working with Amazon Web Services (AWS) Identity and Access Management (IAM)
When you are ready, let's test that it works.
In Okta Admin Console, let's assign a user to the application. (Applications> Applications> AWS Account Federation app)
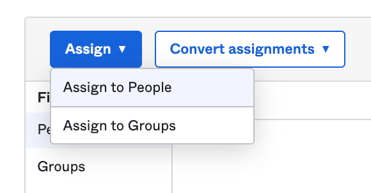
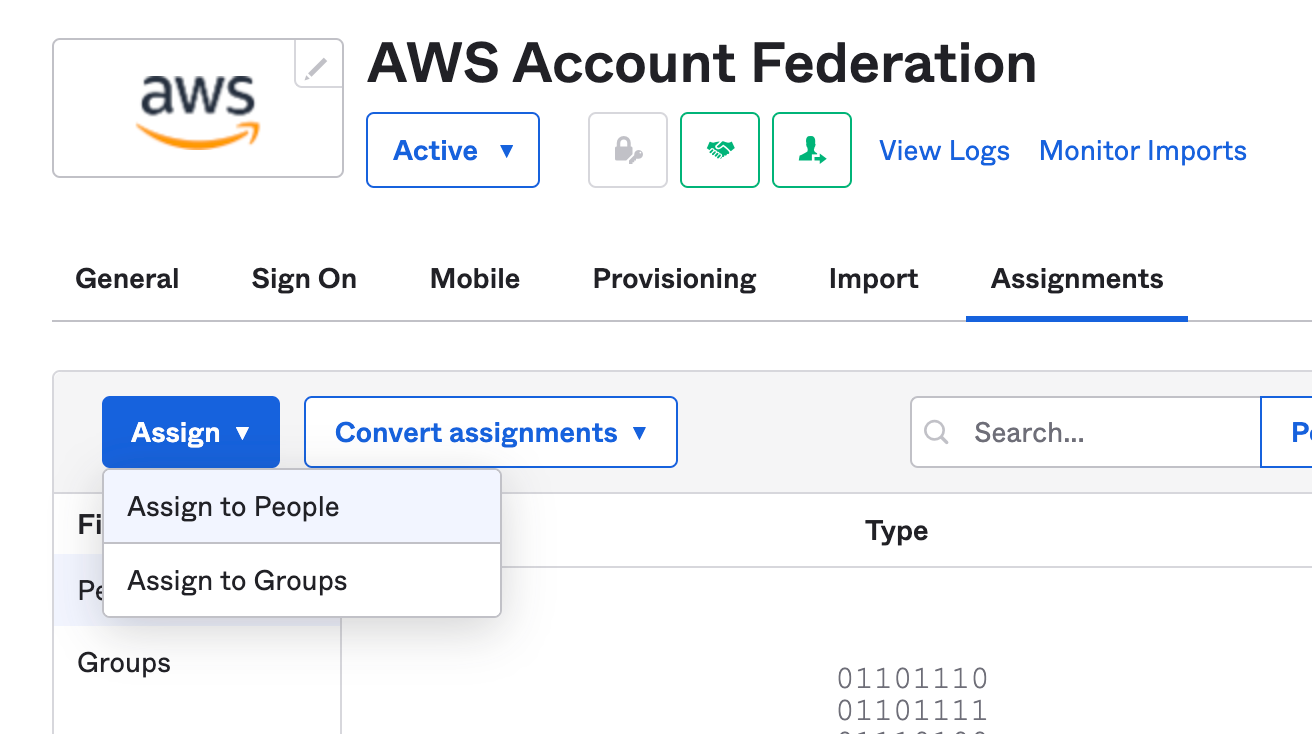
Go to "Assignments" tab. (Applications> Applications> AWS Account Federation app> "Assignments)
Select "Assign" and "Assign to People".

Select our test user, click "Assign"
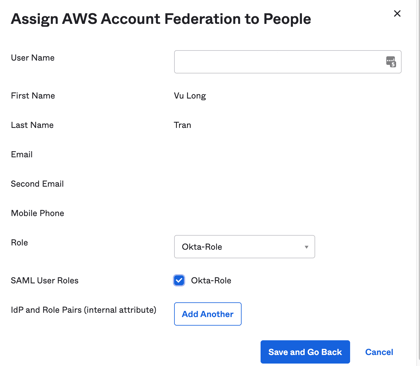
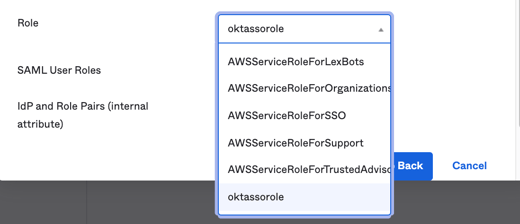
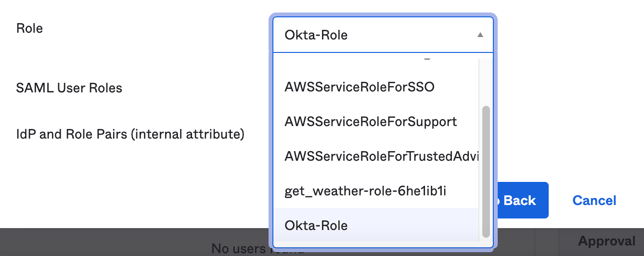
Select the AWS role options for the "Role" from the dropdown menu. This is populated (via the API integration) with the applicable roles you have created in AWS.
When you are ready, click "Save and Go Back".

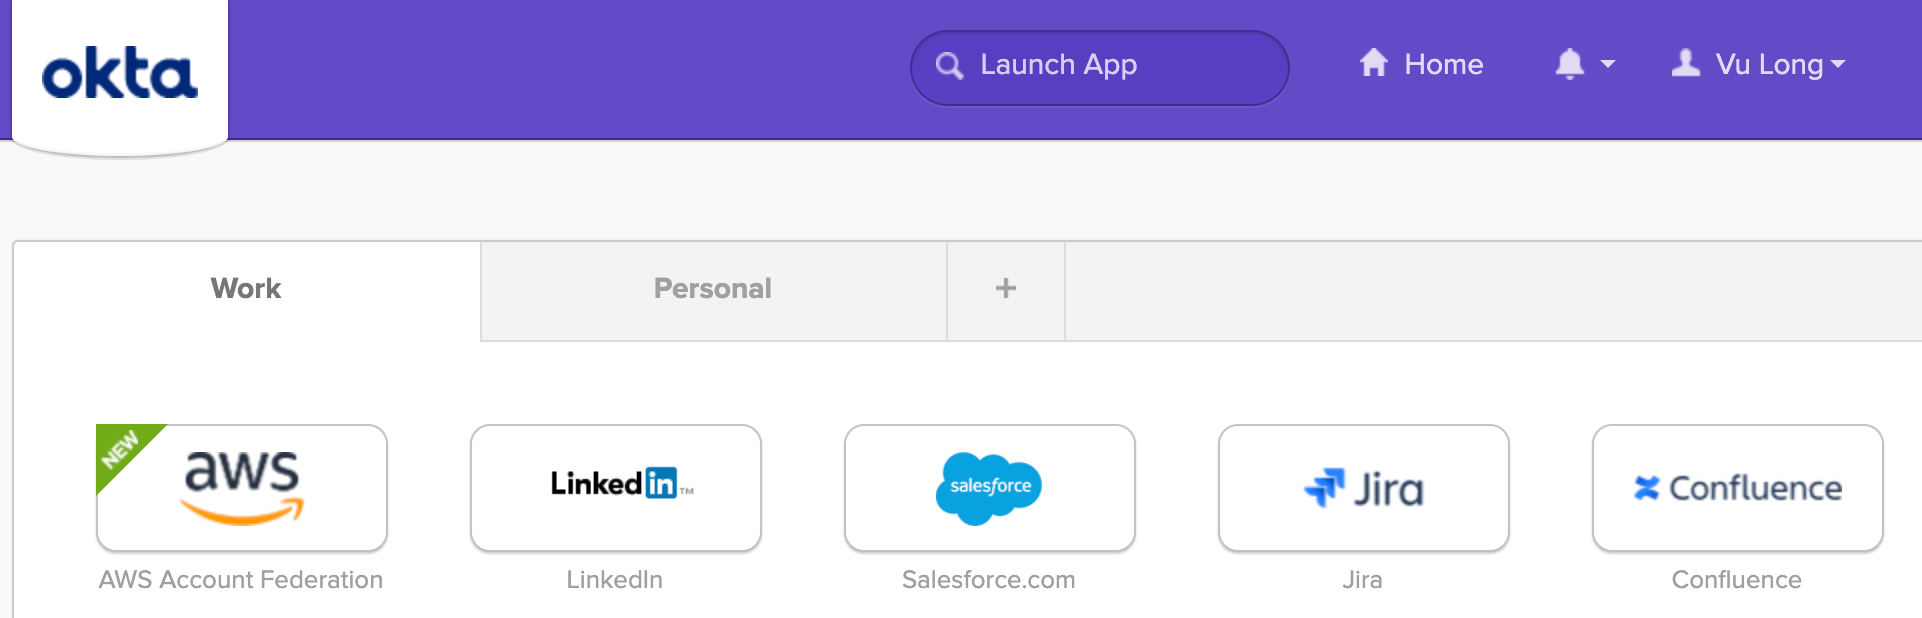
Now let's log into our Okta instance as a test user. You may need to refresh your browser if you had the browser window already open.
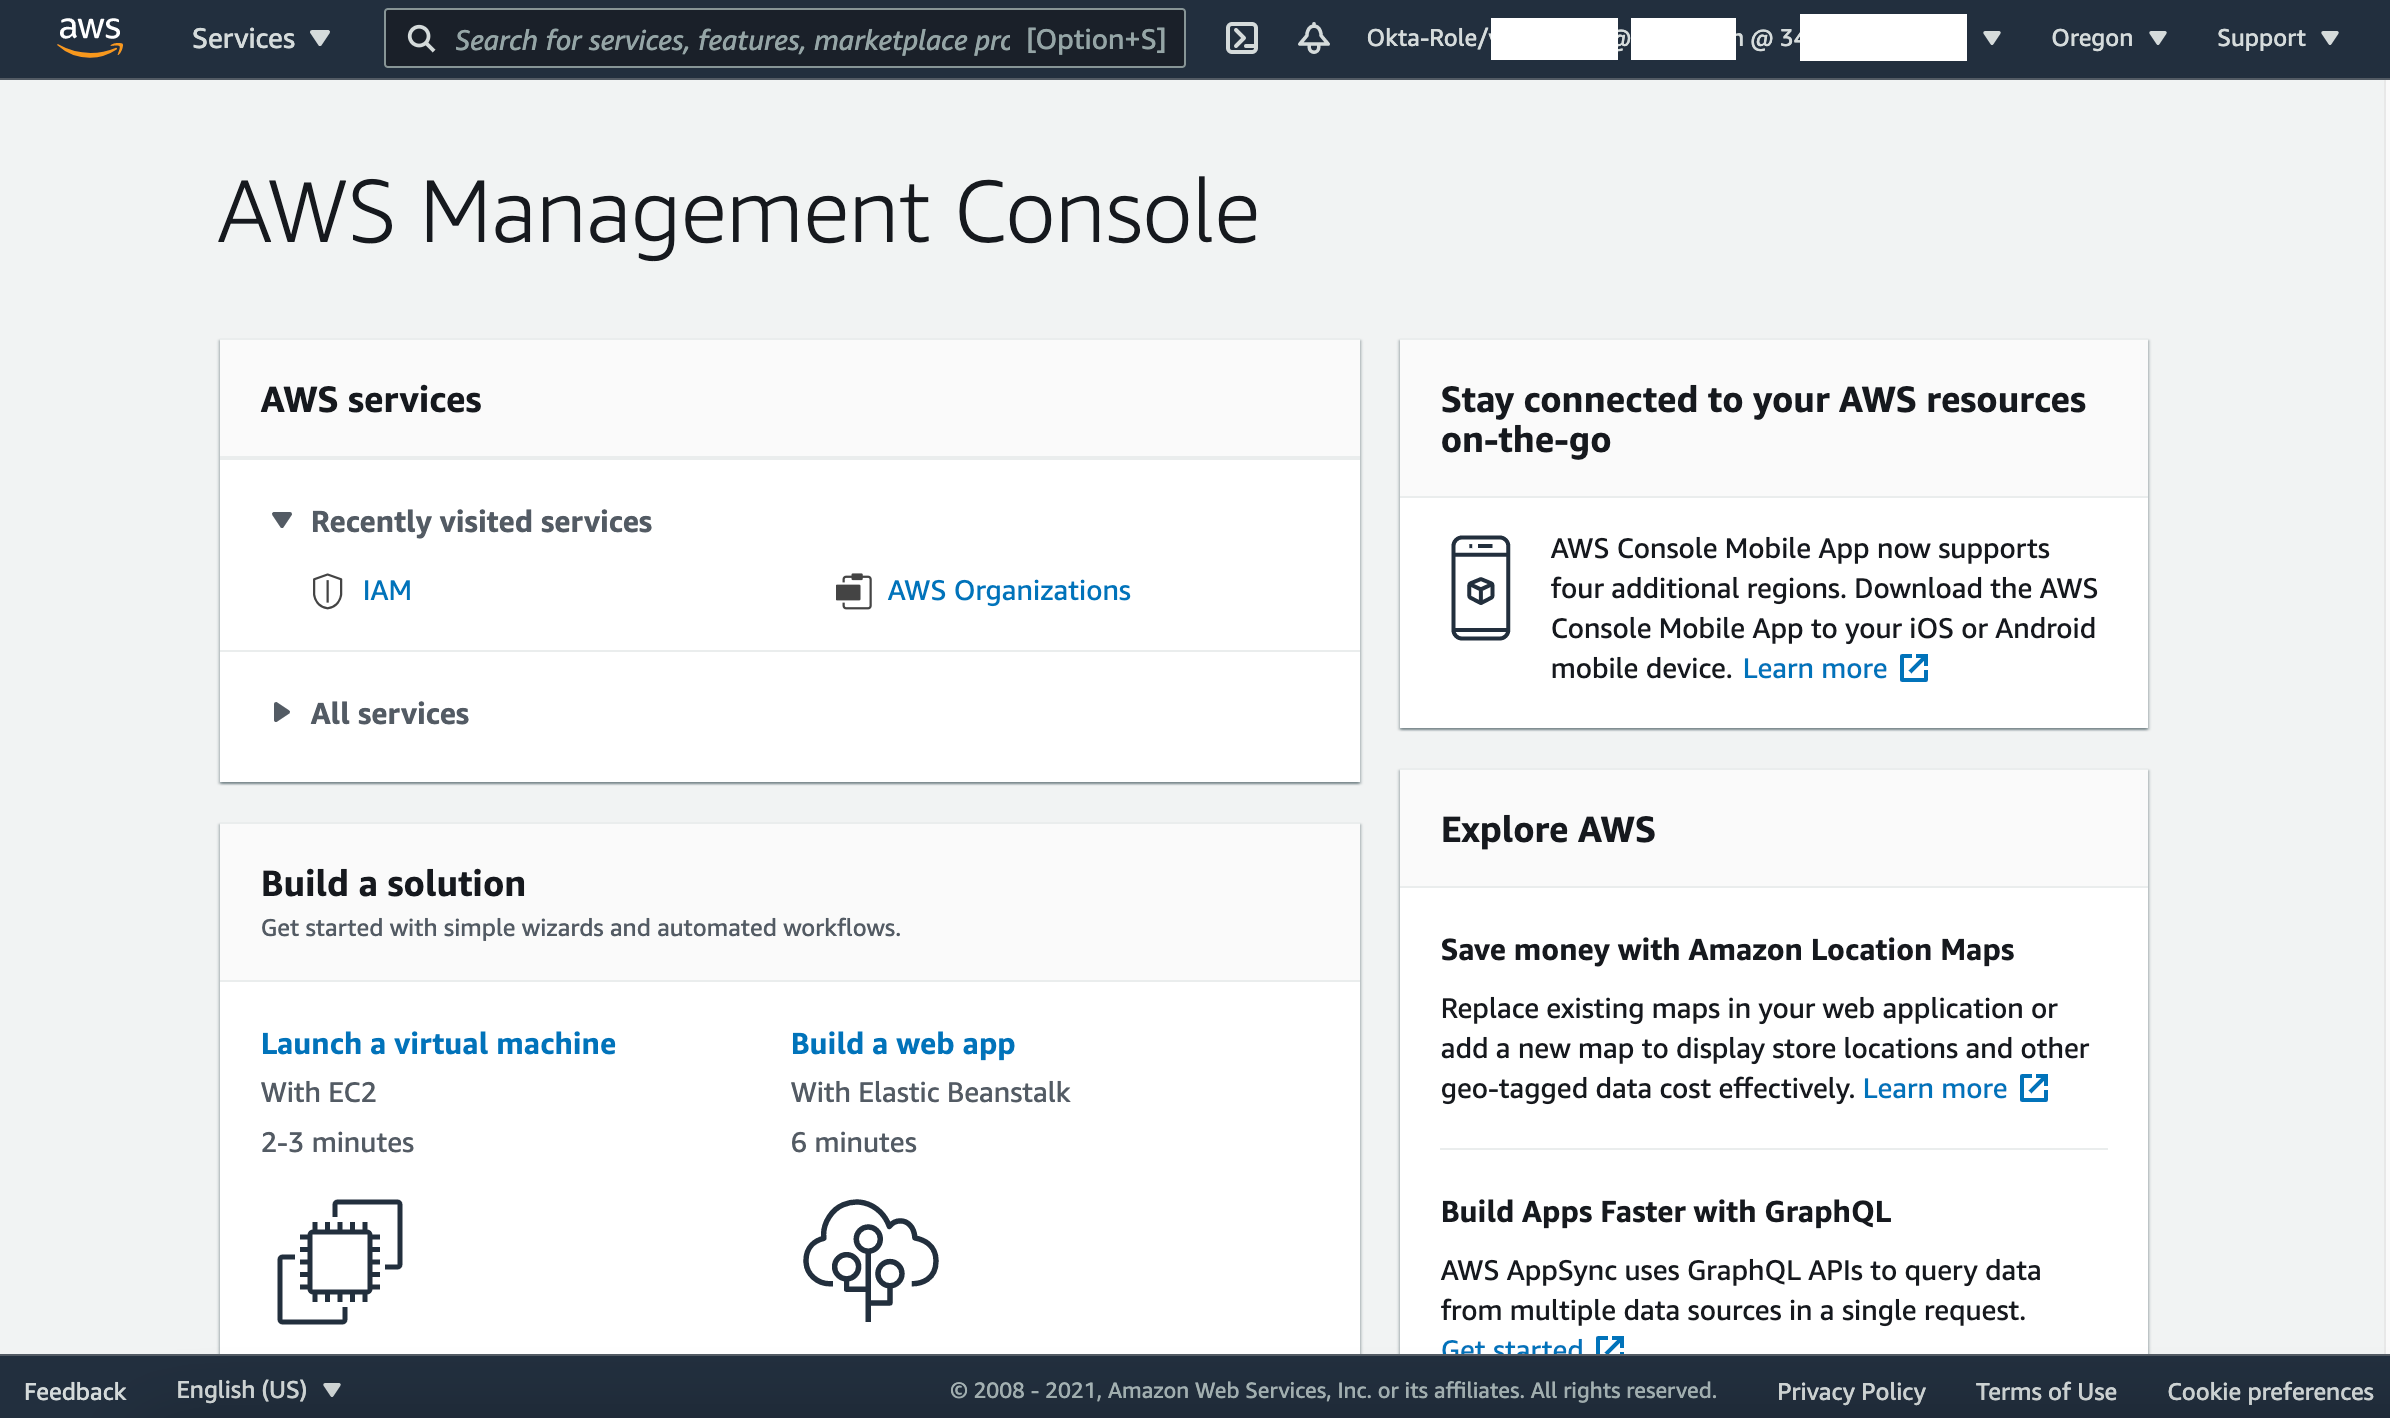
Then click on "AWS Account Federation" application icon (chiclet).

Success, you will be logged in successfully to your AWS Account Federation account!
Tips and Troubleshooting
- To get new list of AWS roles from AWS (use "Refresh Application Data" function)
- Reset the API connection
- Reset the AWS Account Federation assignment
- Other AWS error messages that might come up
To get new list of AWS roles from AWS (use "Refresh Application Data" function)
If you create another new IAM Role after setting up the API integration in Okta it does not get populated in Okta automatically. To get this new role, do the following:
Go to the Applications> Applications.
Click "More", and then click "Refresh Application Data".
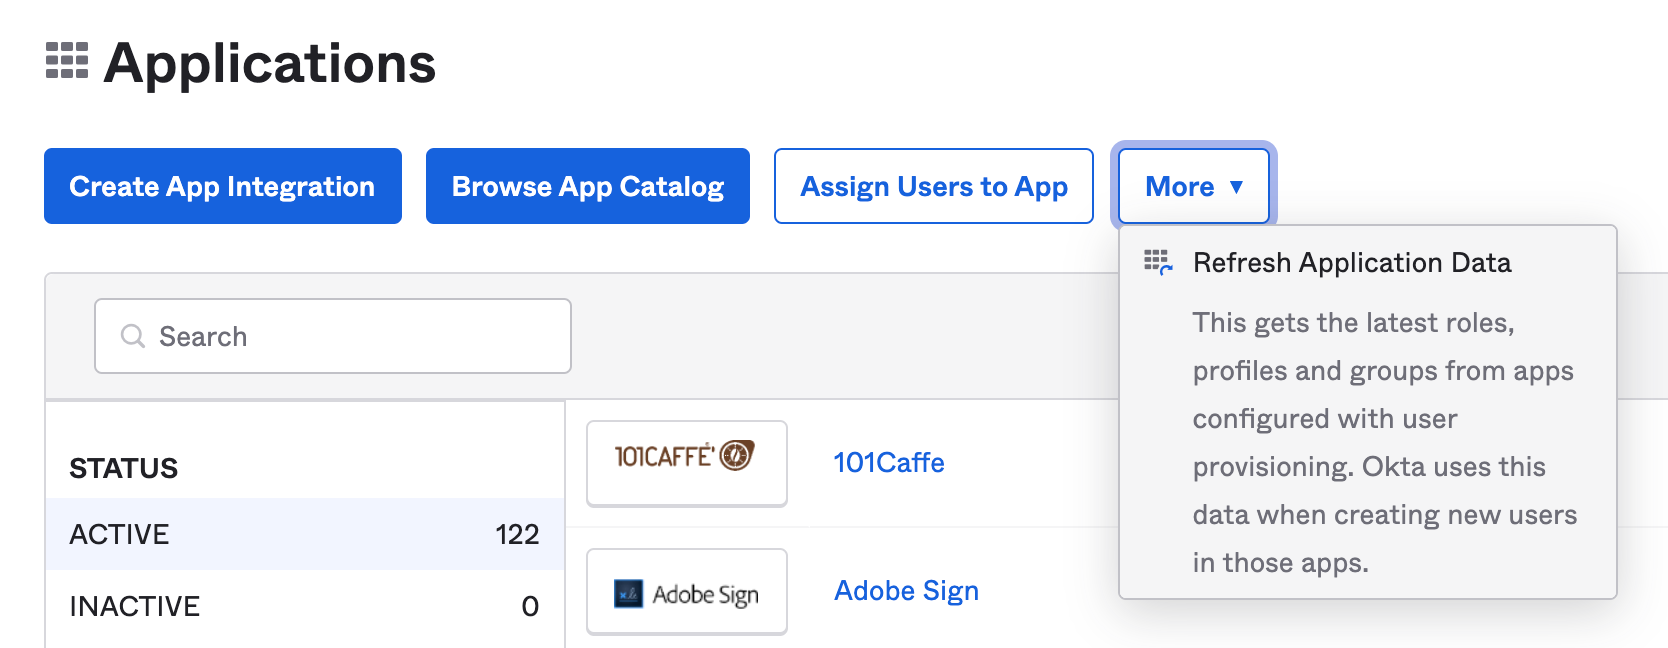
This downloads the latest roles, profiles and groups from apps configured with user provisioning. Okta uses this data when creating new users in those apps.
Amazon Web Services Sign In
Your request included an invalid SAML response. To logout, click here
Reset the API connection
Reset the AWS Account Federation assignment
"Identity Provider ARN"

"Role ARN"


Mapping error

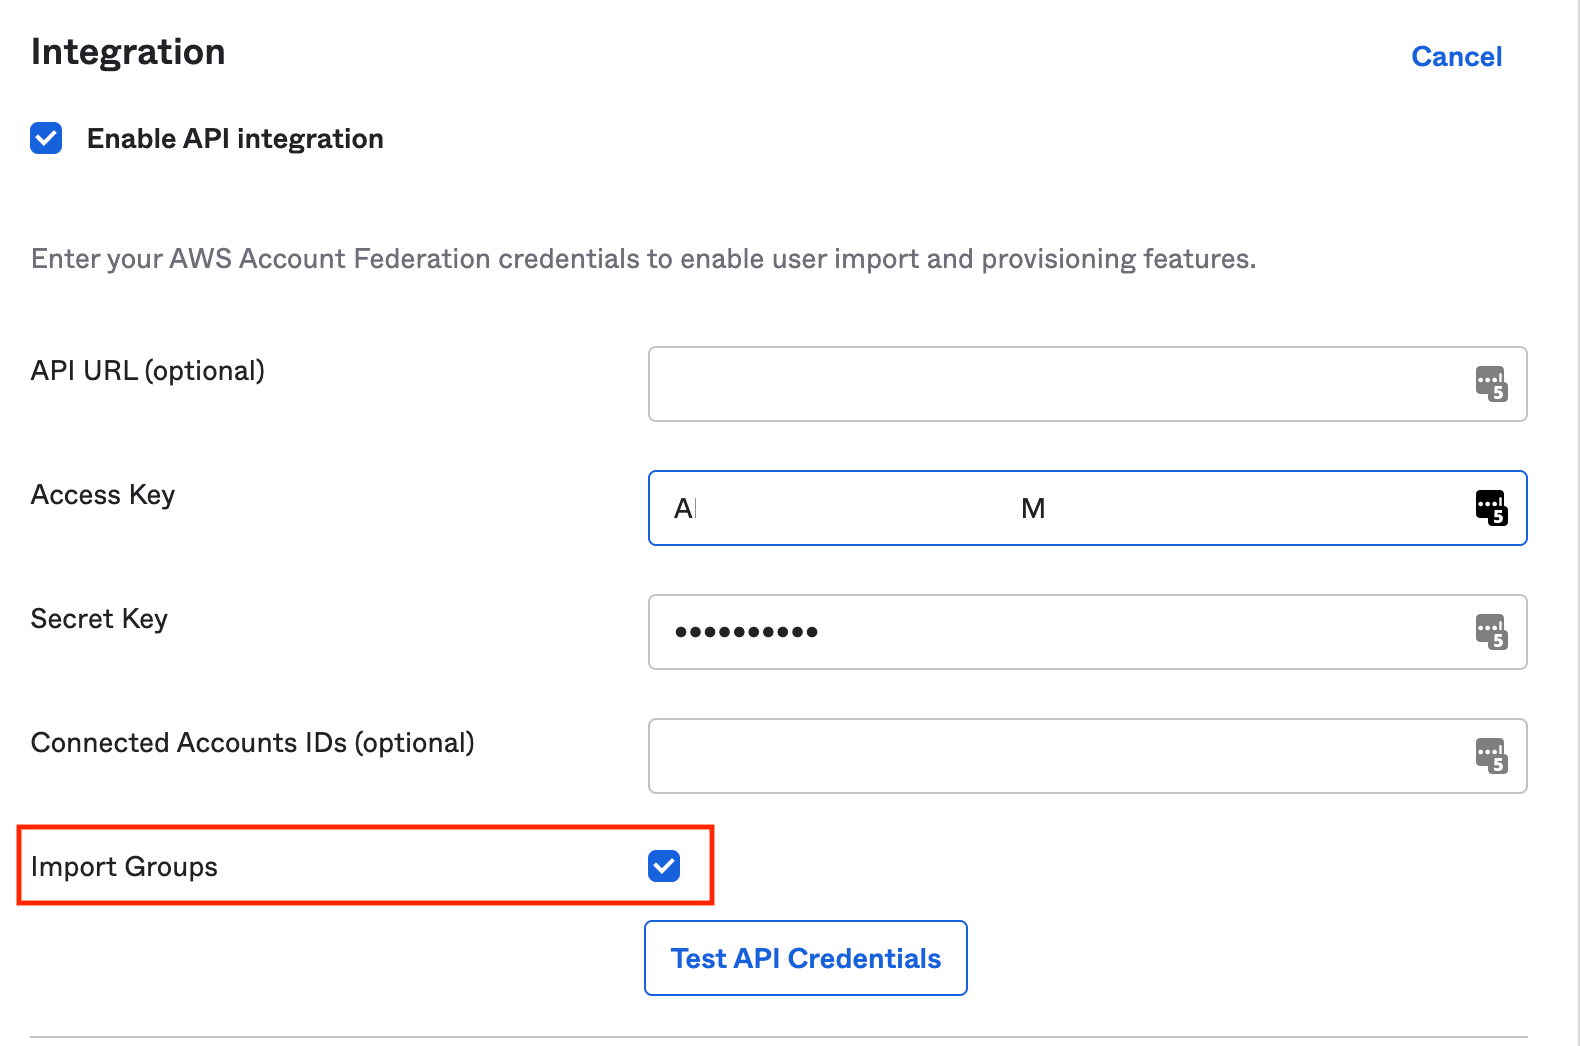
- Make sure you have enabled "Import Groups" to import Groups from AWS to Okta, in your "Okta> Application> AWS Account Federation > Provisioning> Integration> API Integration" settings.
- The issue was that there were differences in formatting between Active Directory group’s name and Okta Group Filter.
- Make sure you have added active directory user into the role groups, that’s why it prompts that no user can be set at a group level.
Tool - SAML Tracer
You can consider installing a SAML tracer in your Chrome or Firefox browser for testing. This allows you to see the SAML payloads being sent. So you open the SAML Tracer and click from your Okta SSO page, click on your app and it populates as the page loads. Similar to inspect element but specific for looking at SAML requests.
Chrome Extension - SAML Tracer
A debugger for viewing SAML messages
A tool for viewing SAML and WS-Federation messages sent through the browser during single sign-on and single logout.
Here's a couple of examples of what it captures.
Click the SAML row (It will be marked with "SAML" in orange)
Click on the "Summary" tab, and you will see the details summarised.

Click on the "SAML" tab, and you will see the raw SAML xml details.


