Here are the steps that I took to get set up with Cloudflare.
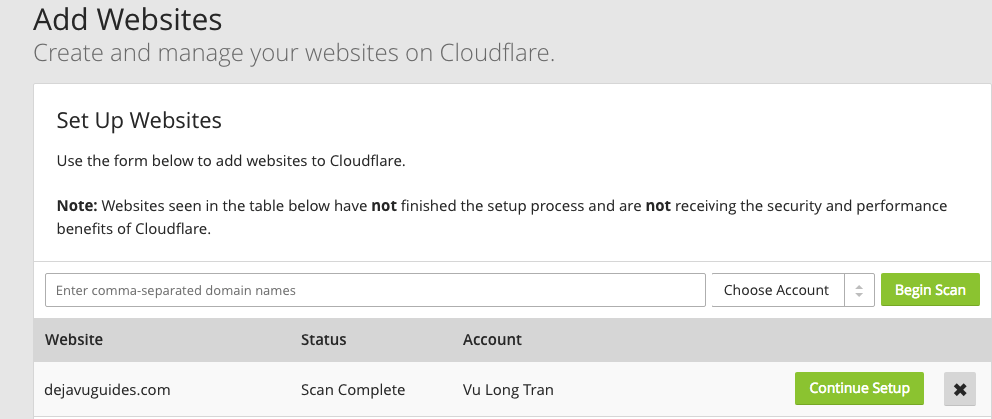
Step 1 - Add your website
Click on the "+Add Site" link
https://dash.cloudflare.com/add-site
Step 2 - Scanning records
Cloudflare will then scan your website. You will receive a "Scan Complete" confirmation once complete. Click on "Continue Setup" when you're ready to go to the next step.
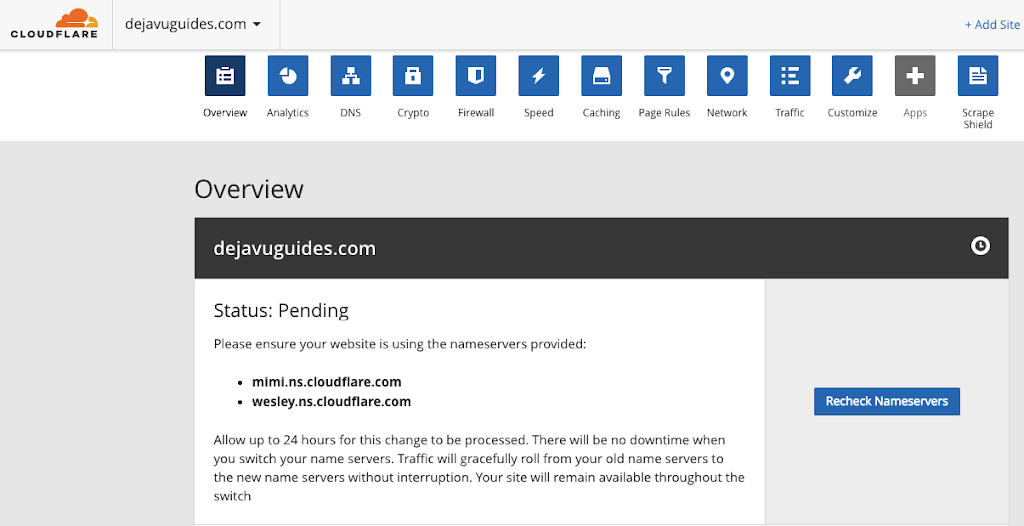
Step 3 - Configure your DNS Settings
This step involves changing your DNS settings.
Please visit your registrar's dashboard to change your nameservers displayed.

The transfer process can take up to 24 hours. There will be no downtime when you switch your name servers. Traffic will gracefully roll from your old name servers to the new name servers without interruption. Your site will remain available throughout the switch.
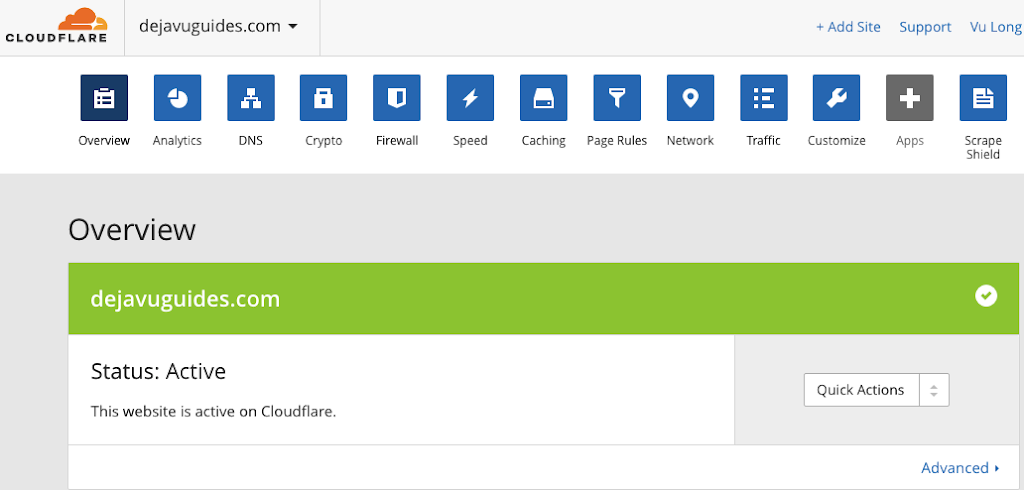
Step 4 - Wait, confirm that everything is setup and your website is live
Website is still live
Step 5 - Confirmation
You should then see no more references to "Status: Pending" once it is live.