

What is WSUS?
WSUS refers to "Windows Server Update Services" which is a software provided by Microsoft to help systems administrators to manage Windows and Microsoft products in a corporate environment.
Think of your Windows 10 computer updates, but for Windows servers and how you would want to manage the approval of updates, timing of updating, etc. within a centralised system.
Installing WSUS Server and managing your WSUS Clients with it
This is a guide on how to install WSUS Server on your Windows Server 2019 virtual machine, with the goal of connecting it to other servers so that you can manage the Windows updates for them.
The goal is for you to be able to confirm that your WSUS Server is connected to your WSUS Clients.
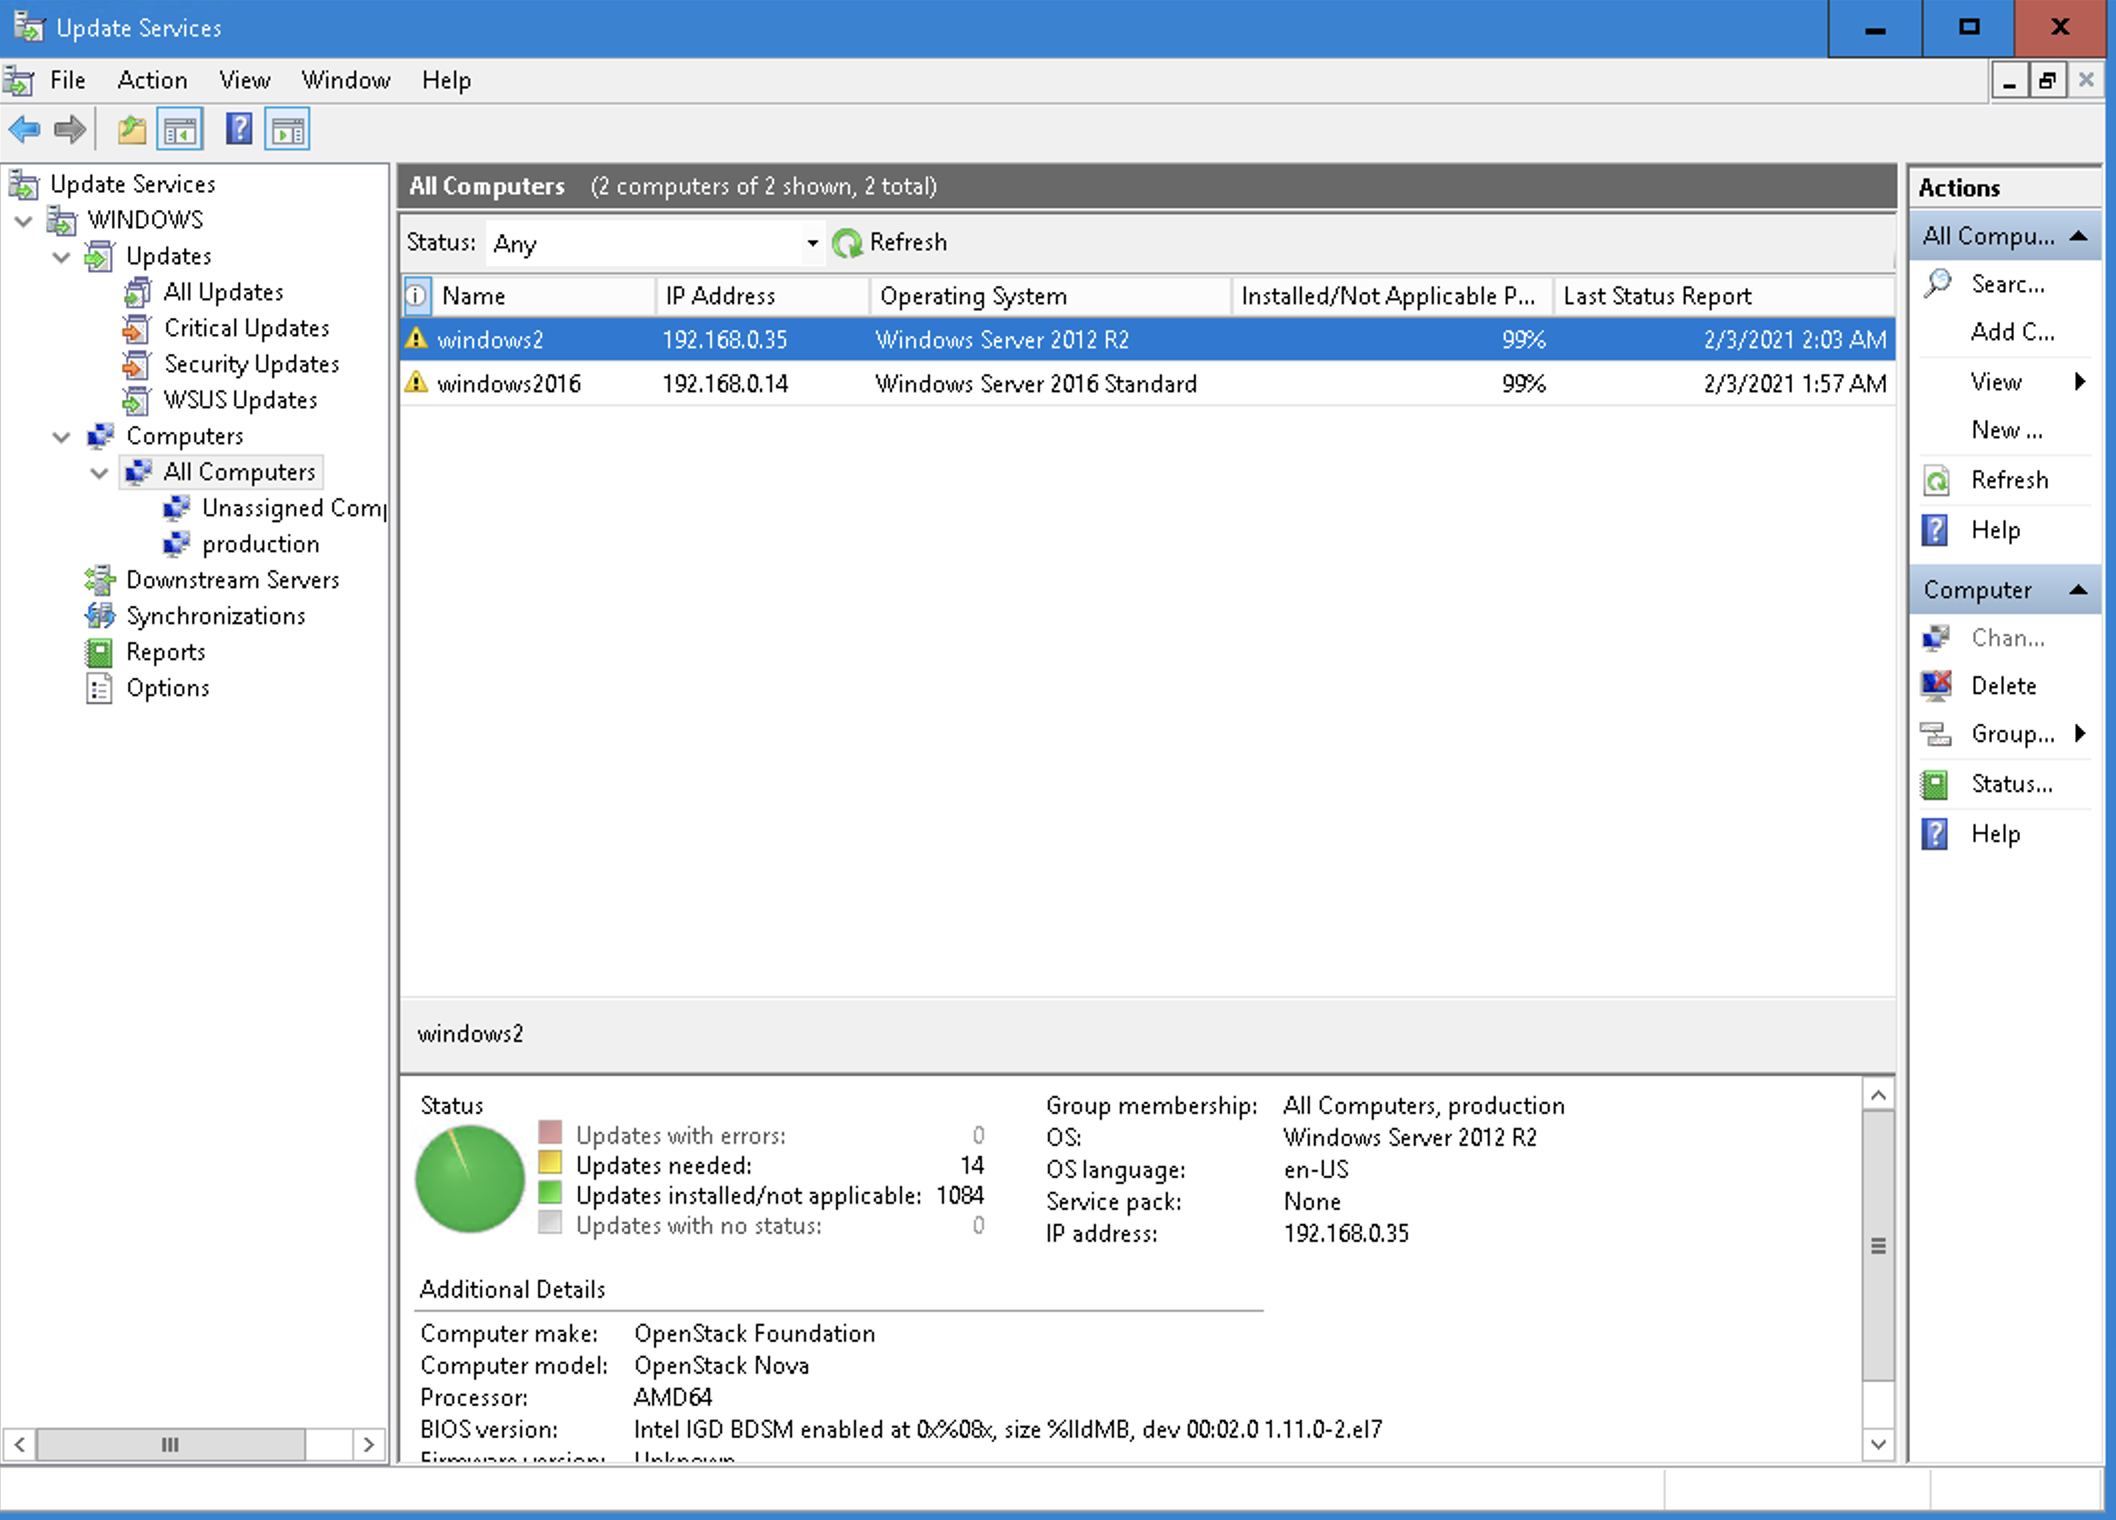
Just as in my example screenshot above where I have connected my WSUS Clients ("Windows Server 2012R2" and "Windows Server 2016 Standard") with my WSUS Server ("Windows Server 2019 Standard").
Great, so how do I get started?
How to install and manage your WSUS Server and WSUS Clients
0. Ensuring your WSUS Server has the min requirements
2. Configuring your WSUS Server
3. Assigning WSUS Clients to your WSUS Server
4. Start using WSUS Server to Approve and Deploy Updates
Appendix - Best practices/ troubleshooting
0. Ensuring your WSUS Server has the min requirements
Decide on the Windows server you would like to install your WSUS Server on. I am using Windows 2019 in this example, but you can use any Windows Server you prefer.
Ideally you will want to have enough compute power and hard drive storage to handle the requirements, as there will be cases where you may want to download a lot of updates to your WSUS Server. (I maxed out my 80 GB storage at one point so I would recommend at least 150-200 GB).
Here is what they list, though this is the bare minimum so I would suggest loading up a lot more.
- Processor: 1.4 gigahertz (GHz) x64 processor (2 Ghz or faster is recommended)
- Memory: WSUS requires an additional 2 GB of RAM more than what is required by the server and all other services or software.
- Available disk space: 40 GB or greater is recommended
- Network adapter: 100 megabits per second (Mbps) or greater (1GB is recommended)
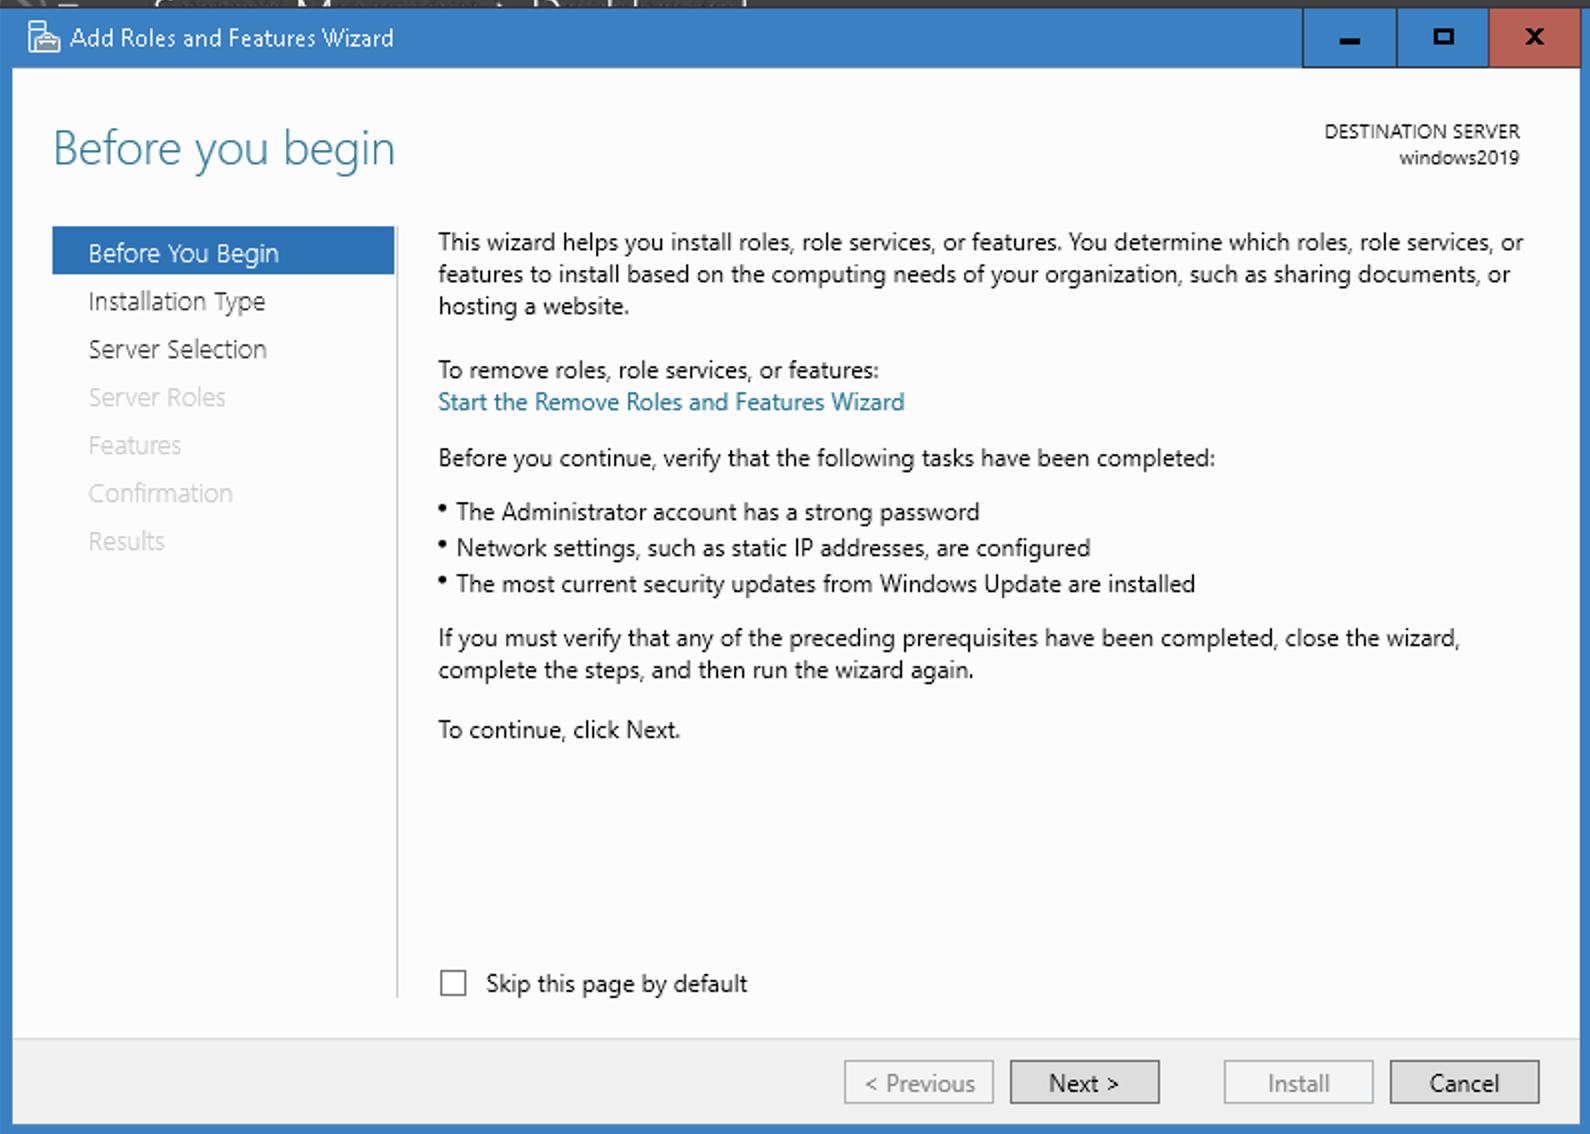
1. Install WSUS Server on your Windows Server
Open "Server Manager" on your Windows Server. 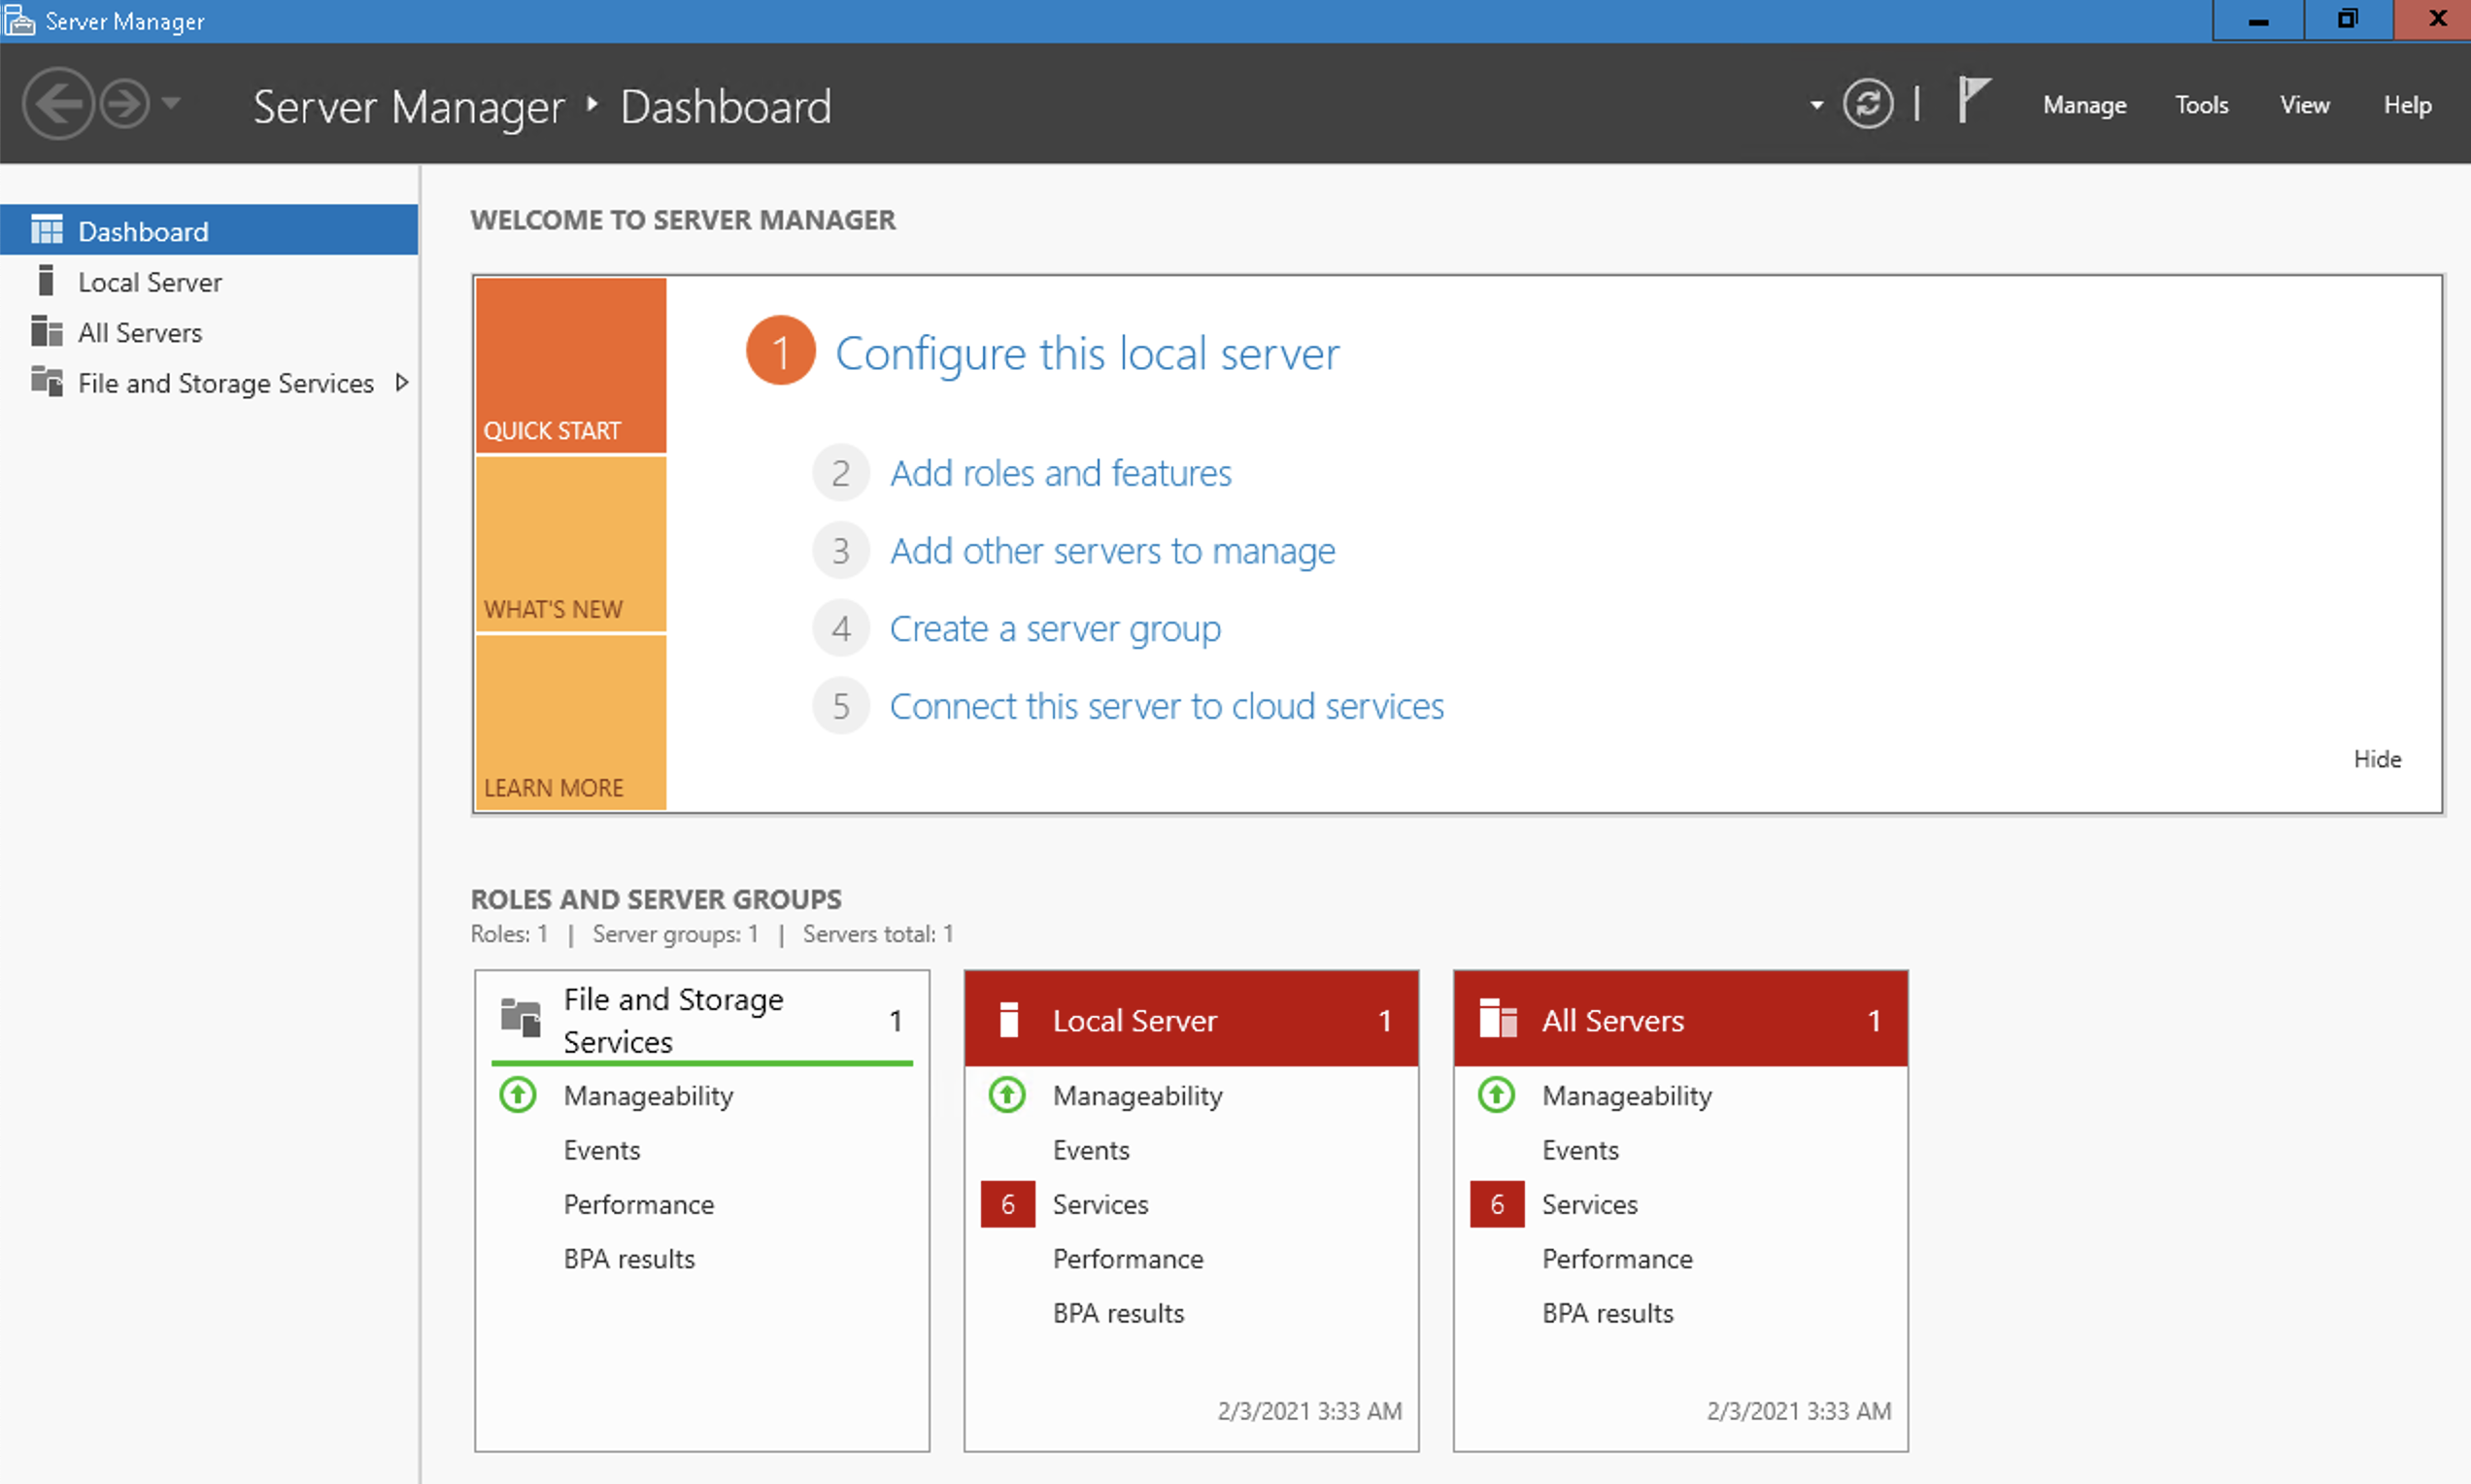
Click Add "Roles and Features".
Click "Next".
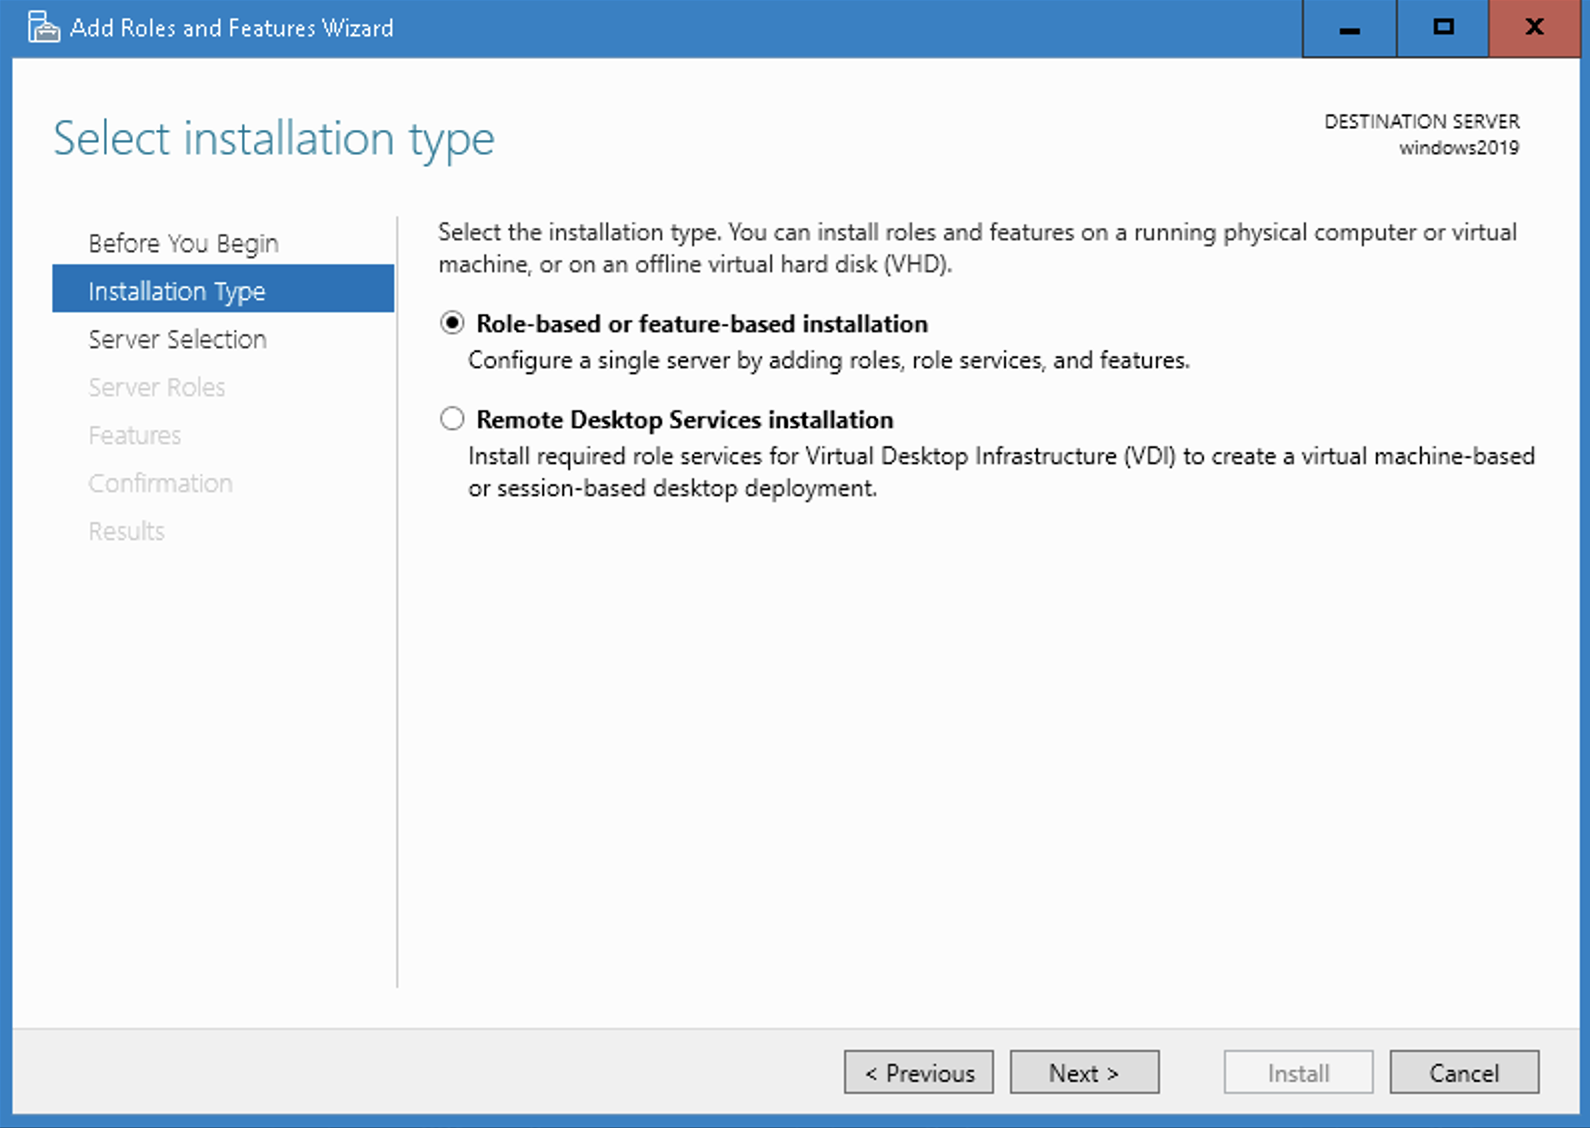
Confirm that "Role-based or feature-based installation" option is selected.
Click "Next".
Select location for your destination server. This will be your current machine or somewhere. Essentially you need to find and select where your current server is located (from a server pool or from a virtual hard disk).
Click "Next".

You will be presented with a bunch of options and checklists, find and select "Windows Server Update Services".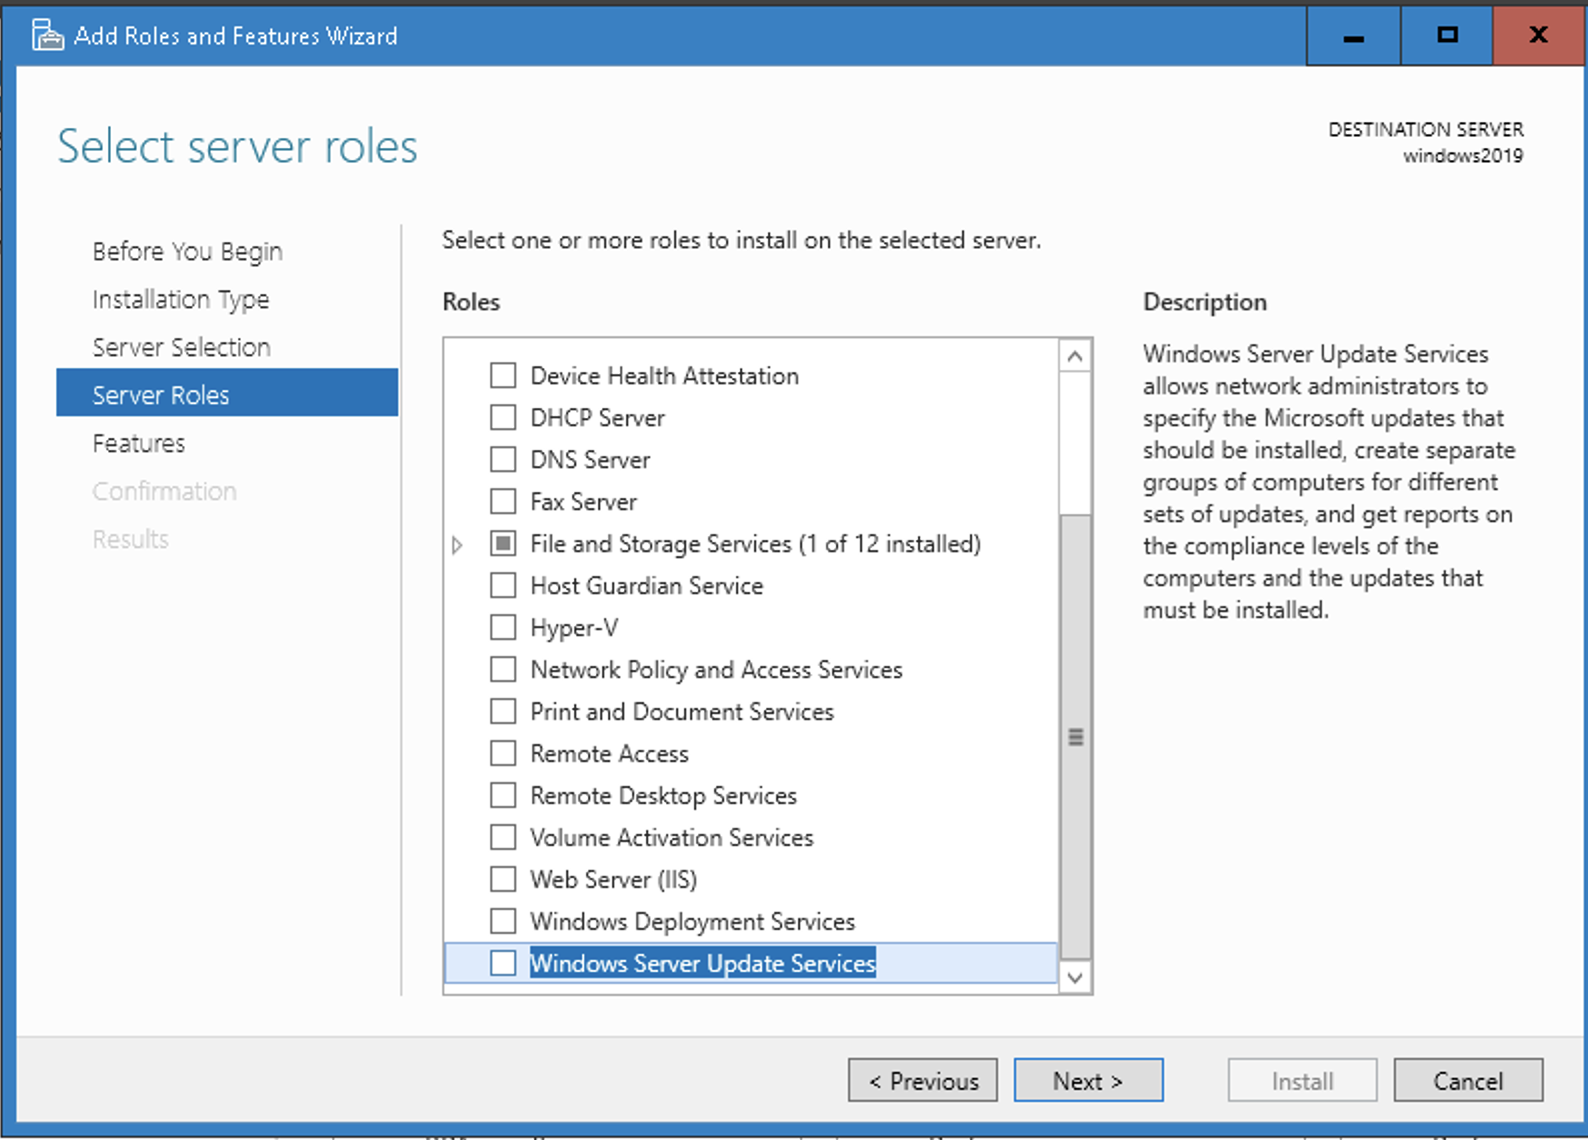
You will be presented a "Add Roles and Features Wizard" pop up box.
Click "Add Features". Leave this, you can safely accept the default values. 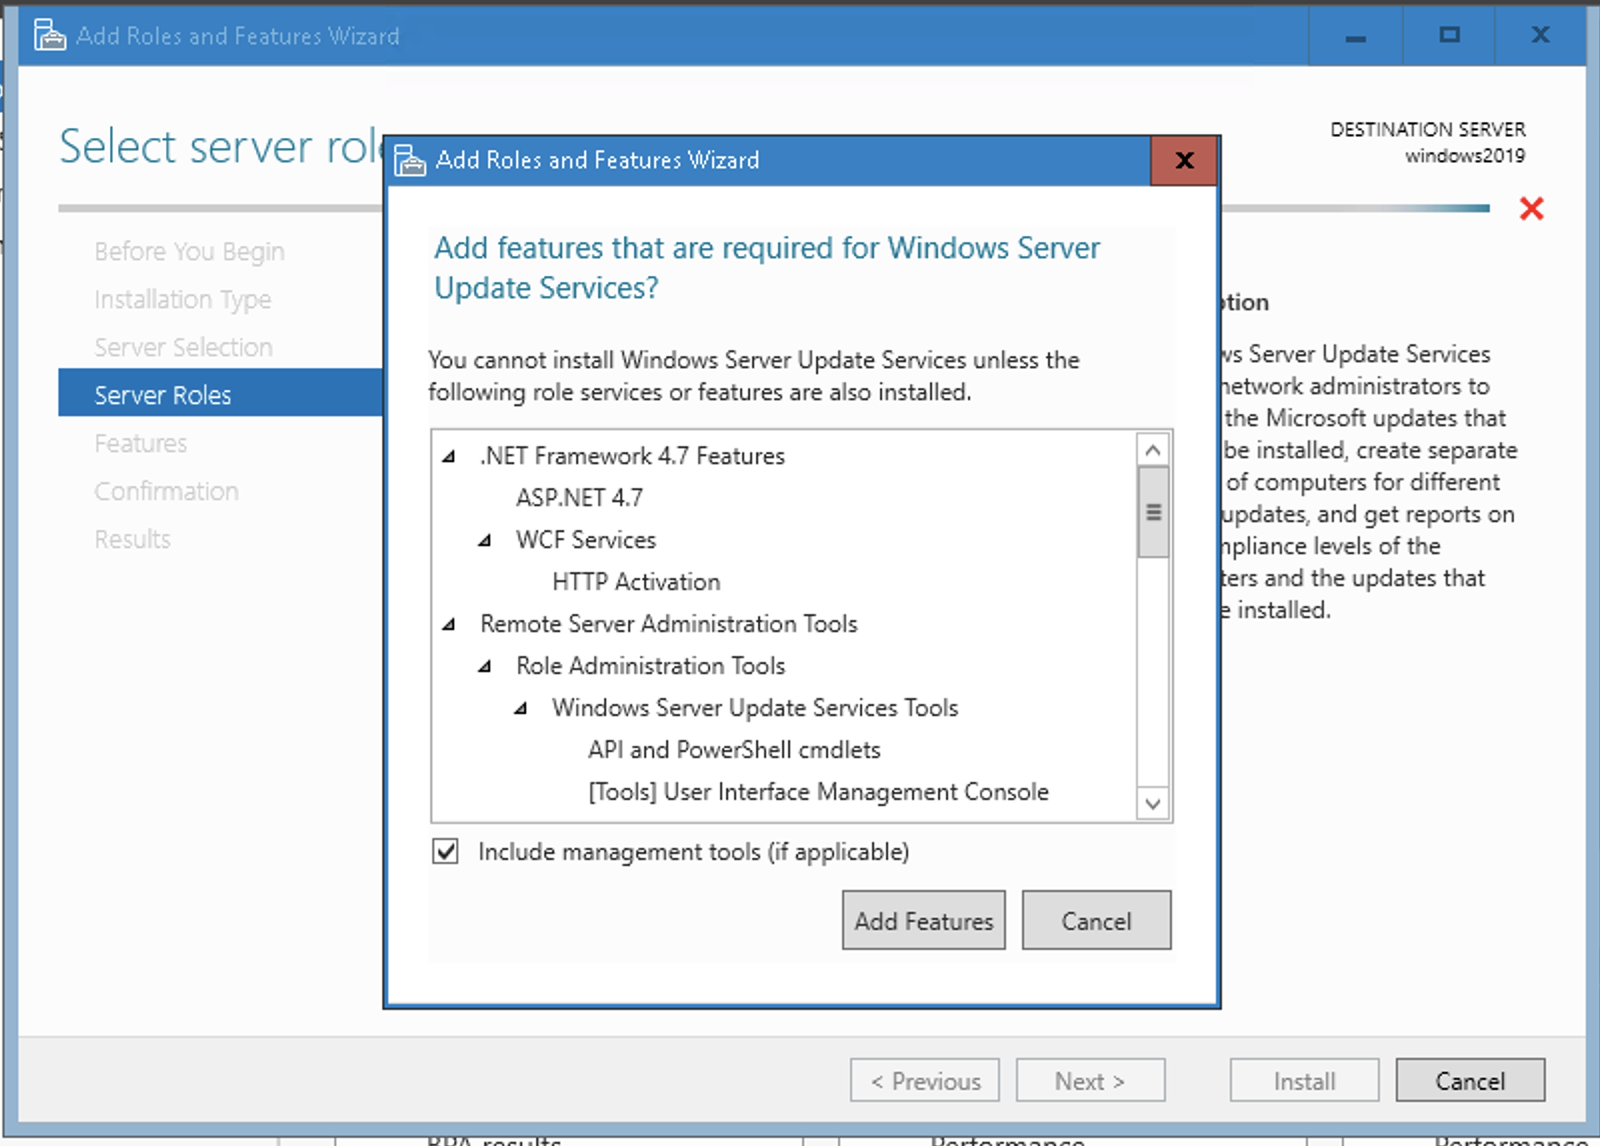
Click "Next".
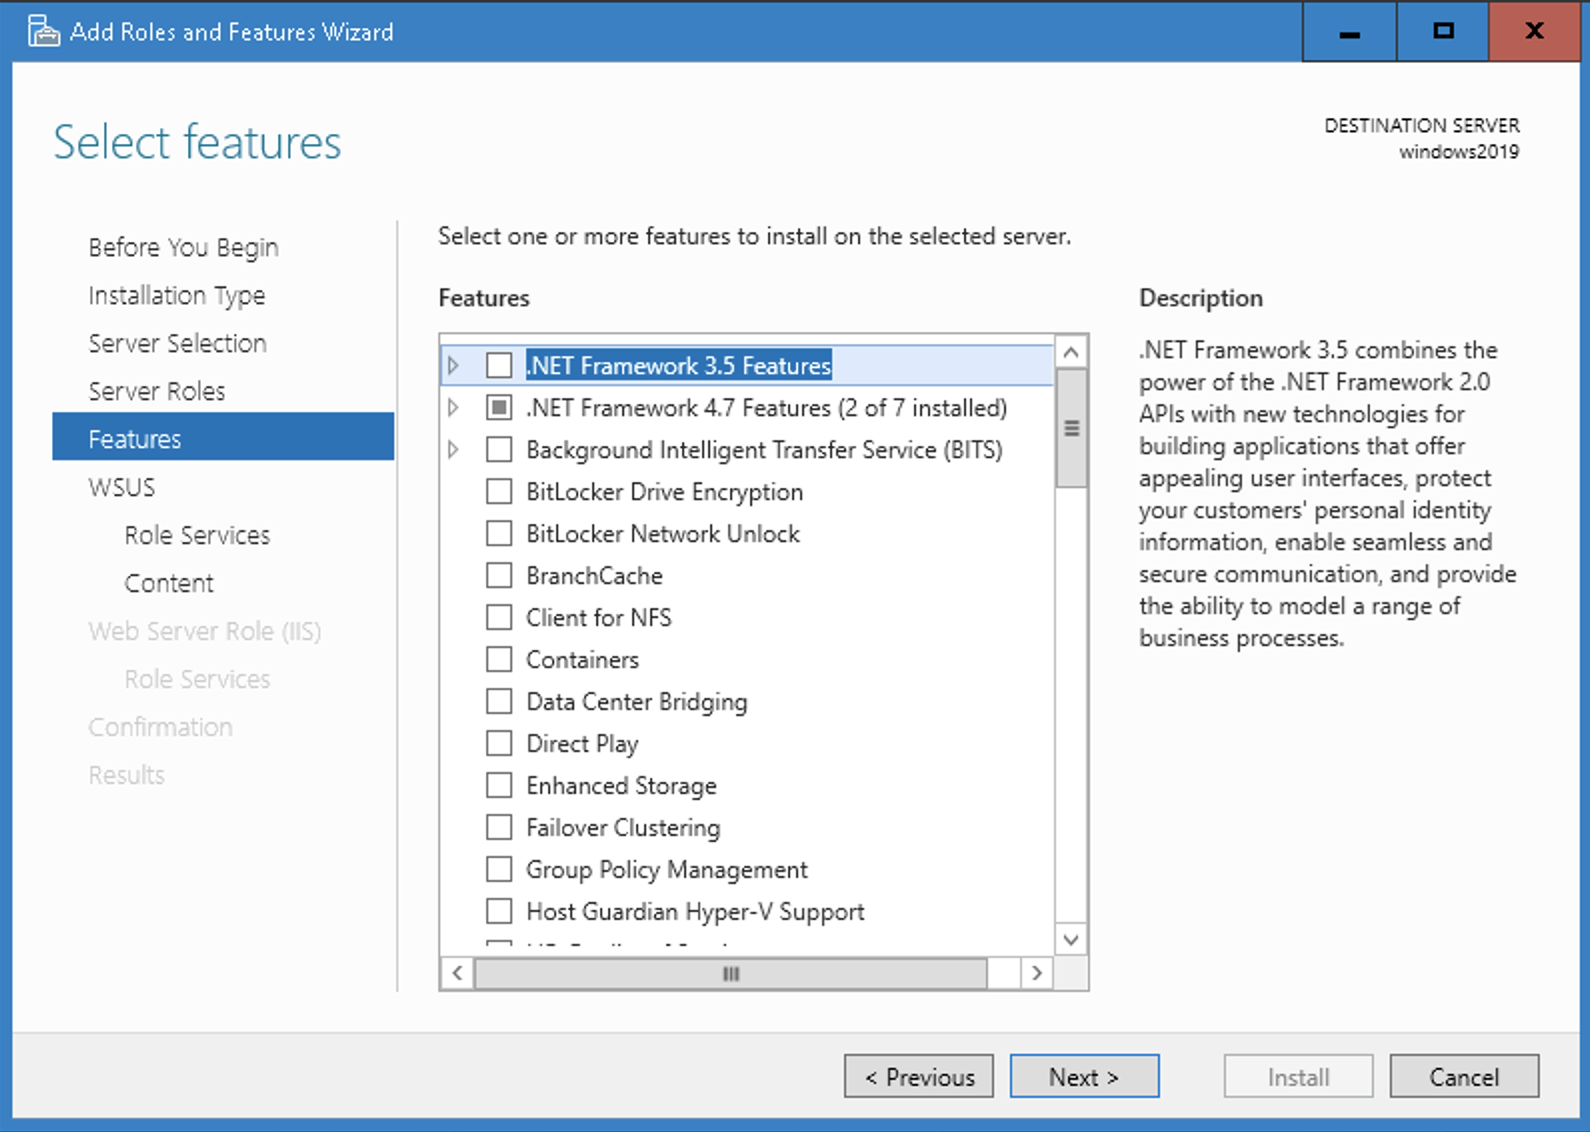
On the "Select Features" page, select features and click "Next".
On the Role Services page, leave the default selections.
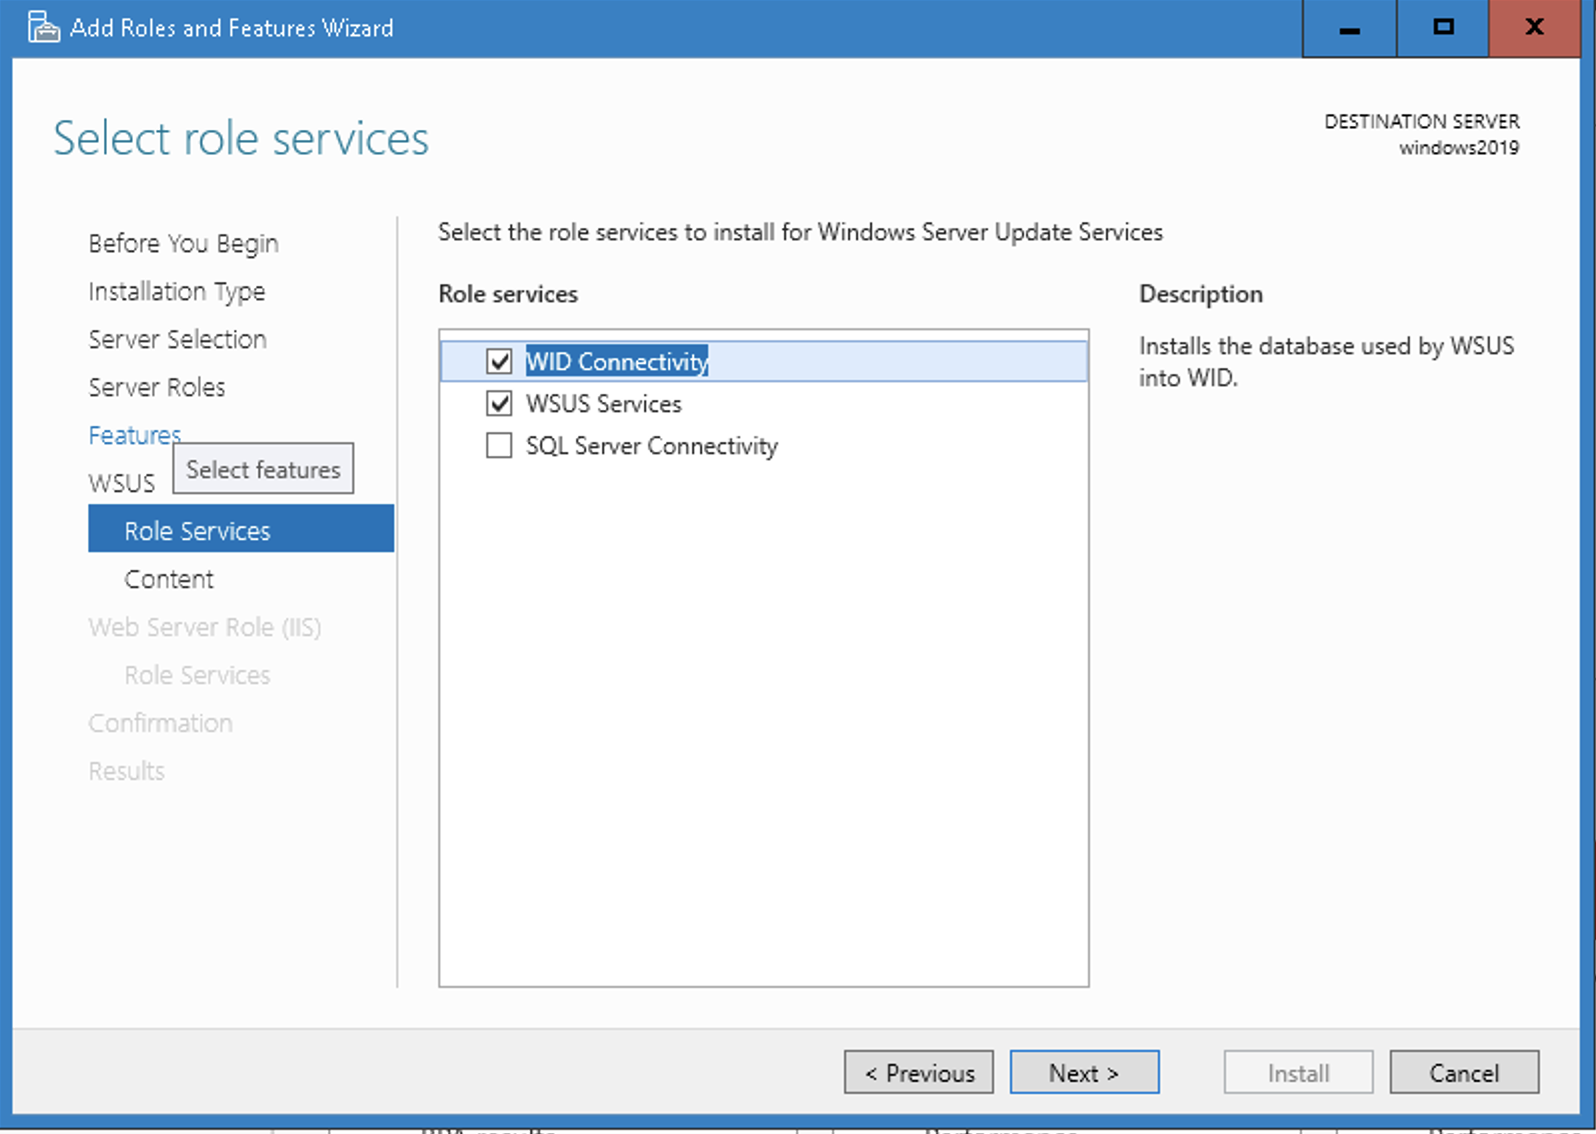
Click "Next"
On the Content location selection page, type a valid location to store the updates. E.g. C:\WSUS.
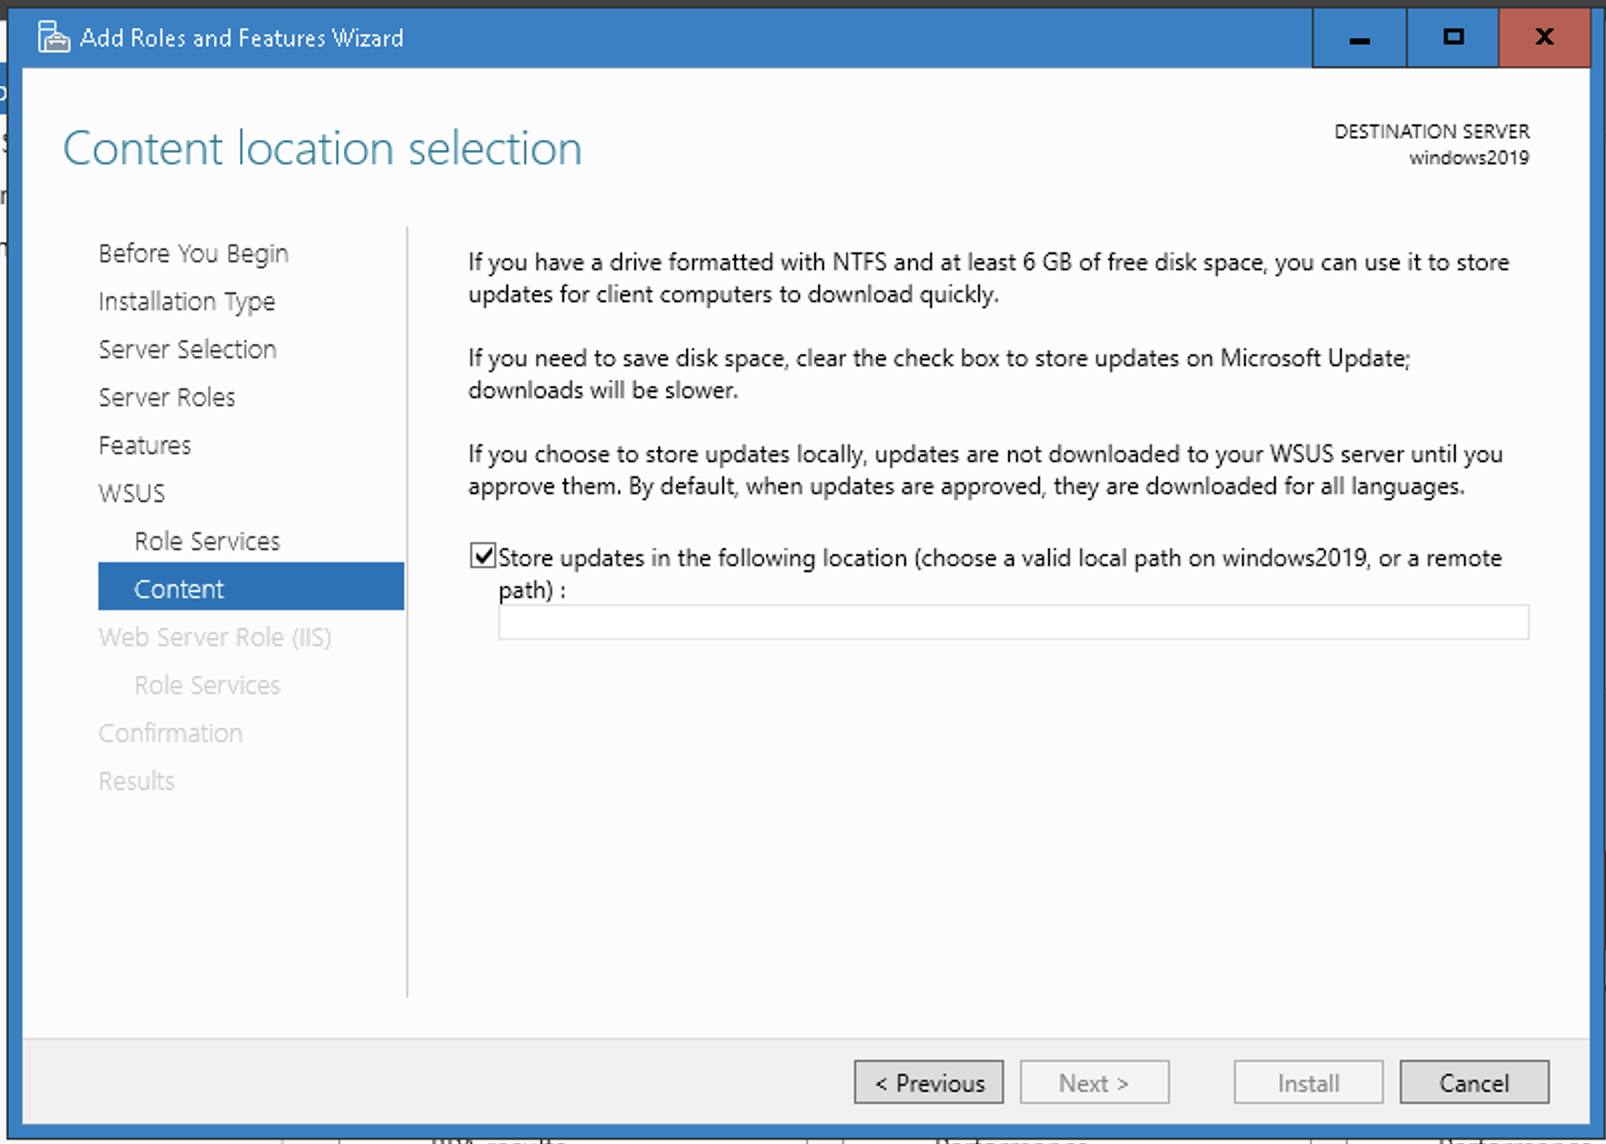
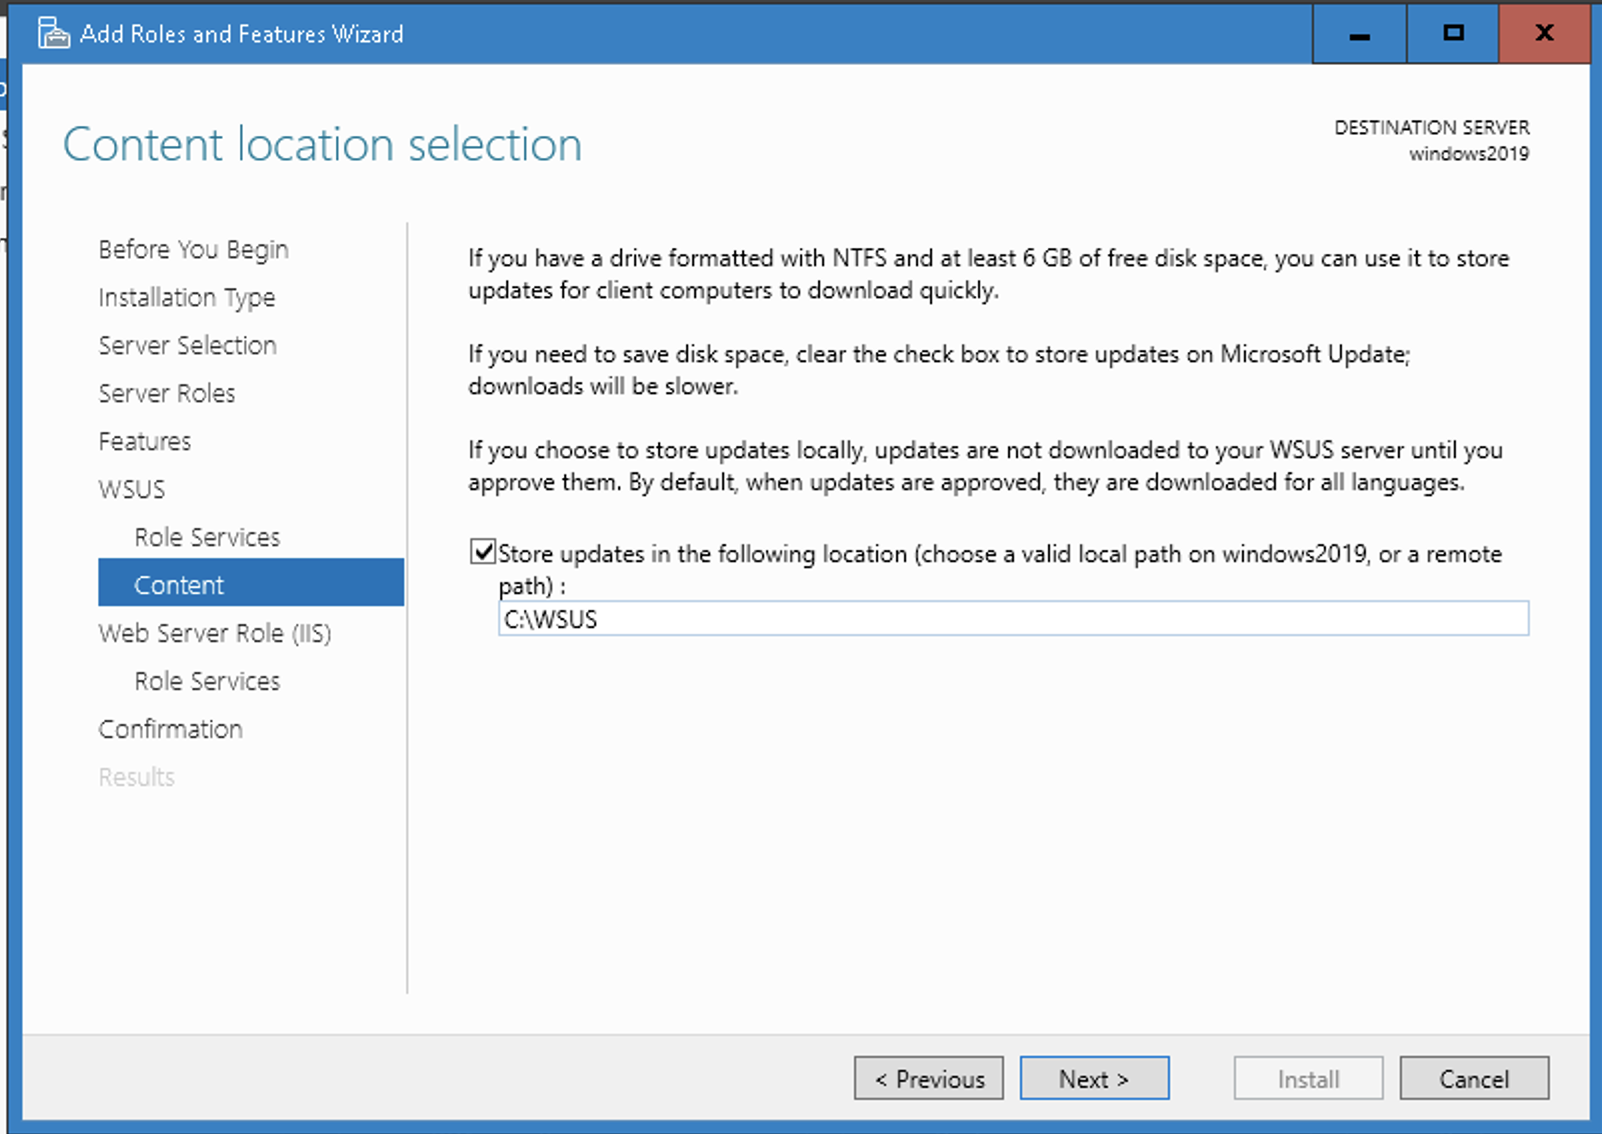
Click "Next".
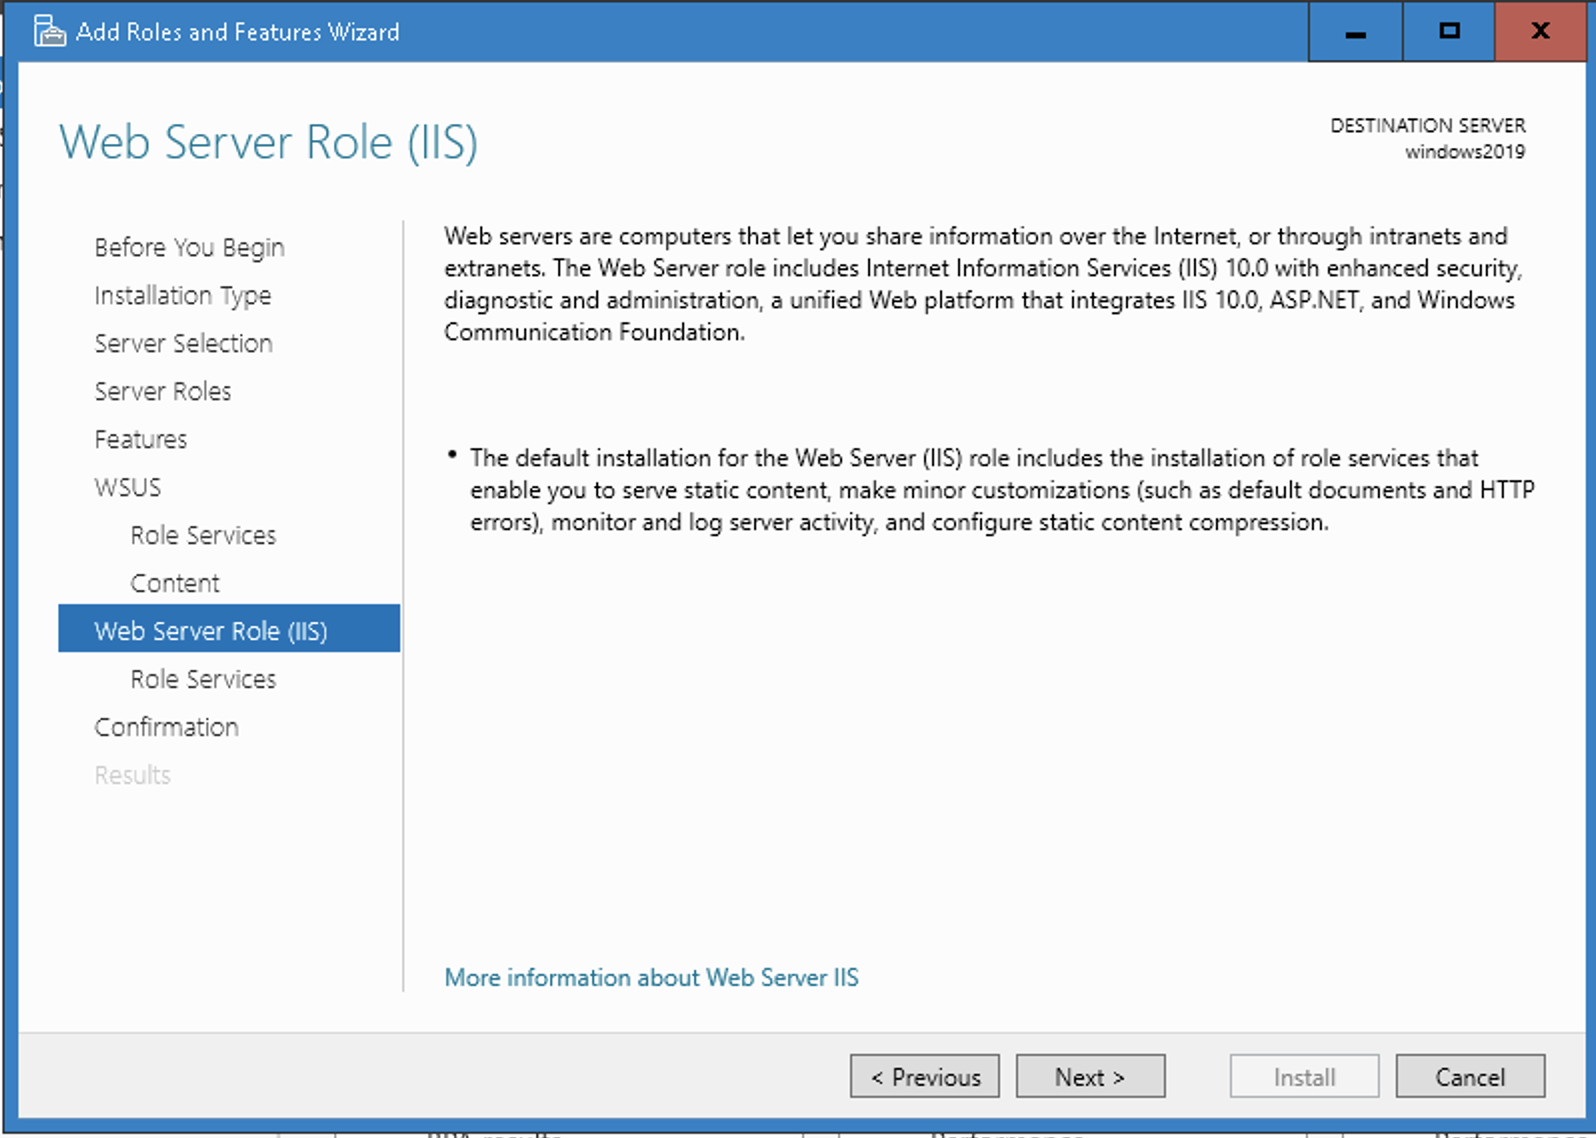
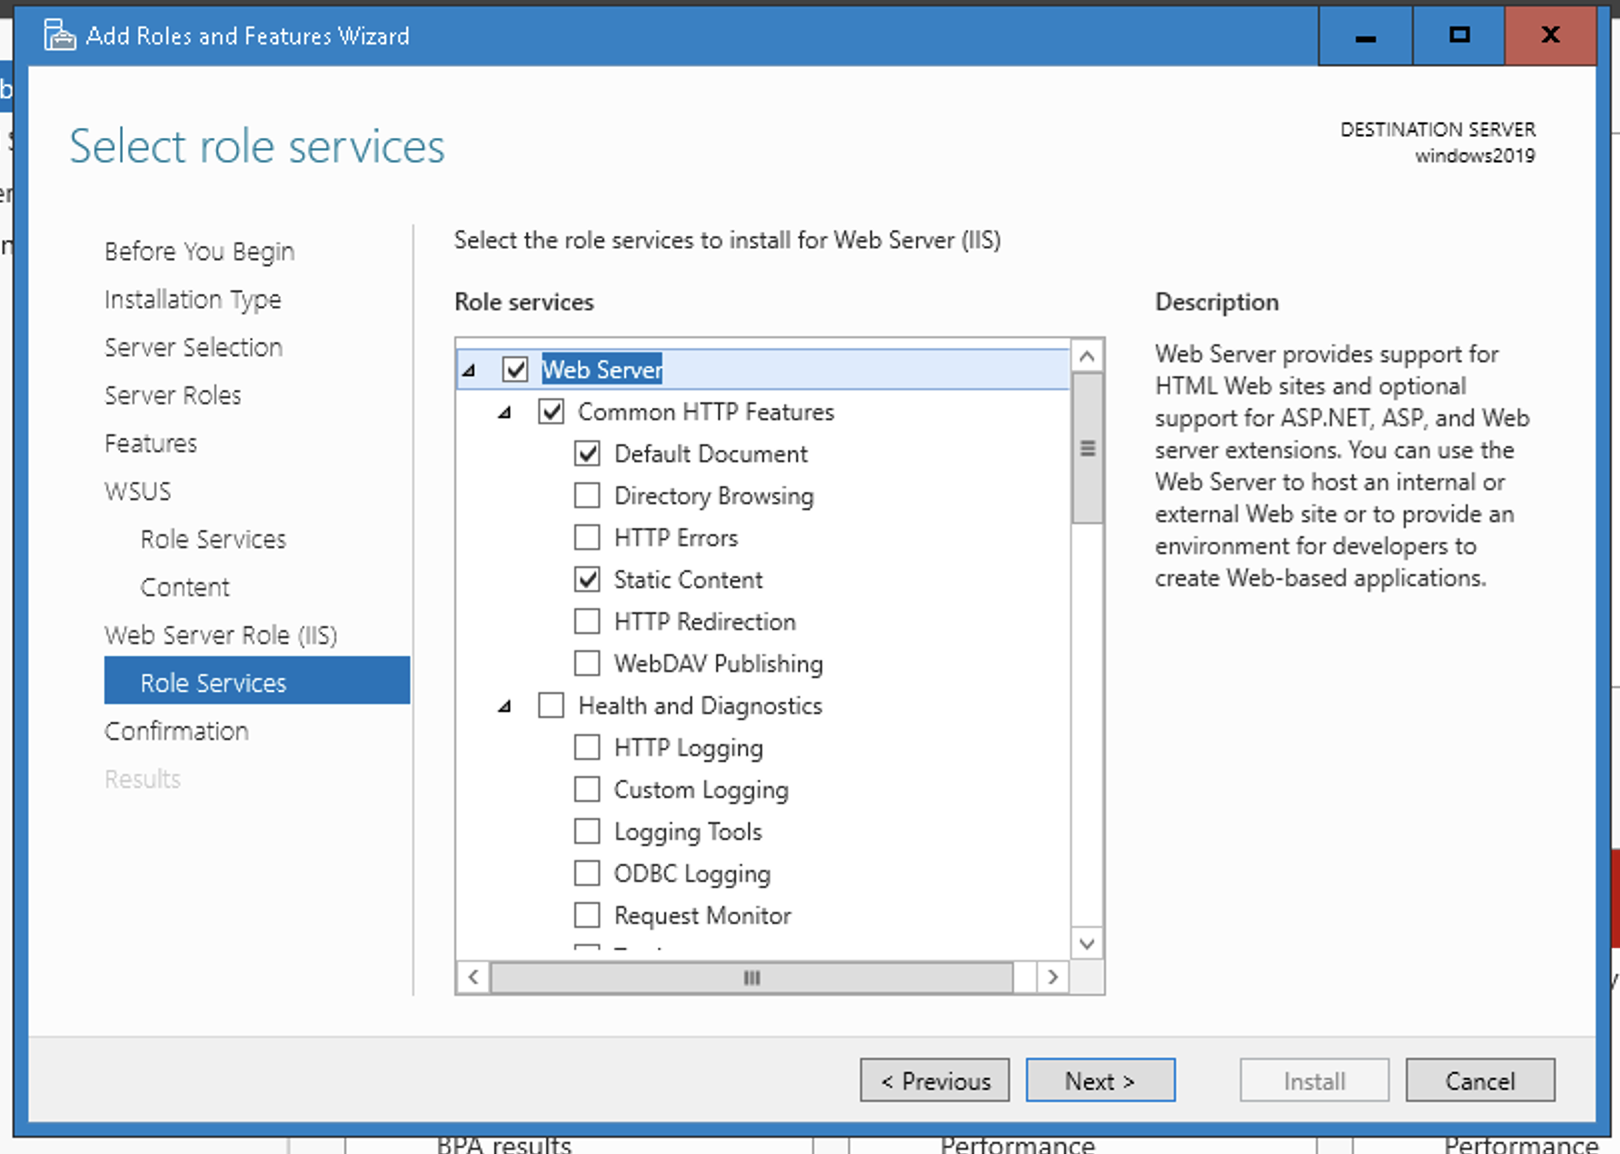
The Web Server Role (IIS) page opens. Review the information, and then click "Next". In select the role services to install for Web Server (IIS), retain the defaults, and then click "Next".
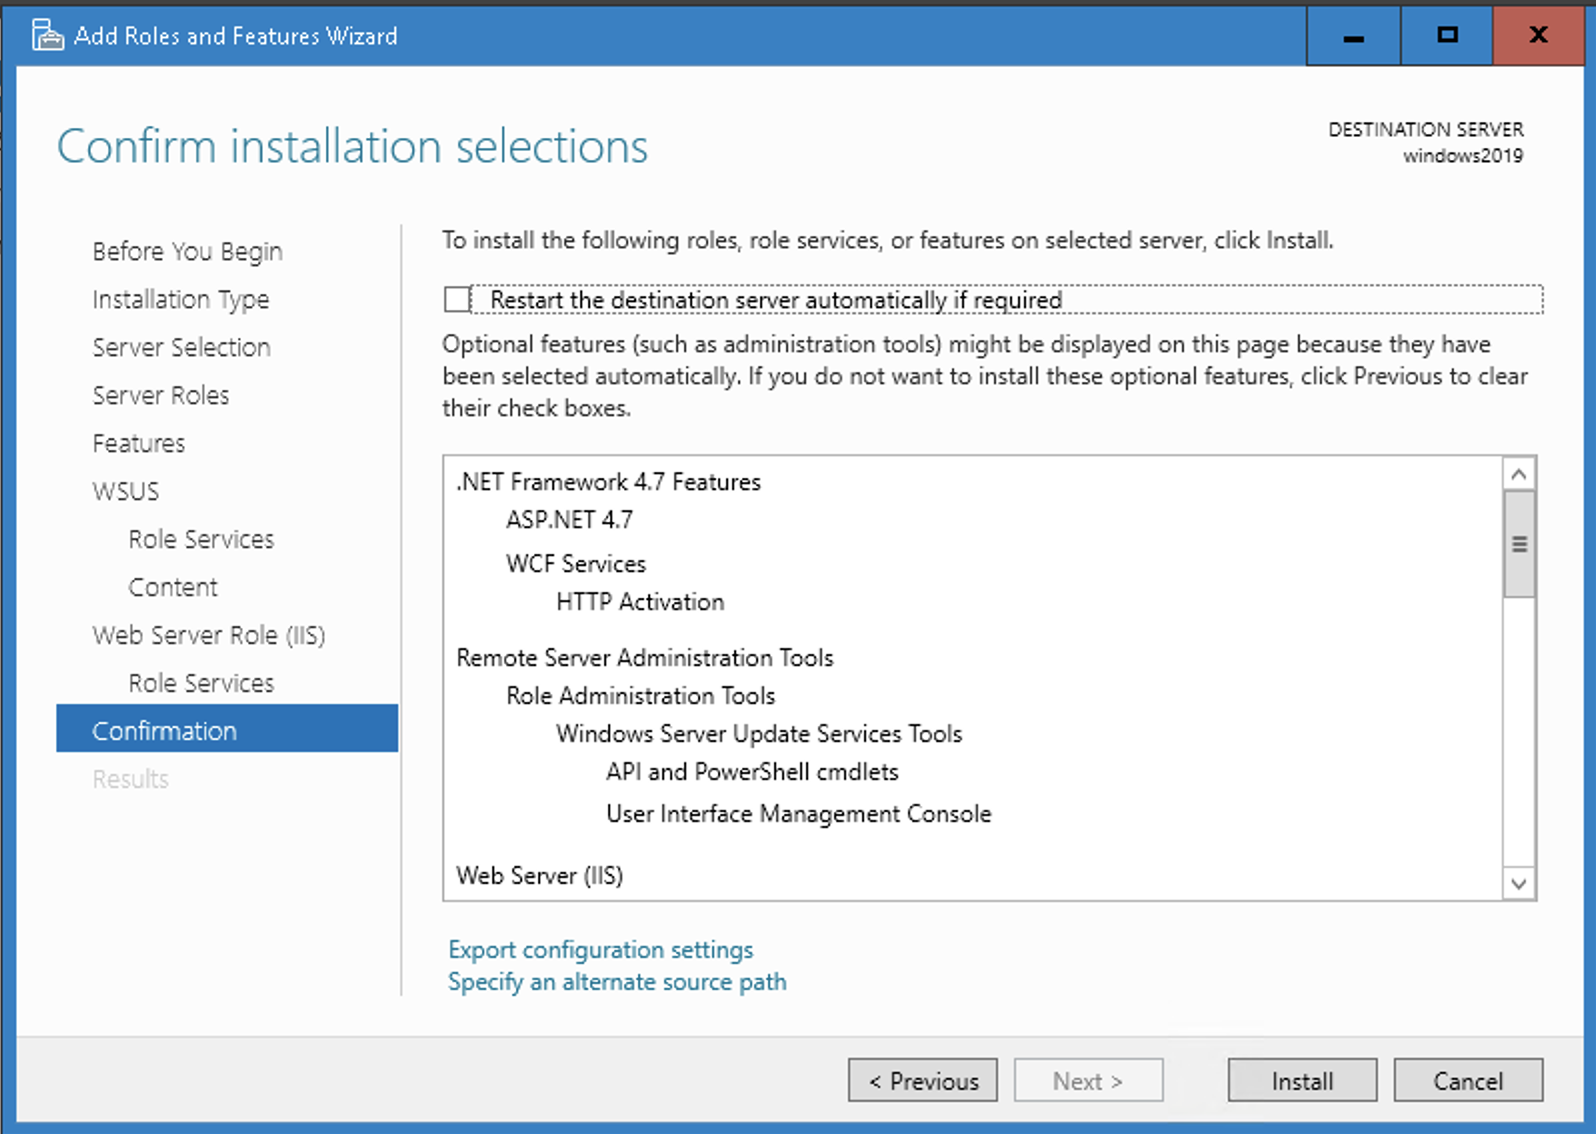
On the Confirm installation selections page, review the selected options, and when you are ready, click "Install".
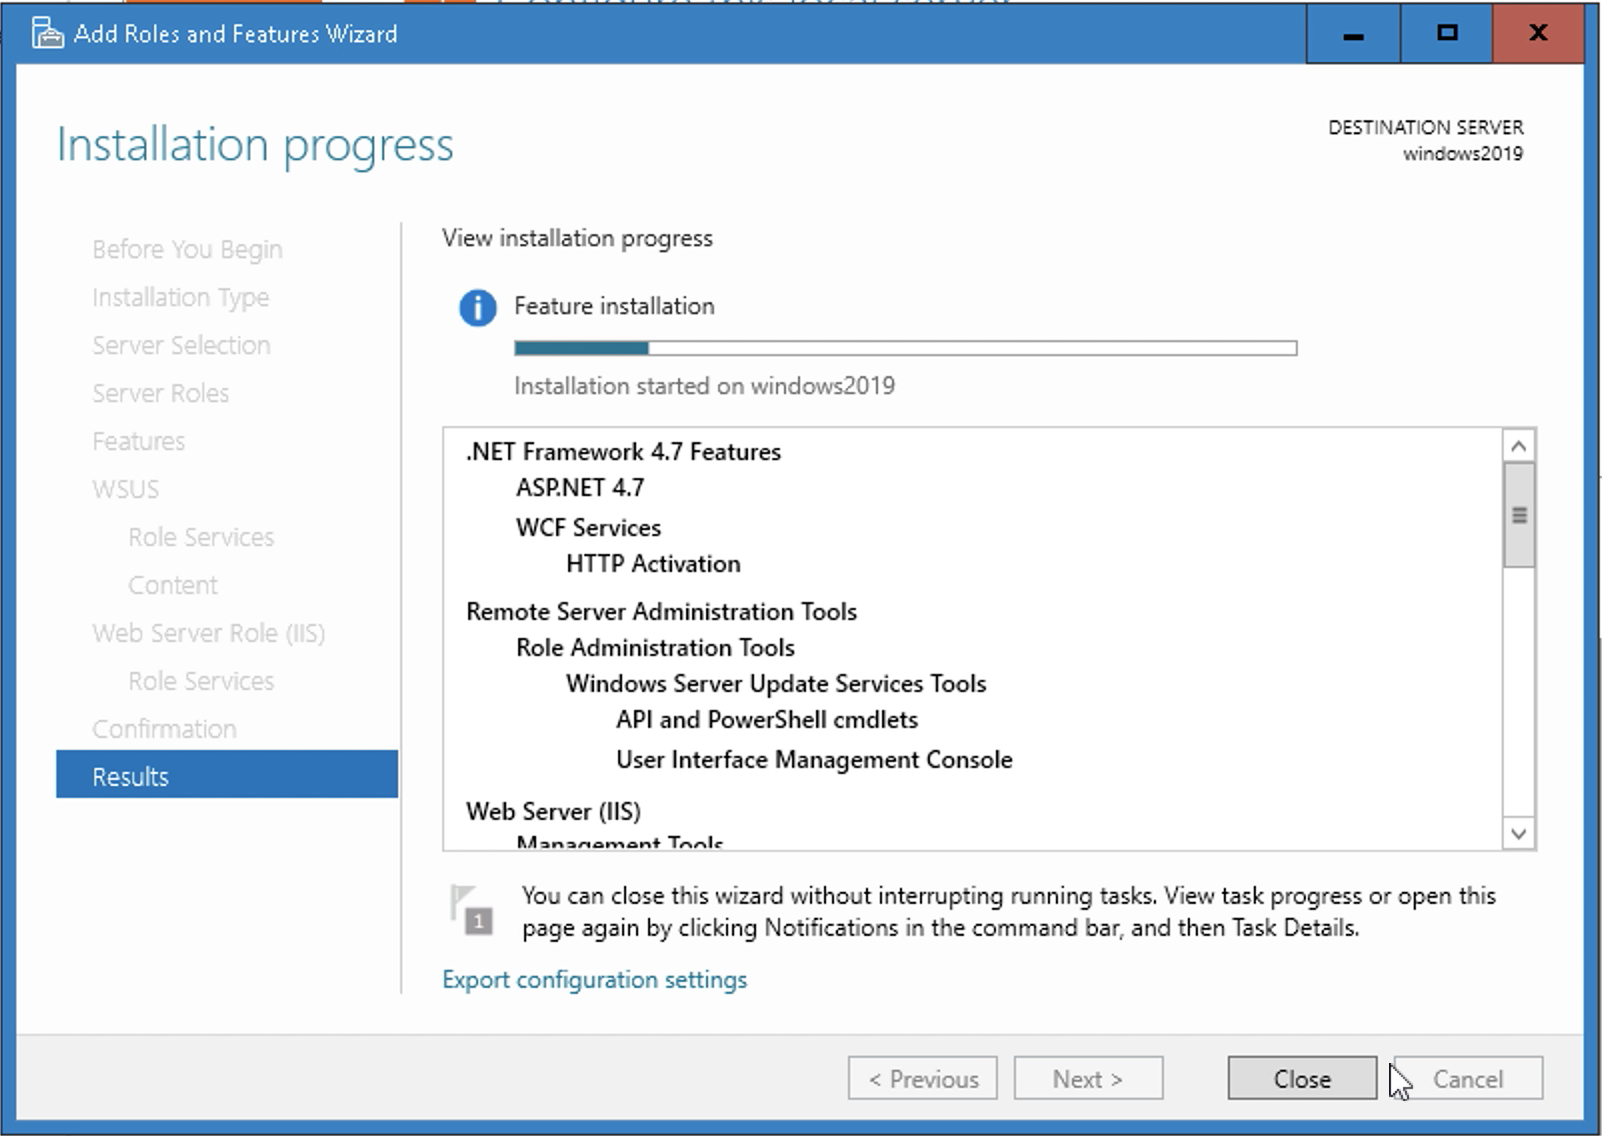
Optionally, you can choose to "Close".
If you wait, you will see the following screen.
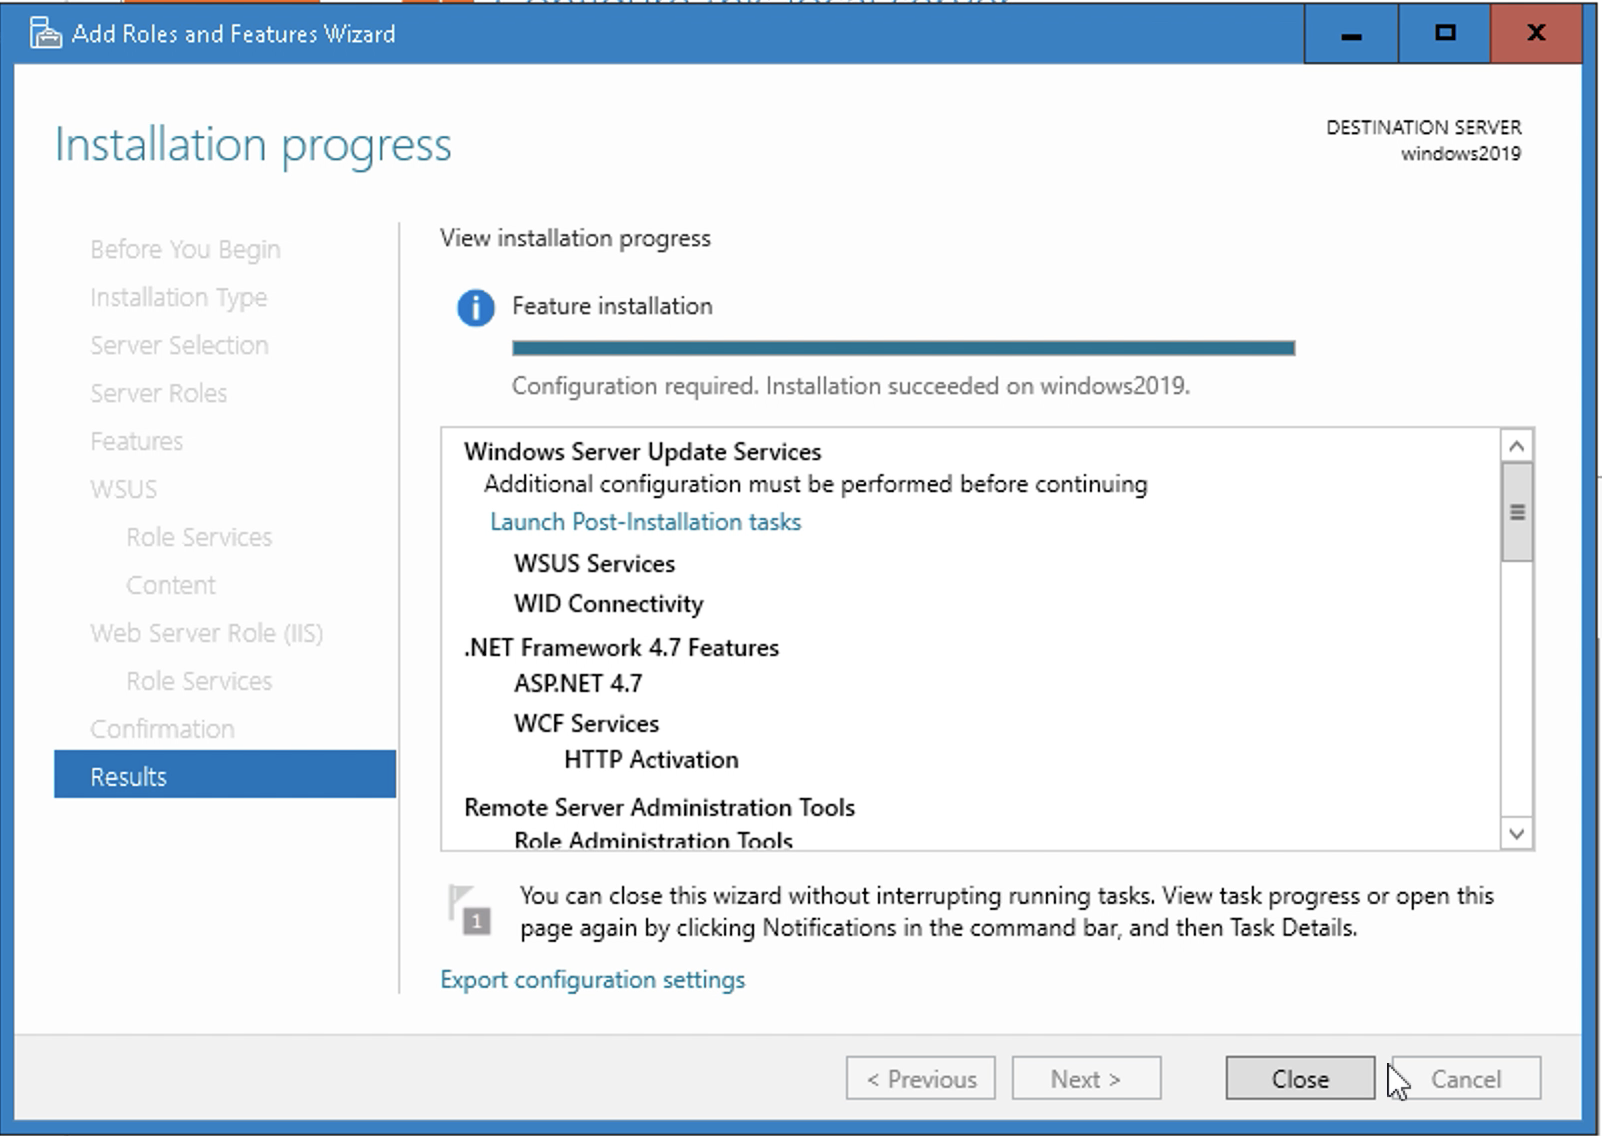
Once WSUS installation is complete, click "Launch Post-Installation tasks".
Restart server if needed. You may receive a notification in Server Manager to inform you that a restart is required. This can vary according to the installed server. If it requires a restart make sure to restart the server to complete the installation.
2. Configuring your WSUS Server
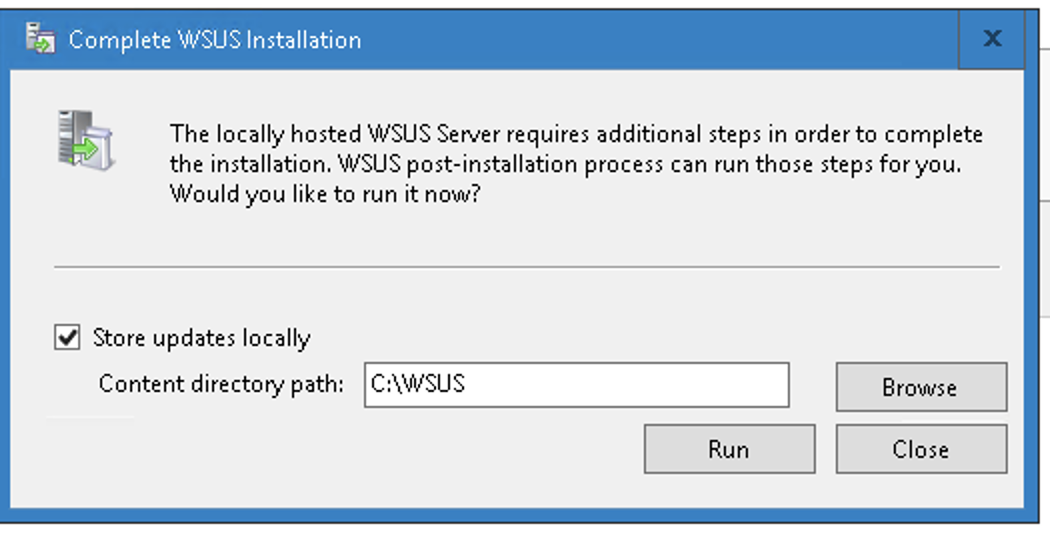
Now that you have WSUS Server installed. You will be asked to configure your WSUS and select where you want to storage WSUS updates. That is,
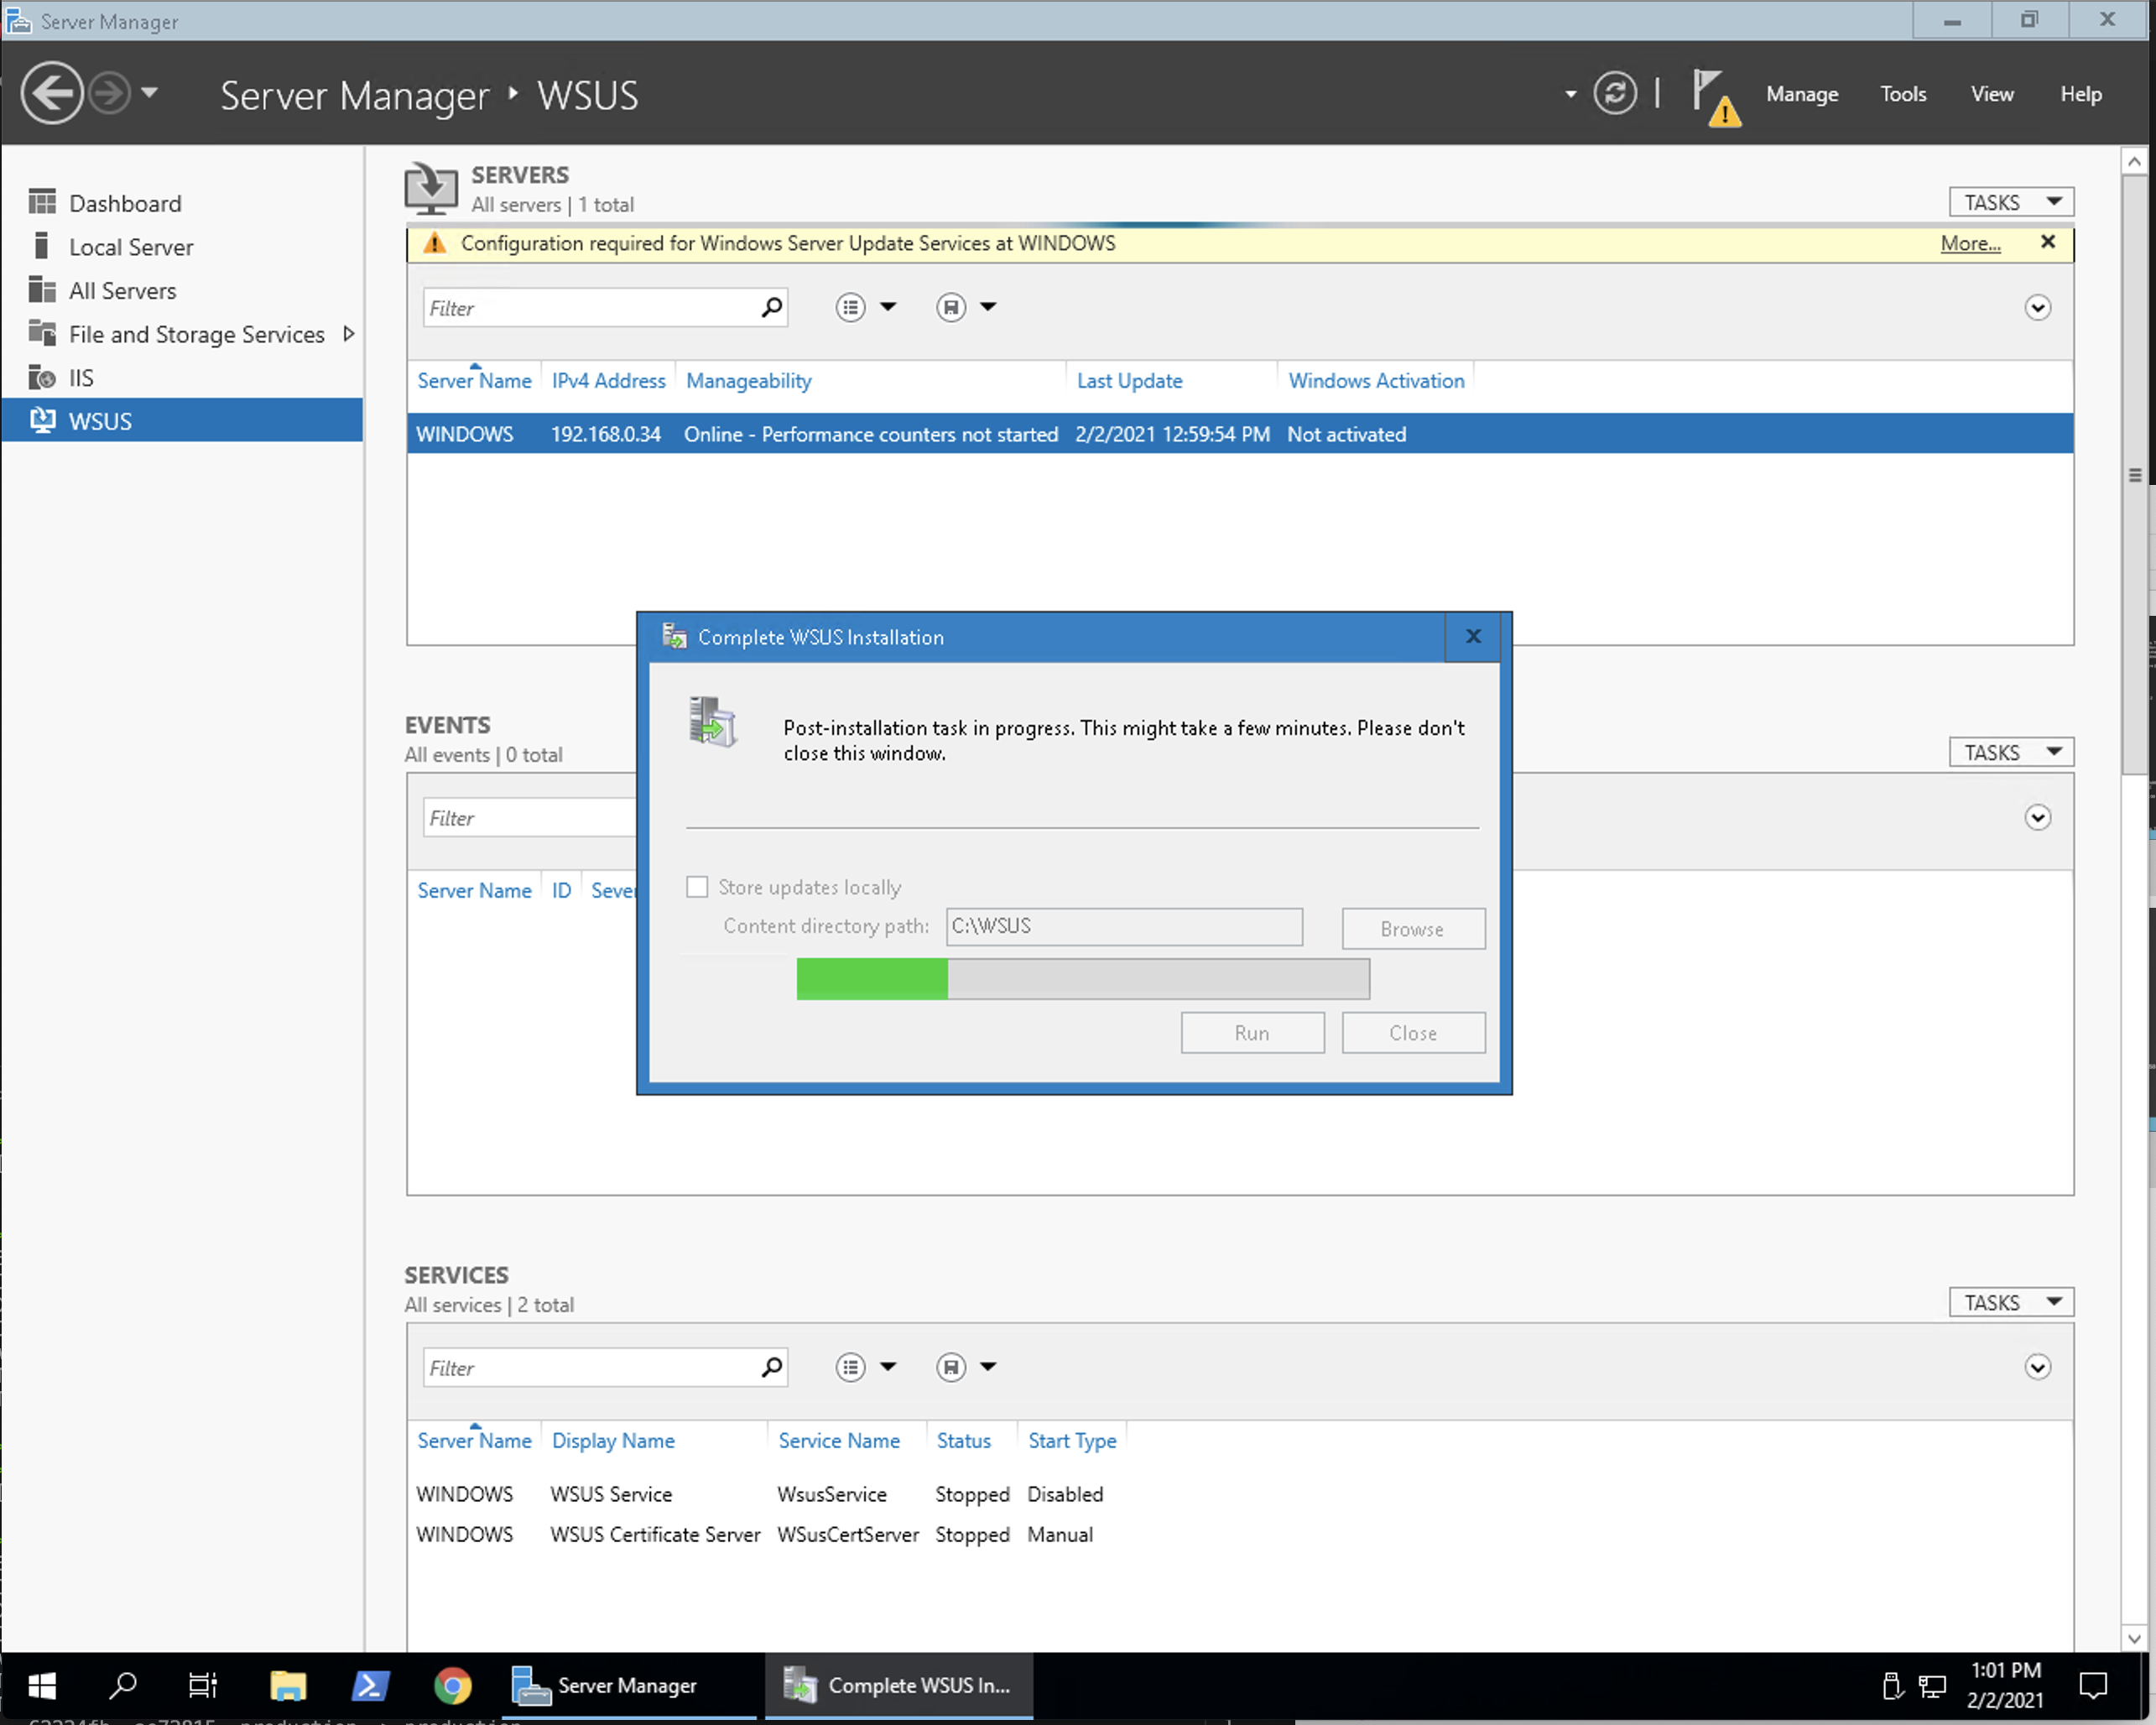
"Configuration required for Windows Server Updates Services at <yourservername>"
In my example, my Windows Server machine is called "WINDOWS", so the message I received was "Configuration required for Windows Server Updates Services at WINDOWS".

I created a folder on my C: Drive called "WSUS", but you can choose a location you prefer.
Once you have selected this, you can proceed and wait for it to get set up.
It will load up this "Before you begin" screen when it is ready.
Click "Next".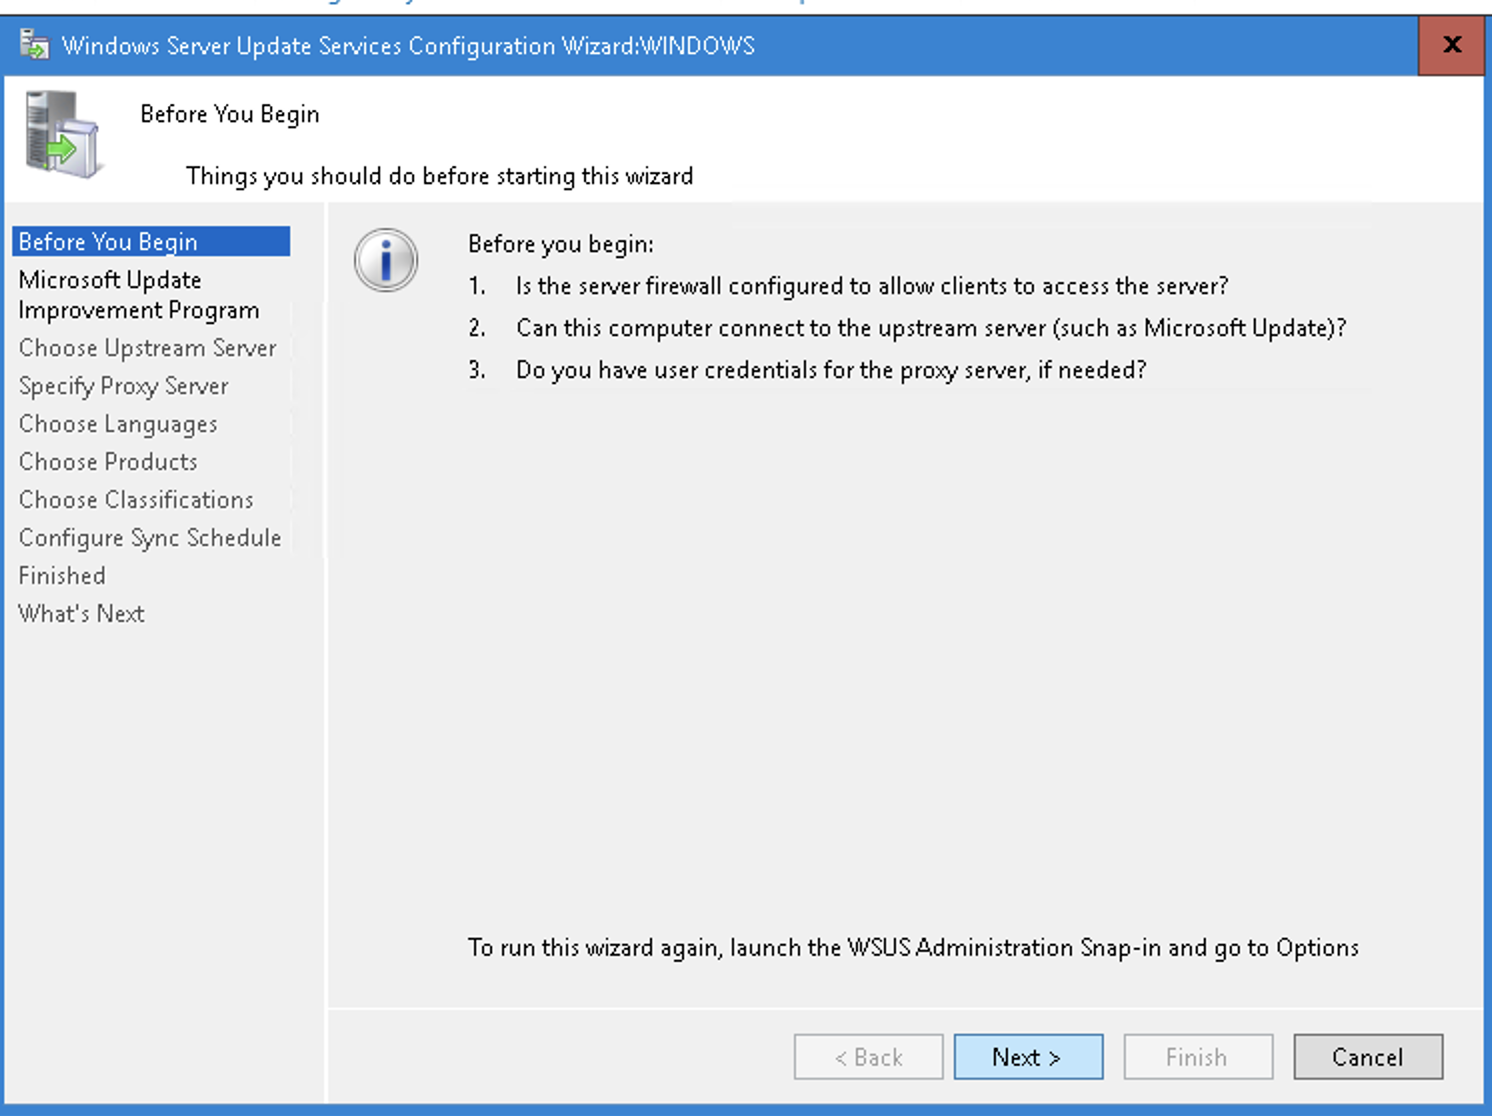
On the "Microsoft Update Improvement Program" select what you are comfortable with and click "Next".
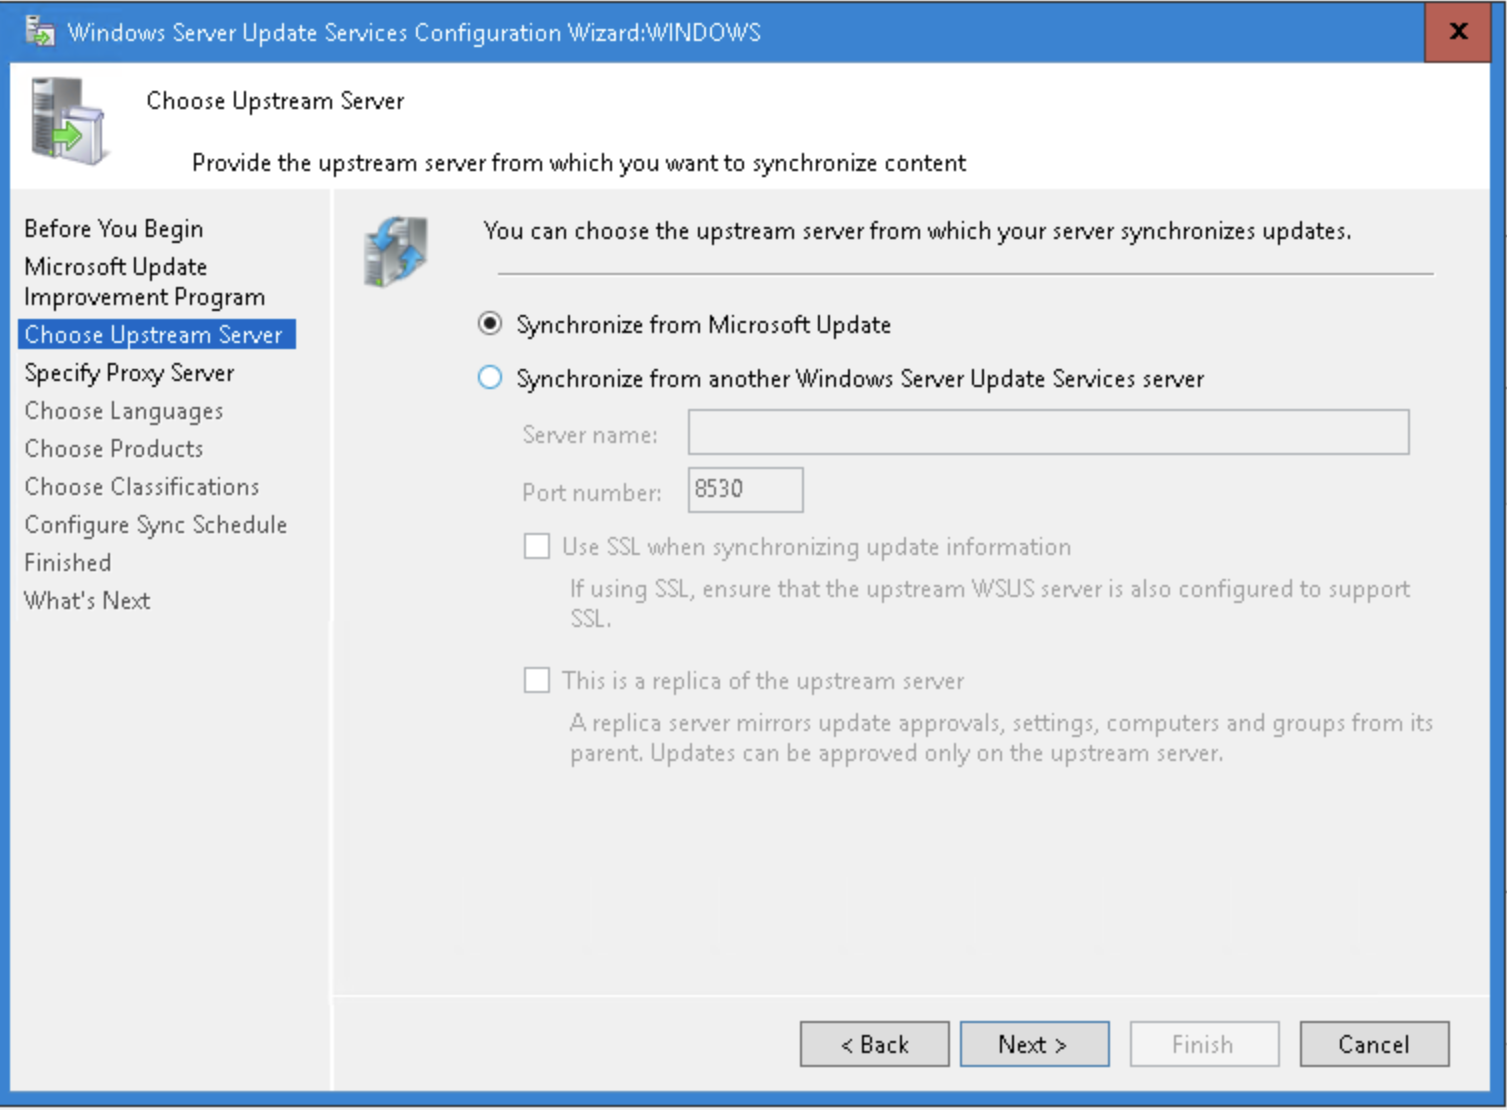
On the "Choose Upstream Server", review the option where you want to synchronise updates from and click "Next".
The next tabs are pretty straightforward, so you need to decide what works best for you and what you really need. I would recommend choosing only what you need as it will need to download this to your server. You can always change/ add more later.
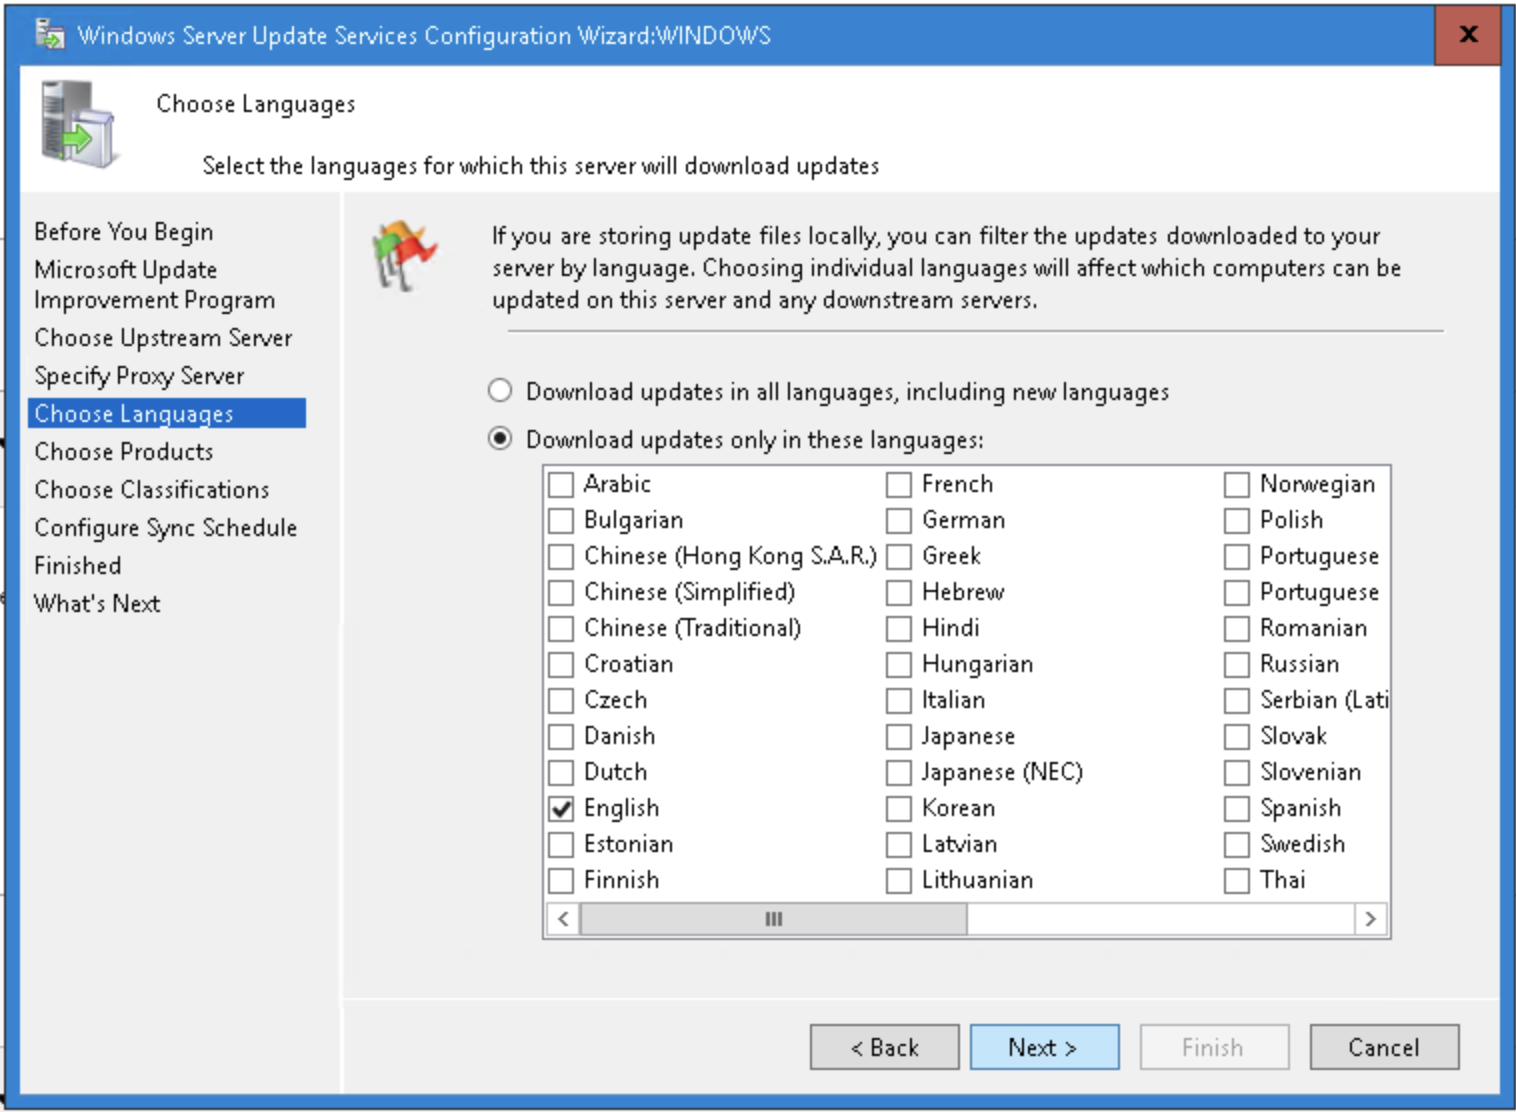
On the "Choose Languages" tab, select your languages.
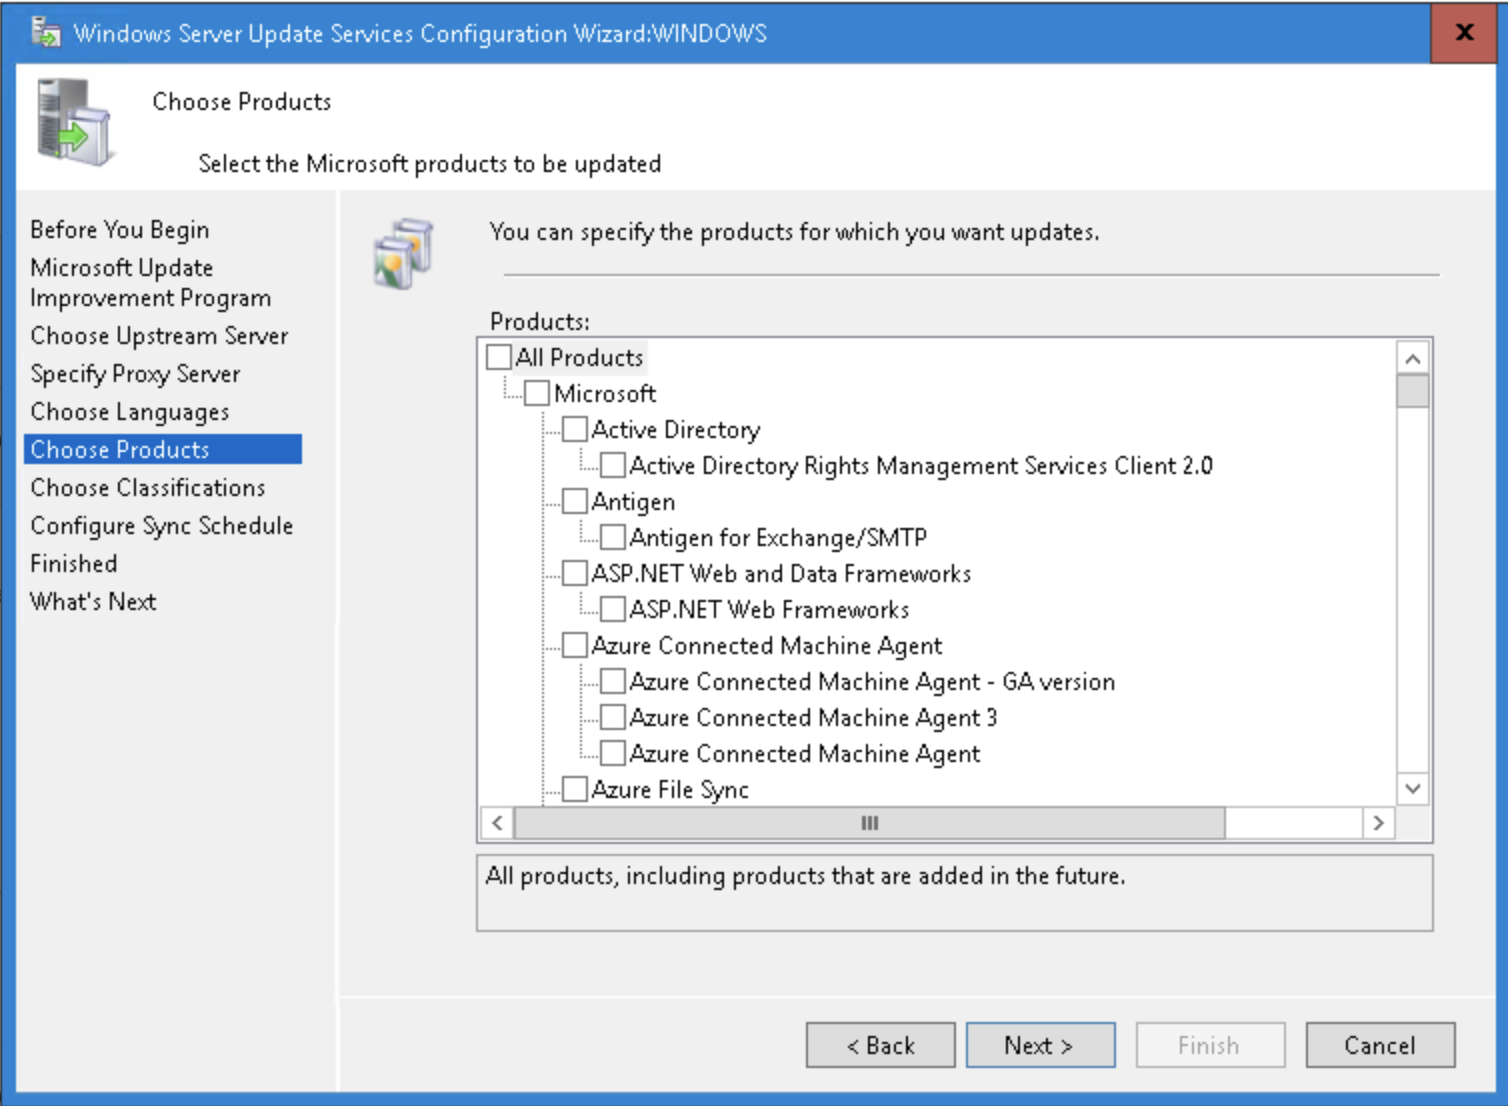
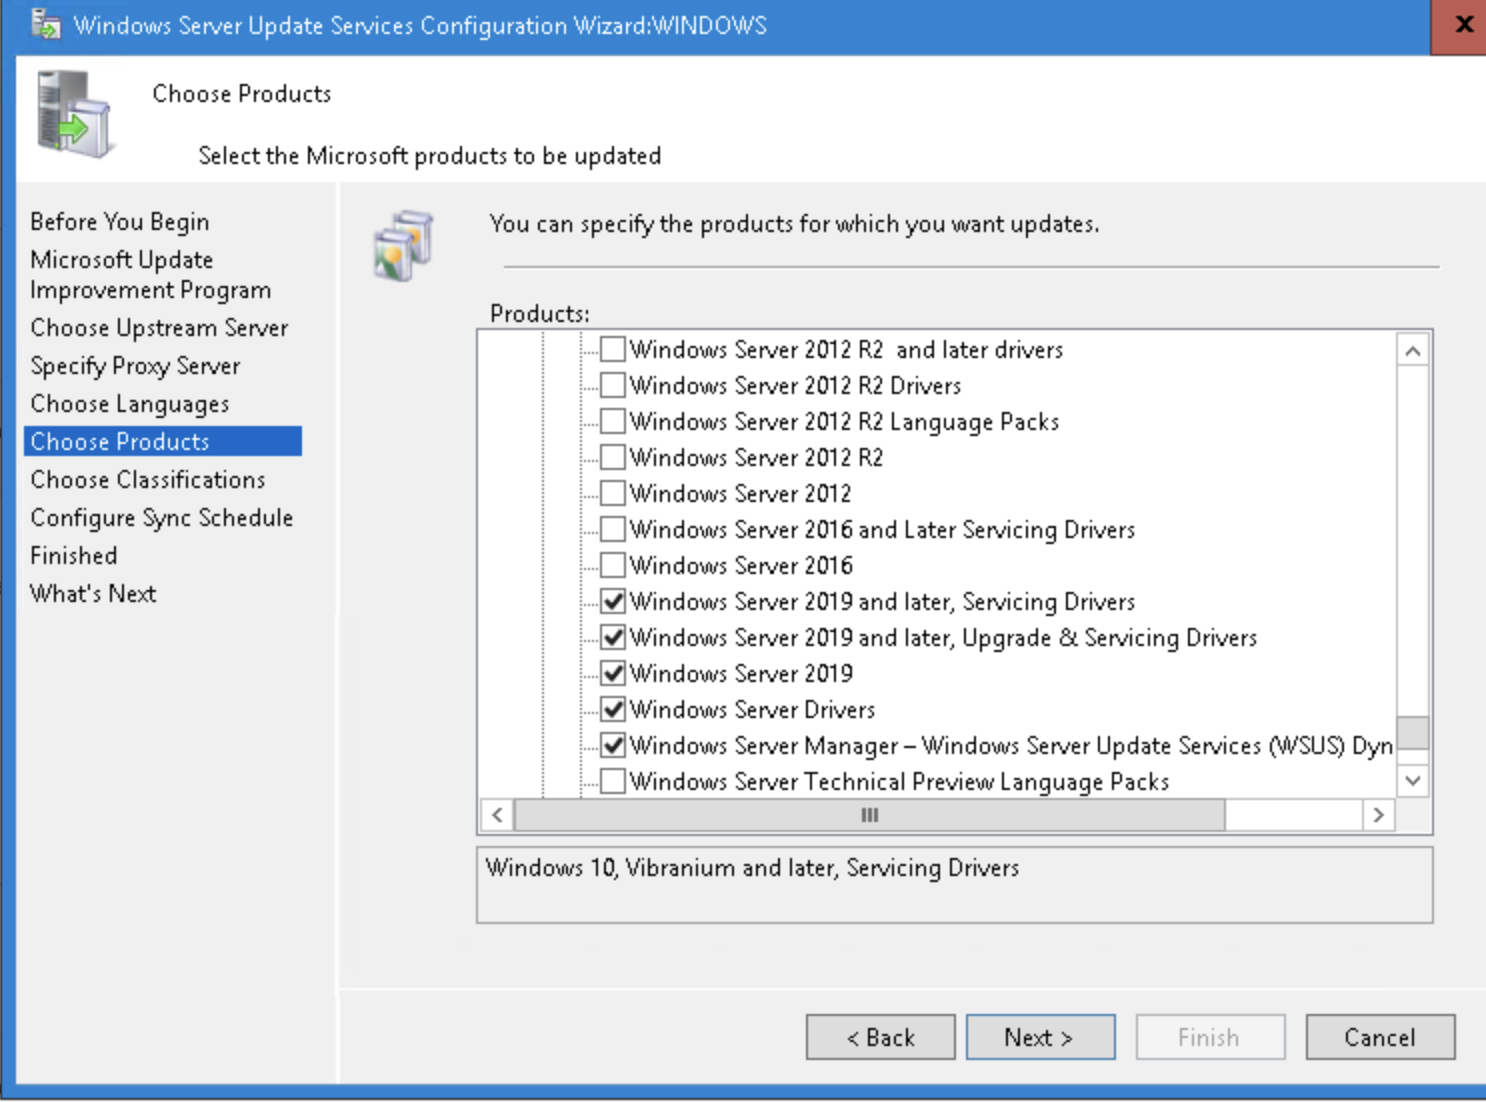
On the "Choose Products" tab , select your products.
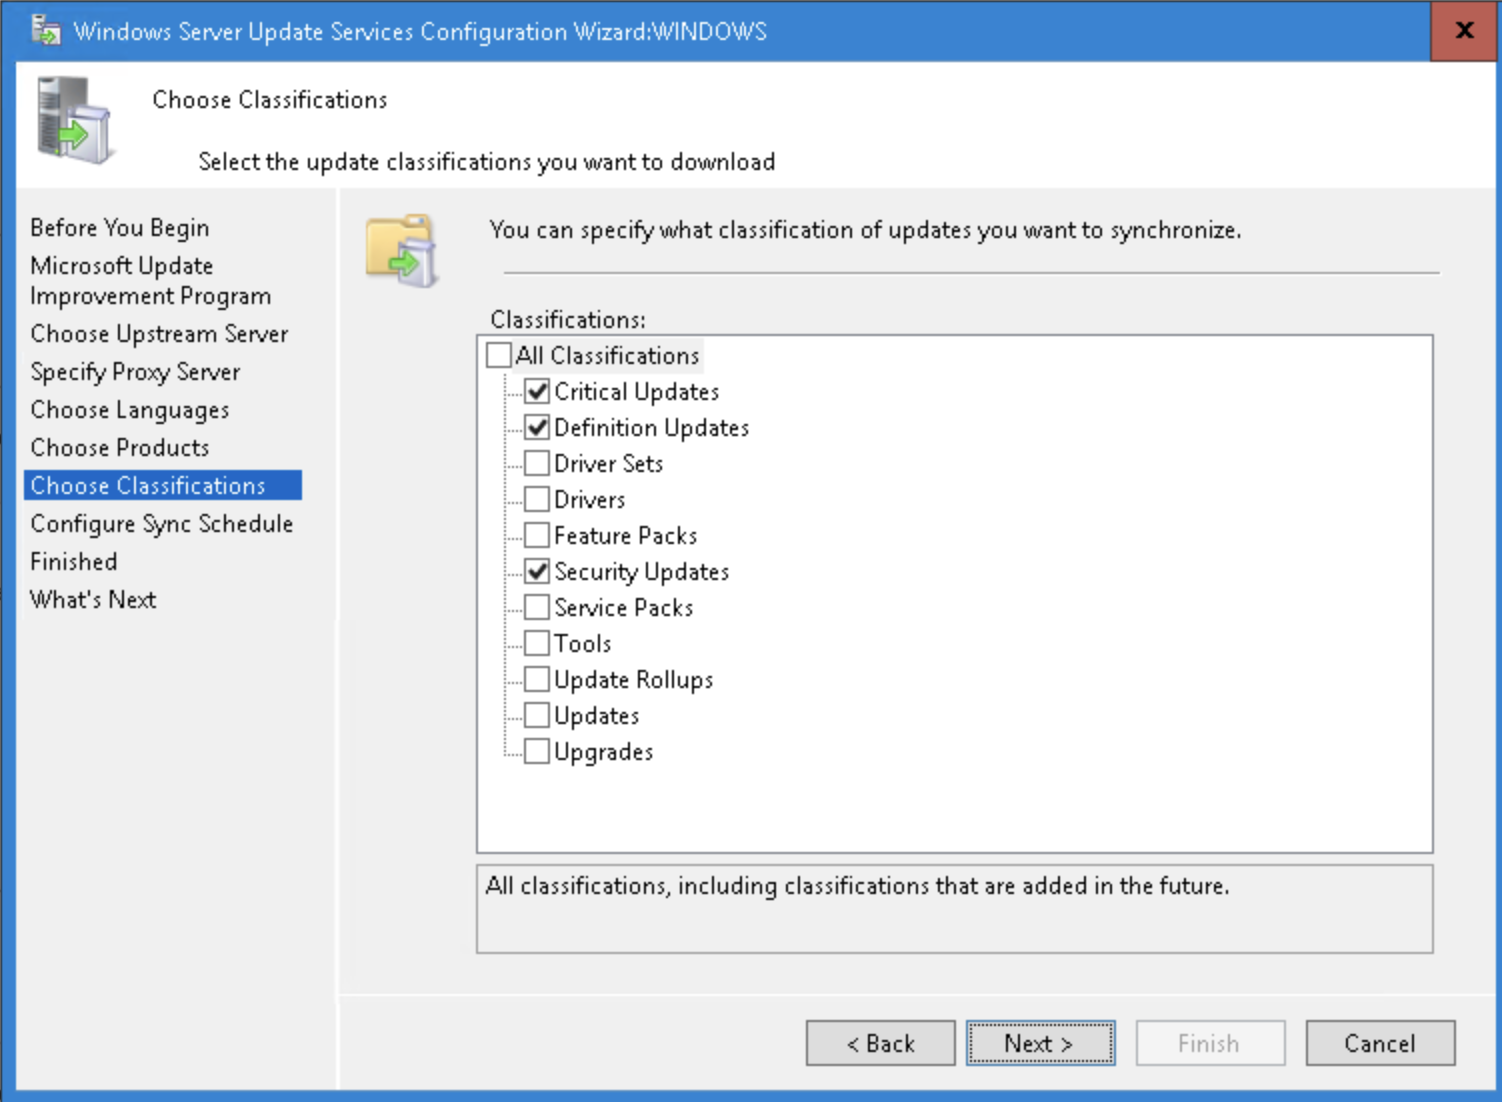
On the "Choose Classifications" tab, select the types updates you want.
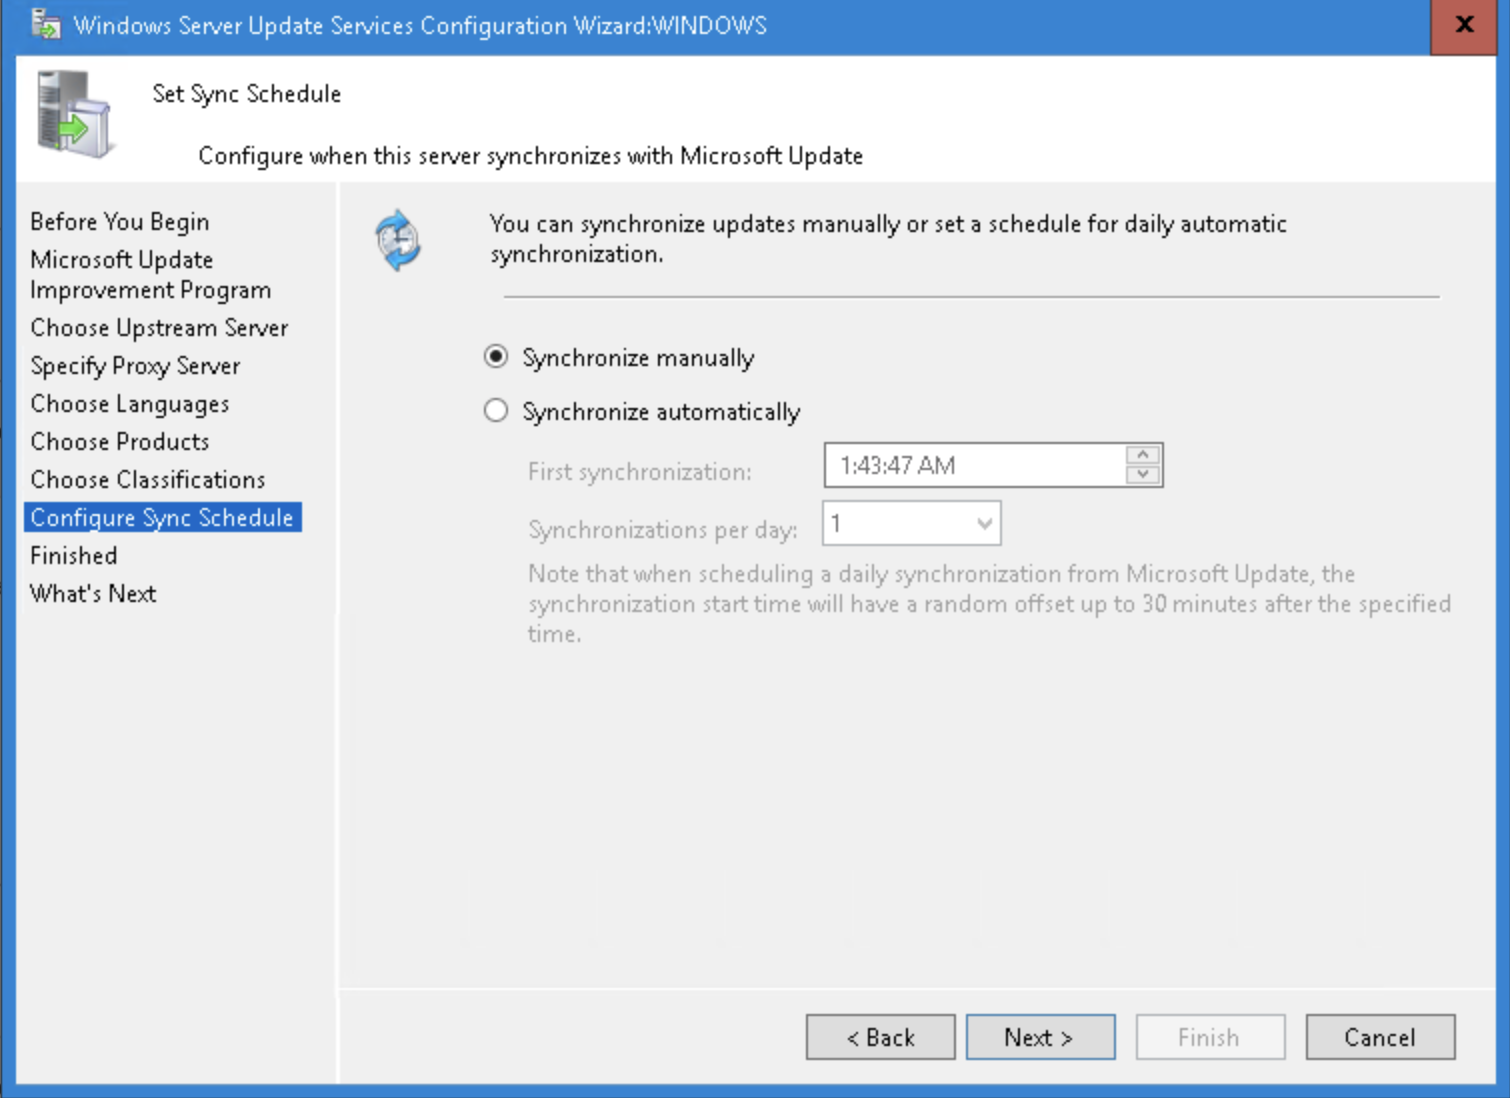
Configure your "Sync Schedule".
3. Assigning WSUS Clients to your WSUS Server
This is where you want to check on the menu on the left if you can see your Windows servers (WSUS Clients) listed in your WSUS Server.
You will need to configure your other Windows servers (WSUS Clients) to point to your WSUS Server for it to appear on this "All Computers" page.
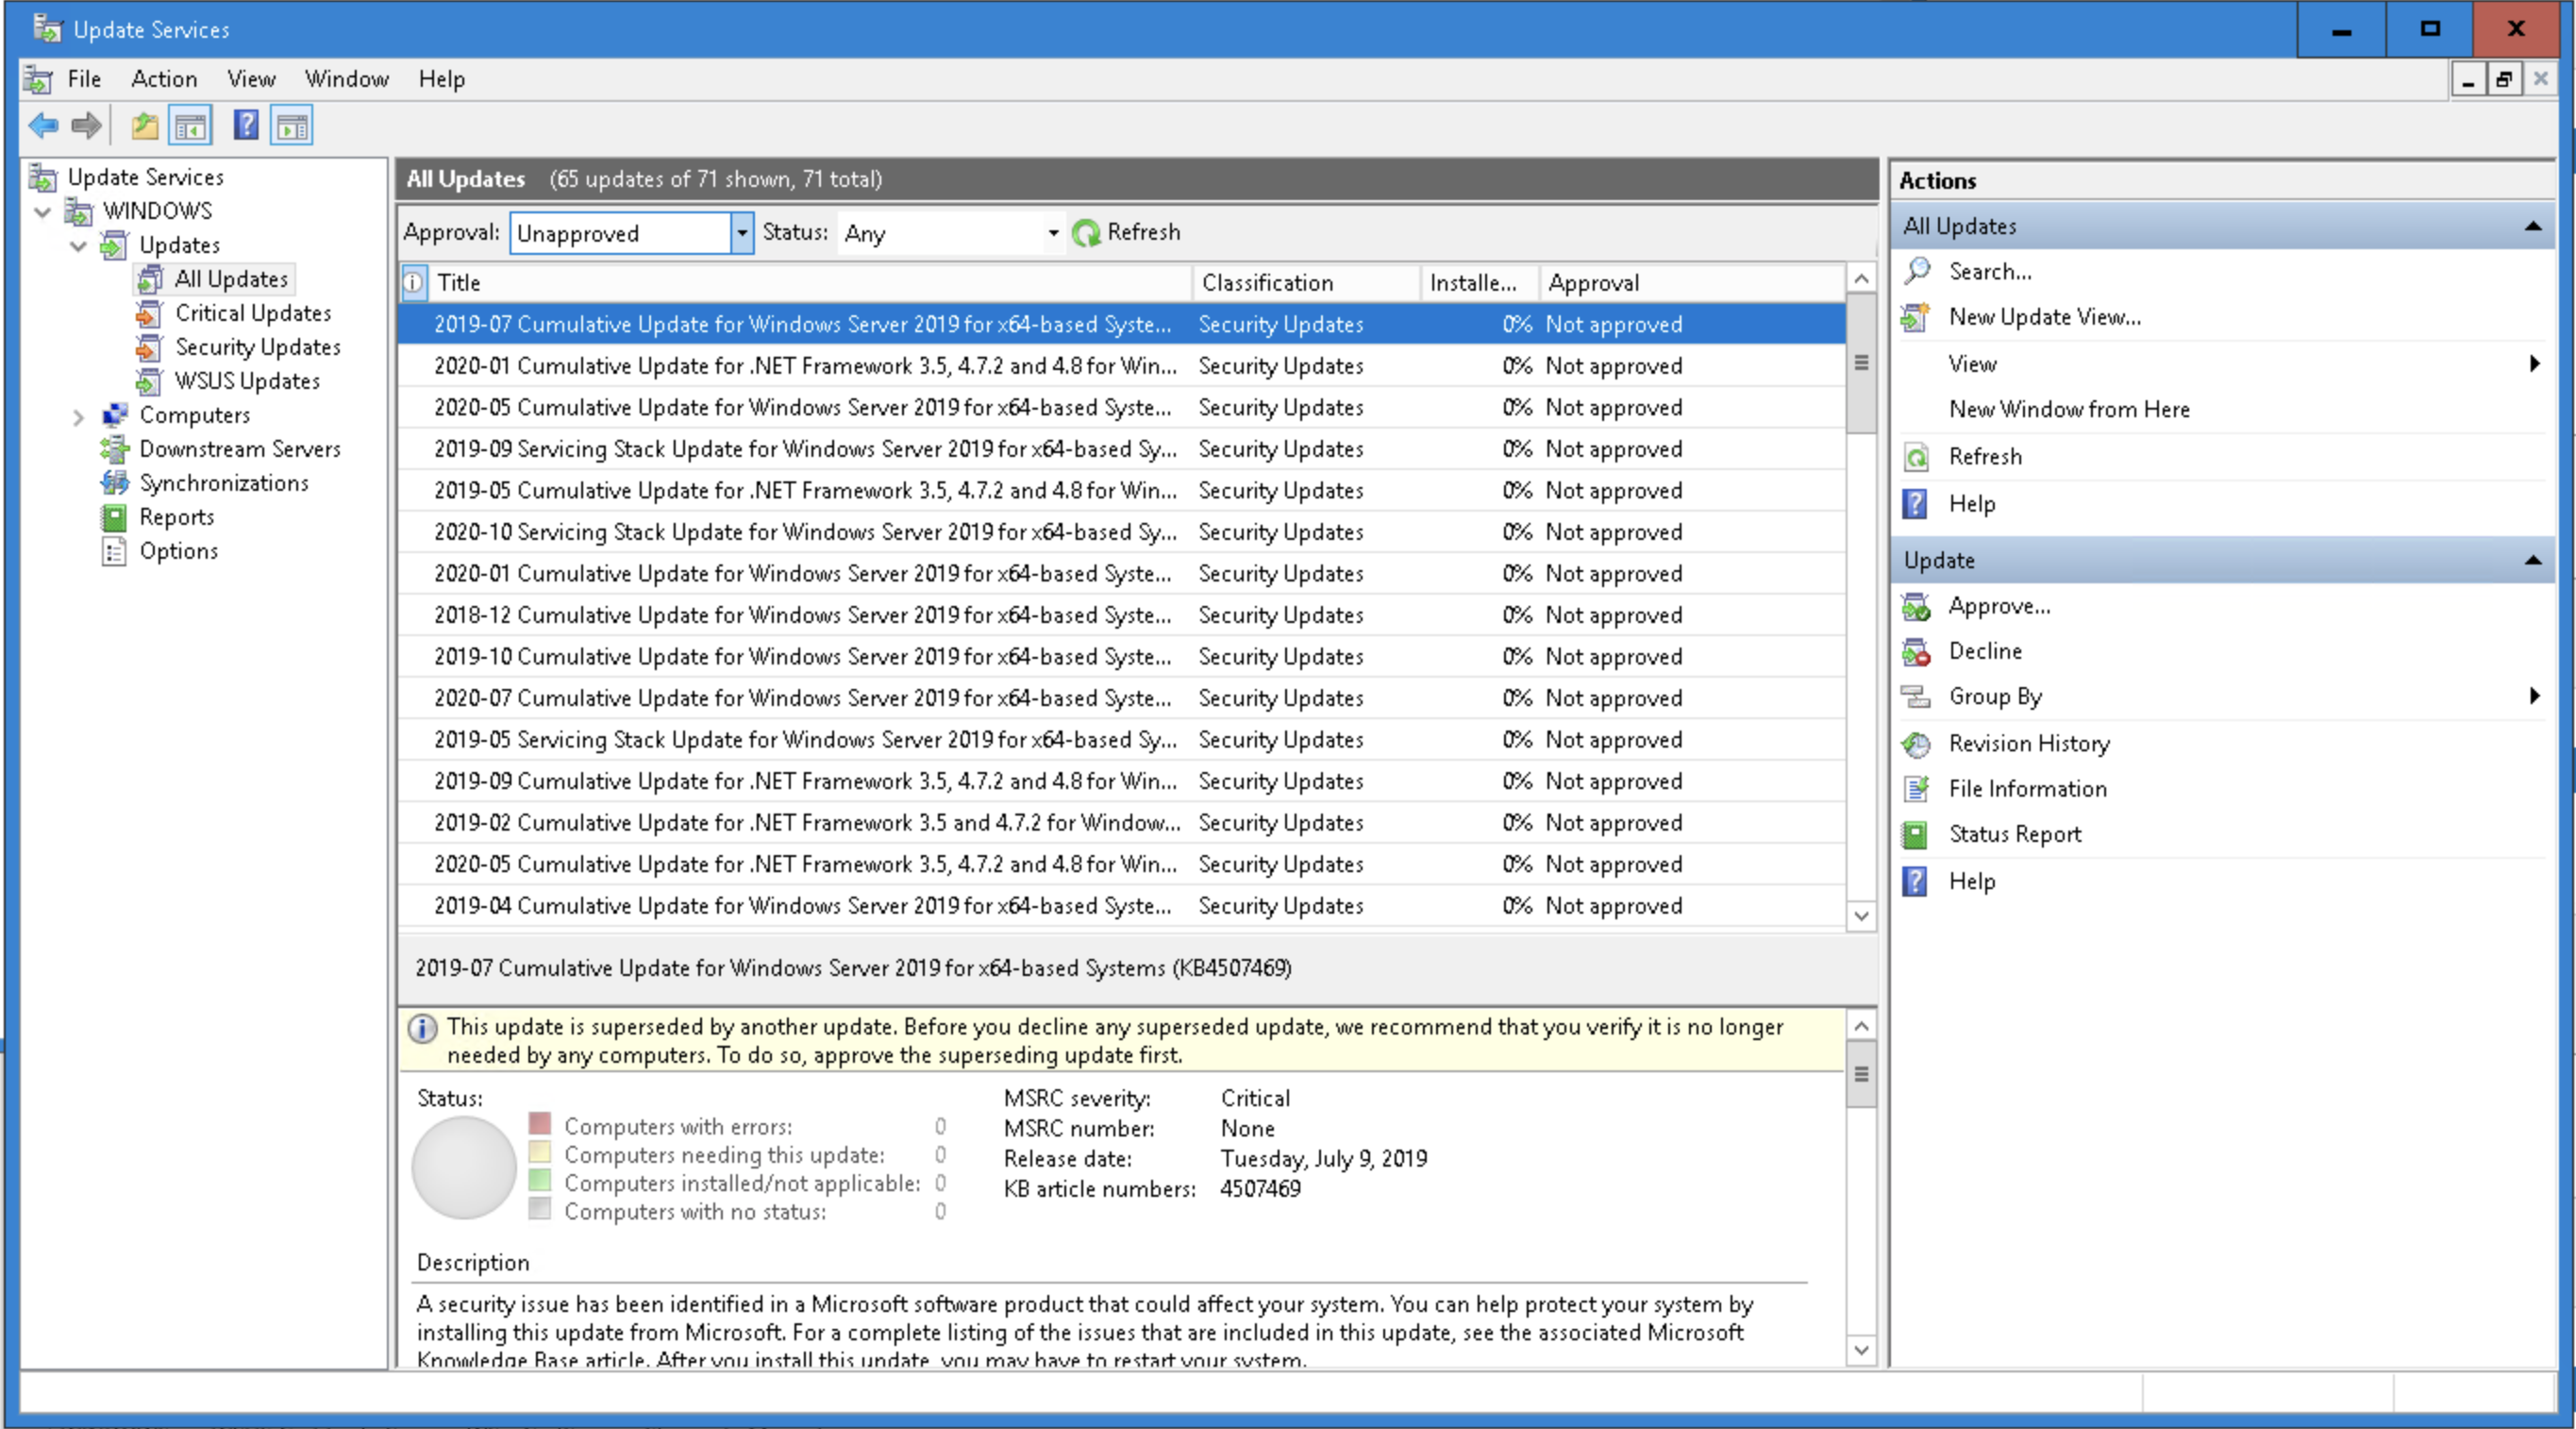
4. Start using WSUS Server to Approve and Deploy Updates
Expand and click on the menu on the left and bring out the "Updates".
Make sure you change the filters of "Approval" = unapproved and "Status" = Any so you start seeing updates there.
You may need to wait for some time for WSUS to download the update details from the Microsoft servers or the server you set.
Appendix - Best practices/ troubleshooting:
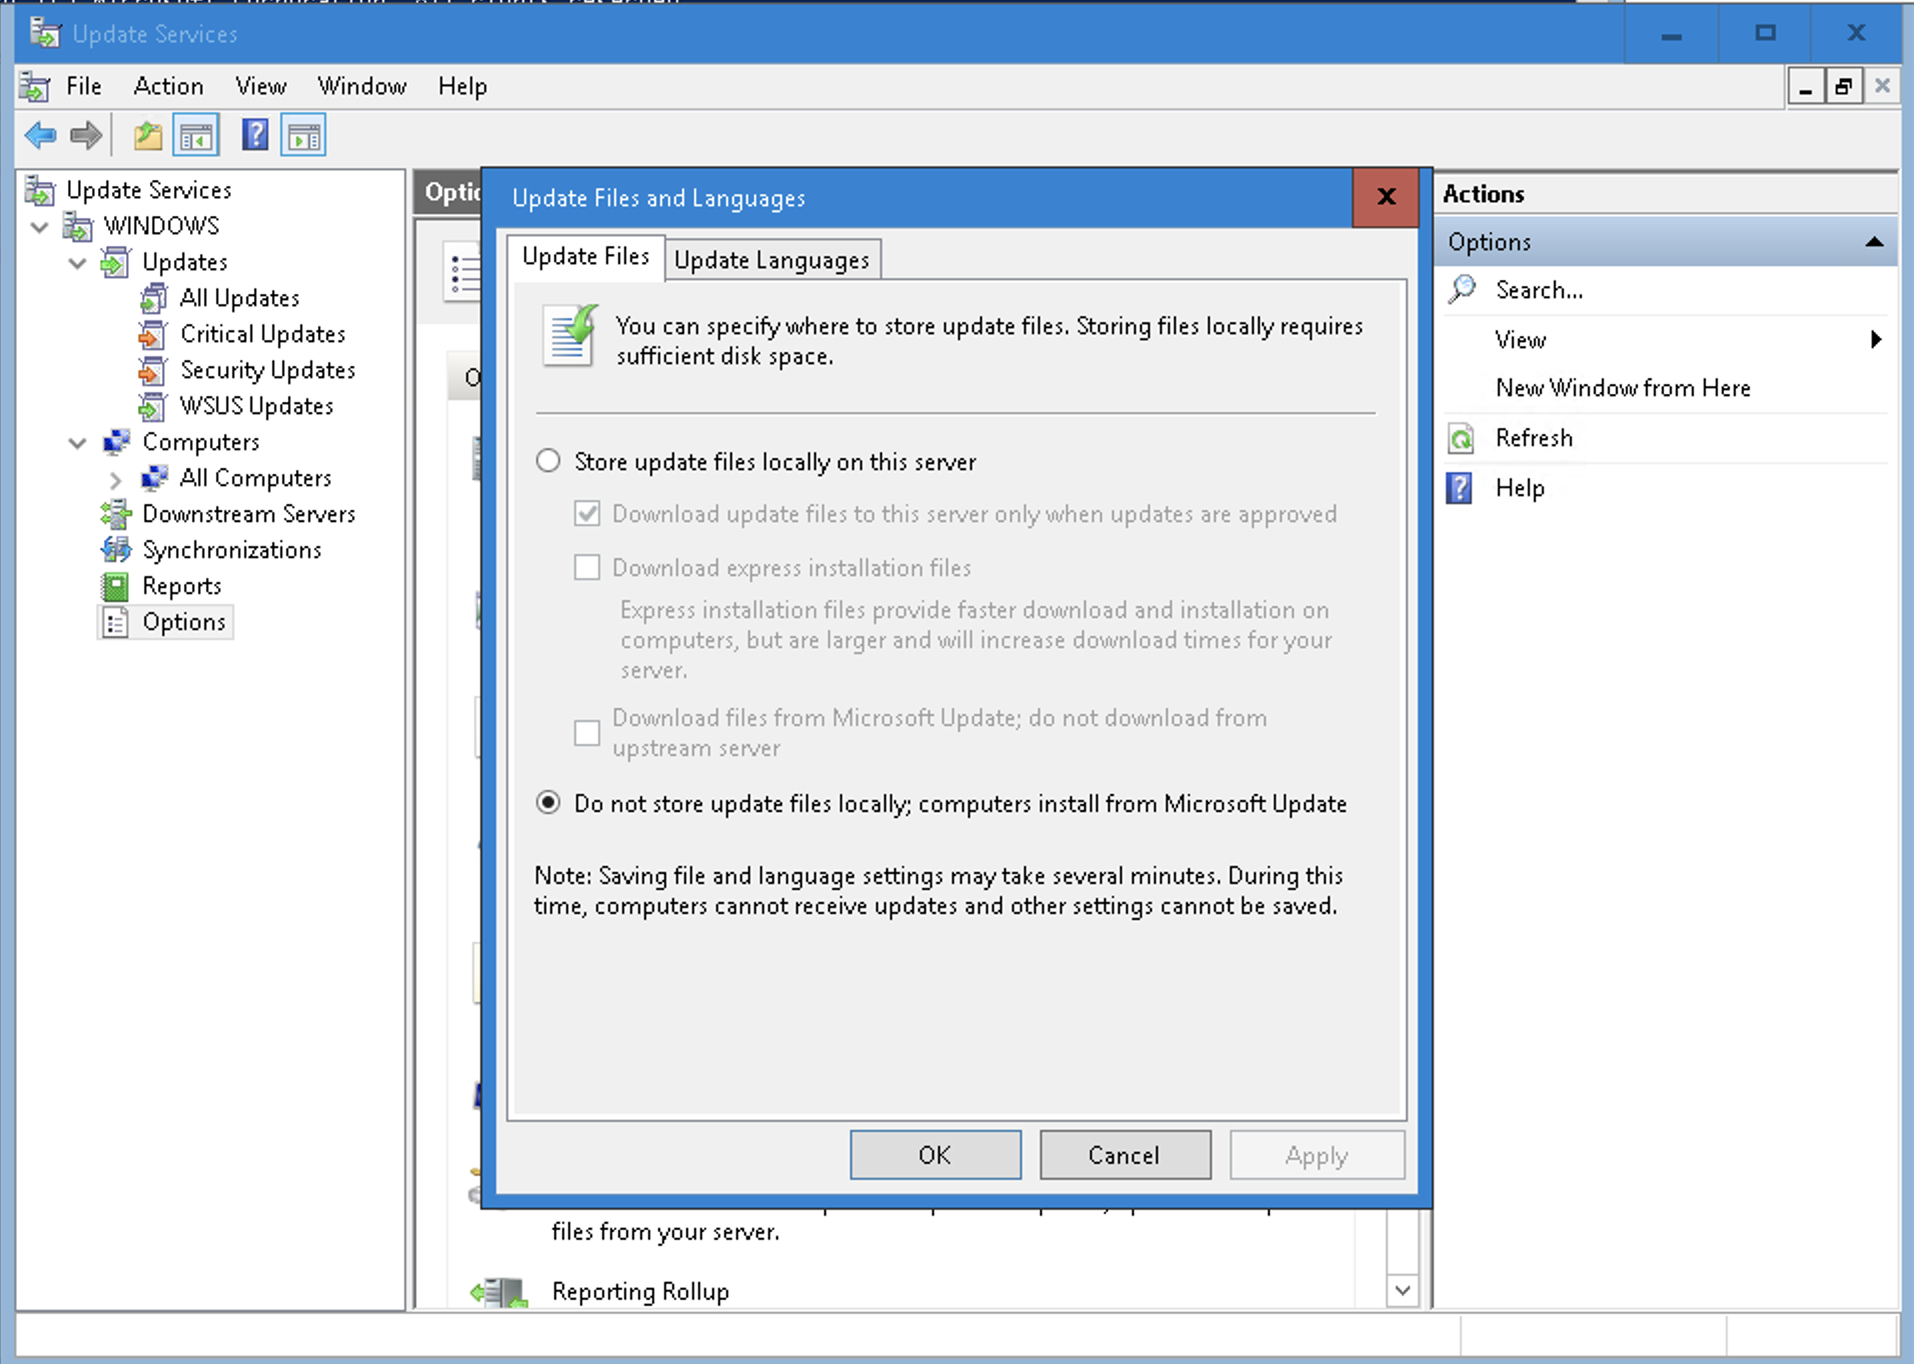
If you run out of space, consider using this option in the WSUS Update Services settings.
WSUS Update Services> Options> Update Files and Languages> Do not store update files locally; computers install from Microsoft Update.
If you are using a configuration manager like Puppet, this means setting the host binaries to Microsoft. That is:
host_binaries_on_microsoft_update => true
To check on your WSUS Client what WSUS Server (server_url) that they may be pointing to. In cmd or Powershell, run this command:
reg query HKLM\SOFTWARE\Policies\Microsoft\Windows\WindowsUpdate

Make sure it has port 8530 open and listed right after your hostname. That is, for example:
http://windows.vulongtran.net:8530

You can also ping your server from the client to make sure there is connectivity. e.g.
ping windows.vulongtran.net
If you are using Puppet, you can configure your WSUS Client module to have the following settings with port 8530 (e.g.windows.vulongtran.net:8530) to test and adjust to what you need (you can also consider using the WSUS Server module for managing the configuration for your WSUS Server):
You can run the following in cmd or Powershell on the WSUS Client to check that the module is active on the WSUS Client server.
puppet config print classfile
cat C:/ProgramData/PuppetLabs/puppet/cache/state/classes.txt
If you are using images and the Windows servers were cloned, you may need to remove them from the WSUS console and then and then reset the ID on each server. That is:
net stop wuauserv
REG DELETE "HKLM\SOFTWARE\Microsoft\Windows\CurrentVersion\WindowsUpdate" /v AccountDomainSid /f
REG DELETE "HKLM\SOFTWARE\Microsoft\Windows\CurrentVersion\WindowsUpdate" /v PingID /f
REG DELETE "HKLM\SOFTWARE\Microsoft\Windows\CurrentVersion\WindowsUpdate" /v SusClientId /f
net start wuauserv
wuauclt /resetauthorization
wuauclt /detectnow
Then, after waiting up to 15-20 minutes, run the following on the clients and then refresh the console in the WSUS server.
wuauclt /reportnow
Configuration management example:
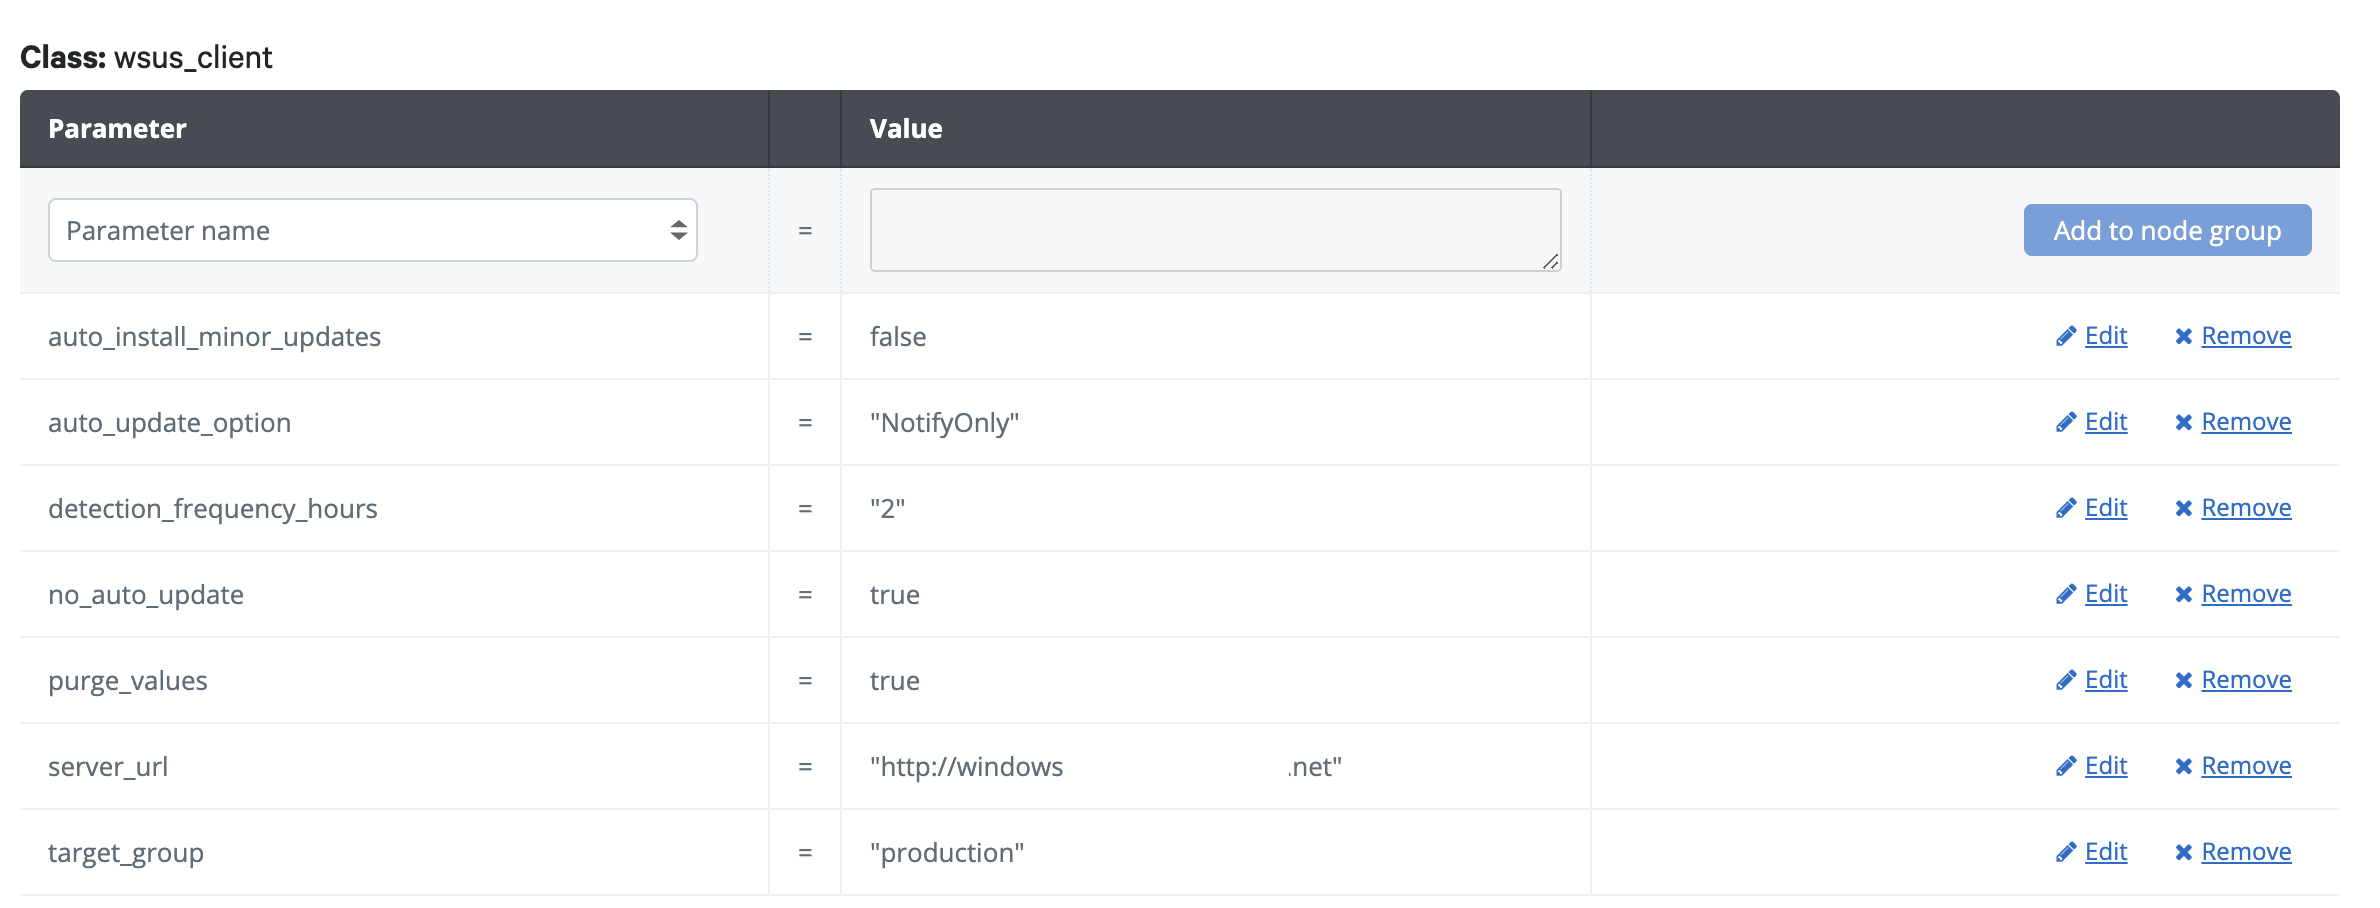
If you are using a configuration management tool like Puppet, you can use the WSUS_client module and add code to a manifest file which you can call, "wsus_client.pp" to manage your WSUS clients.
class profile::wsus_client {class { 'wsus_client':server_url => 'http://windows.yourdomain.com:8530',target_group => 'production',auto_update_option => 'NotifyOnly',auto_install_minor_updates => false,no_auto_update => true,purge_values => true,detection_frequency_hours => 2,# before => Class['pe_patch'],}}
You can use the WSUS_server module and add code to a manifest file which you can call, "wsusserver.pp" to manage your WSUS server machines.
class profile::wsusserver {
class { 'wsusserver': products => [ 'Windows Server 2012', 'Windows Server 2012 R2', 'Windows Server 2016', 'Windows Server 2019', ], update_classifications => [ 'Update Rollups', 'Security Updates', 'Critical Updates', 'Updates' ], host_binaries_on_microsoft_update => true, #download binaries on demand synchronize_automatically => true, synchronize_time_of_day => '02:00:00', number_of_synchronizations_per_day => 8, package_ensure => 'present', update_languages => ['en'], } wsusserver_computer_target_group { ['production']: ensure => 'present', } wsusserver::approvalrule { 'Automatic Approval for Security and Critical Updates Rule': ensure => 'present', enabled => true, classifications => [ 'Update Rollups', 'Security Updates', 'Critical Updates', 'Updates' ], products => [ 'Windows Server 2012', 'Windows Server 2012 R2', 'Windows Server 2016', 'Windows Server 2019', ], computer_groups => ['production'], }}
References:
- Windows Server Update Services (WSUS) - https://docs.microsoft.com/en-us/windows-server/administration/windows-server-update-services/get-started/windows-server-update-services-wsus
- How to fix clients not showing up in WSUS Server console - https://www.renanrodrigues.com/post/how-to-fix-clients-not-showing-up-in-wsus-console-step-by-step
- Computers not showing in WSUS console but reporting to it - https://community.spiceworks.com/topic/1962839-computers-not-showing-in-wsus-console-but-are-reporting-to-it-and-downloading
- Computers not showing up in WSUS - https://community.spiceworks.com/topic/2100752-computers-not-showing-up-in-wsus


