

How to install and set up Active Directory Domain Controller on Windows Server 2019. I will show you steps on how to install and set up active directory domain controller on Windows Server 2019 and test this on your own machine at no cost using VirtualBox.
That is, I will be using Windows Server 2019 and VirtualBox for this example.
Steps to install and set up active directory domain controller on Windows Server 2019.
1. Download Windows Server 2019 from Windows website
2. Install Windows Server 2019
3. Add Active Directory Domain Services and DNS
4. Configure Active Directory Domain Services and DNS
5. Validate that Active Directory Domain Services and DNS is working
How to install and set up Active Directory Domain Controller on Windows Server 2019
1. Download Windows Server 2019 from Windows website
I will be using a 180 day evaluation trial version of Windows Server 2019 which I downloaded from Microsoft's website.
https://www.microsoft.com/en-us/evalcenter/evaluate-windows-server-2019
2. Install Windows Server 2019 on VirtualBox or your preferred machine
I am using VirtualBox as this will allow us to install and test this without charge, however, you can also consider using Windows Server 2019 on your own virtual machine on Google Cloud, AWS, or Azure or own on-premise servers.
To use VirtualBox, which is a virtualization product which we can use to run a copy of Windows Server 2019 using our current computer's computing resources (e.g. CPU power, RAM, harddisk space).
To use download VirtualBox you can do so at www.virtualbox.org.
(Optional) You can choose to install and activate the "VirtualBox Guest Additions" to your set up. I have used this as it helps to fix scaling and drag-n-drop within the VirtualBox environment. This is found in your VirtualBox menu under Devices> Insert Guest Additions CD image.
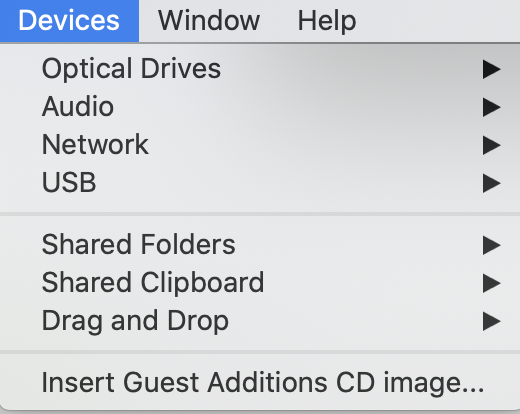
More details on Insert Guest Additions CD Image from Virtualbox here.
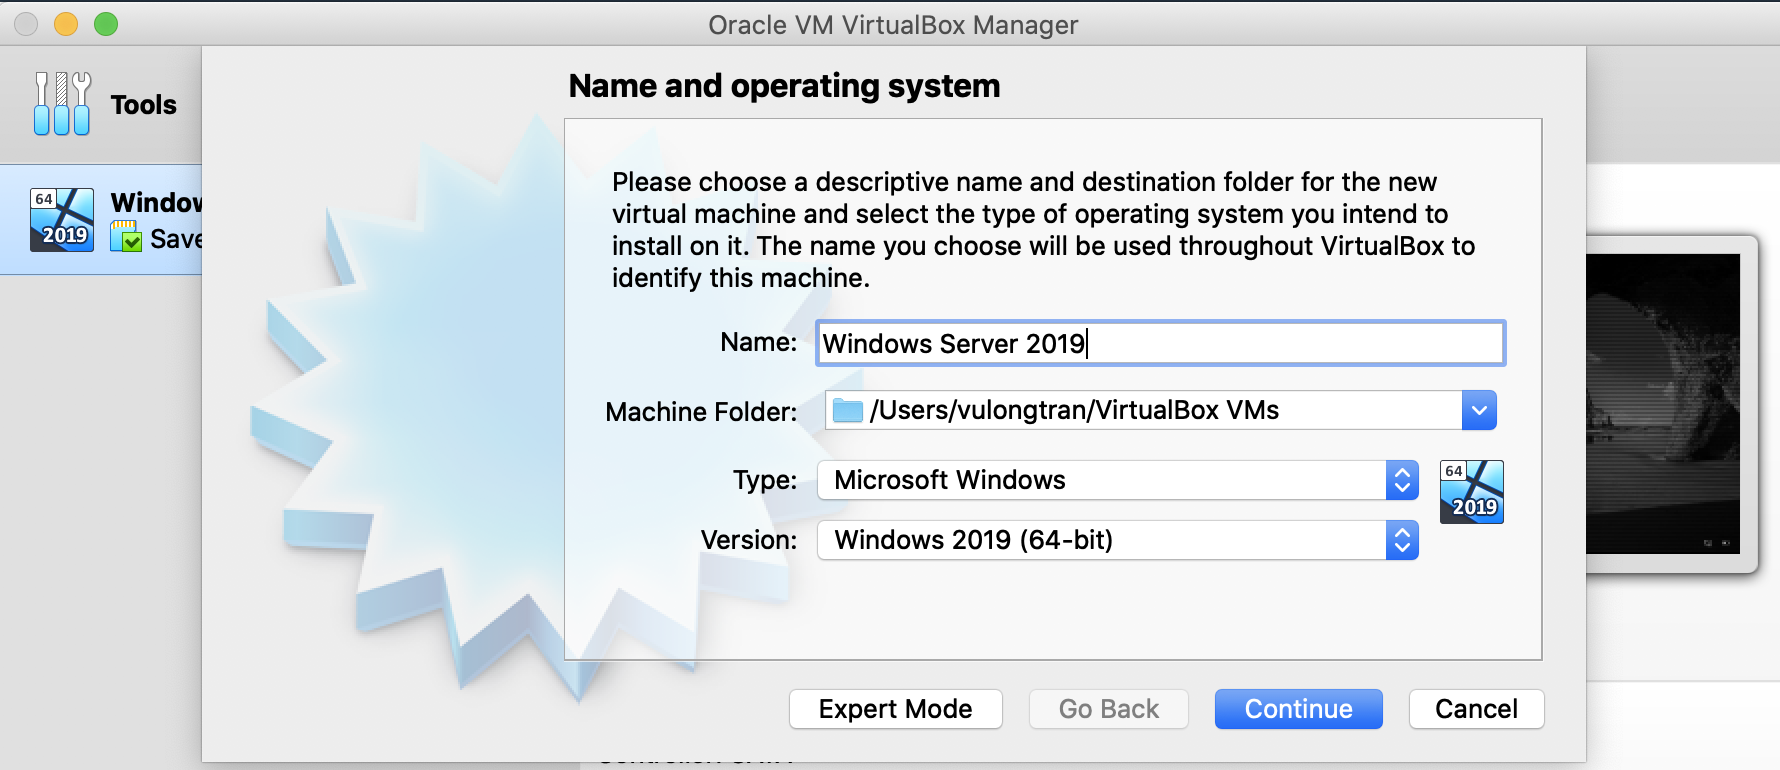
When you have VirtualBox installed, click on "New".
Fill in the "Name and operating system", you can call it anything, in my example:
- Name: Windows Server 2019
- Machine folder: leaving to defaults
- Type: Windows
- Version: Windows 2019 (64-bit)
3. Add Active Directory Domain Services and DNS
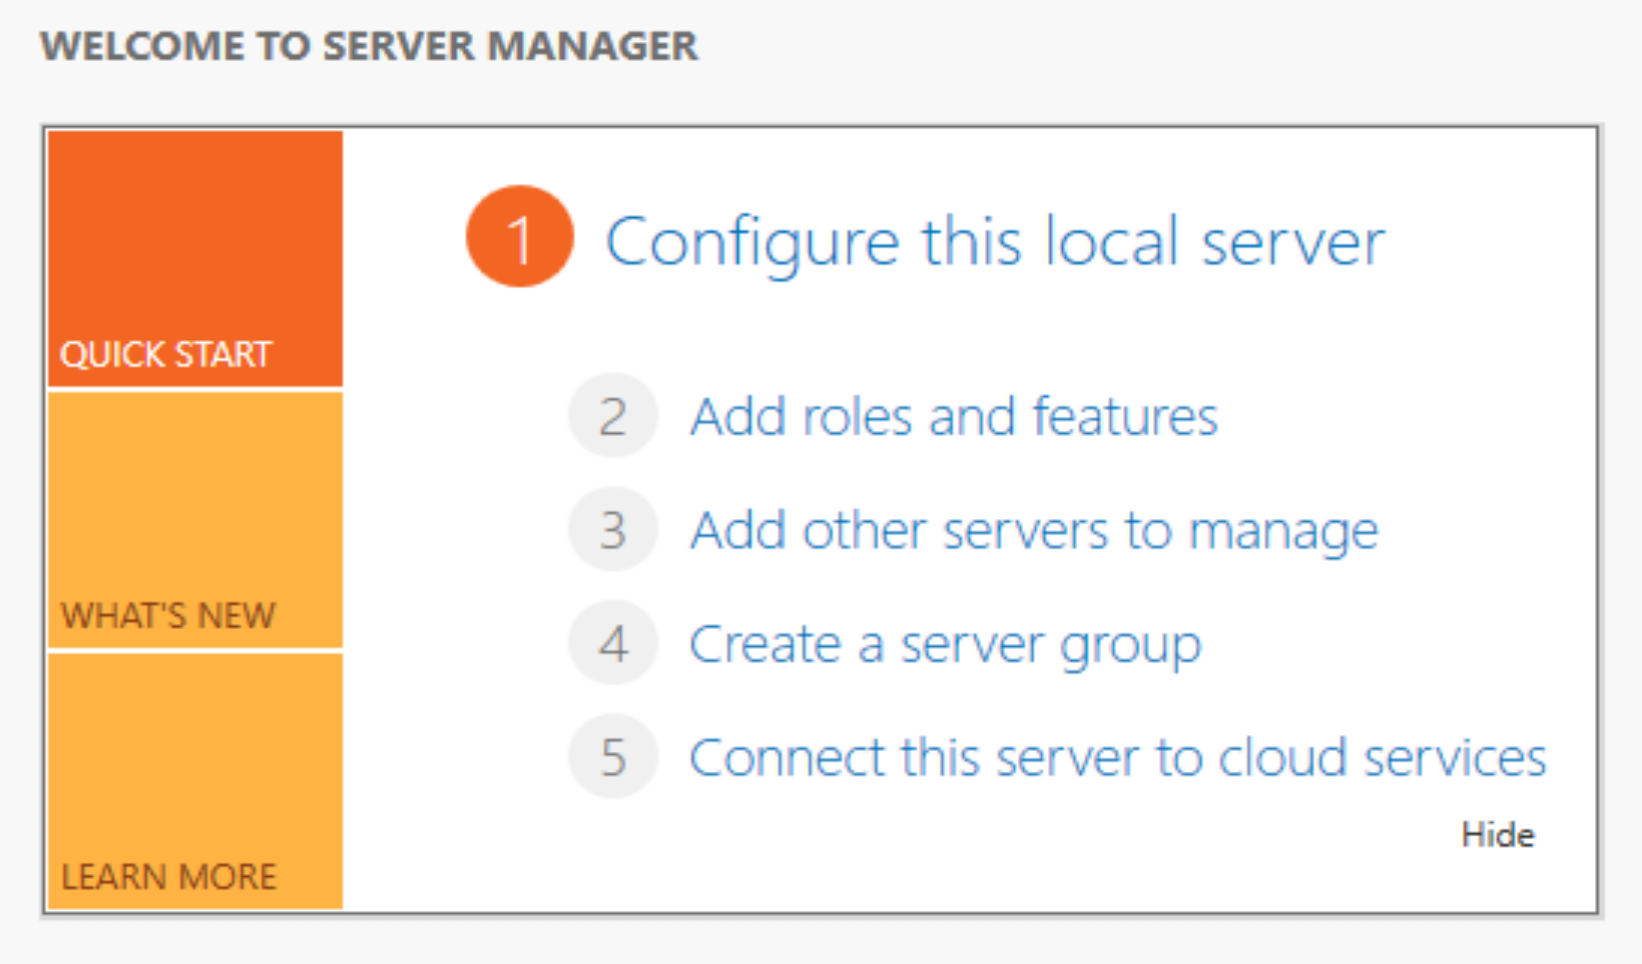
On your Windows Server 2019, in the Start Menu, go to "Server Manager".
Select "Add roles and features".
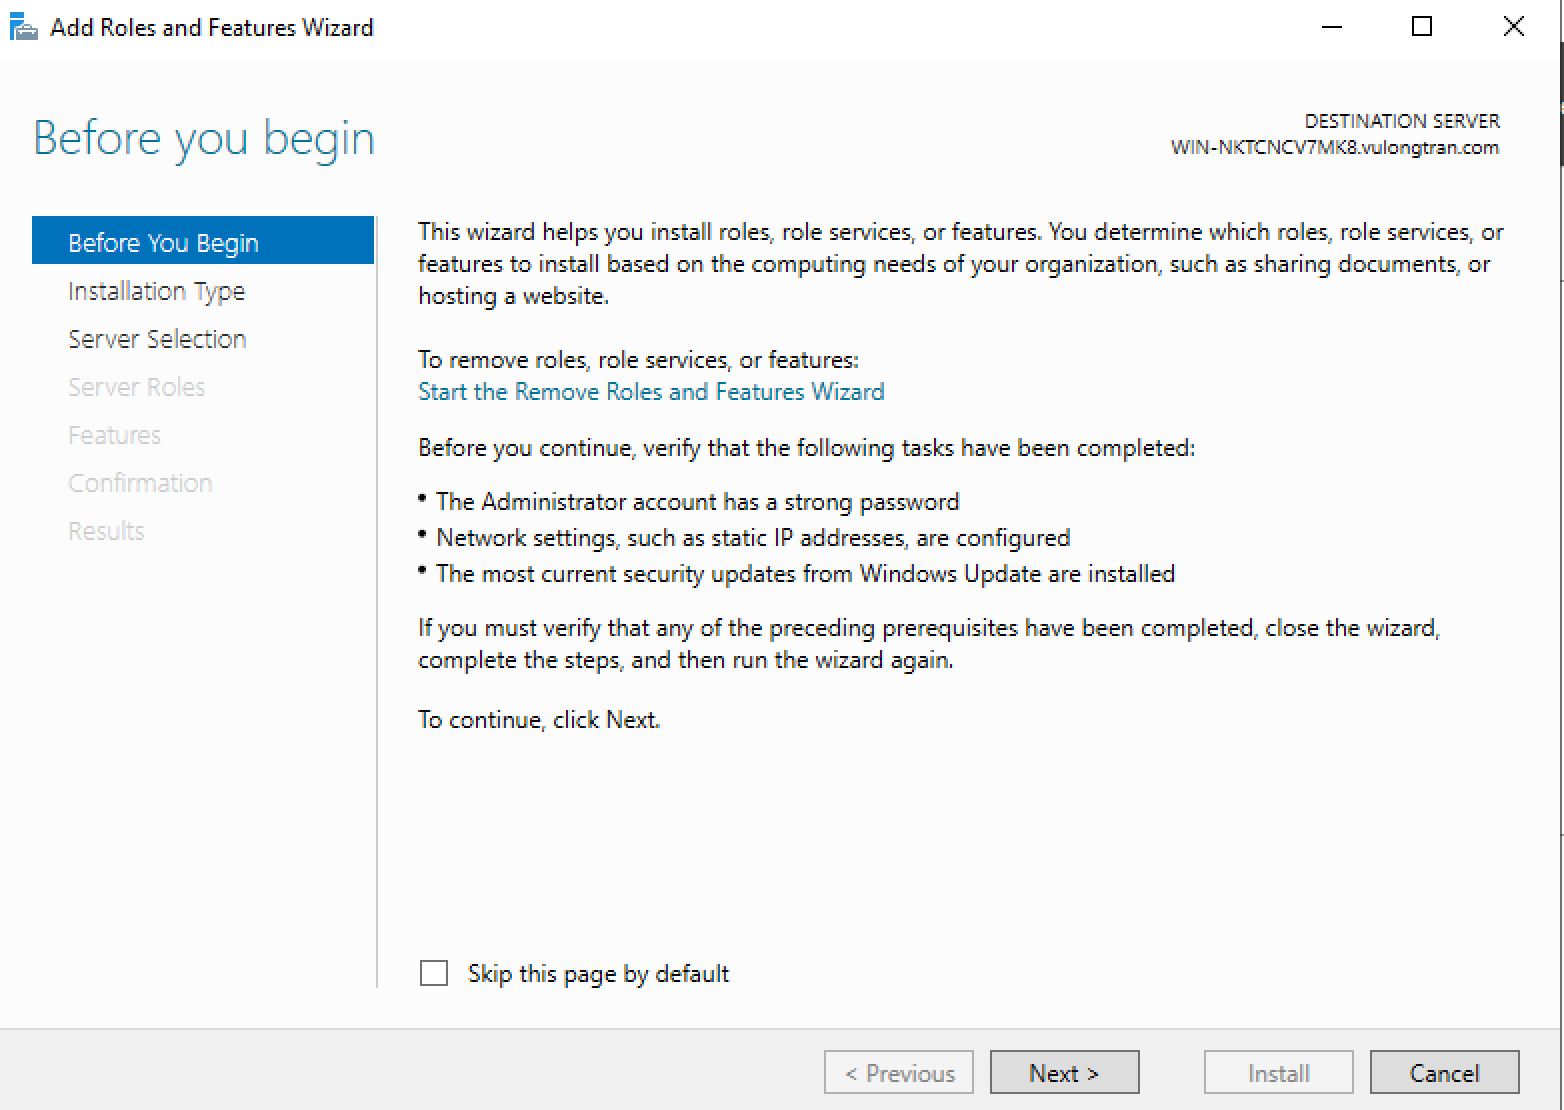
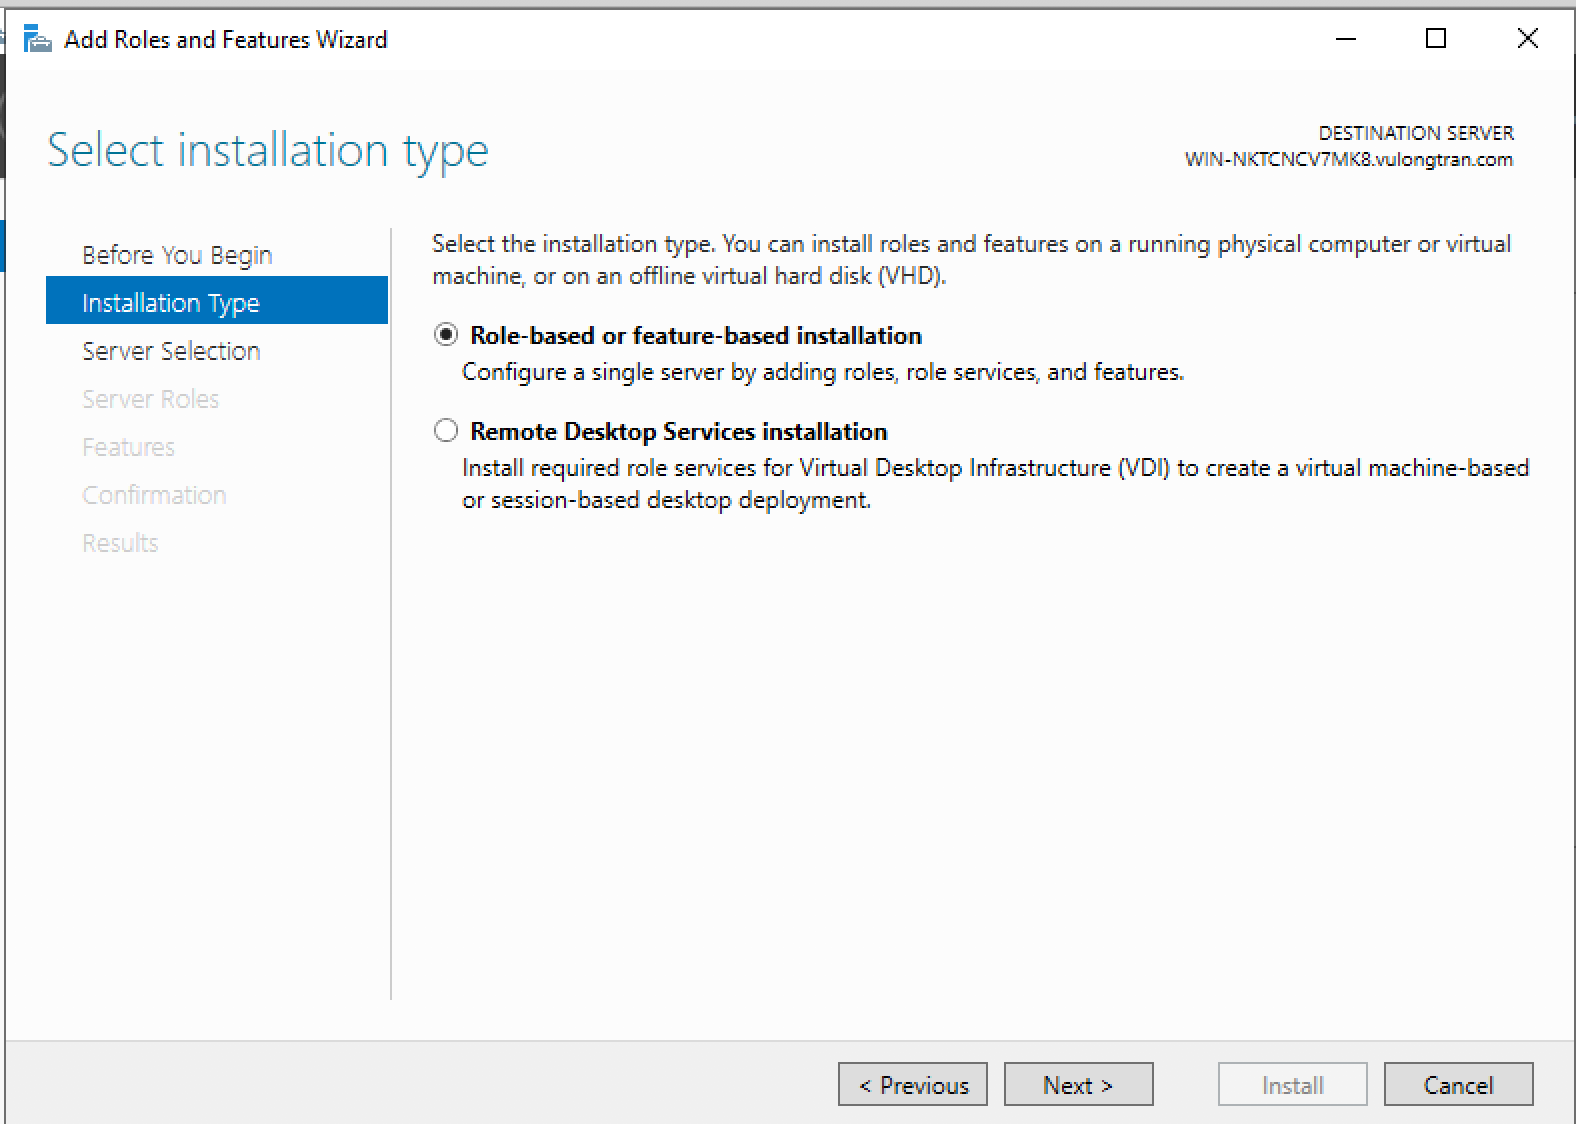
You will be prompted with an "Add Roles and Features Wizard". Follow the prompts.
When you reach the "Server Roles" tab, select the "Roles" you want to add.
It is here you will want to make sure you have selected the:
- "Active Directory Domain Services"
- "DNS Server"
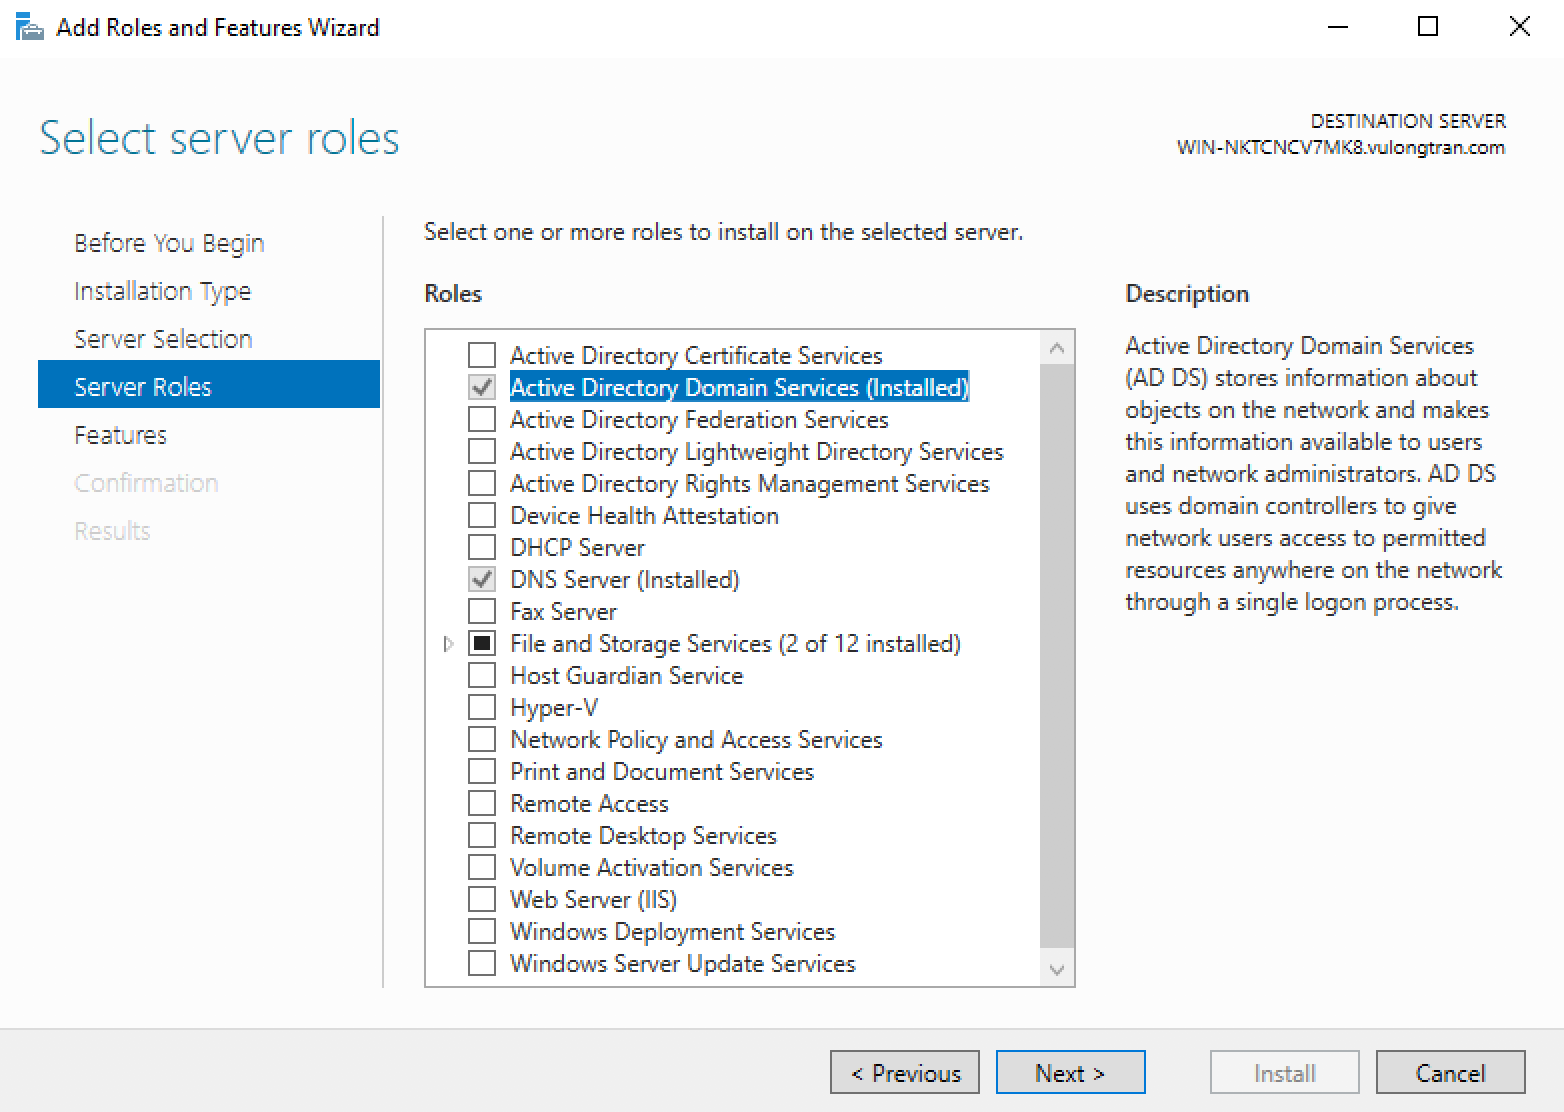
You will notice that I have "Active Direcotry Domain Services" and "DNS Server" installed already, as I took this screenshot after I added them in. But normally these will be unticked and you will need to tick them.
Once you select "Active Directory Domain Services" and "DNS Server", you can click "Install" and follow the default prompts.
4. Configure your AD Domain Controller options
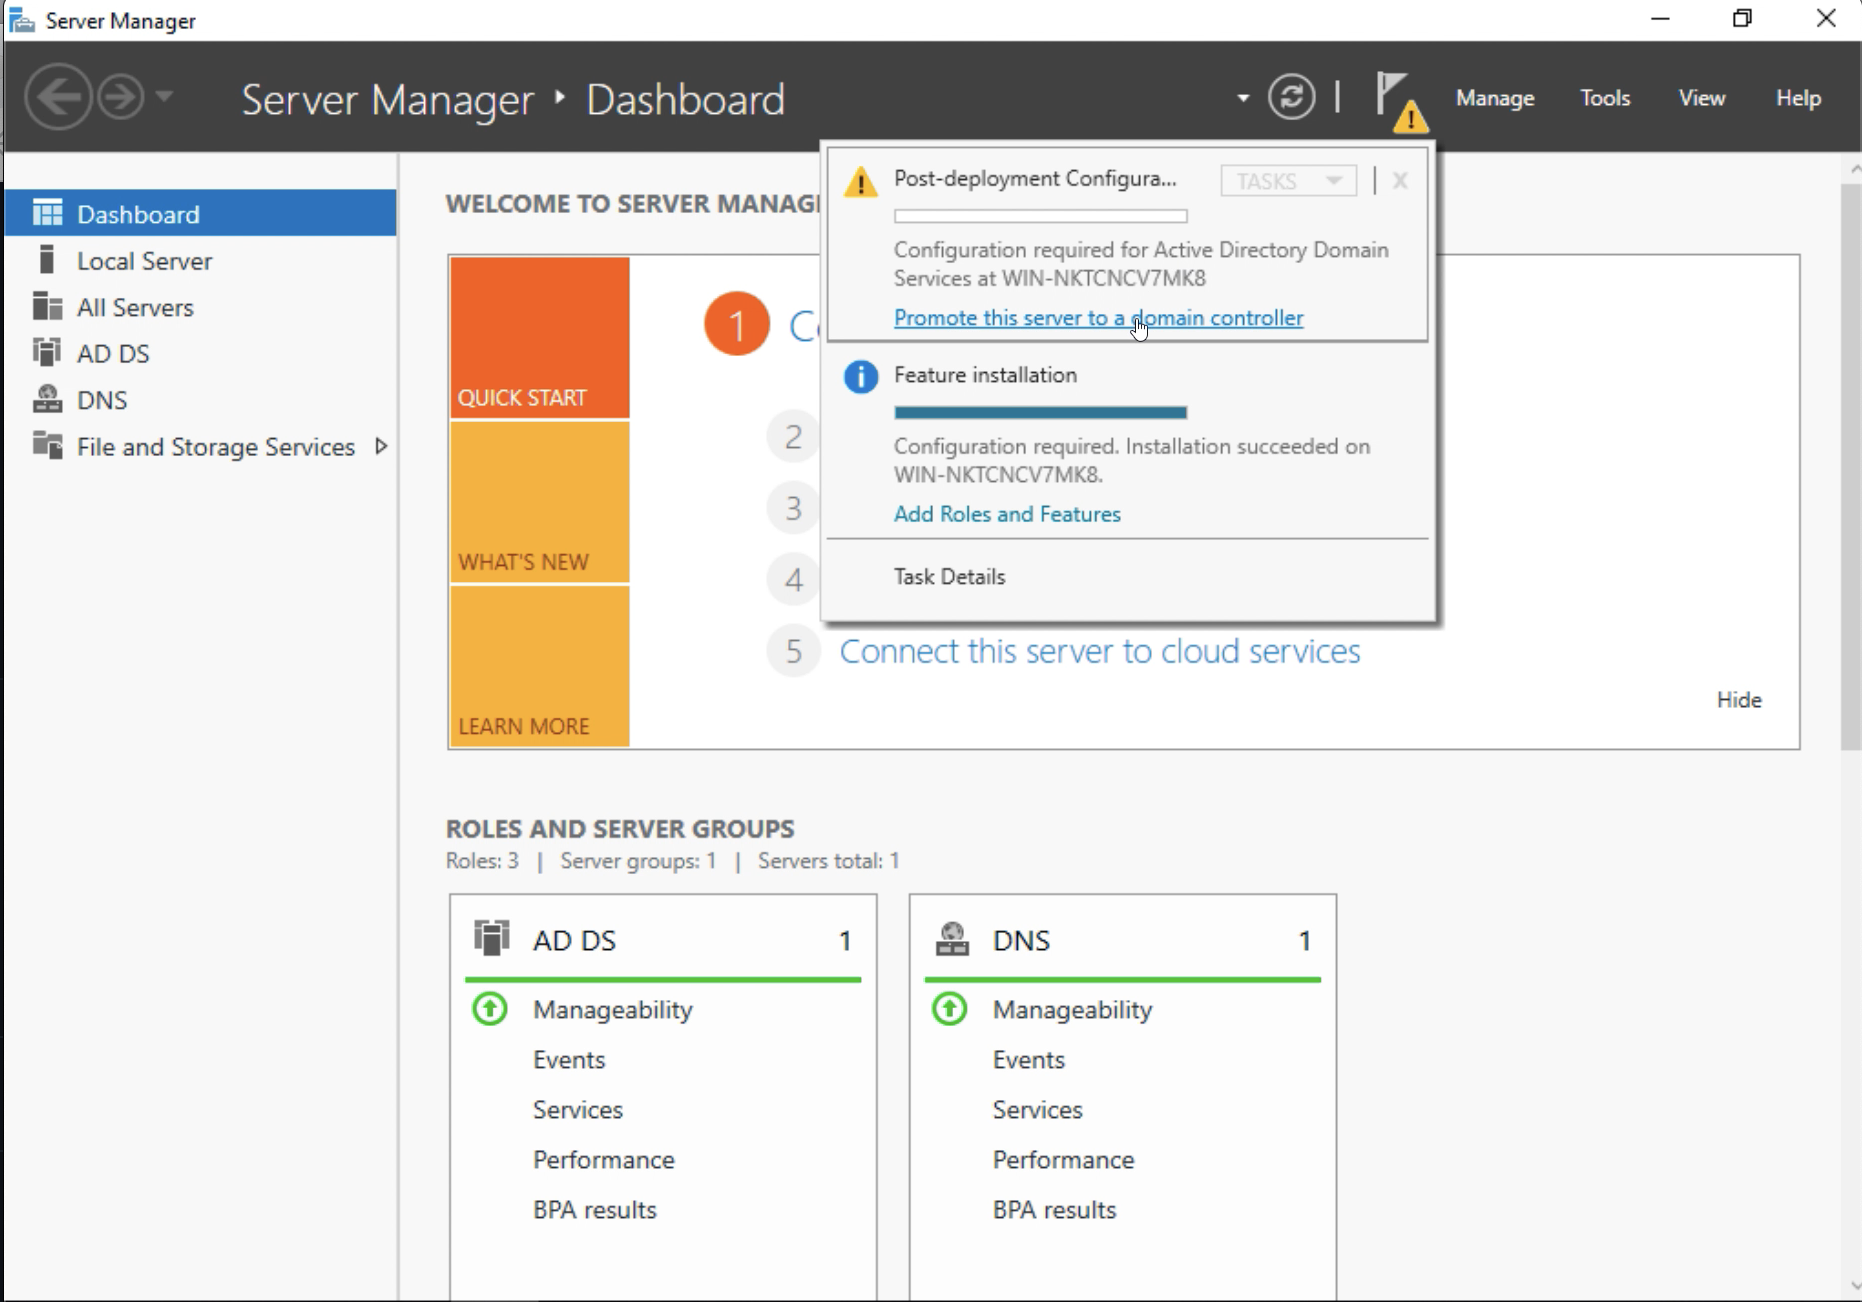
Post-deployment (adding of Active Directory Domain Services and DNS), we can now start to configure our Active Directory Domain Services and DNS settings.
Click on "Promote this server to a domain controller" option in your "Server Manager".
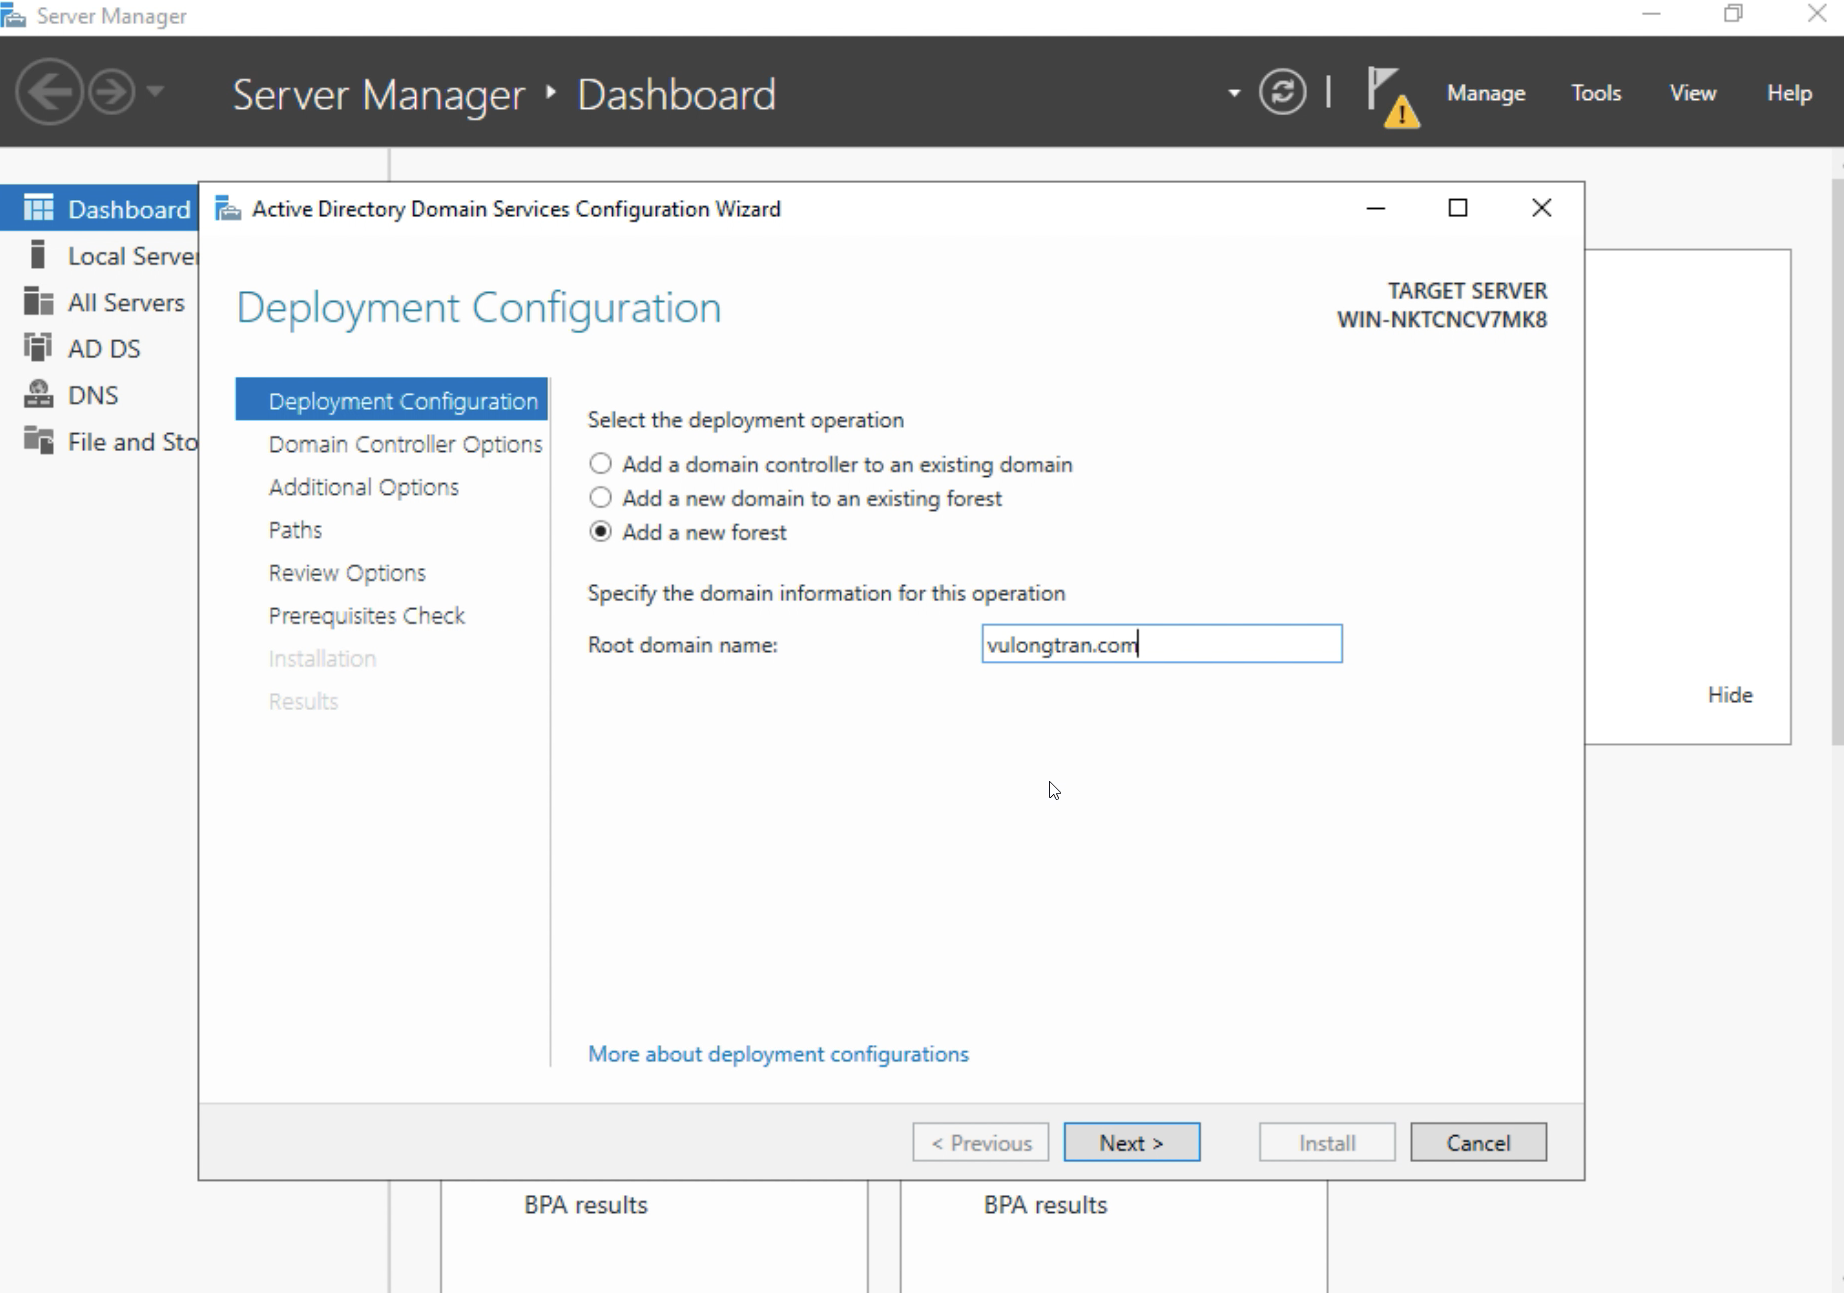
Select "Add a new forest", and specify the domain information for this operation that you would like here. You can put anything you would like here.
In my example, I have set this root domain name as: vulongtran.com.
You can put something like cars.local, pets.locals or any other domain you would like here as we are just testing this so having a domain name here at this stage will be useful. We can change this later on if needed.
Set a Directory Services Restore Mode (DSRM) password. You can choose any DSRM password you would like here.
It is important to keep note of this, as the Directory Services Restore Mode (DSRM) is a safe mode boot option for Windows Server domain controllers. DSRM allows an administrator to repair or recover to repair or restore an Active Directory database.
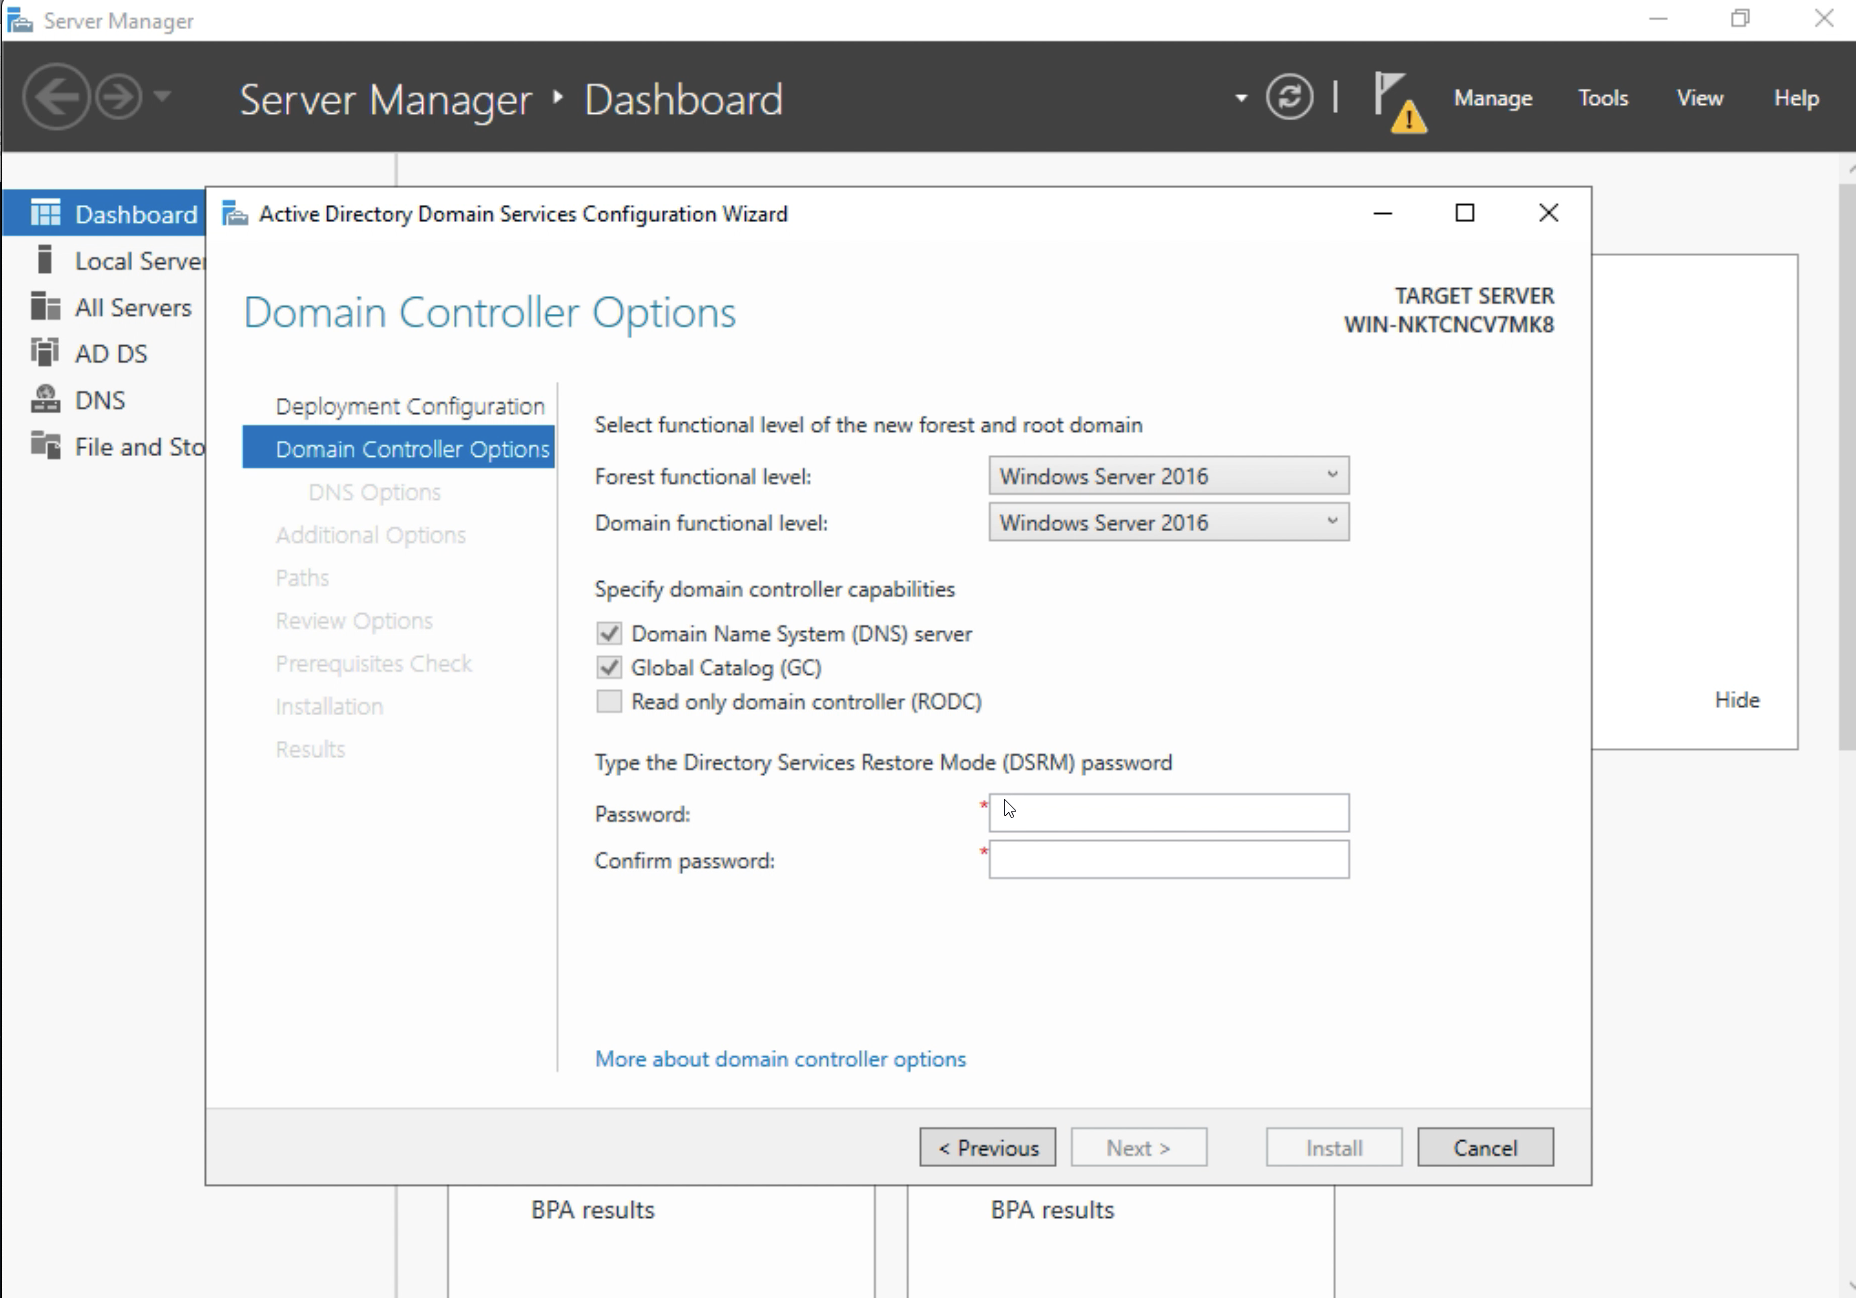
Follow the prompts and select the defaults and click "Next" accordingly.
When you are ready, click "install".
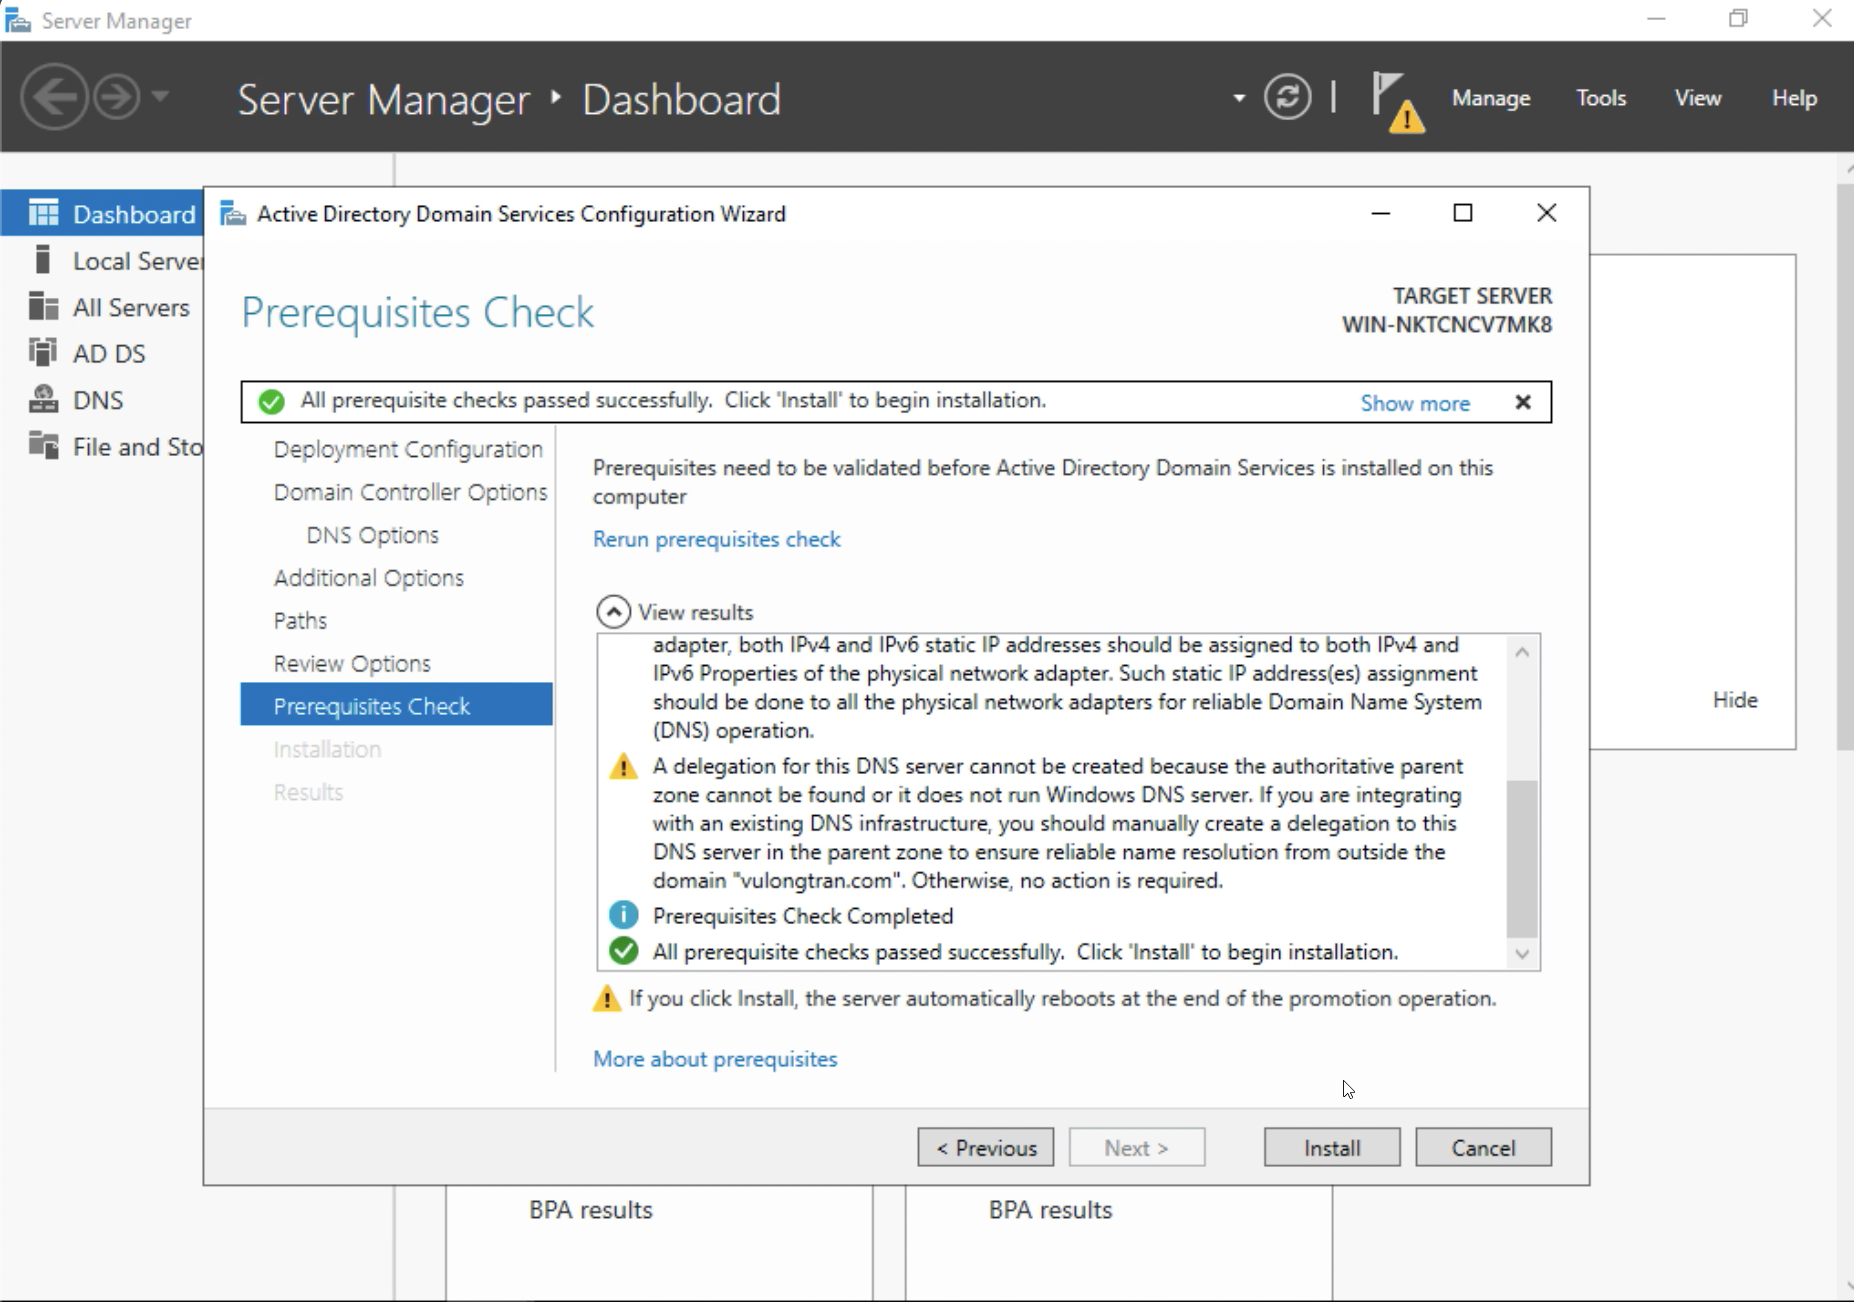
Wait for the items to be installed. It may take 10-15 minutes or more.
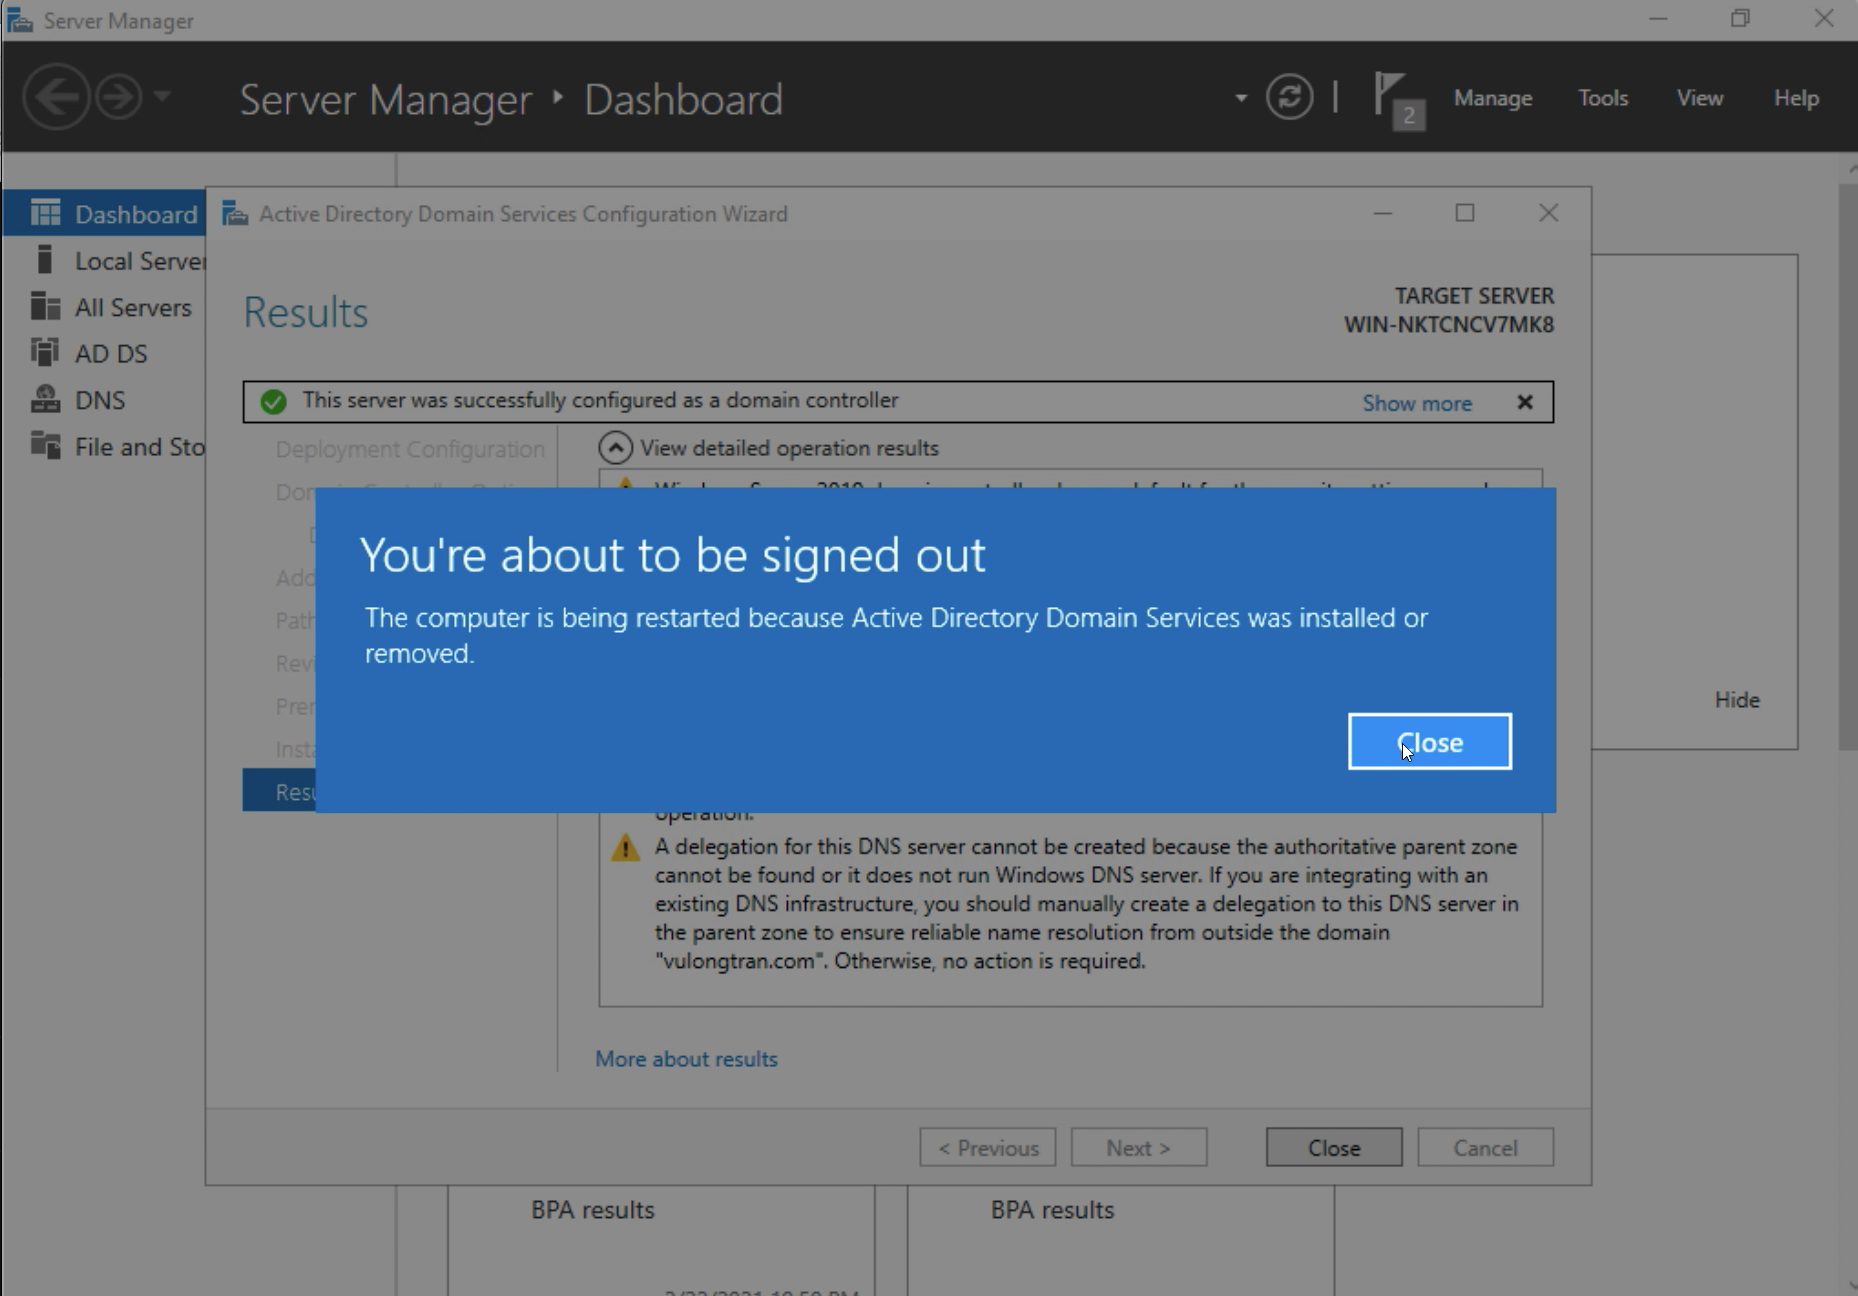
You will be prompted to restart your computer when it is ready.
"You're about to be signed out. The computer is being restarted because Active Directory Domain Services was installed or removed."
5. Validate that Active Directory Domain Services and DNS is working
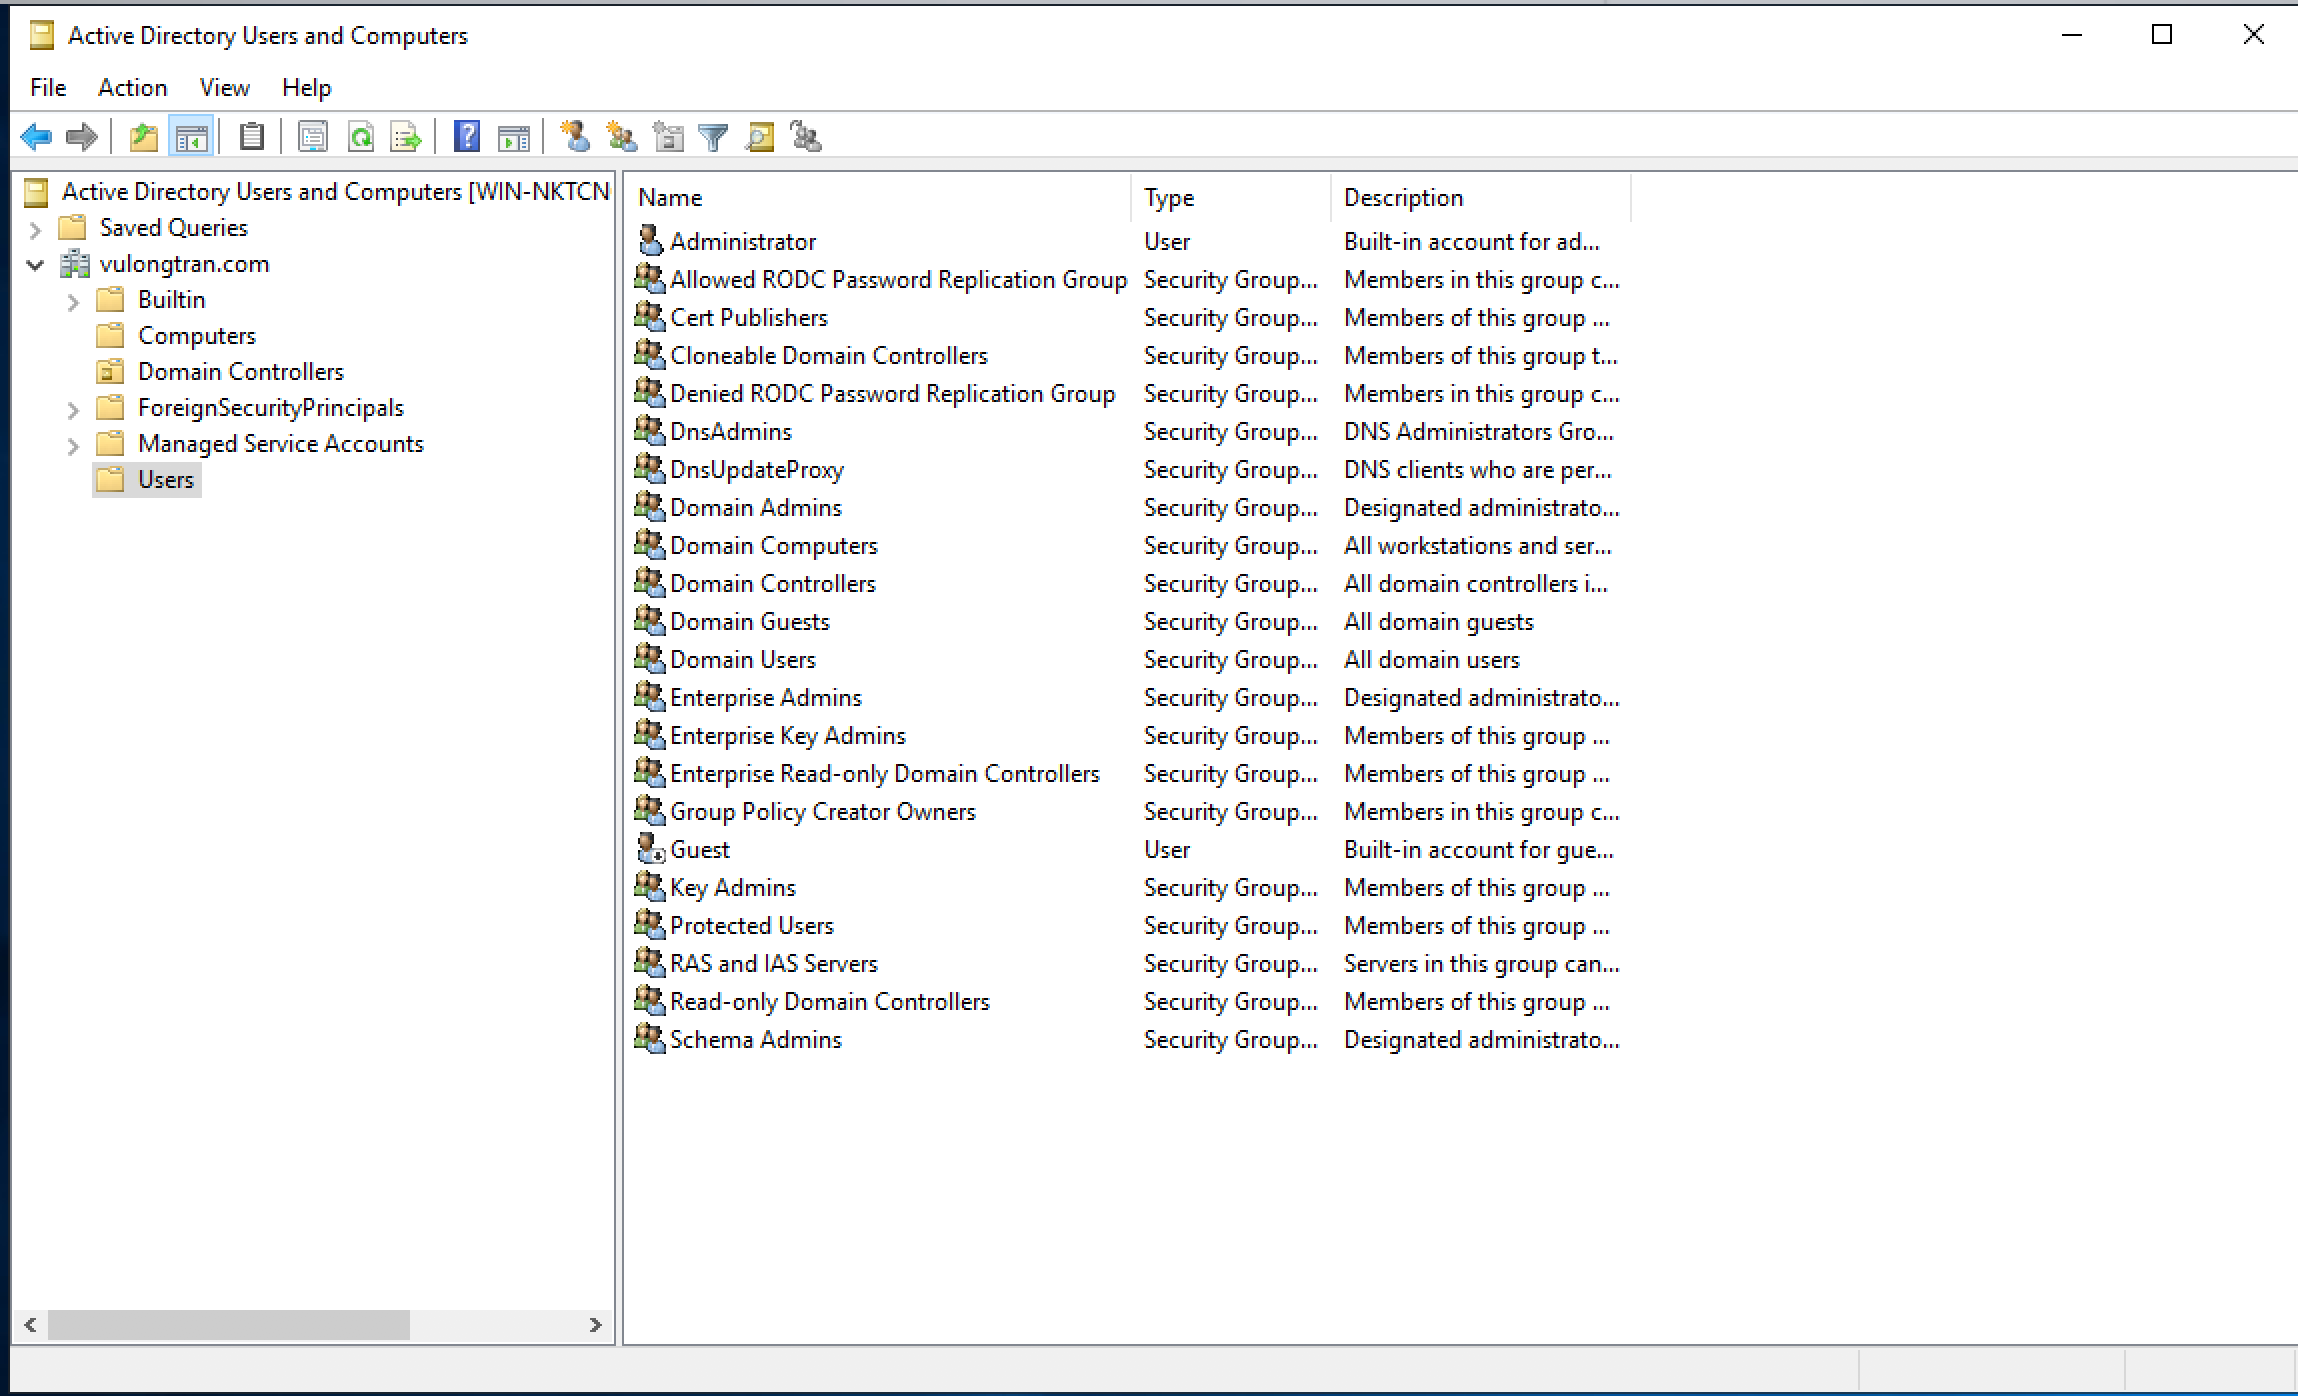
On your Windows Server 2019, in the Start Menu, go to Windows Administrative tools> "Active Directory Users and Computers".
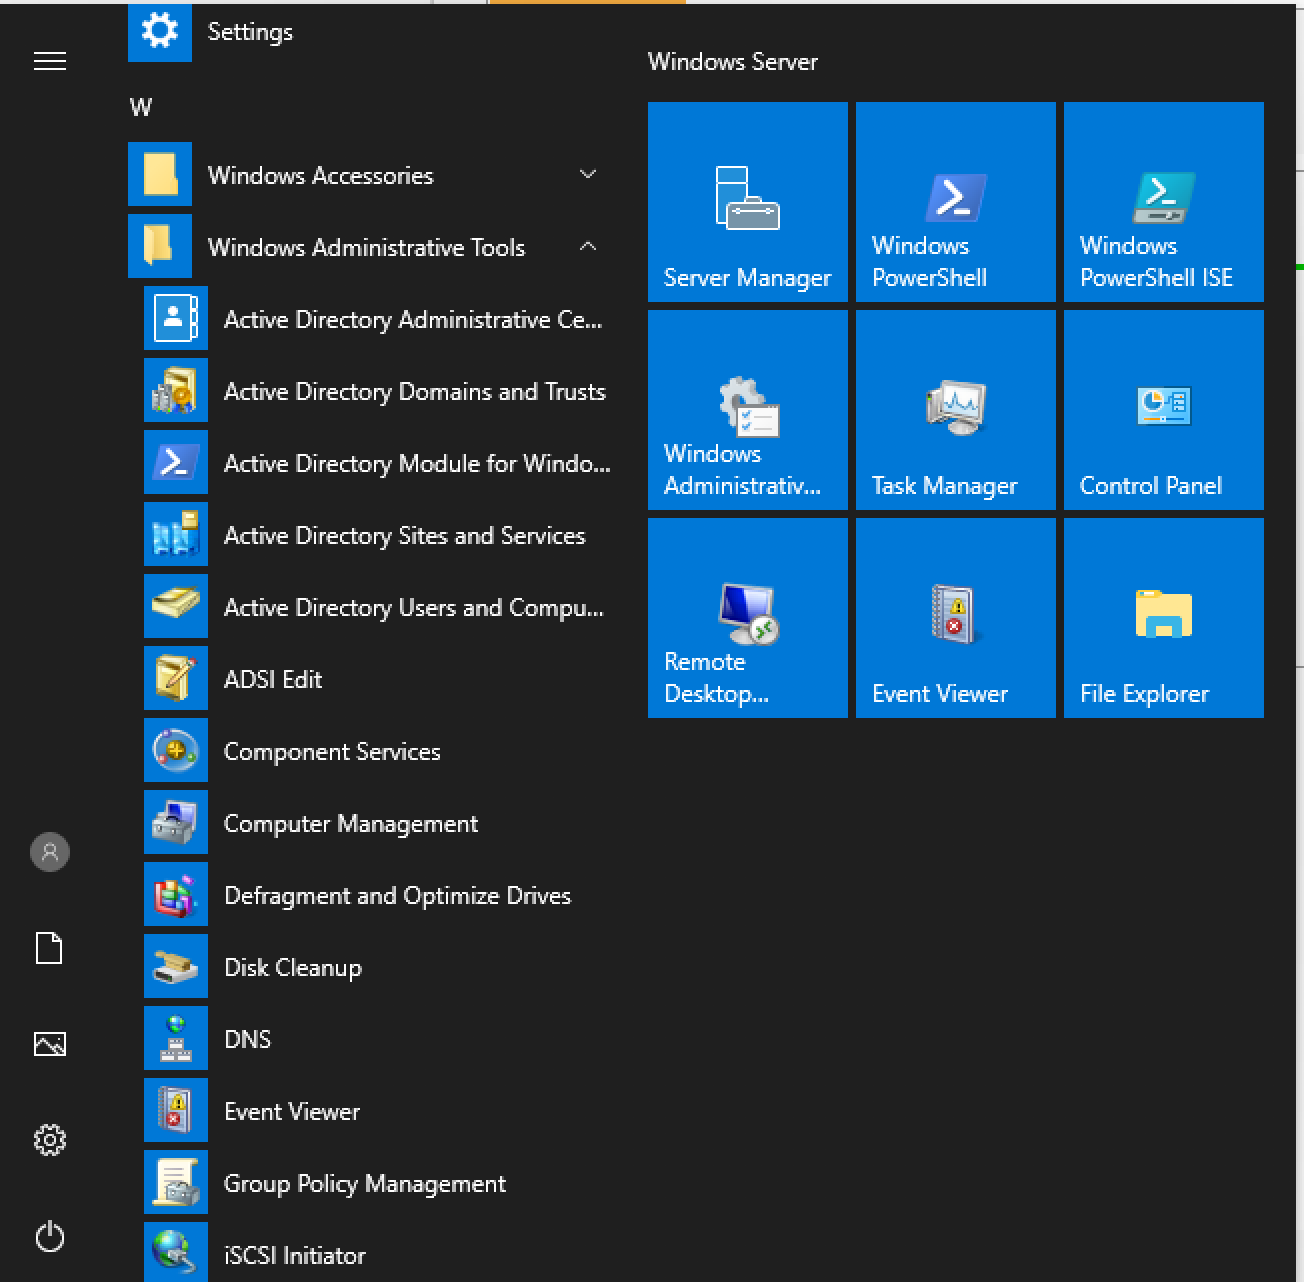
Validate that "Active Directory Users and Computers" is set.
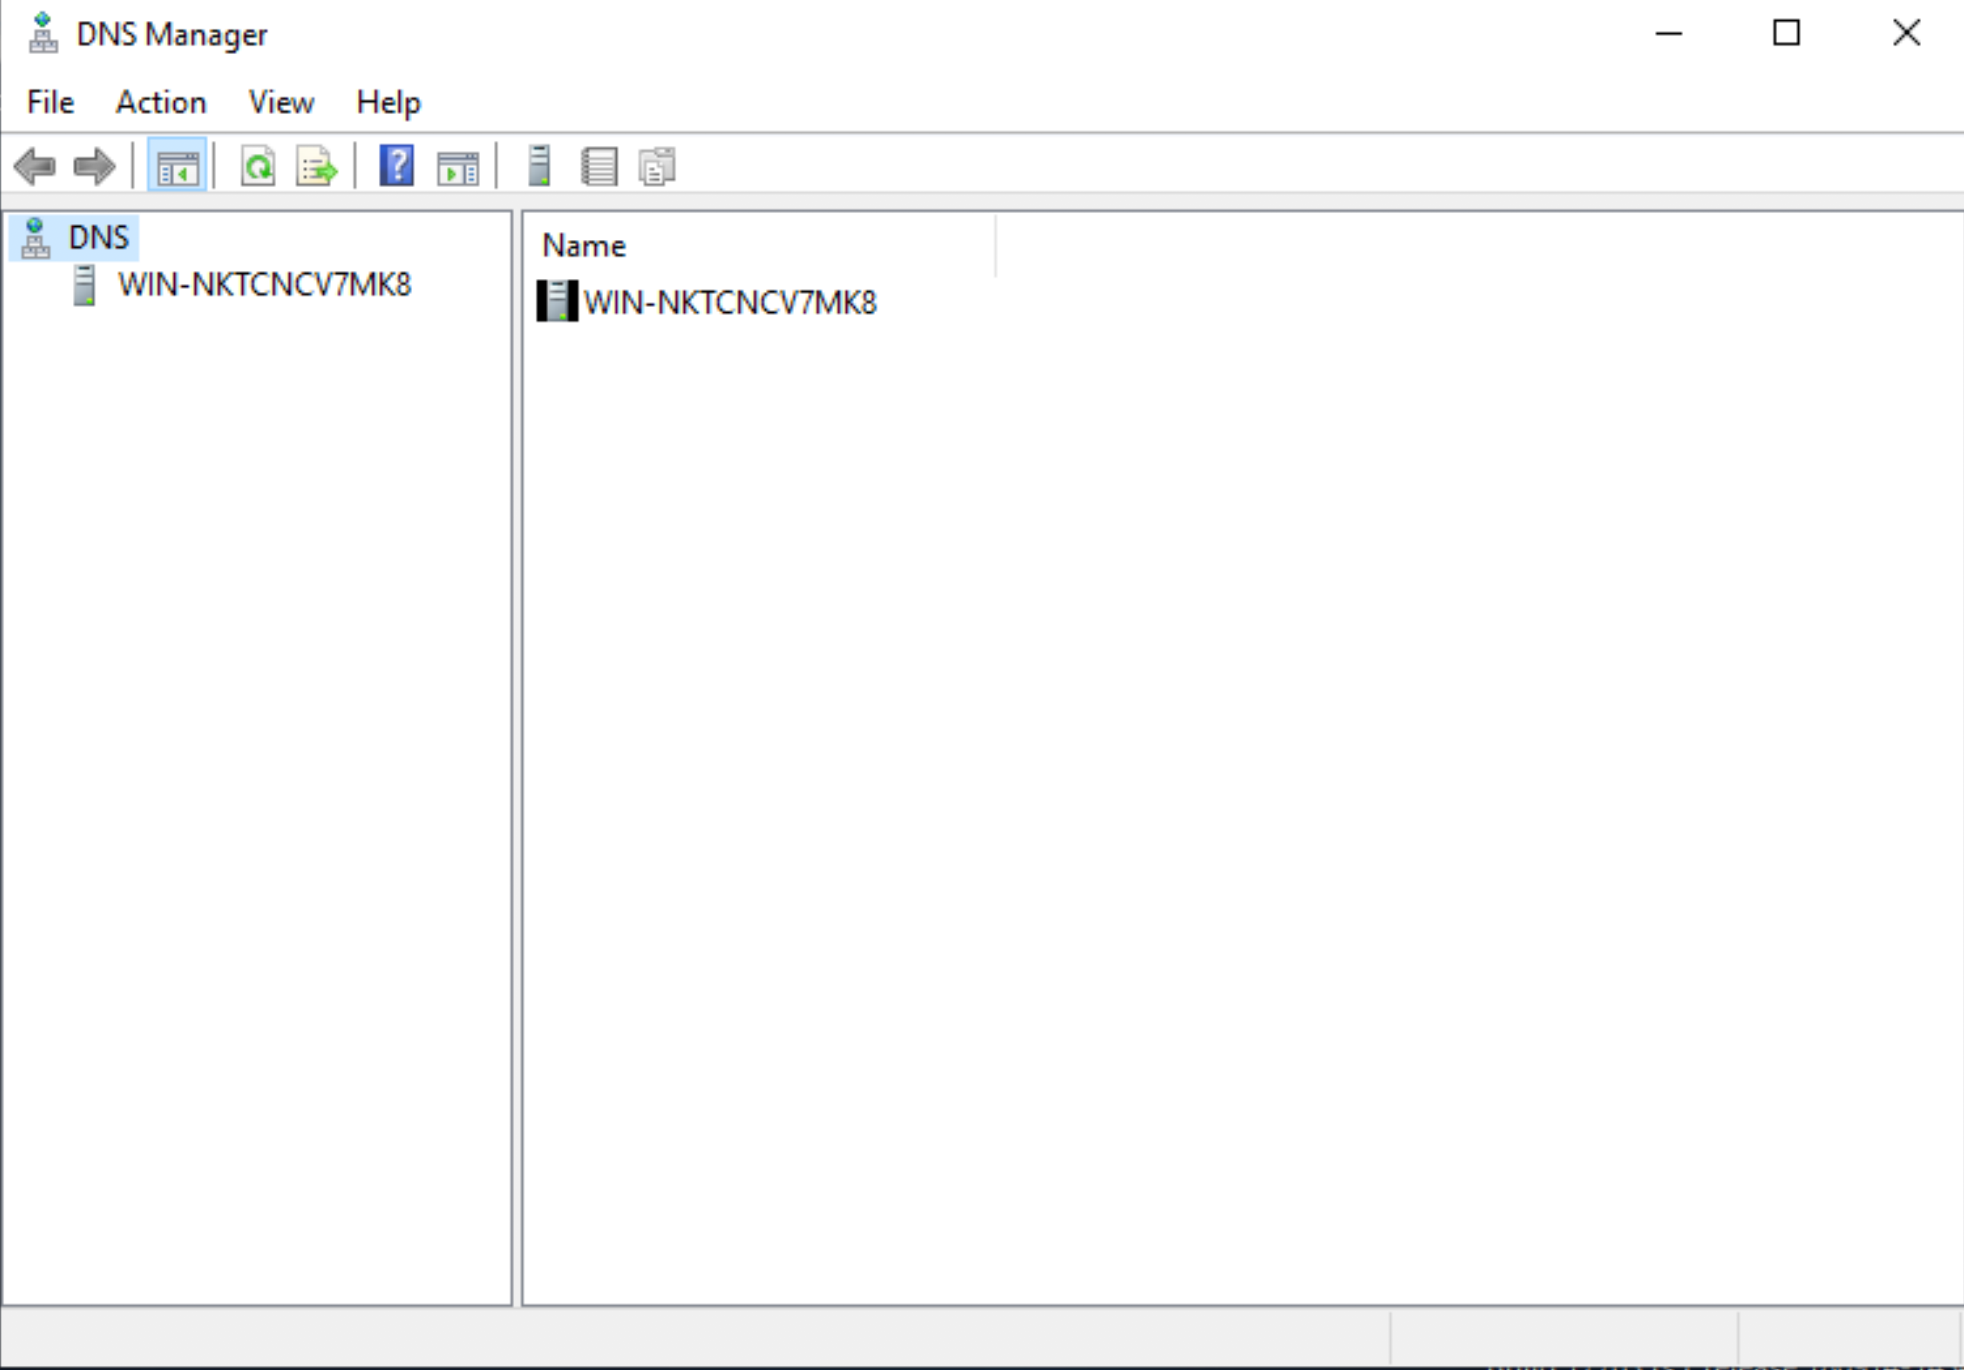
On your Windows Server 2019, in the Start Menu, go to Windows Administrative tools> "DNS".
Validate that DNS has been set via DNS Manager. Click on your computer name (WIN-....).
You can choose to change this to something meaningful down the road if that is something you would like to do.
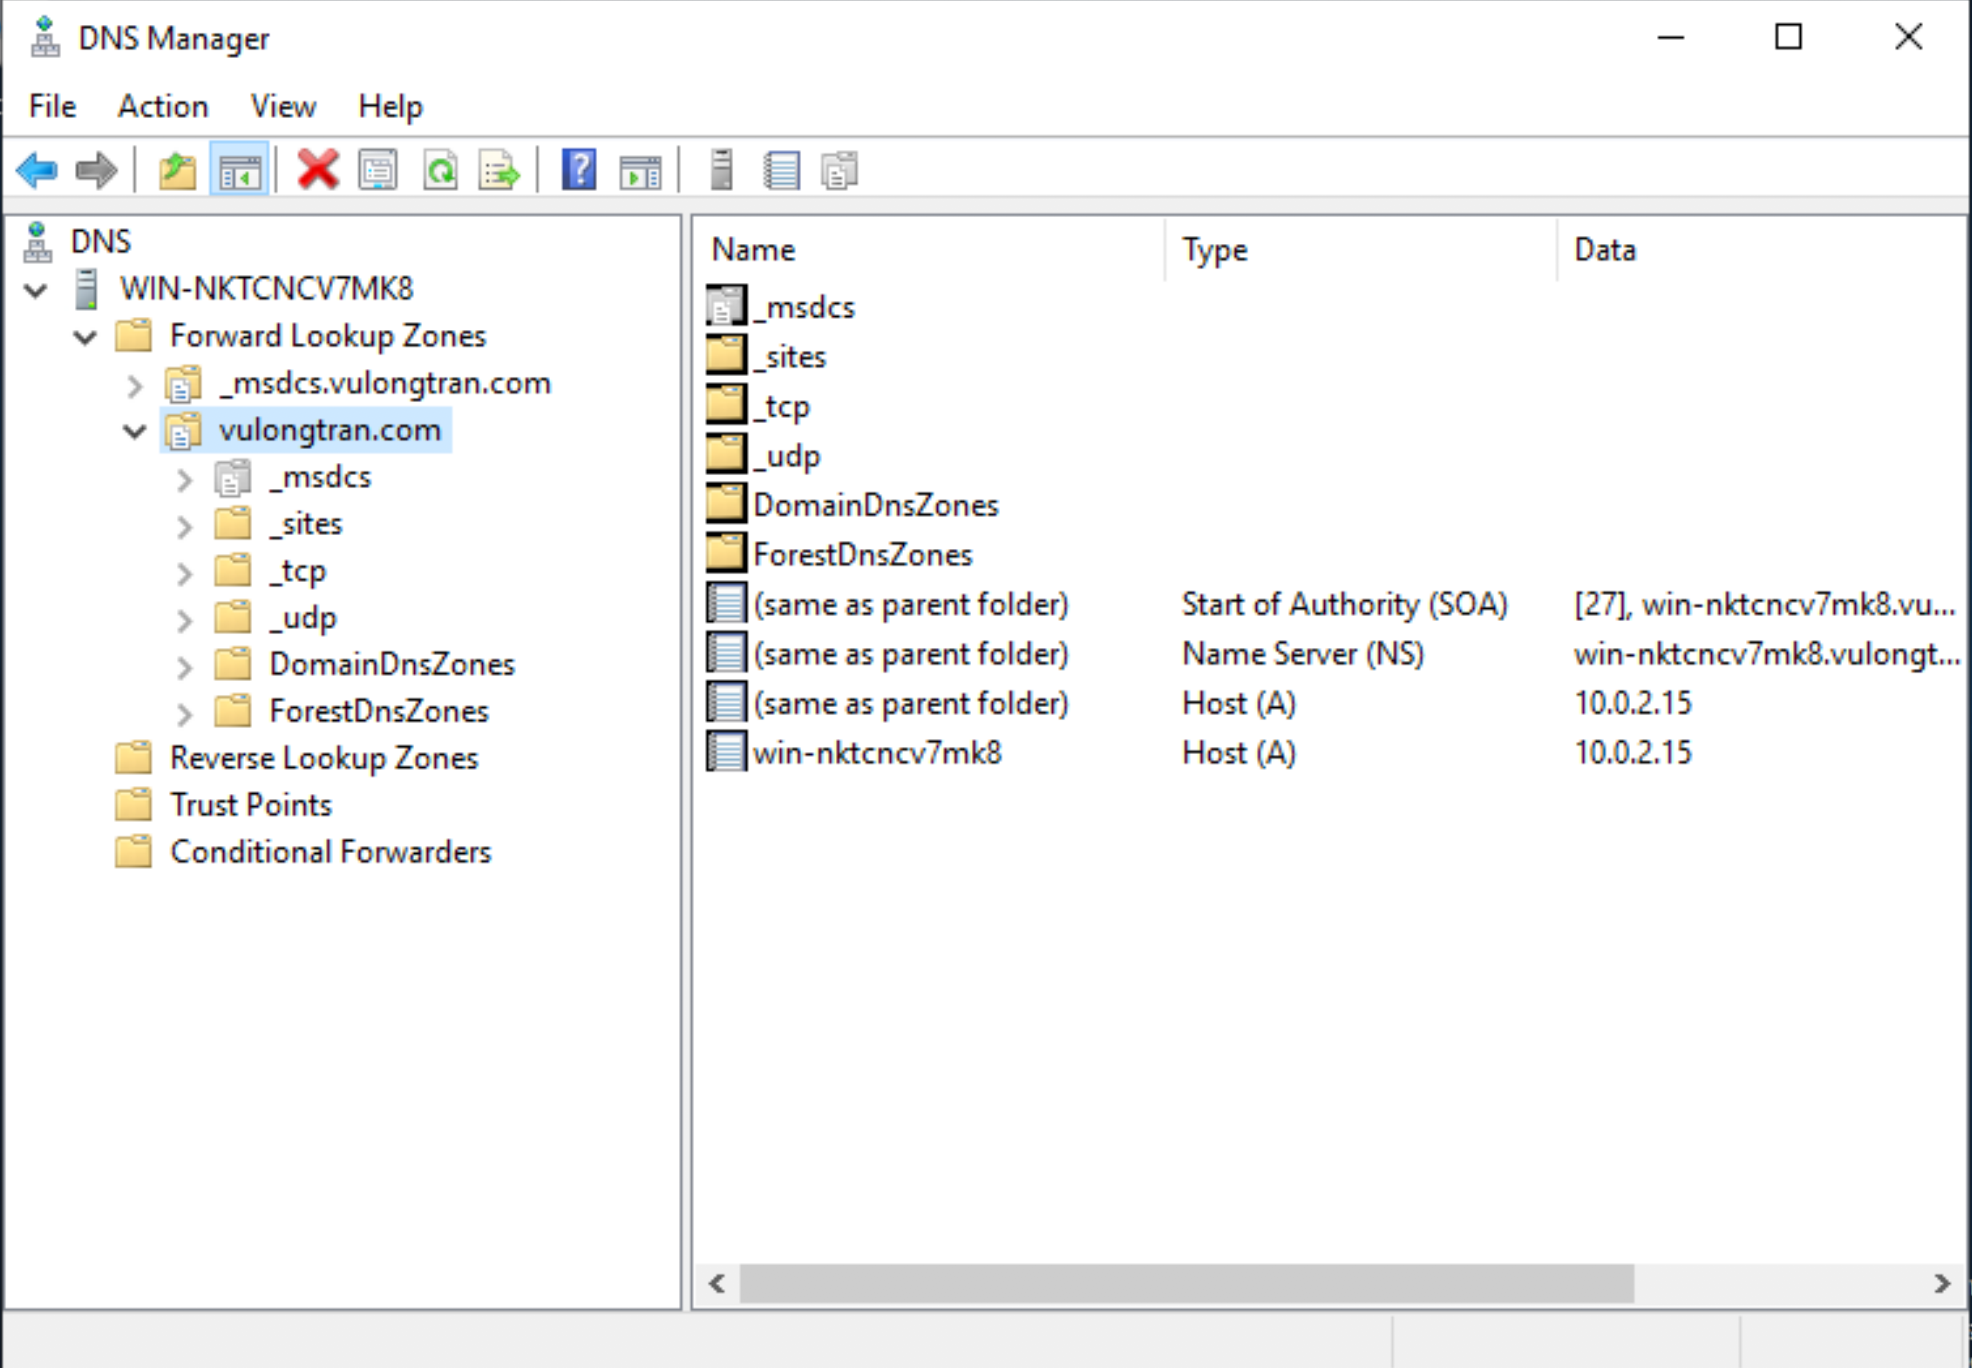
Check that you can see your domain controller name listed. In my example, it is "vulongtran.com" which I can see under "Forward Lookup Zones".

Under "DNS Manager" you can see "vulongtran.com" listed there.
Here's an example installing Active Directory, just on Windows Server 2012R2.


