This is a guide on how to add one of a Facebook Page box to your website hosted on HubSpot.
Note - These instructions only apply for HubSpot hosted webpages, such as HubSpot Website, HubSpot Landing Pages, HubSpot Blog.
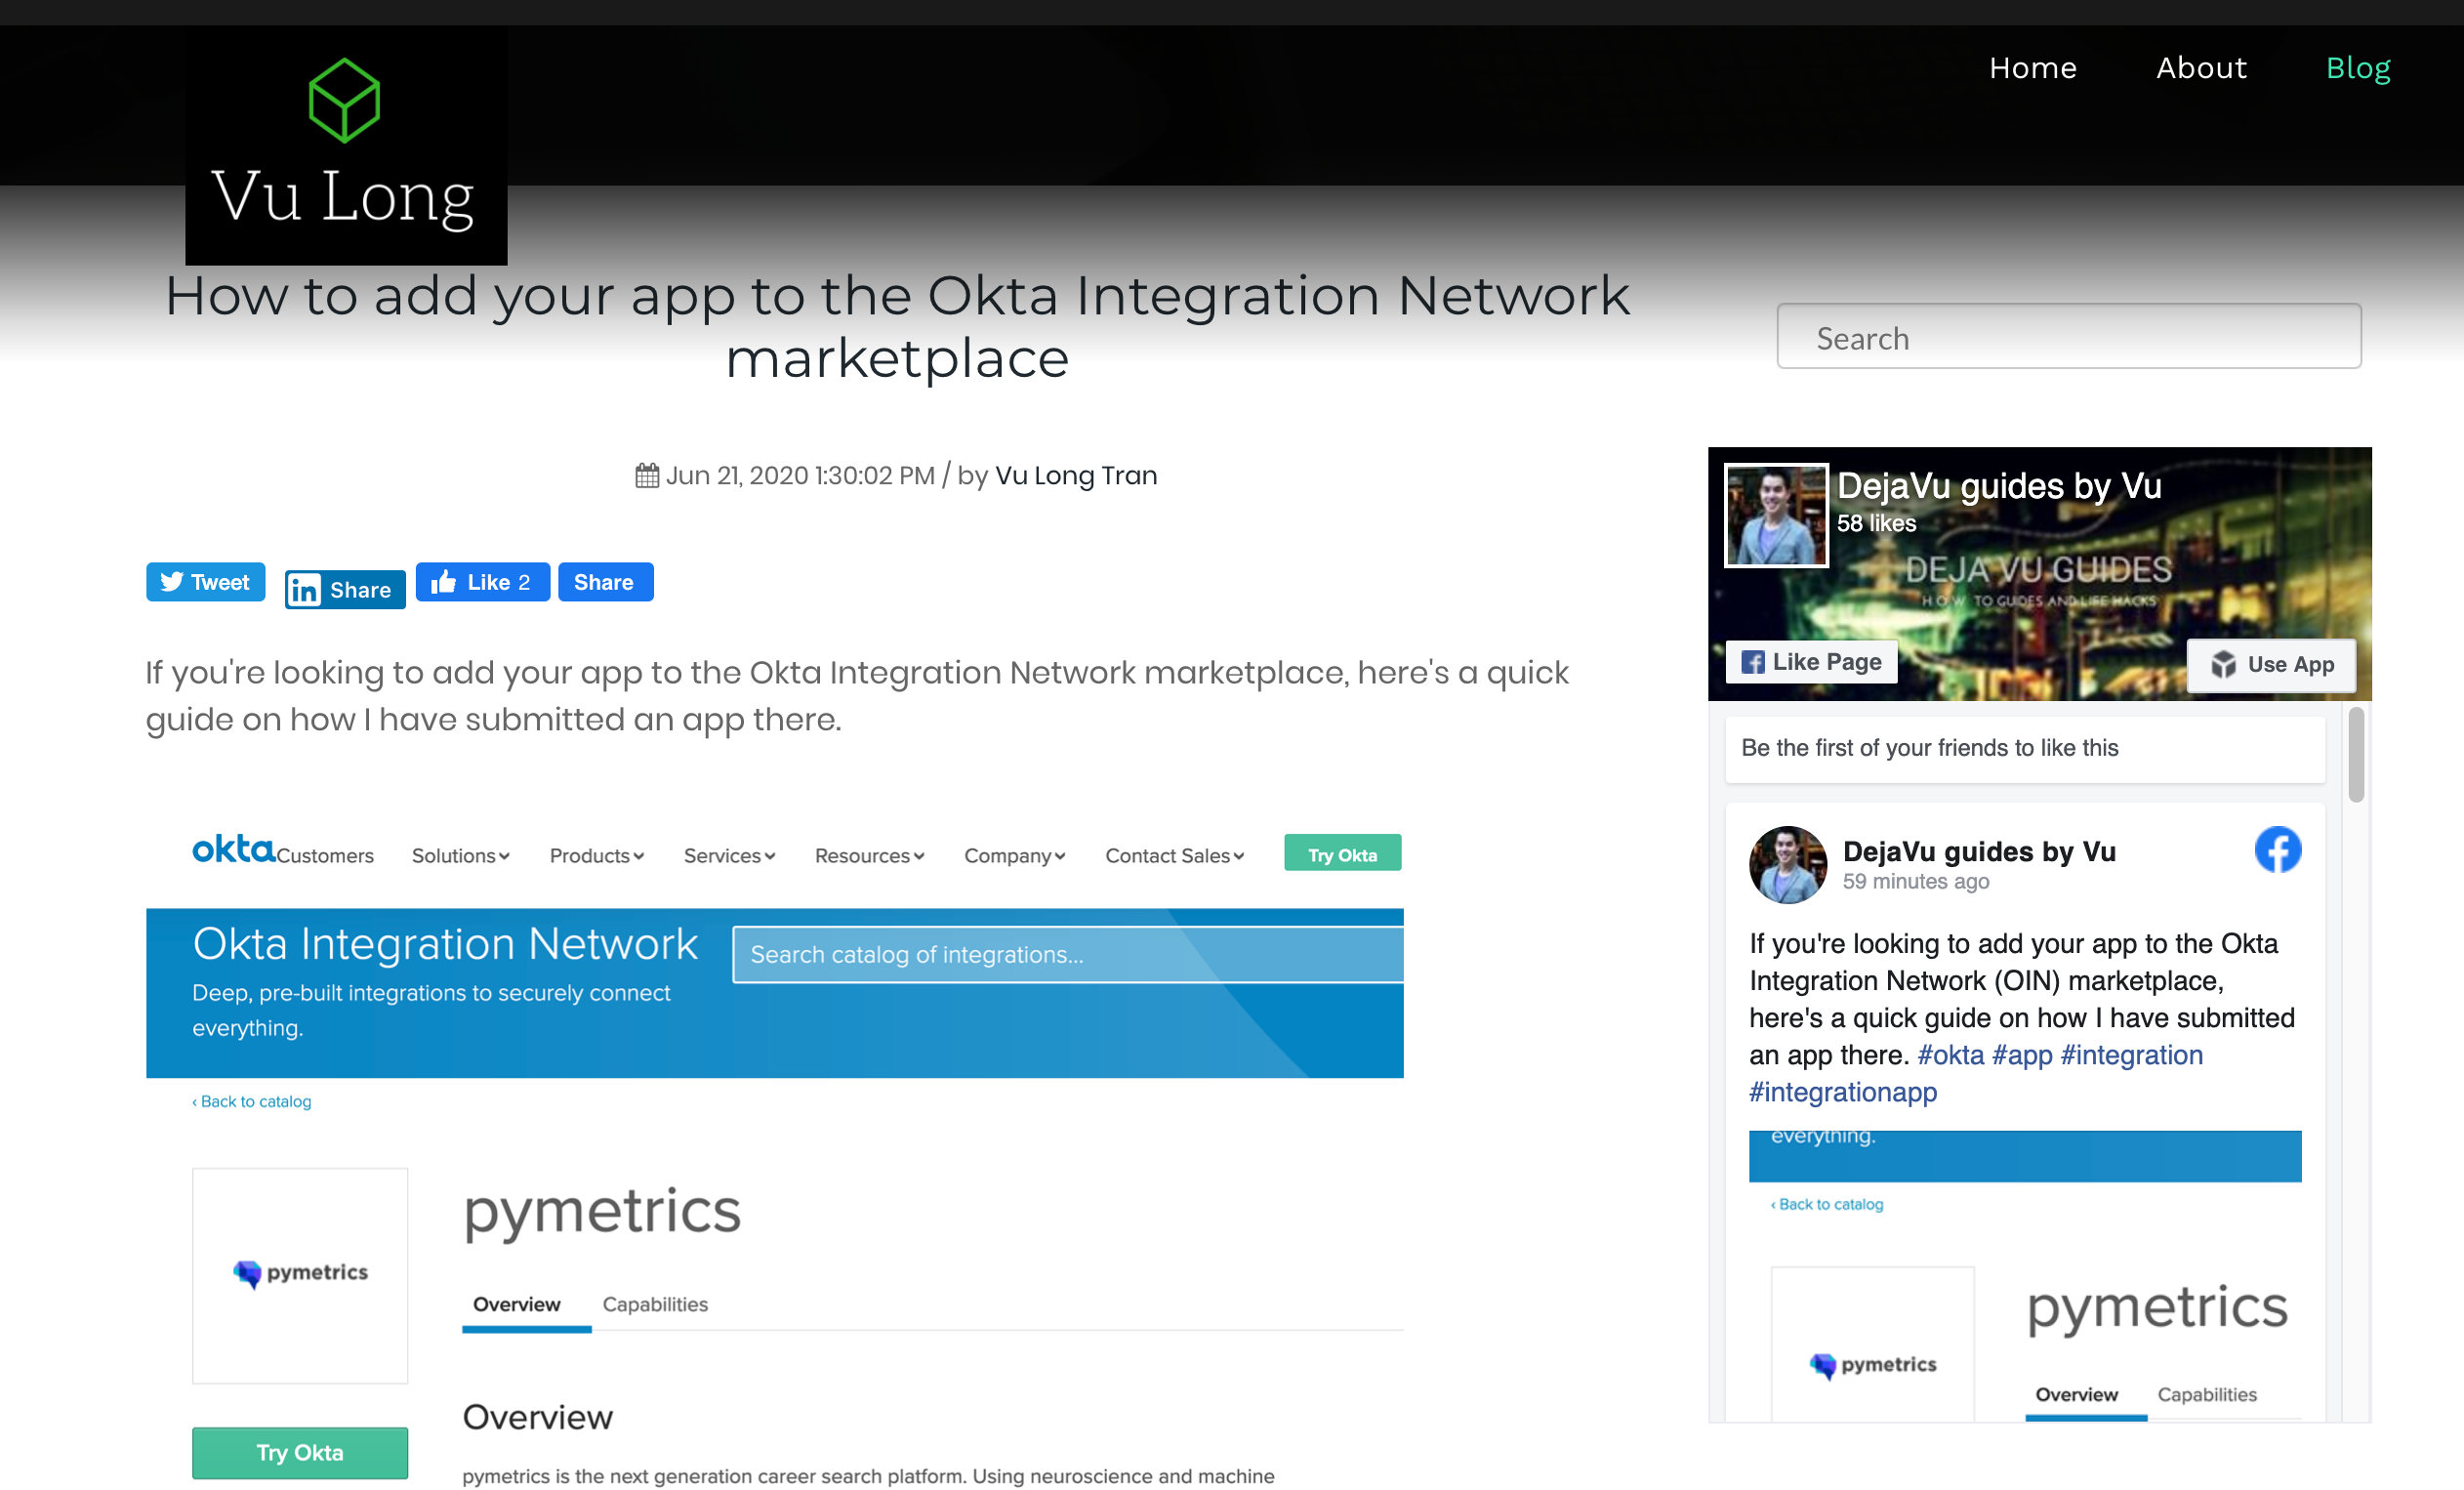
There are two main steps of getting your Facebook Page box added to your HubSpot hosted web page:
- Create a new HubSpot Module
- Add Facebook Page Plugin code to your new HubSpot Module
How to add Facebook Page to your HubSpot page
Step 1 - Create a new HubSpot Module
As there is no default Facebook Page module on HubSpot, so you will need to create a new one.
So we need to create a new module.
You create a new module in the "Design Manager".
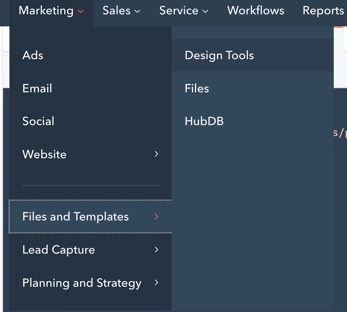
"Design Manager" in HubSpot is currently found in HubSpot.com > Marketing> Files and Templates> Design Tools.
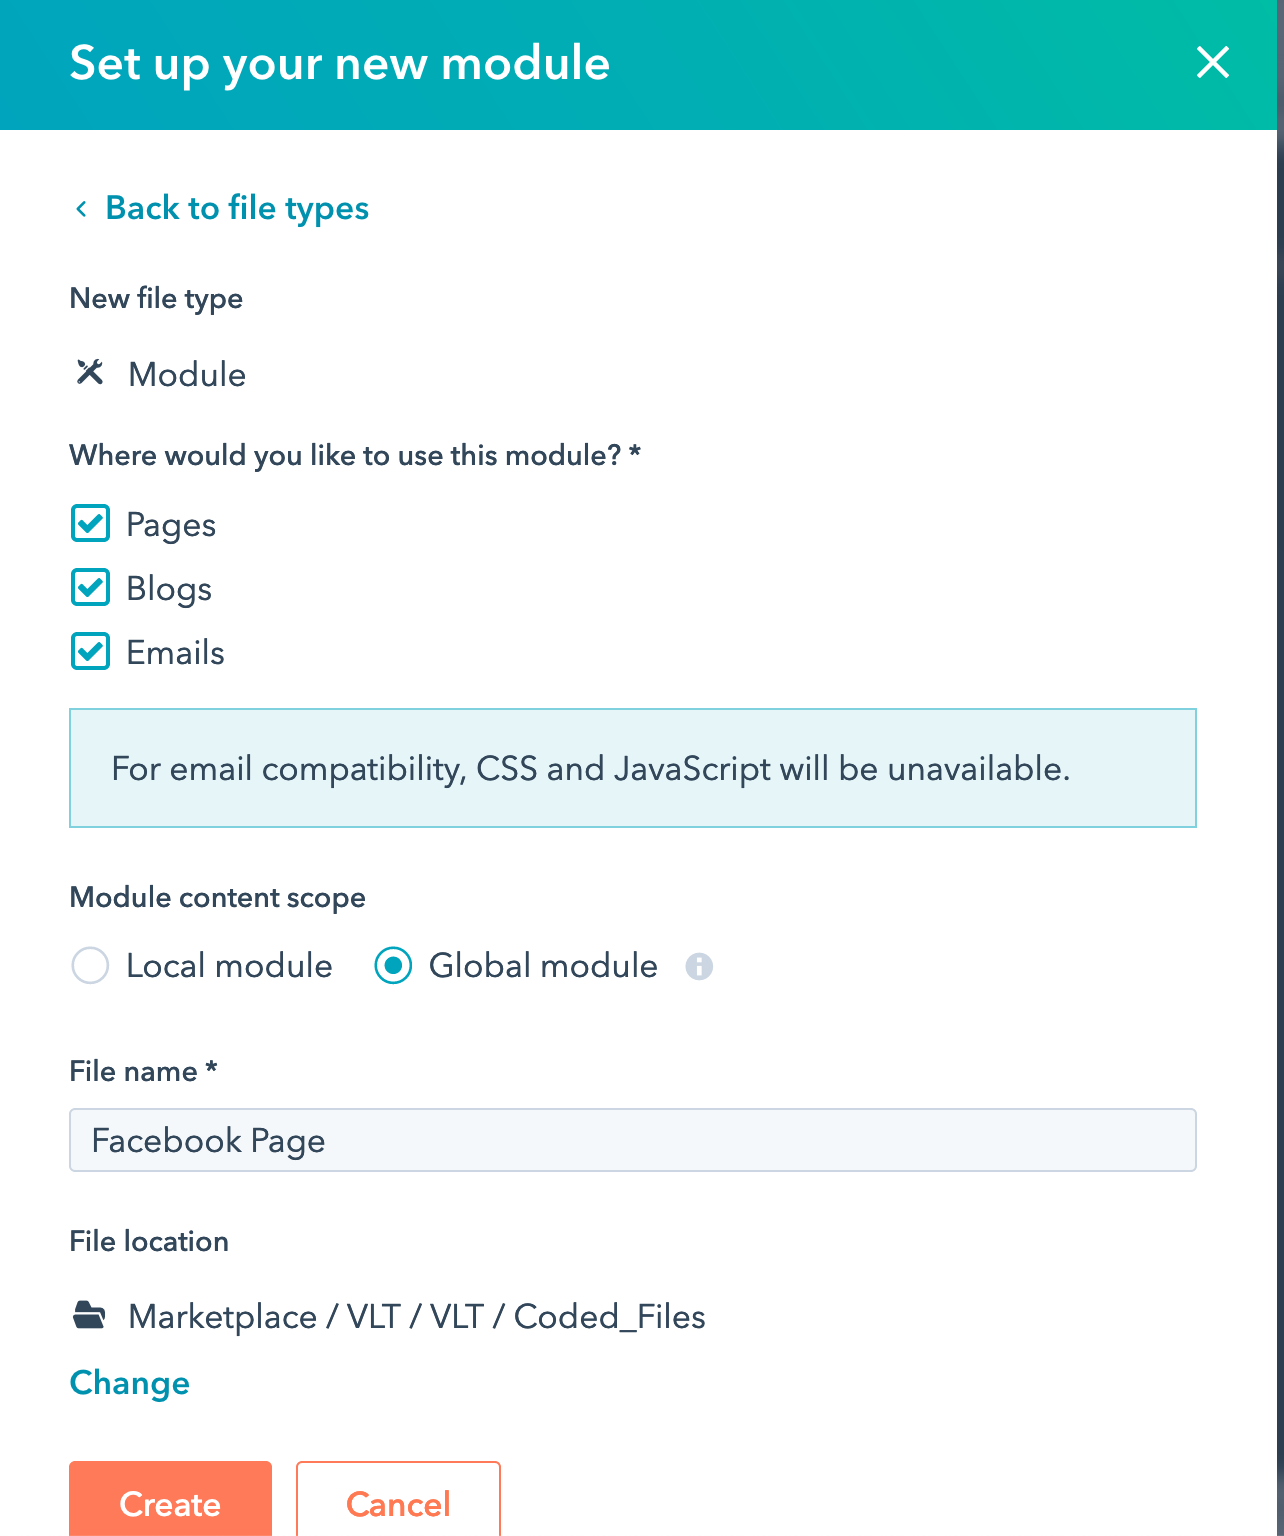
Once you are in "Design Manager", click on "File" and select "new file" and it will allow you to create it in one of your folders. I am saving my new file in my "Coded_Files" folder in this example, but you can choose to save it anywhere you would like.

Select "Module".

Then select where you would like to use the module. I like to give my new modules flexibility so I can use it across the HubSpot areas, so I tick all: Pages, Blogs, Emails. I also select "Global Module" so I can reuse the module in the future.
You will then have a blank new module to work with.

Step 2 - Add Facebook Page Plugin code to your new HubSpot Module
Now it's time to add your Facebook Page Plugin code to your new HubSpot module.
You can retrieve your Facebook Page Plugin code from Facebook. You get this from Facebook for Developers, where they will let you customise the Page plugin to your website and get the code you need.
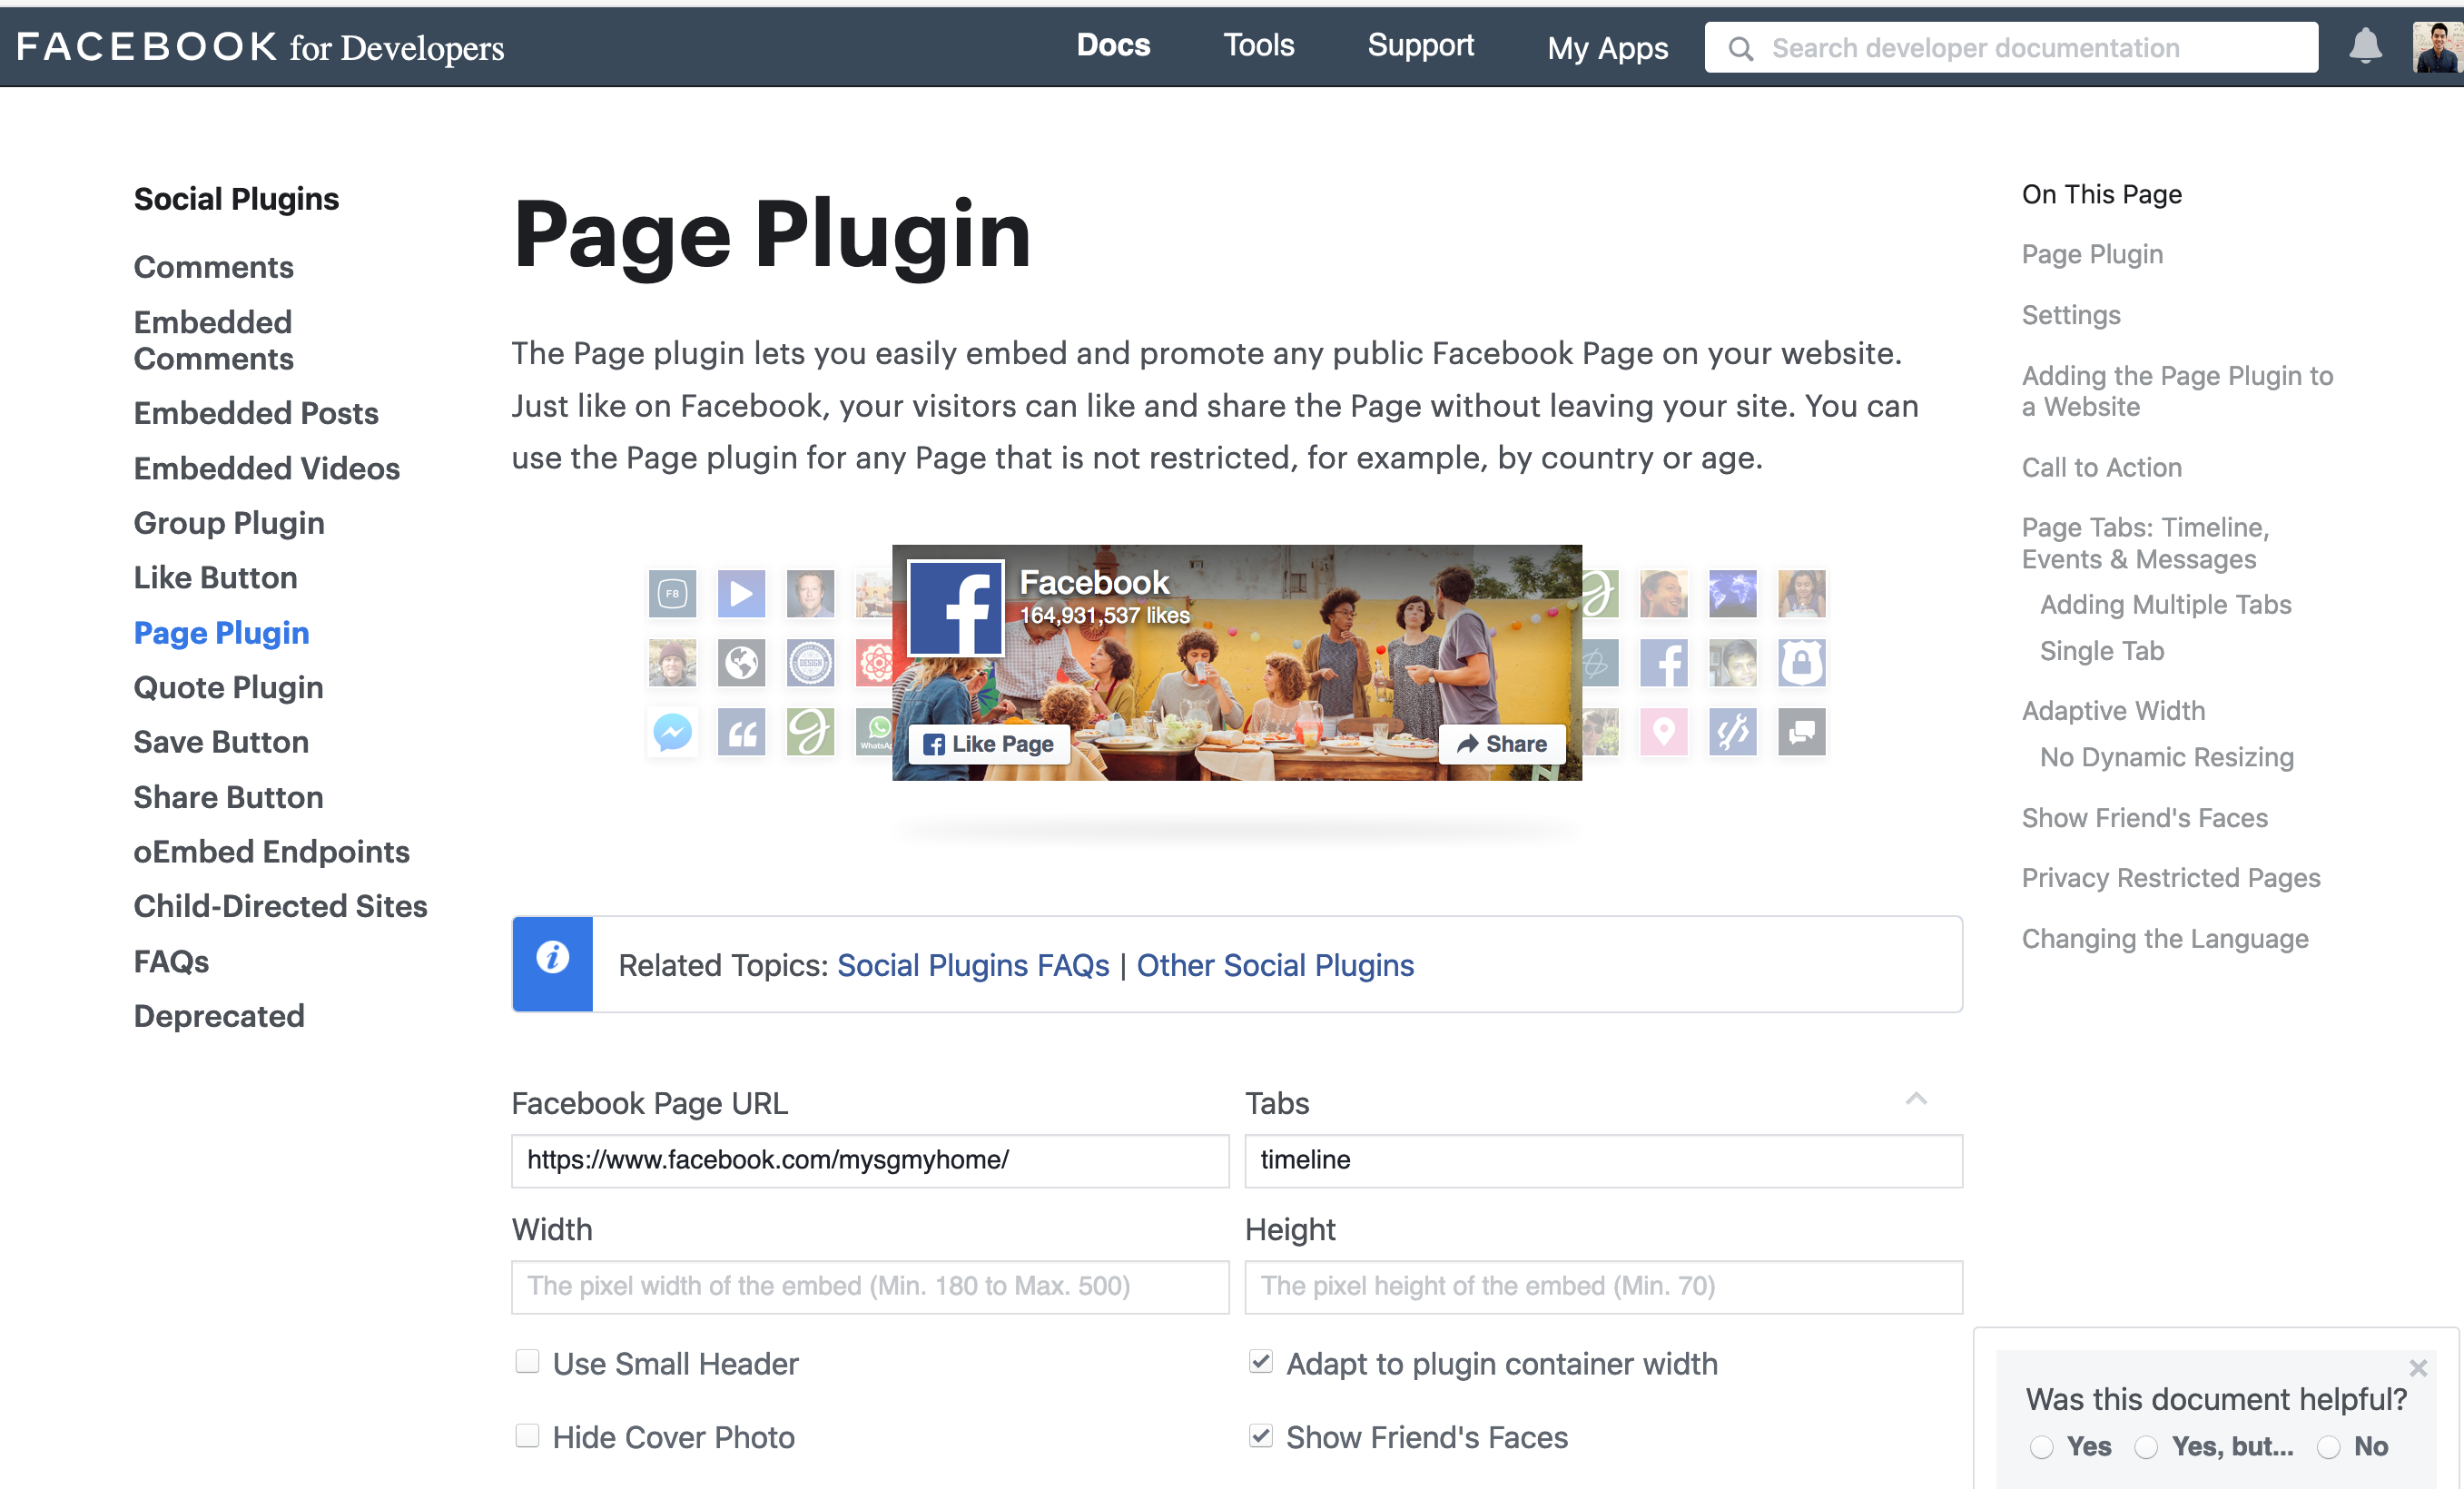
Select your options including the width and height you'd like.
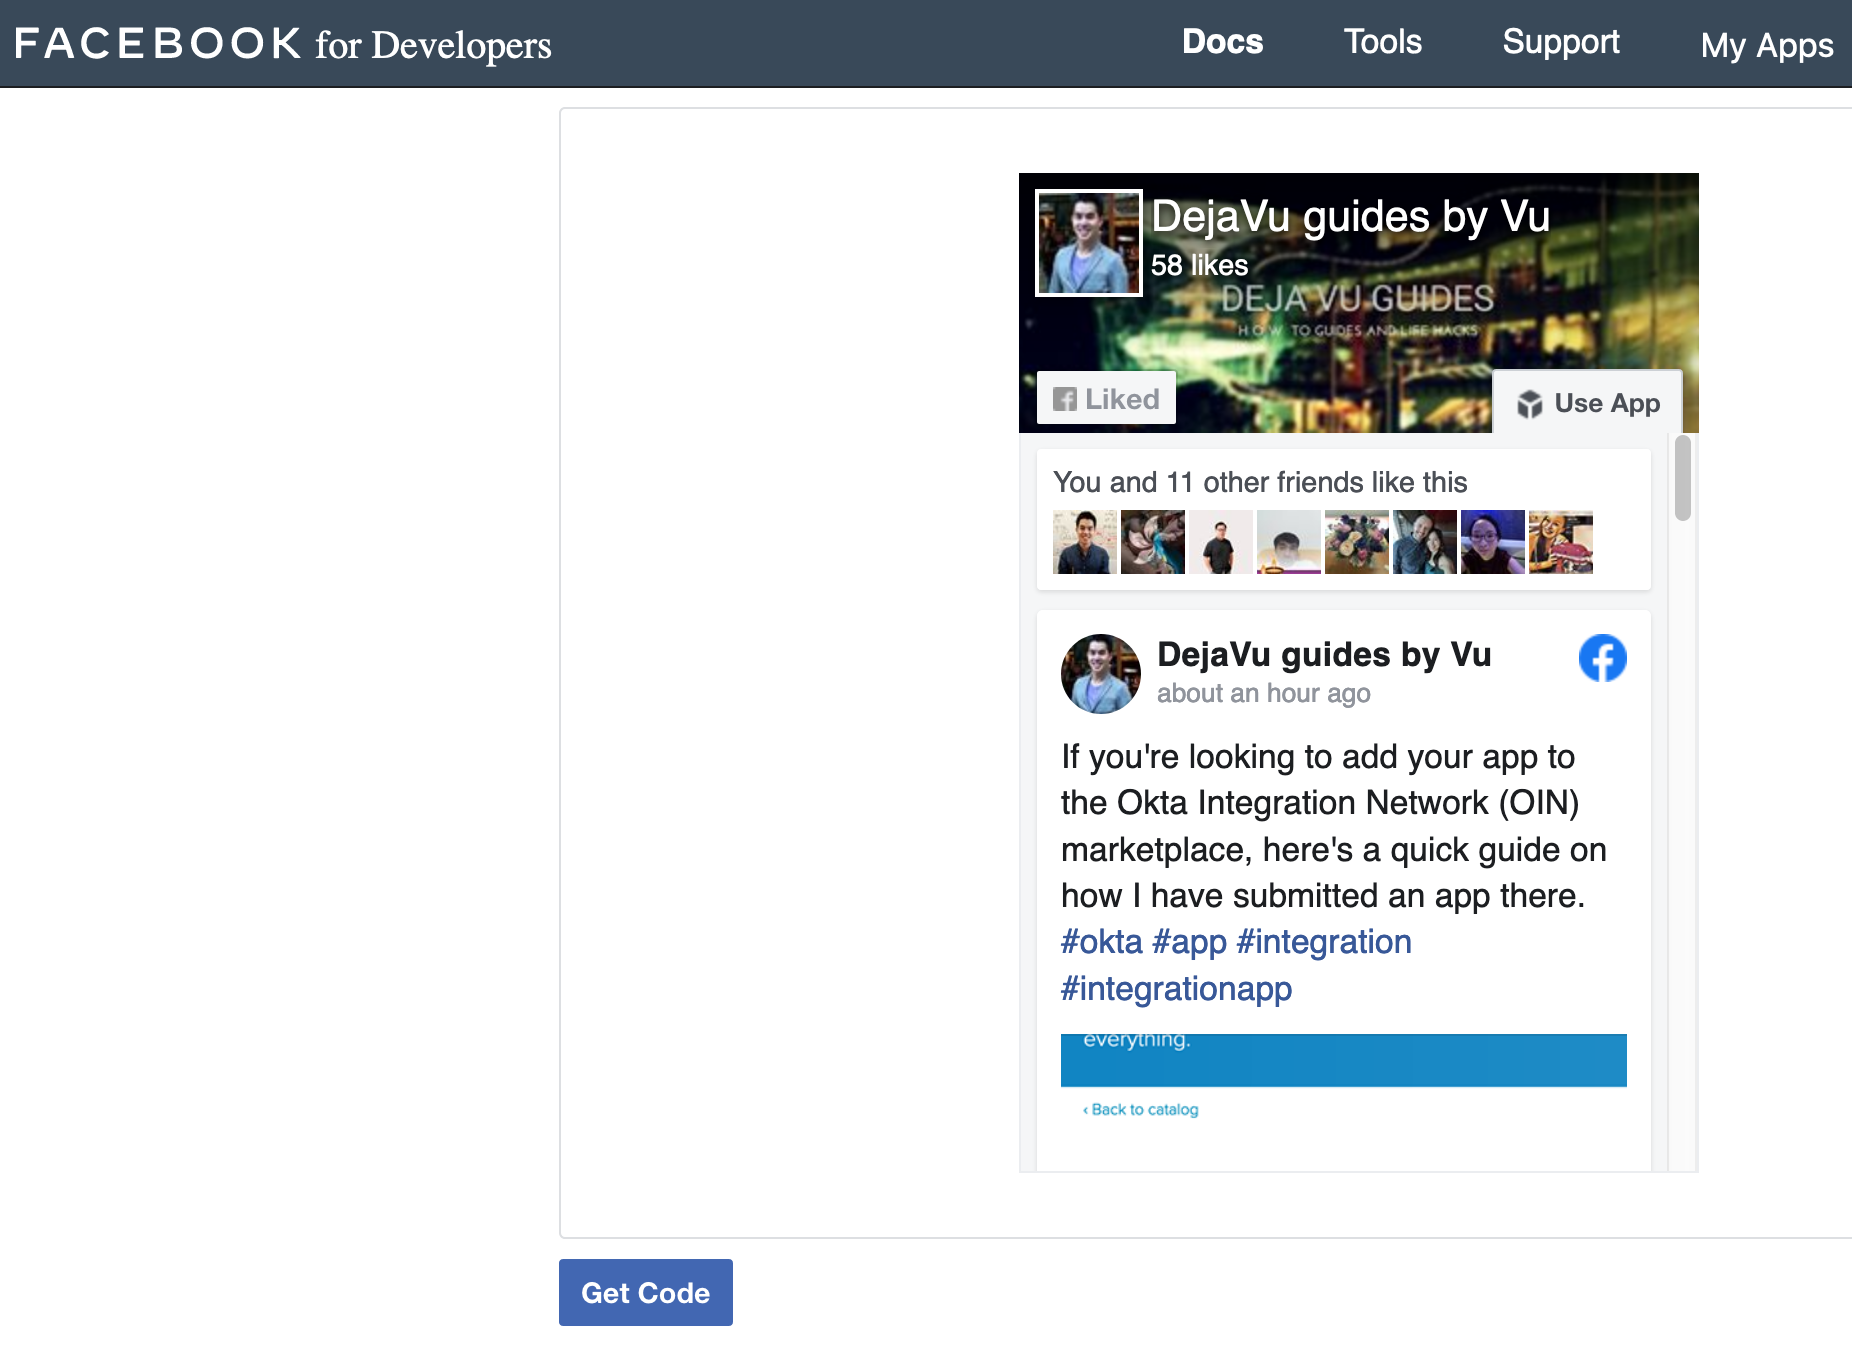
Select "Get Code"
Choose the iFrame option, as that will work the best.

Here is a sample of my code if you prefer just to use that. Just make sure you update the page to your Facebook Page.
<!-- Dejavuguides Facebook Page code --><iframe src="https://www.facebook.com/plugins/page.php?href=https%3A%2F%2Fwww.facebook.com%2Fdejavuguides%2F&tabs=timeline&width=340&height=500&small_header=false&adapt_container_width=true&hide_cover=false&show_facepile=true&appId=211093789643031" width="340" height="500" style="border:none;overflow:hidden" scrolling="no" frameborder="0" allowTransparency="true" allow="encrypted-media"></iframe><!-- Dejavuguides Facebook Page code -->
Add this code into your new module on HubSpot from earlier and "Publish changes".

You will now have a new module with the Facebook Page code in it.
Now you just need to select this new module and add it to your HubSpot hosted page template.
I am using this on my blog hosted on HubSpot, so I look for my blog template on HubSpot. My custom blog template is called "Custom Blog VLT" in this example.
Then on the right side of the page, I look for my newly created module which I called "Facebook Page" earlier.
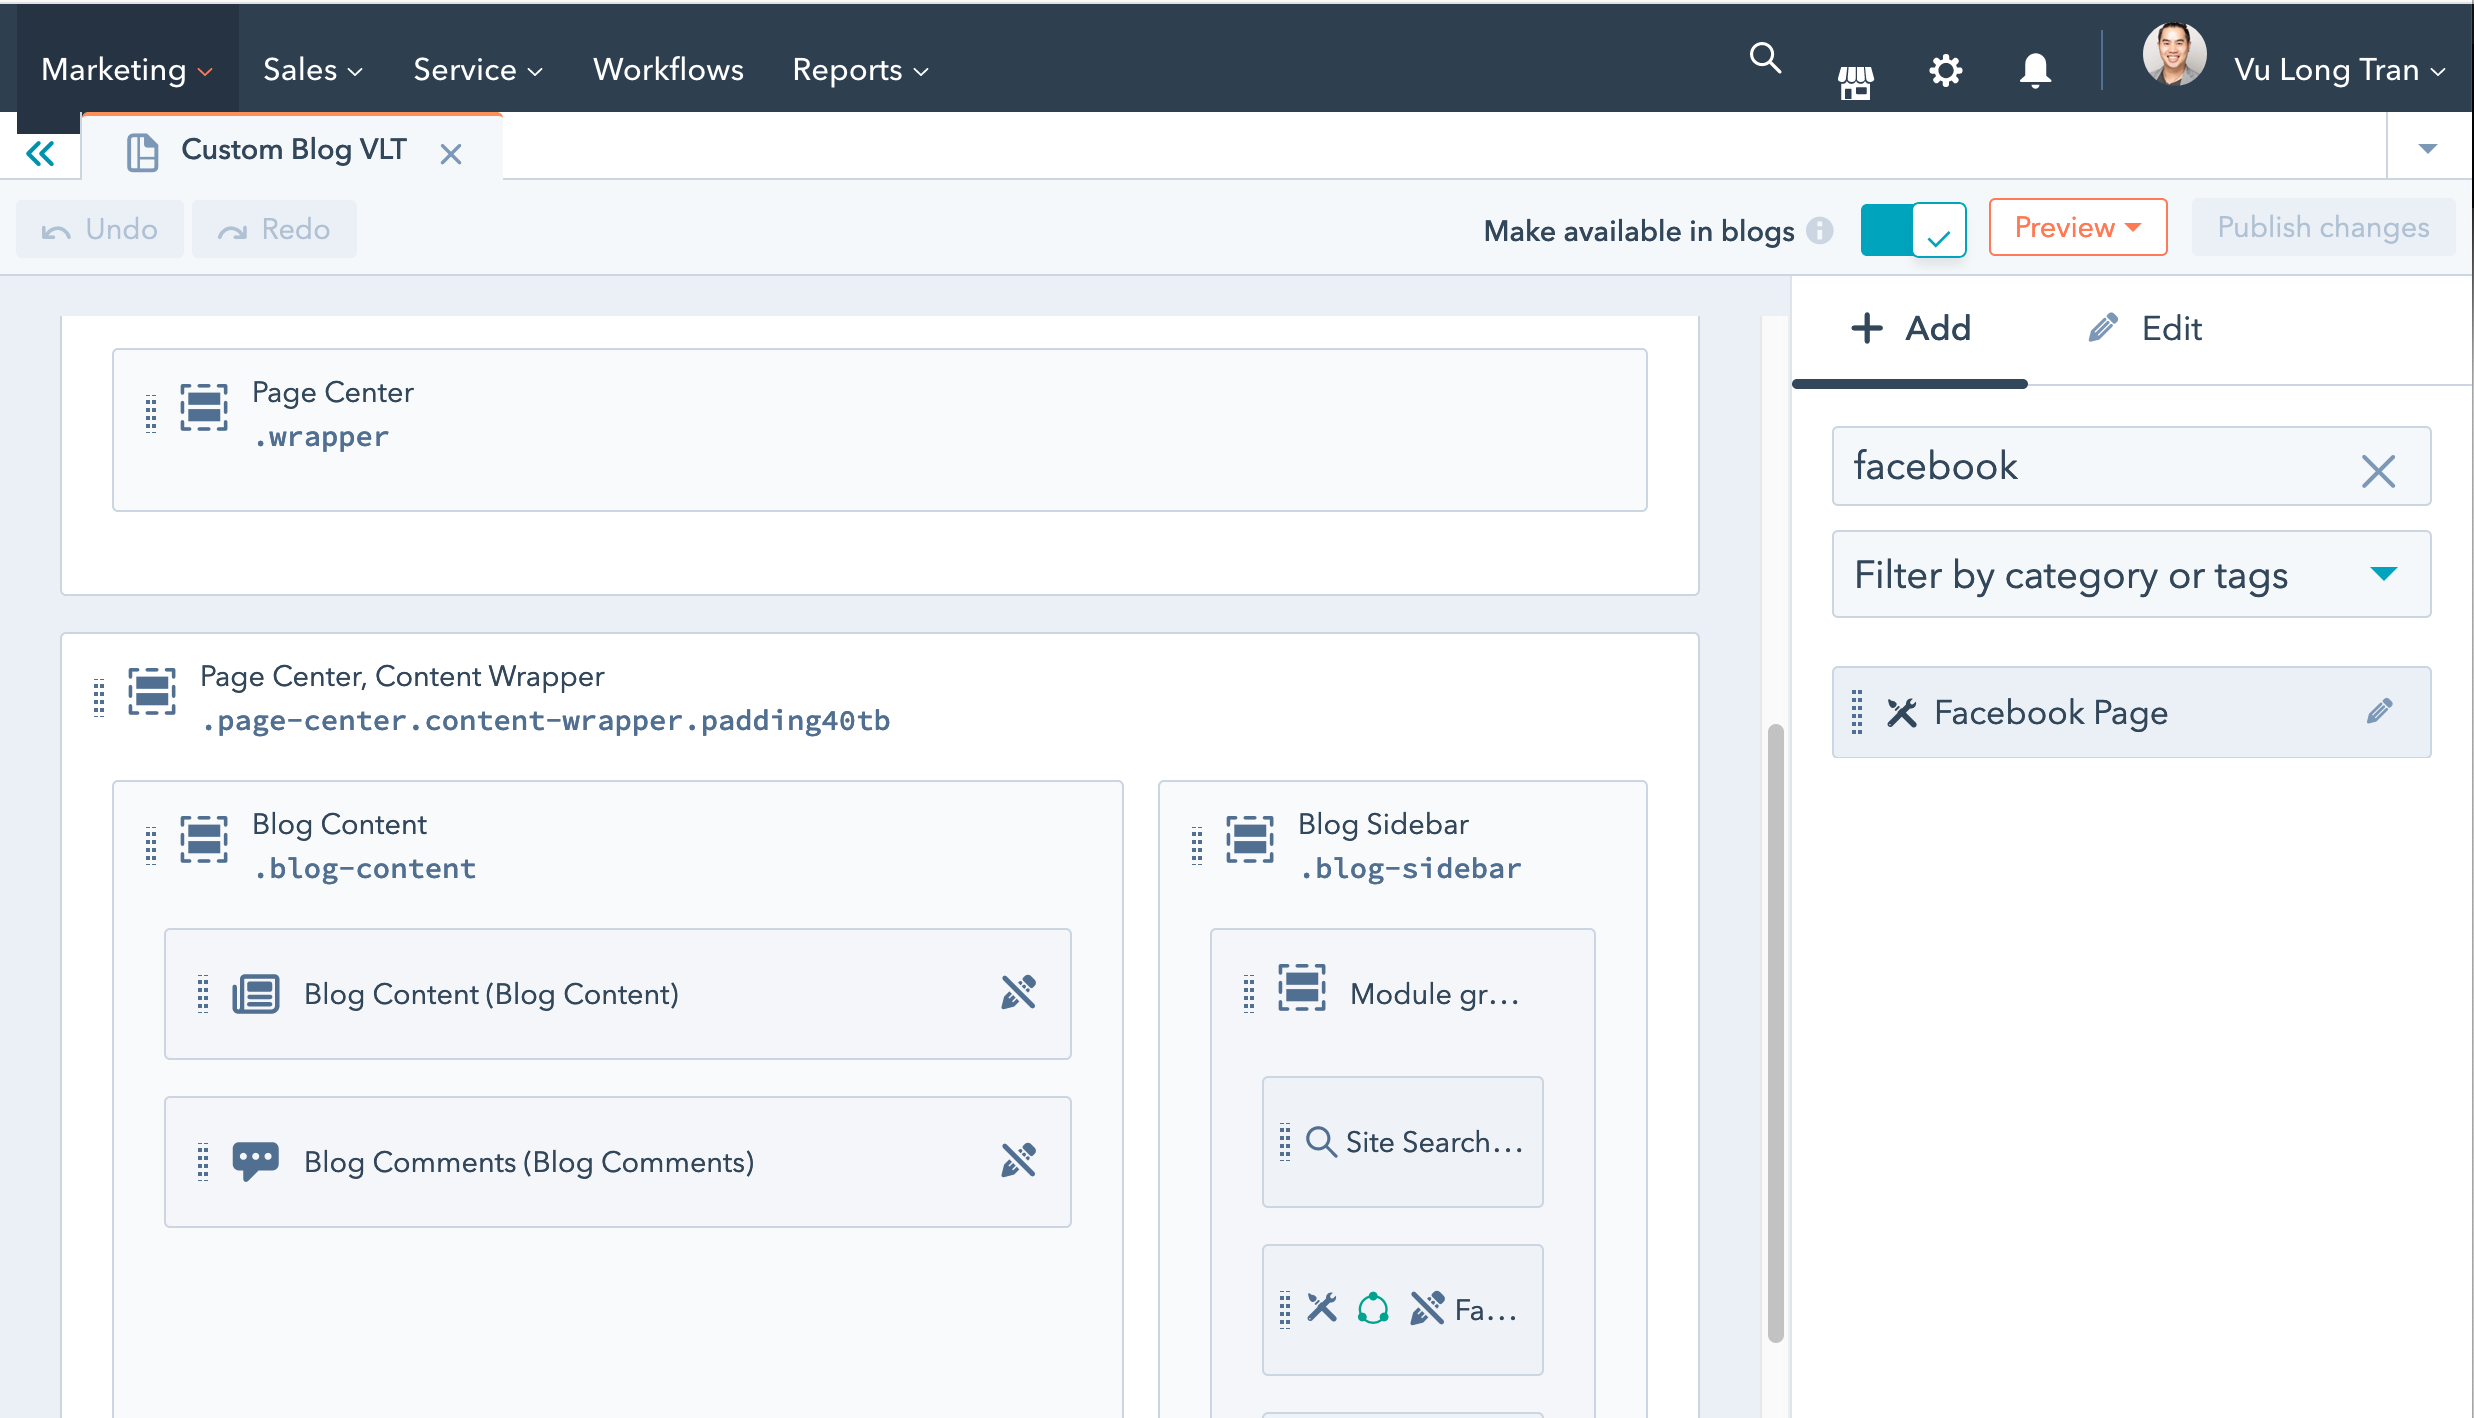
Then you can add this to the position of your website that you want. In my case, I wanted to see it on the right side of my website.

Then you want to "Publish changes" for your template.
Step 3 - Test that Facebook Page box is working
Test that it is working fine.
Here's an example of my blog below:
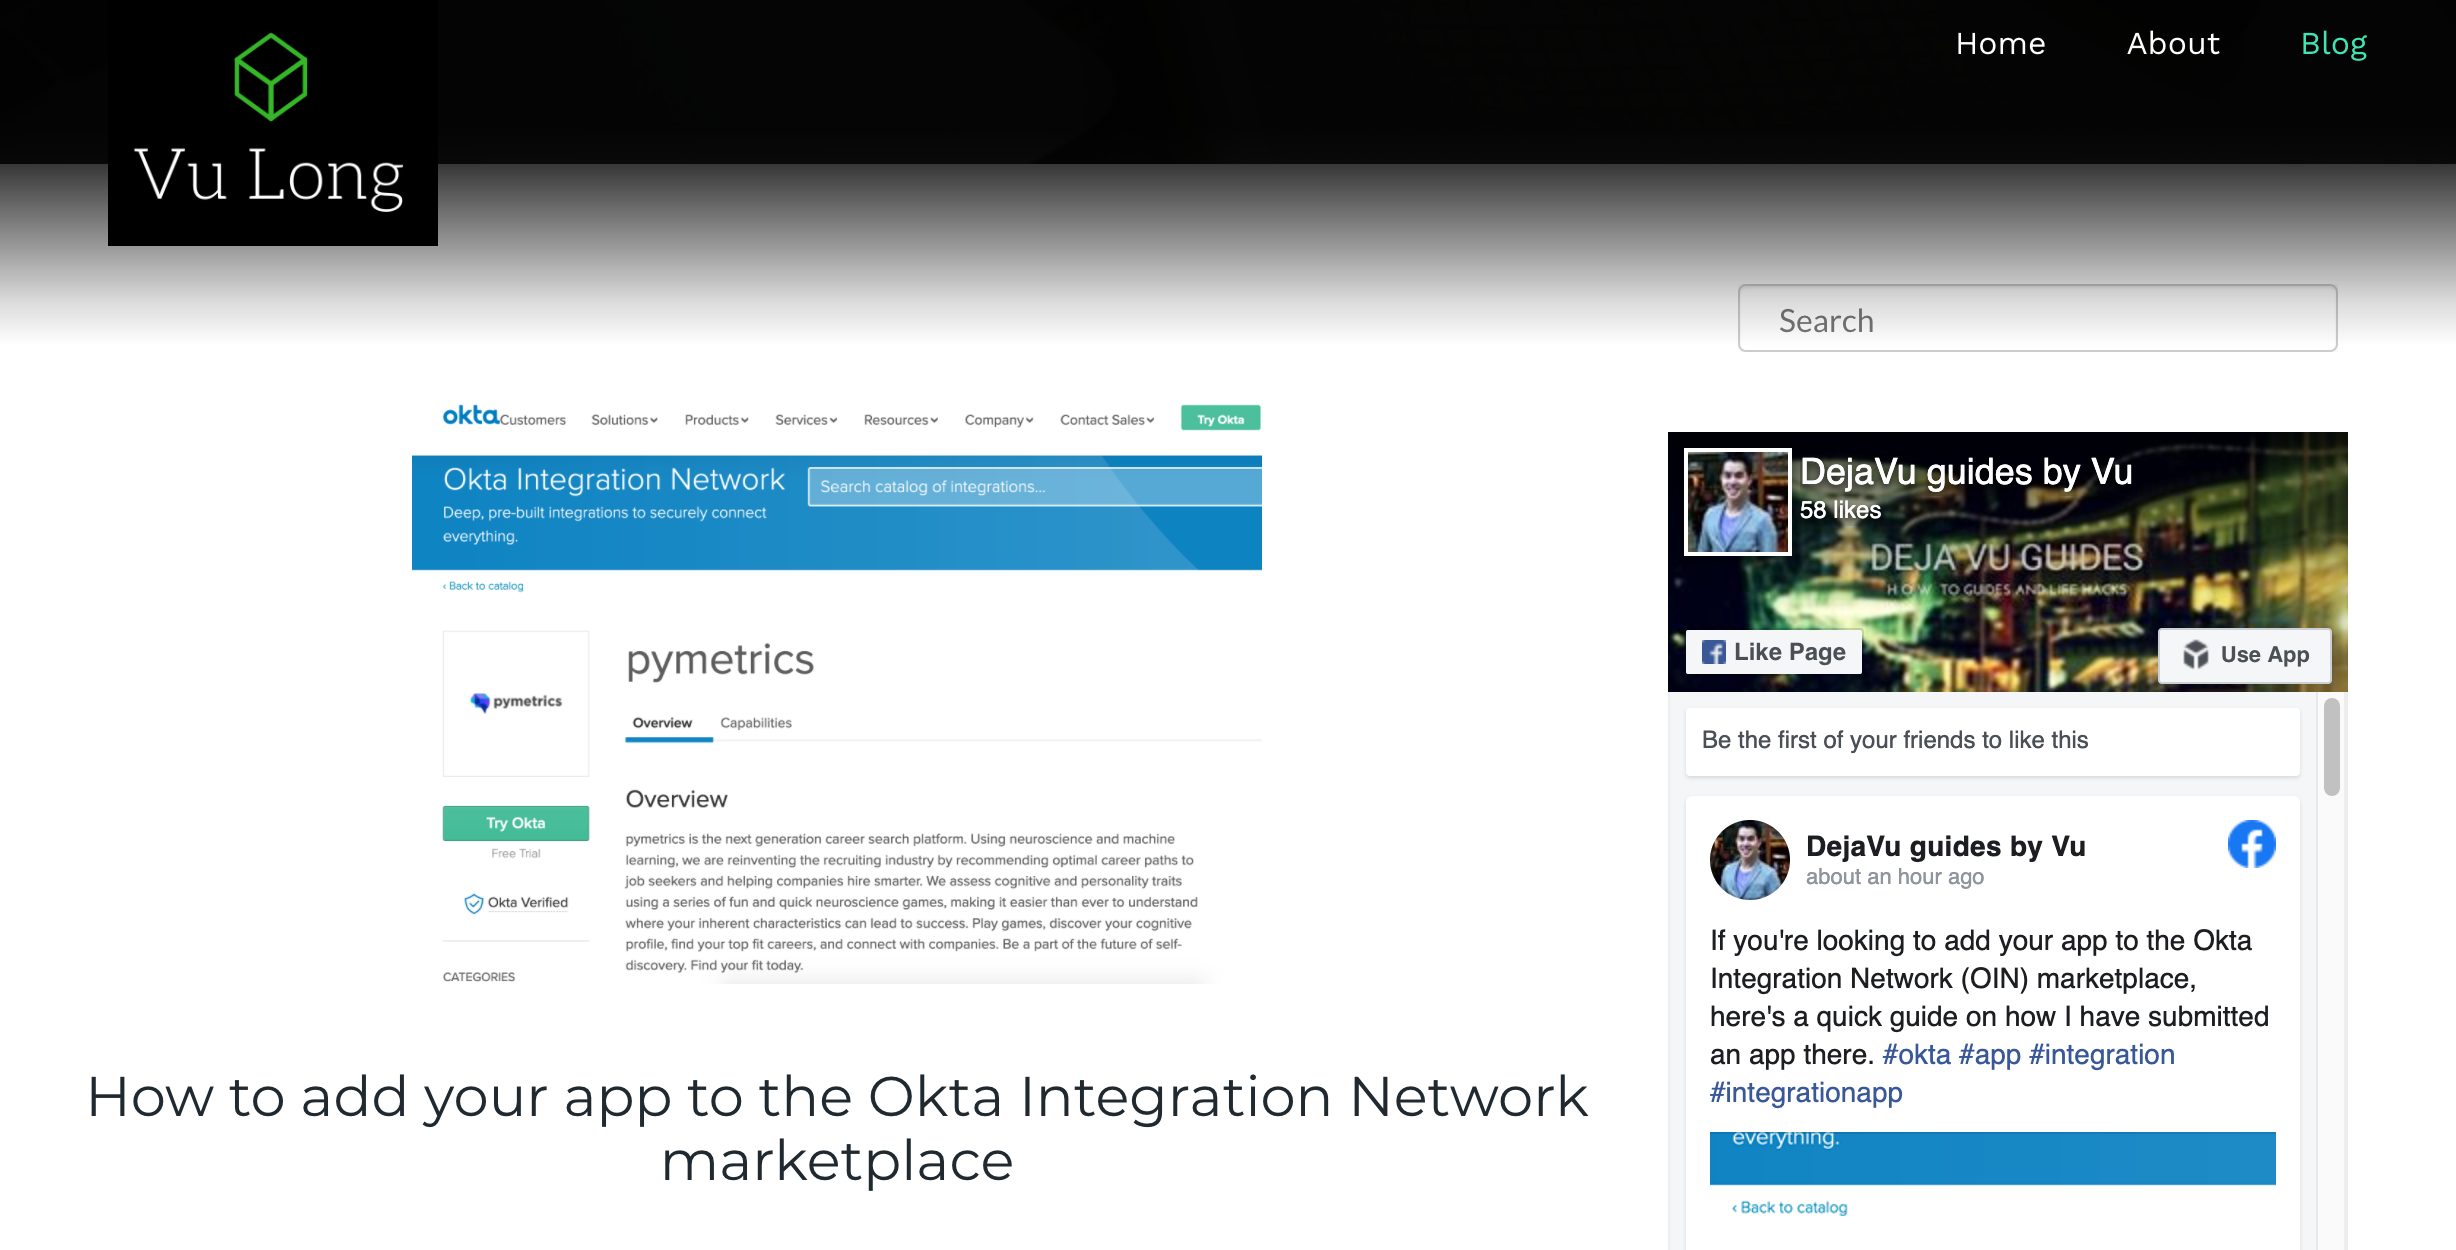
Enjoy!
