- Prerequisites
- Add Zoho Directory app to your Okta instance
- Set up SSO settings on Zoho Directory
- Set up SSO settings on Okta
- Test and confirm that it is working
Prerequisites
Before you can start setting up Single Sign On (SSO) for Zoho Directory and Okta, we need to check the following:
- Access to Zoho Directory Console - Confirm that you have administrator access to Zoho Directory Admin Console, https://directory.zoho.com/.
- Access to Okta Admin Console - Confirm that you have administrator access to Okta's Admin Console. If you do not have an Okta account, you can create a free Okta Trial account or Okta Developer account.
- (Recommended) Use the same email address for your Zoho Directory administrator account as your Okta administrator account. This will make it easier for you to administer the accounts.
1. Add Zoho Directory app to your Okta instance
Log in to your Okta account as an administrator (with administrator access).
Under Applications> Applications, search for the Zoho Directory app in the Okta Integration Network (App Integration Catalog).
Add Zoho Directory app in.
Fill in the Add Zoho Directory options.
- Application label - Name your Zoho Directory app.
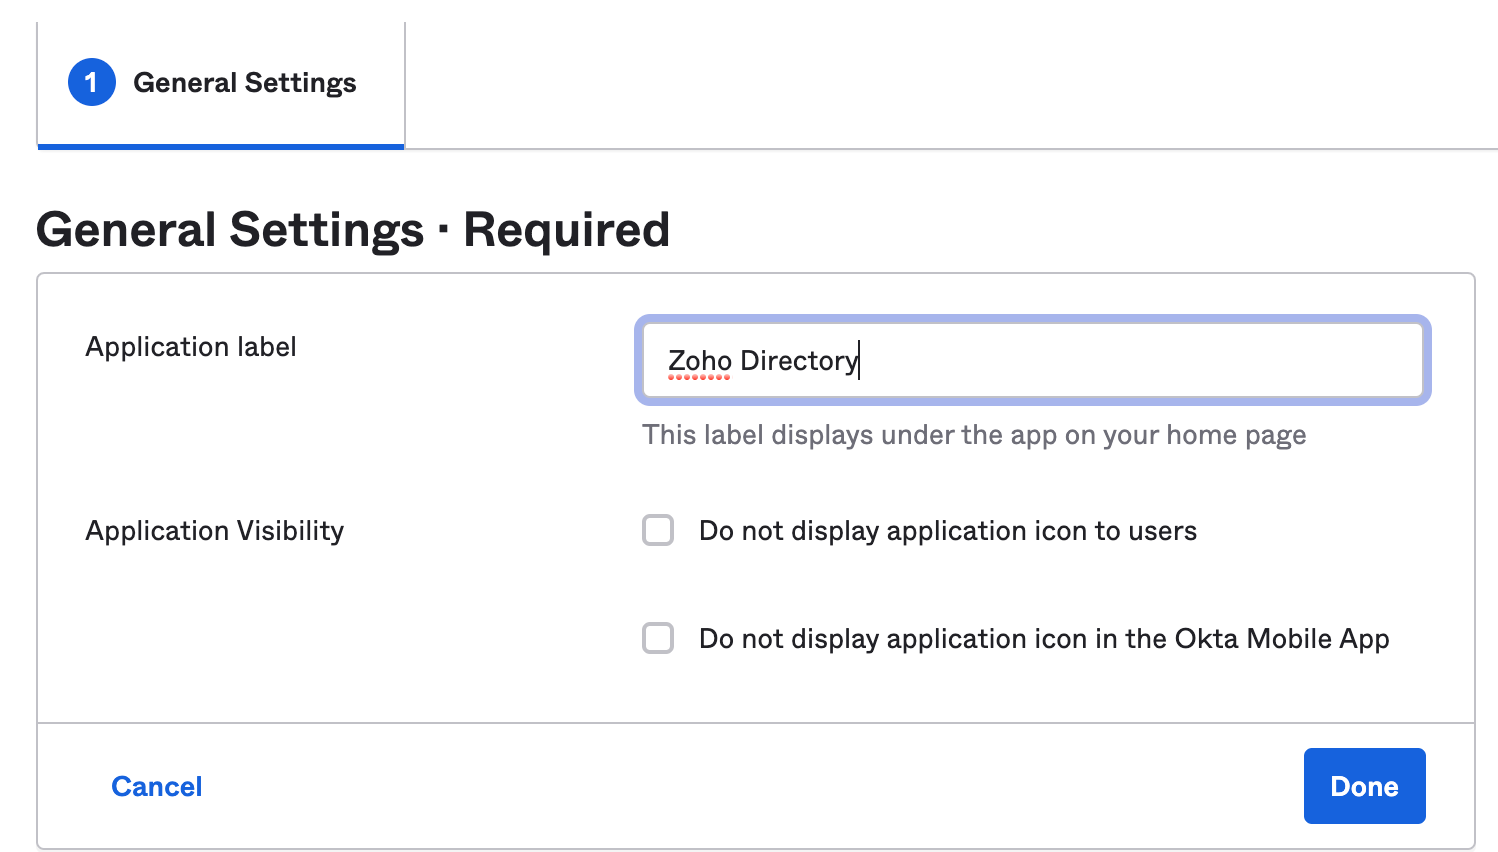
Then click on the "Sign On" tab.
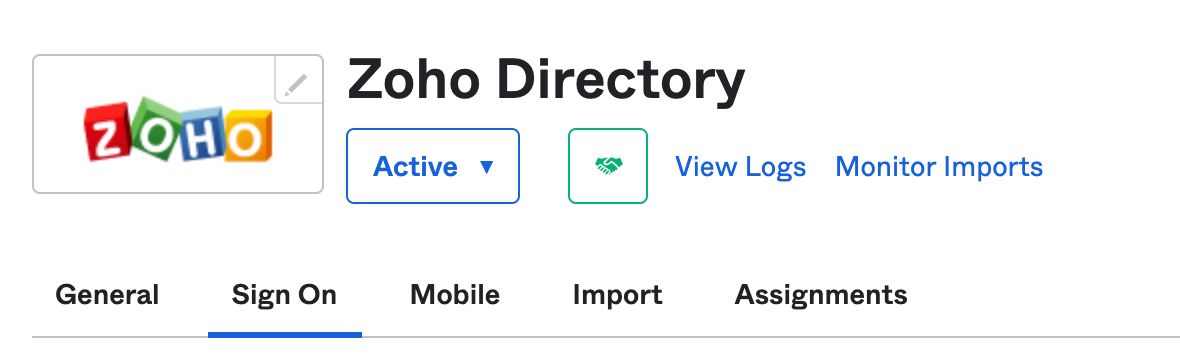
Click on "View Setup Instructions".
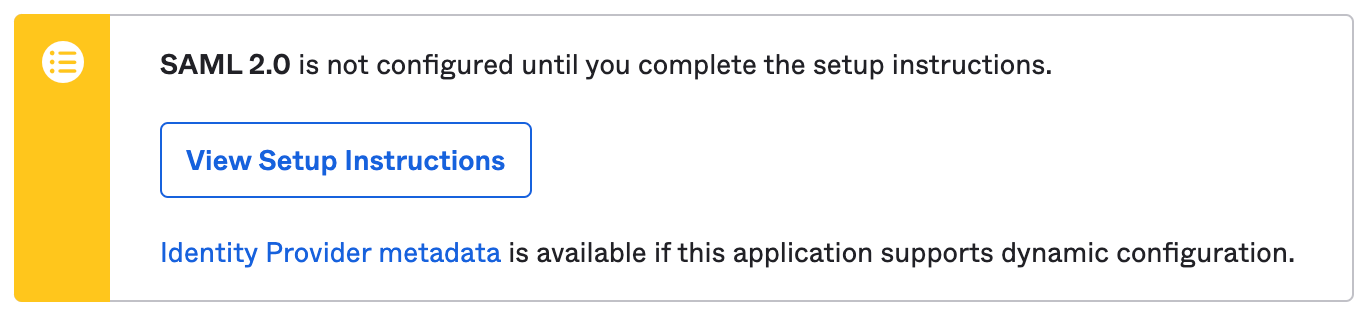
You will then be sent to View Setup Instructions for Zoho Directory.
2. Set up SSO settings on Zoho Directory
Log into your Zoho Directory account
In a new browser tab, log in to your Zoho Directory account as an administrator (with administrator access), https://directory.zoho.com.
Open Single Sign-On Settings
In Zoho Directory, open your Single Sign-On (SSO) settings.
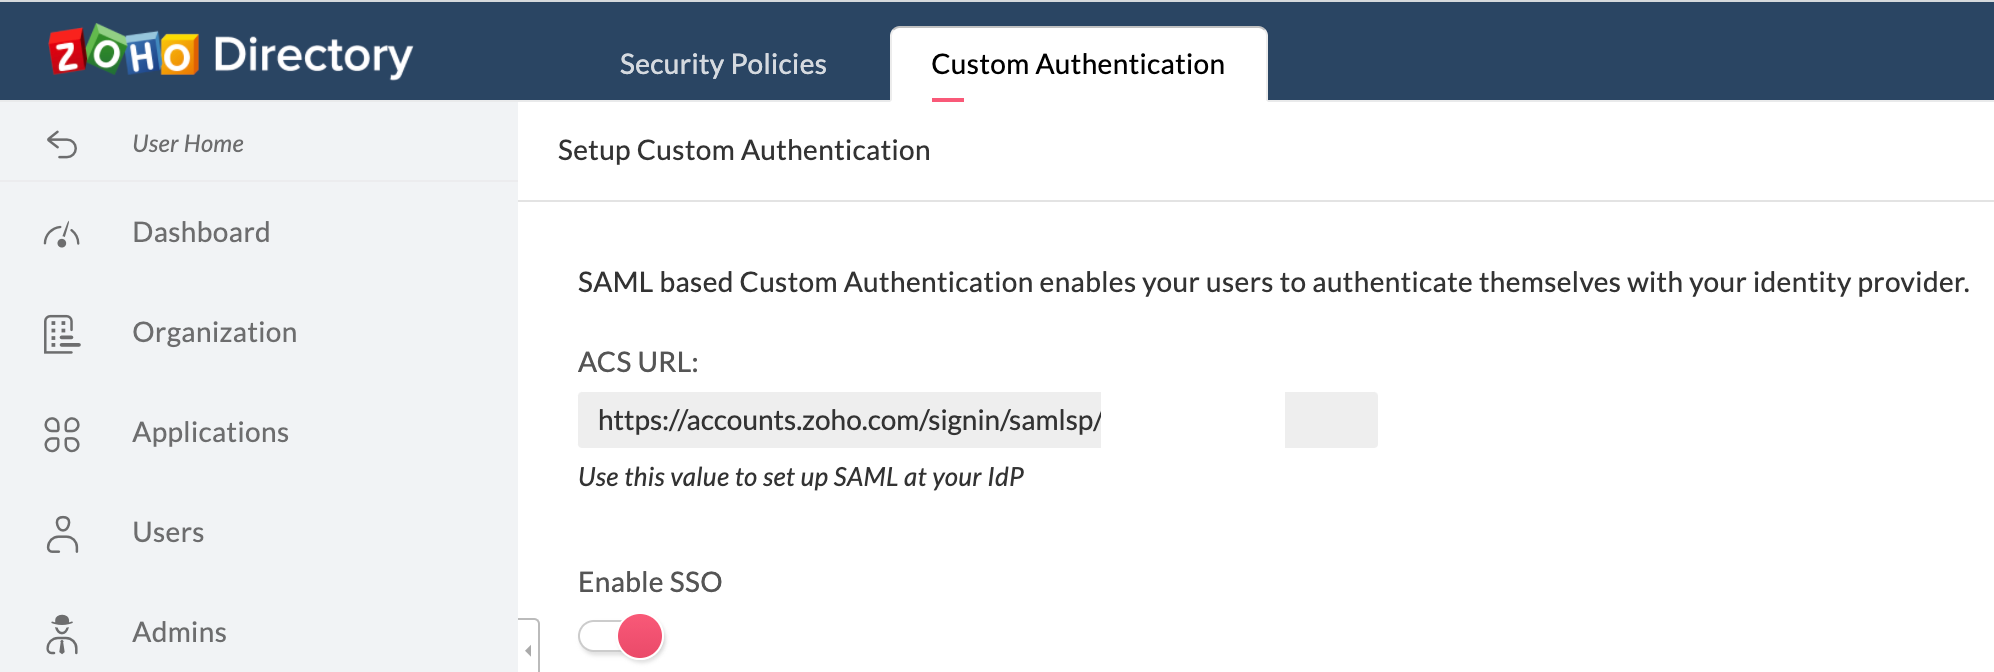
Zoho Directory> Security> "Custom Authentication" tab.

If you have trouble finding it, you can try this direct link to Custom Authentication, just add in your Zoho Directory name in the URL. https://directory.zoho.com/directory/yourzohodirectorydomainname/adminhome#/security/customauthentication
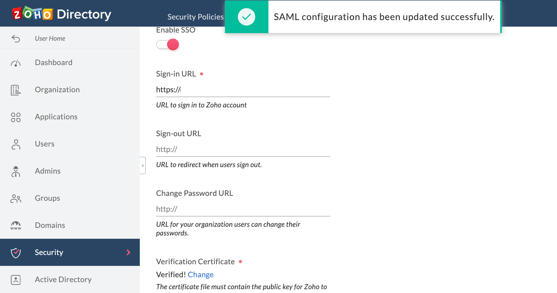
You should see something like this "Single Sign-On" section on Zoho Directory.
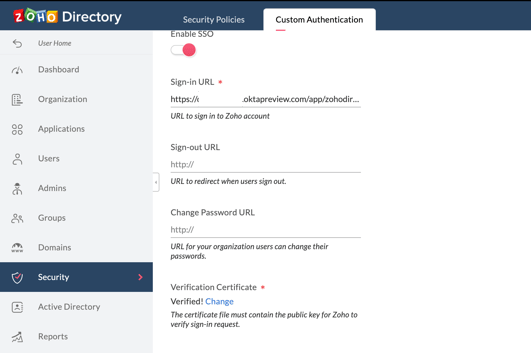
Add in your Okta Single Sign-On settings into Zoho Directory settings and click Save.
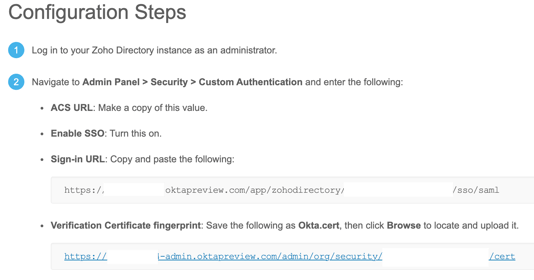
- ACS URL - Make a copy of this value from Zoho Directory, you will copy and paste this into Okta https://accounts.zoho.com/signin/samlsp/88889999
- Sign-in URL - https://oktadomainname.okta.com/app/zohodirectory/oktasinglesignonlinkid/sso/saml
- Sign-out URL (Optional) - This is optional.
- Change Password URL (Optional) - This is optional.
- Verification Certificate (okta.cert) - For the "Verification Certificate" (okta.cert) you will need download this from Okta.
In Zoho Directory, click Browse and upload your okta.cert certification file into the "Verification Certificate" section.

You will find your unique link from your "View Setup Instructions" for Zoho Directory from earlier. You will find that it looks something like this: https://oktadomainname.okta.com/admin/org/security/oktasinglesignonlinkid/cert
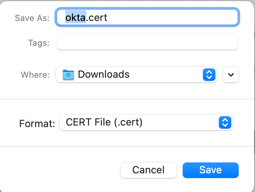
Make sure you download the .cert file, and give it a name. You can use "okta.cert" if you like.
Click Update.

You will then get a "SAML configuration has been updated successfully" notification once it has been successfully set up in Zoho Directory.
3. Set up SSO settings on Okta
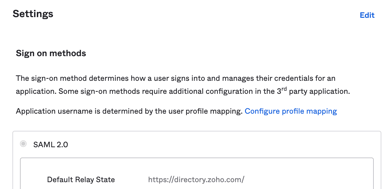
In Okta Admin Console, you will see the details you need to fill in your Zoho Directory "SSO Provider details". (Under "Sign On" tab).
Add in your Zoho Directory Single Sign-On settings into Okta.
- Default Relay State - Enter https://directory.zoho.com
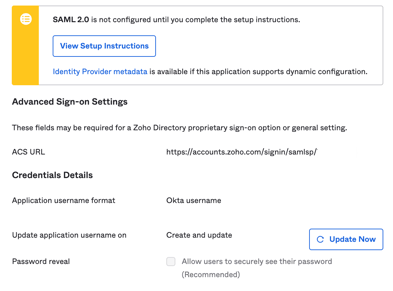
- ACS URL - Enter the ACS URL value you made a copy of from Zoho Directory in the earlier step. It should look like: https://accounts.zoho.com/signin/samlsp/88889999.
You can add the ACS URL from Zoho Directory, and put it in Okta under the "Advanced Sign-on Settings" section (Under "Sign On" tab).
4. Test that SSO is working on Zoho Directory
When you are ready, let's test that it works.
In Okta Admin Console, let's assign a user to the application. (Applications> Applications> Zoho Directory app)
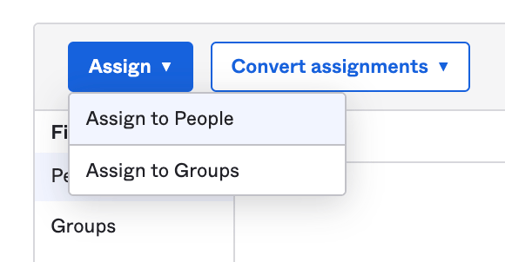
Go to "Assignments" tab. (Applications> Applications> Zoho Directory app> "Assignments)
Select "Assign" and "Assign to People".
Select our test user, click "Assign" and then "Done".
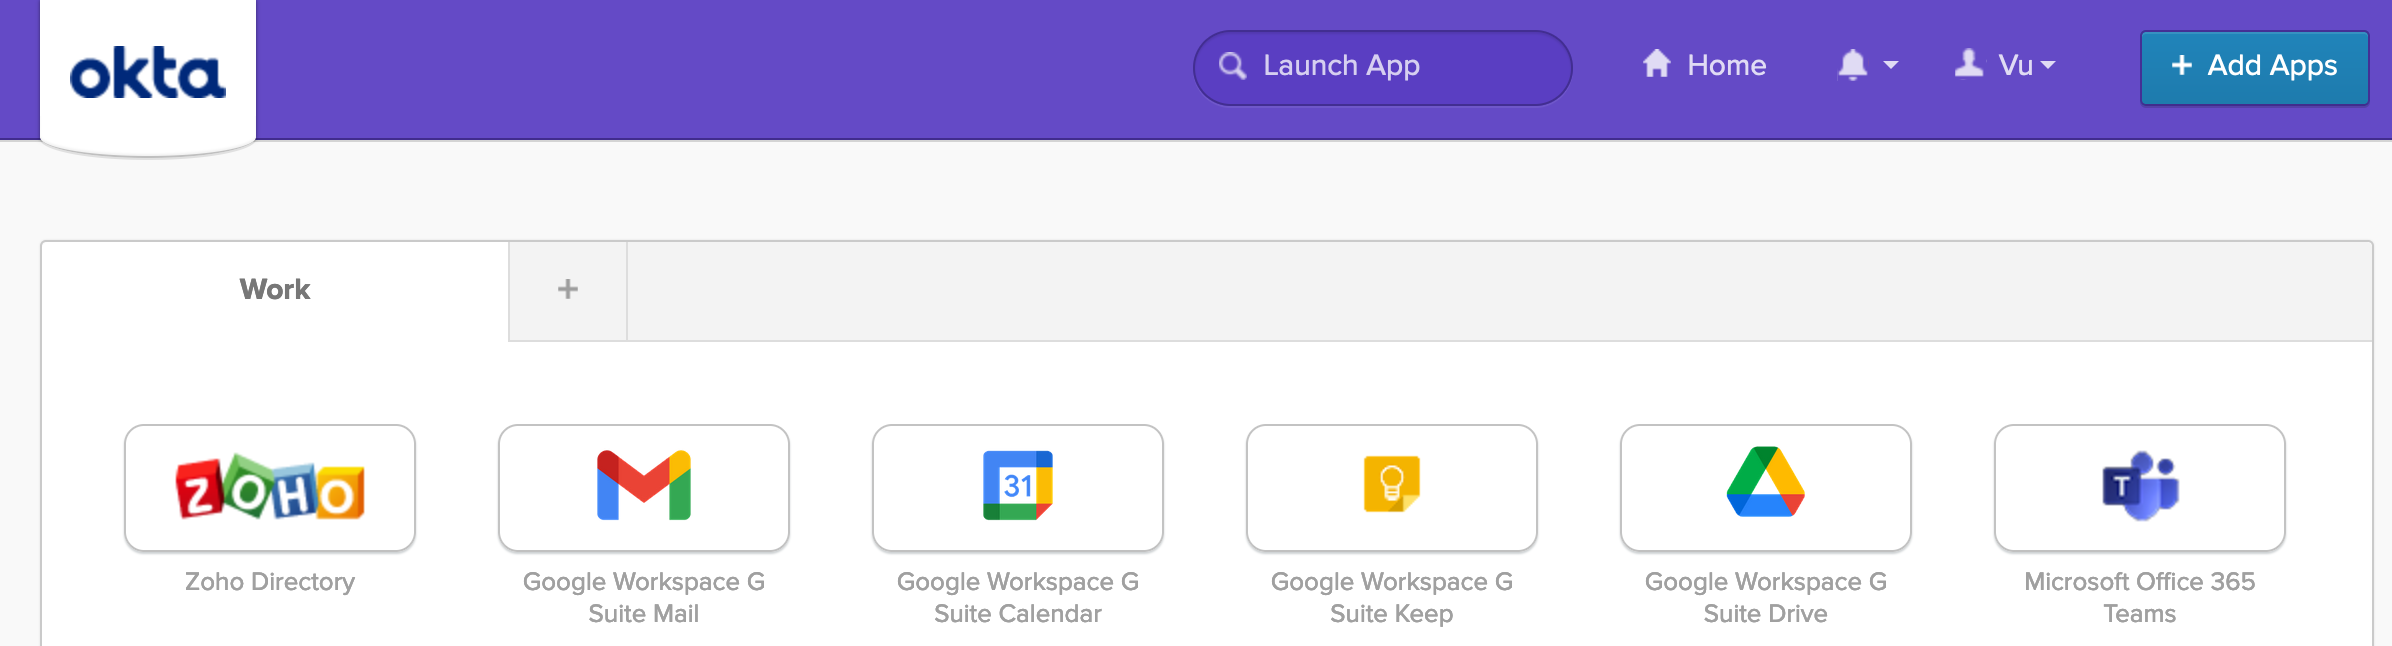
Now let's log into our Okta instance as a test user. You may need to refresh your browser if you had the browser window already open.
Then click on "Zoho Directory" application icon (chiclet).
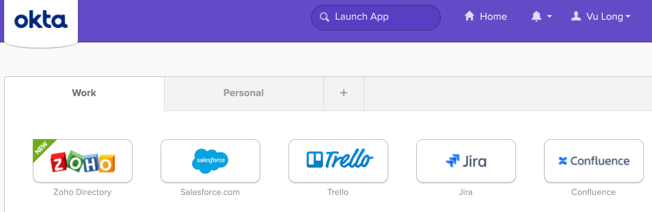
When I click on it, it takes me to Zoho Directory.

Success, you will be logged in successfully to your Zoho Directory account!
Troubleshooting:
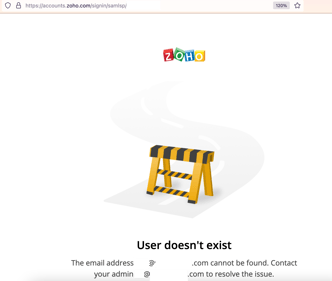
If your users see this error message, make sure that:
- User has been created and added in Zoho Directory.
- User has activated their account on Zoho Directory.
1. User has been created and added in Zoho Directory. You will find the ability to add users under Zoho Directory> Users> Add User.
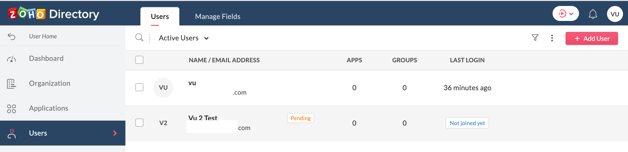
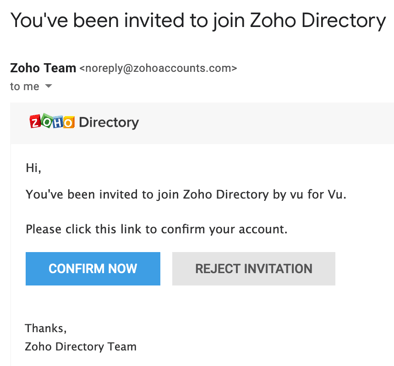
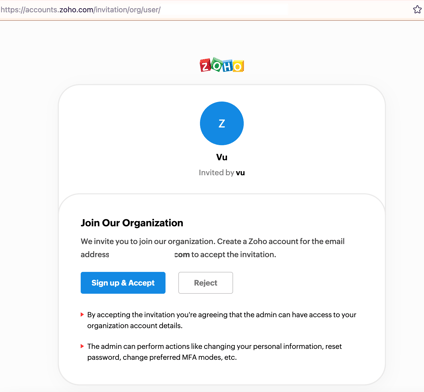
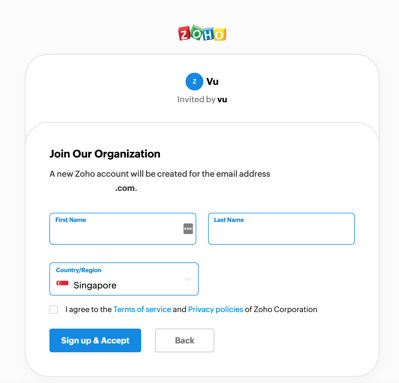
2. User has activated their account on Zoho Directory. That is, they have been "invited to join Zoho Directory" and they will need to "Confirm" their new Zoho Directory account and join your Zoho Directory organisation.