

- Prerequisites
- Add Time Doctor app to your Okta instance
- Set up SSO settings on Time Doctor
- Test and confirm that it is working
Prerequisites
Before you can start setting up Single Sign On (SSO) for Time Doctor and Okta, we need to check the following:
- Access to Time Doctor Console - Confirm that you have administrator access to Time Doctor Admin Console.
- Access to Okta Admin Console - Confirm that you have administrator access to Okta's Admin Console. If you do not have an Okta account, you can create a free Okta Trial account or Okta Developer account.
- (Recommended) Use the same email address for your Time Doctor administrator account as your Okta administrator account. This will make it easier for you to administer the accounts.
1. Add Time Doctor app to your Okta instance
Log in to your Okta account as an administrator (with administrator access).
Under Applications> Applications, search for the Time Doctor app in the Okta Integration Network (App Integration Catalog).
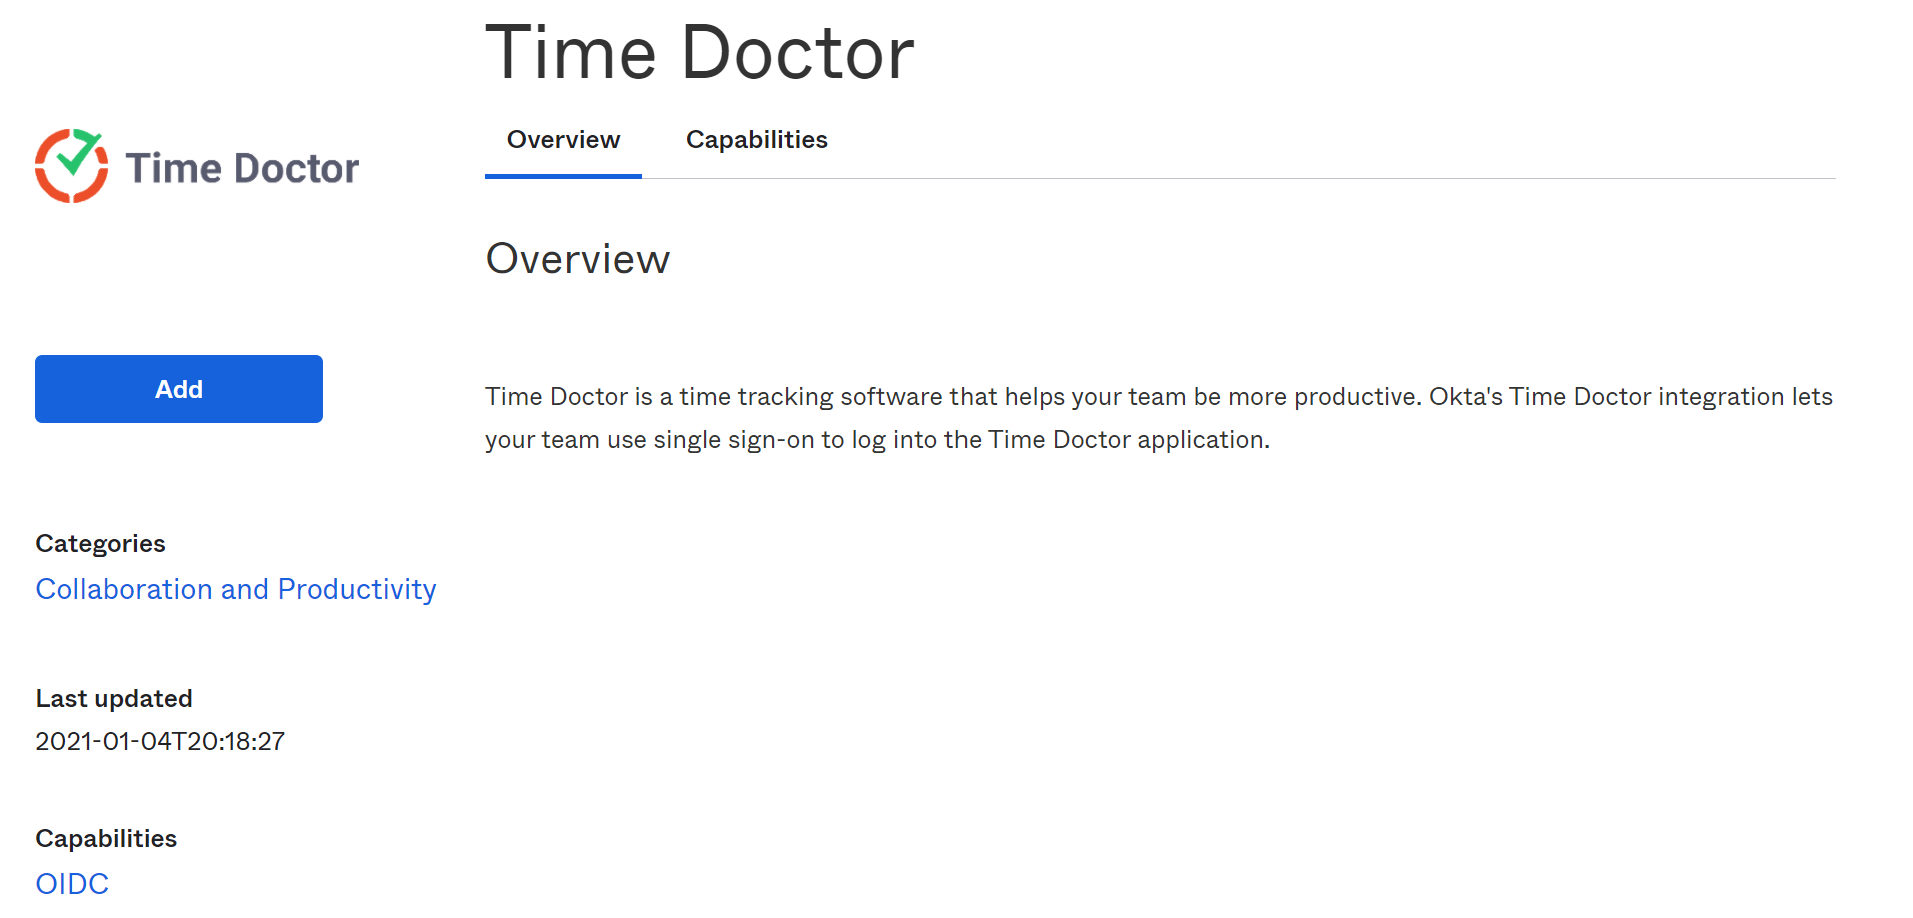
Add Time Doctor app in.
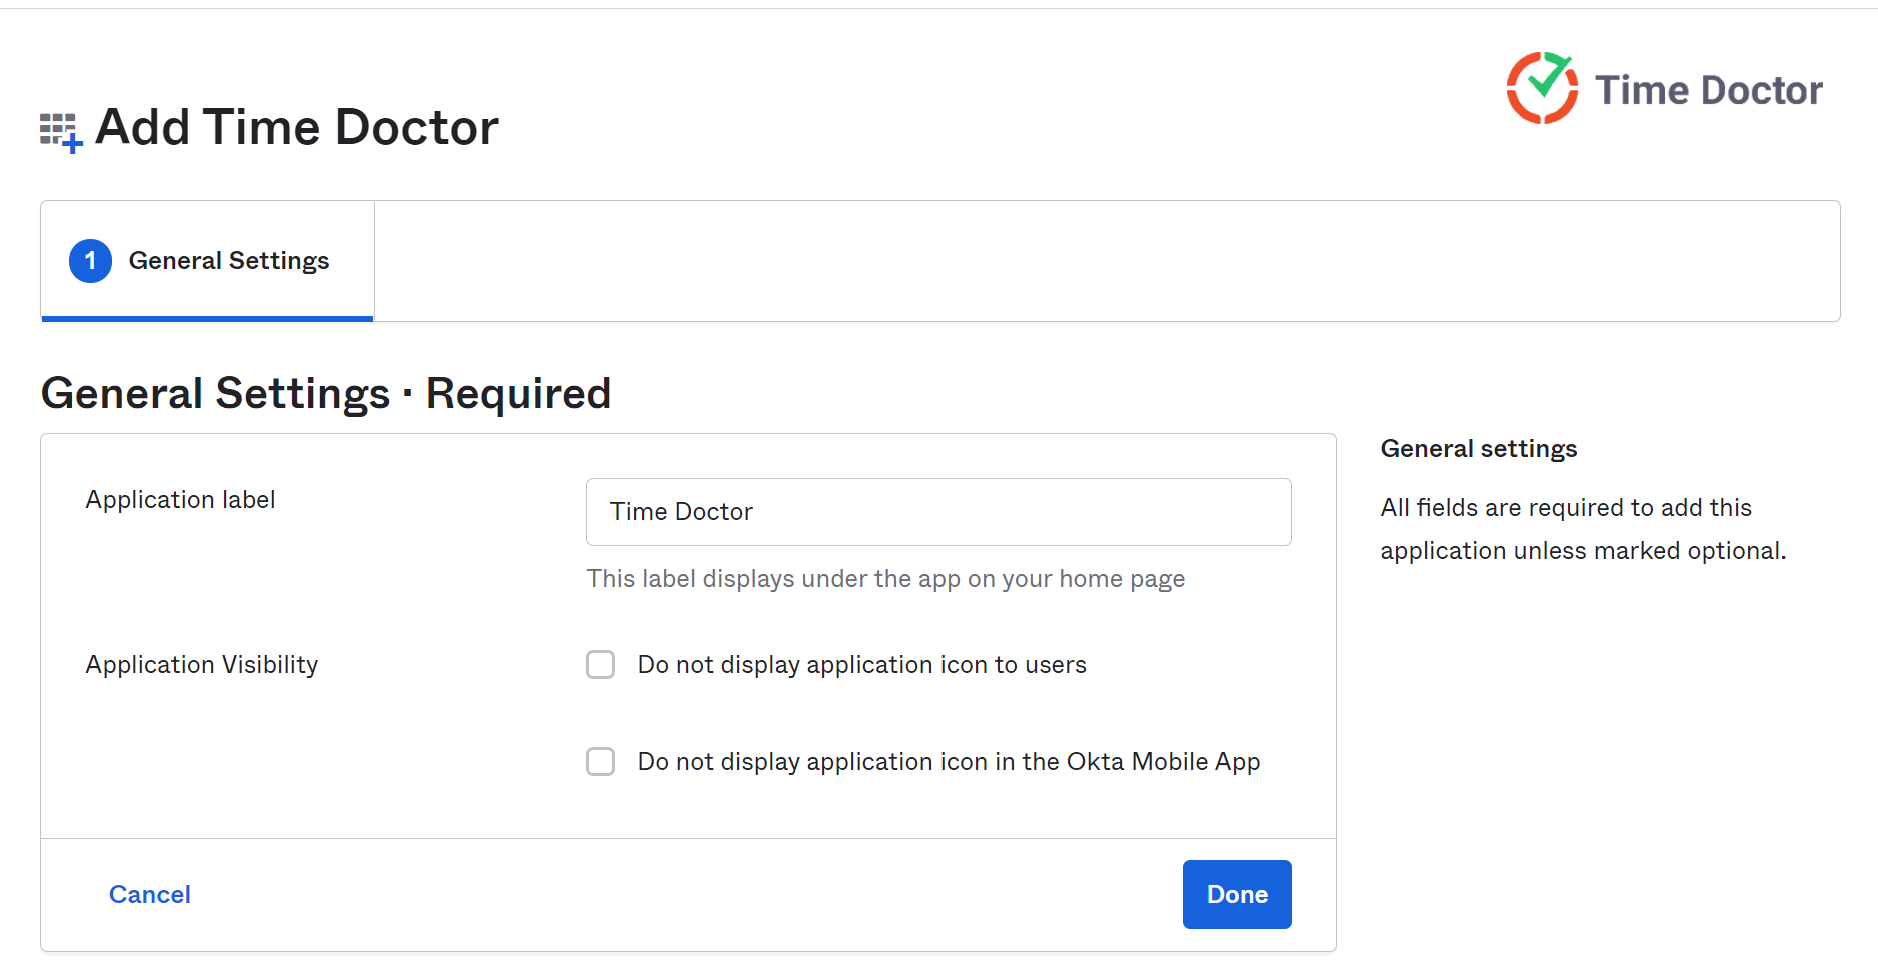
Fill in the Add Time Doctor options.
- Application label - Name your Time Doctor app.
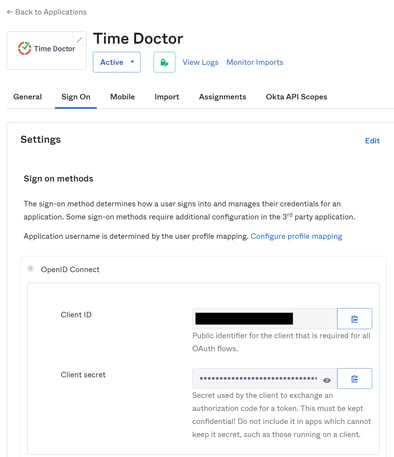
Then click on the "Sign On" tab.
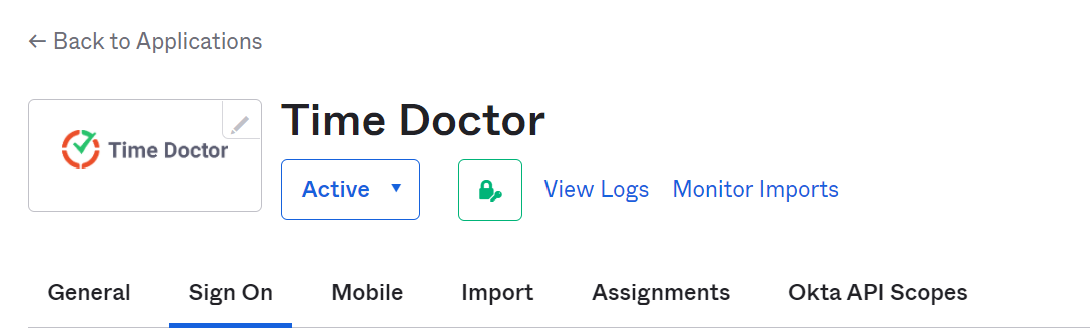
Click on "View Setup Instructions".
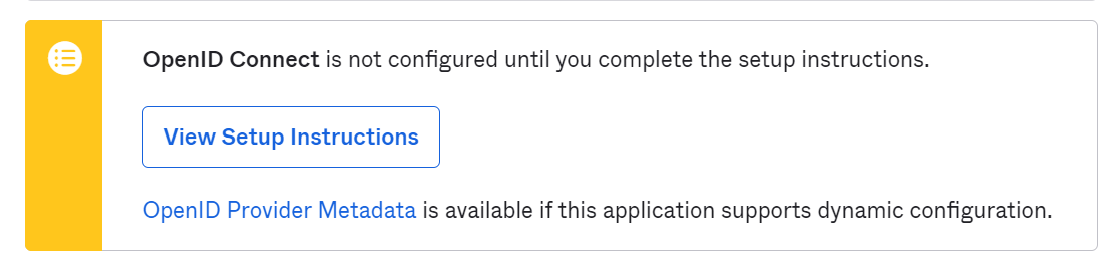
You will then be sent to View Setup Instructions, which for Time Doctor is currently a Google Doc document.
2. Set up SSO settings on Time Doctor
Log into your Time Doctor account
In a new browser tab, log in to your Time Doctor account as an administrator (with administrator access).
Open Single Sign-On Settings
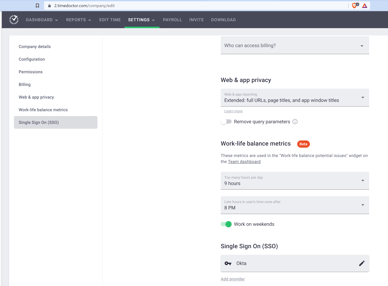
In Time Doctor, open your Single Sign-On (SSO) settings.
Settings> Company Settings
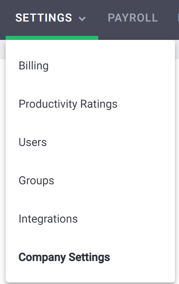
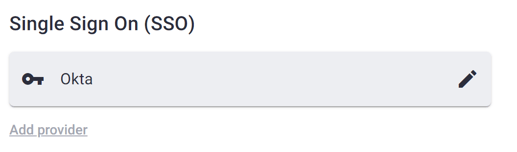
Scroll down to Single Sign On (SSO). Click Add Provider and select Okta as your provider.
You should see something like this "Single Sign-On" section on Time Doctor.
Fill out all your configuration details and click Save.
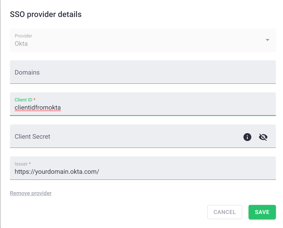
In Okta Admin Console, you will see the details you need to fill in your Time Doctor "SSO Provider details". (Under "Sign On" tab).
Add in your Okta Single Sign-On settings into Time Doctor.
- (Optional) Domains* - This is optional, but allows your users to find/ join your Time Doctor company without you having to manually add/invite them.
- Client ID - your client ID username from Okta
- Client Secret - your client secret password from Okta
- Issuer - https://youroktadomain.okta.com
*Here is further details on the domain, if you are keen to understand if you should add in that optional field.
Setting a domain is optional. You can specify which domains you want to allow to find your company when searching for SSO companies. Adding any domains to this field will have the following effects:
Any domain you specify will allow anyone with an email address on that domain to find your company on Time Doctor. This will only happen if you give them access to your application on Okta as well.Anyone using an email address from one of the specified domains will be able to join your company on Time Doctor, even if you haven’t manually added/invited and/or provisioned them. They’ll be automatically given default settings.
If you don’t add any domains, then no one will be able to find or join your Time Doctor company until you manually add/invite them.
3. Test that SSO is working on Time Doctor
When you are ready, let's test that it works.
In Okta Admin Console, let's assign a user to the application. (Applications> Applications> Time Doctor app)
Go to "Assignments" tab. (Applications> Applications> Time Doctor app> "Assignments)
Select "Assign" and "Assign to People".
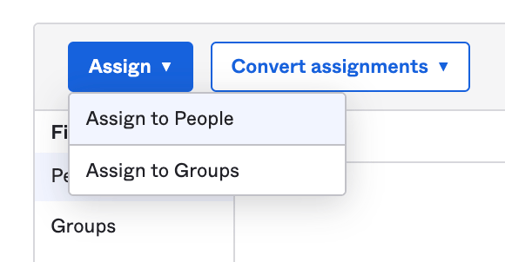
Select our test user, click "Assign" and then "Done".
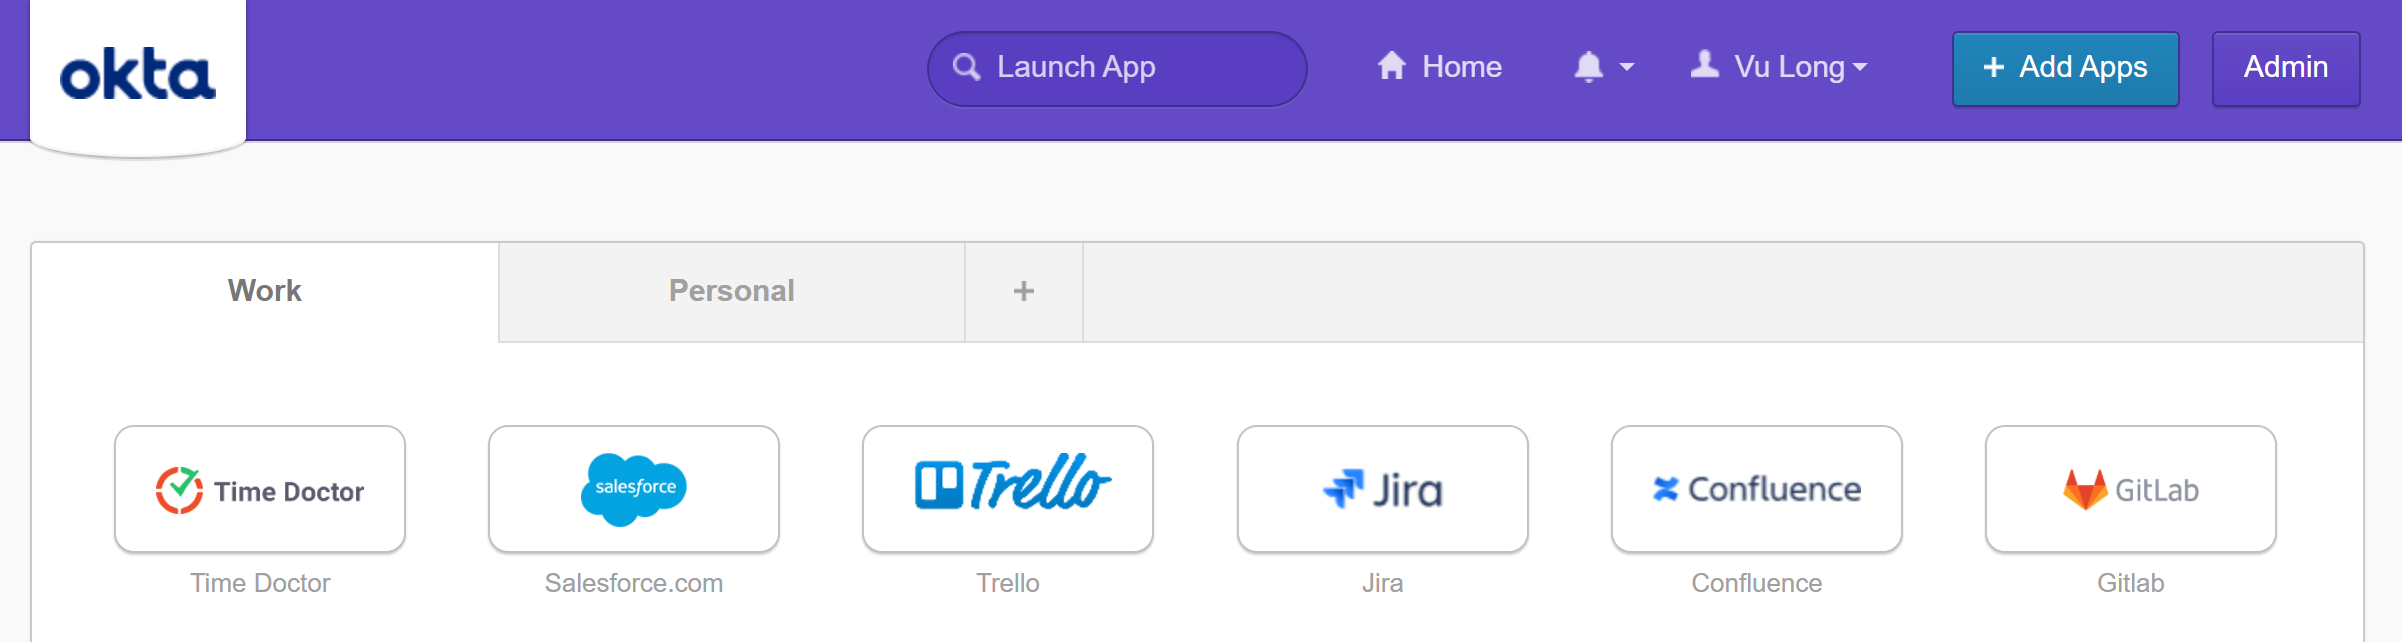
Now let's log into our Okta instance as a test user. You may need to refresh your browser if you had the browser window already open.
Then click on "Time Doctor" application icon (chiclet).
Success, you will be logged in successfully to your Time Doctor account!


