- Prerequisites
- Add Tencent Cloud app to your Okta instance
- Set up SSO settings on Tencent Cloud
- Test and confirm that it is working
Prerequisites
Before you can start setting up Single Sign On (SSO) for Tencent Cloud and Okta, we need to check the following:
- Access to Tencent Cloud Admin Console - Confirm that you have administrator access to Tencent Cloud Admin Console.
- Access to Okta Admin Console - Confirm that you have administrator access to Okta's Admin Console. If you do not have an Okta account, you can create a free Okta Trial account or Okta Developer account.
- (Recommended) Use the same email address for your Tencent Cloud administrator account as your Okta administrator account. This will make it easier for you to administer the accounts.
1. Add Tencent Cloud app to your Okta instance
Log in to your Okta account as an administrator (with administrator access).
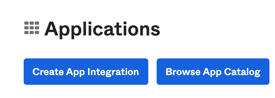
Under Applications> Applications, click Create App Integration.
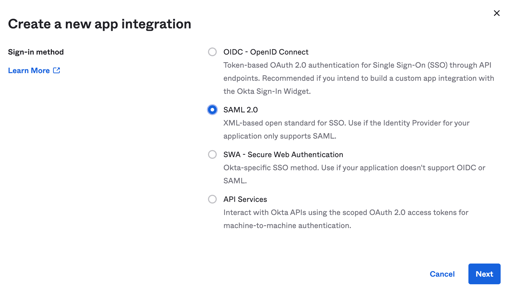
Select SAML 2.0.
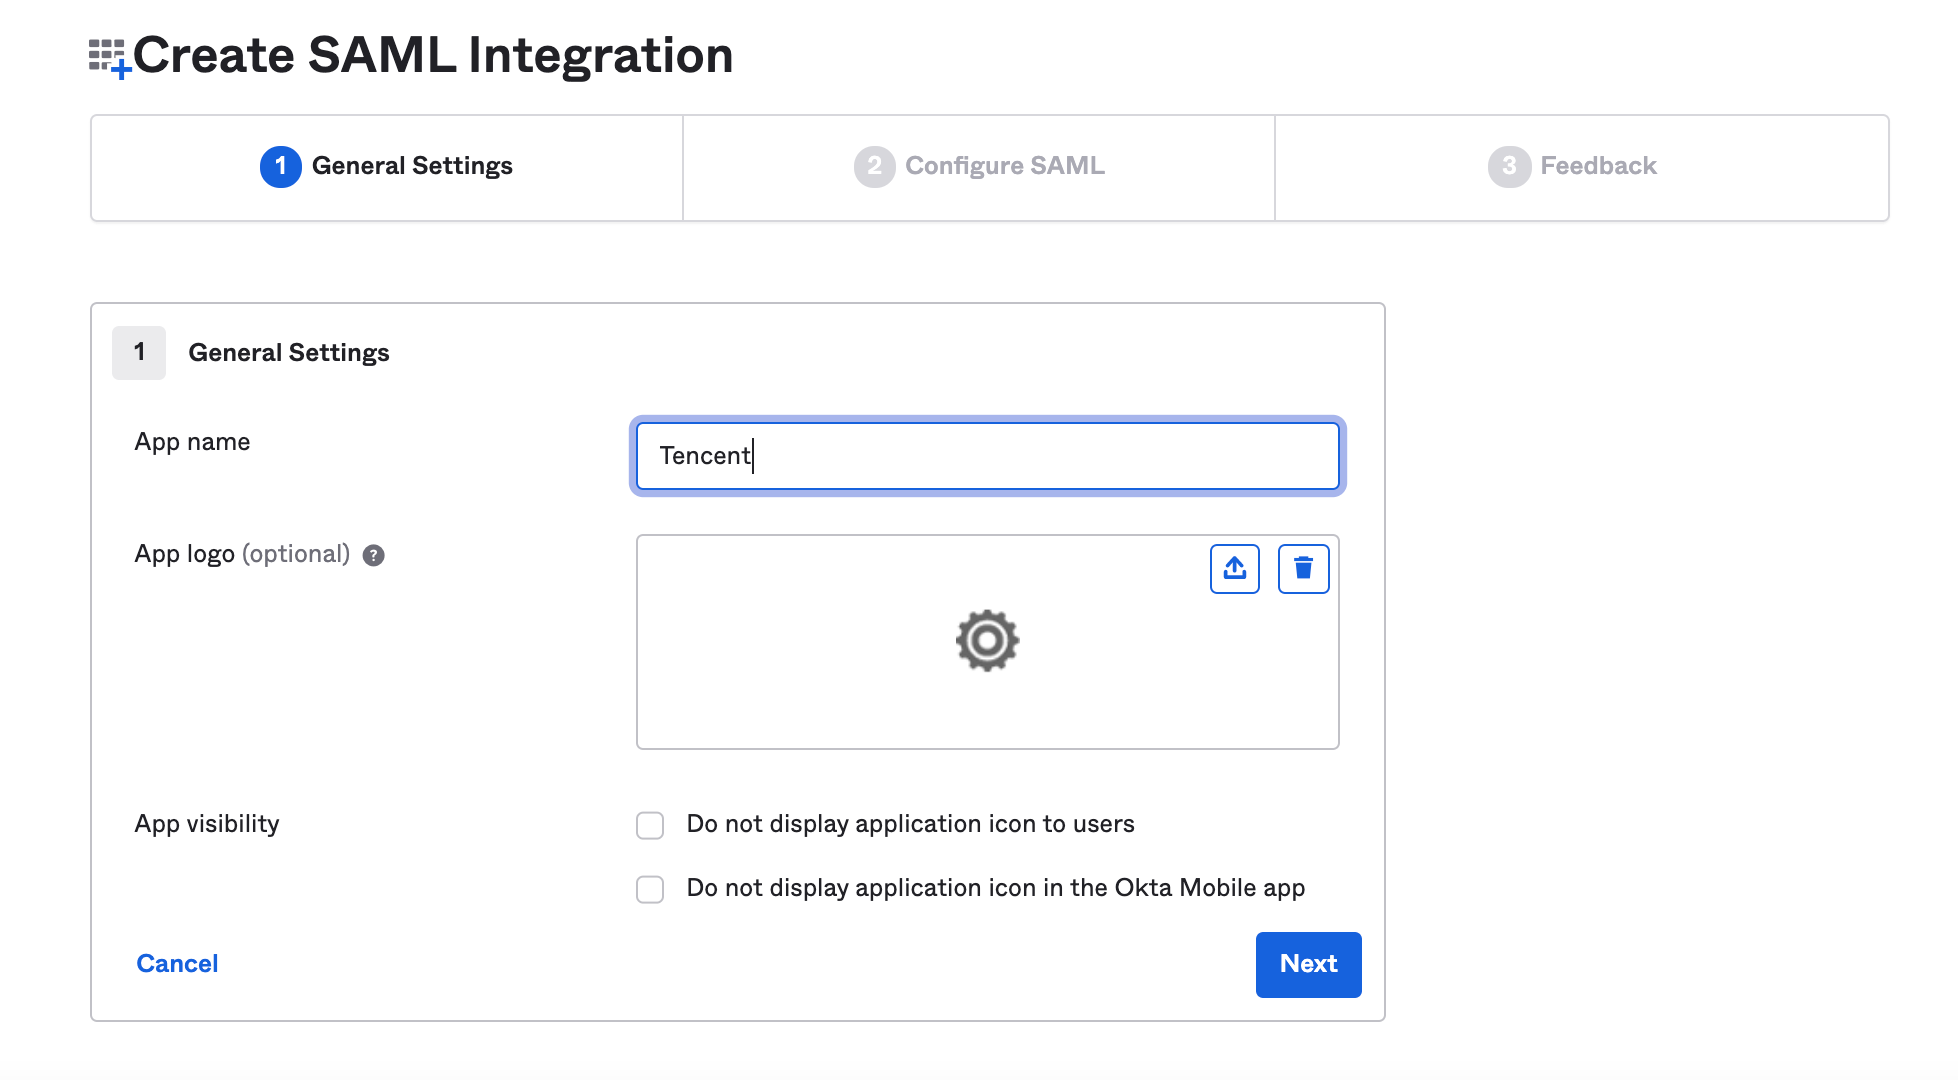
On the "Create SAML Integration" page, fill in the options.
- Application name - Name your app (any name is fine), click Next.
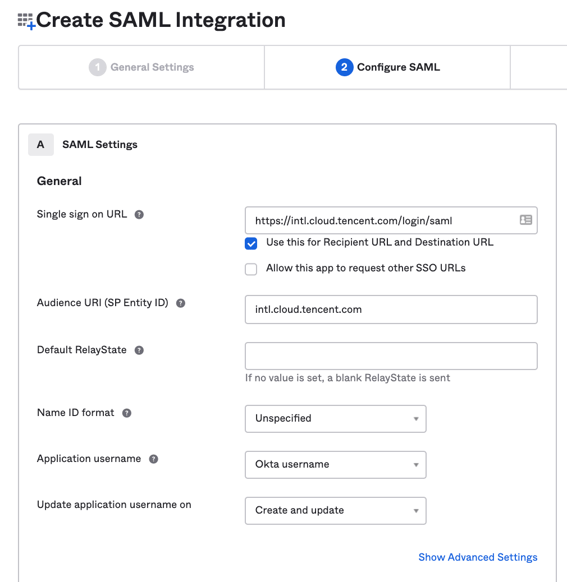
On the next page, fill in more details, you can put in these placeholder details for now. Use the Tencent Cloud International or Tencent Cloud China details depending on which one you are using:
Tencent Cloud International users
- Single sign on URL - https://intl.cloud.tencent.com/login/saml
- Audience URI (SP Entity ID) -intl.cloud.tencent.com
- Default RelayState - You can leave blank, this is optional.
- Name ID format - Email Address
- Application username - Okta username
- Update application username on - Create and update
Tencent Cloud China users
- Single sign on URL - https://cloud.tencent.com/login/saml
- Audience URI (SP Entity ID) - cloud.tencent.com
- Default RelayState - You can leave blank, this is optional.
- Name ID format - Email Address
- Application username - Okta username
- Update application username on - Create and update
Configure role attributes
We will also configure some role attributes, as this is something that Tencent Cloud needs to operate.
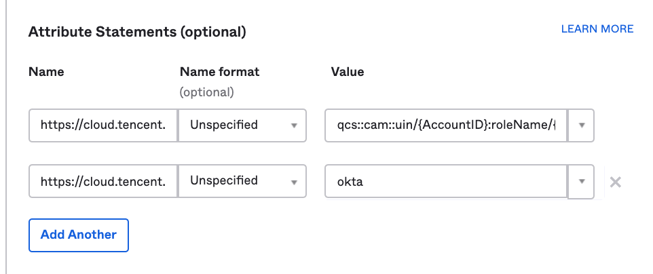
Attribute one - Role
- Name - https://cloud.tencent.com/SAML/Attributes/Role
- Name format - Unspecified
- Value - qcs::cam::uin/{AccountID}:roleName/{RoleName},qcs::cam::uin/{AccountID}:saml-provider/{ProviderName}
Where you will put your details in the "value" field.
- {AccountID}: Replace this with your Tencent Cloud account ID. You can view this at Account Information - Console.
- {RoleName}: Replace this with the role name you have created in Tencent Cloud for the identity provider. For more information, see Creating a Role. Role names can be viewed in Role - Console.
- You can also add more roles, using this format . Separate them using semicolons (;):
- qcs::cam::uin/{AccountID}:roleName/{RoleName}
- You can also add more roles, using this format . Separate them using semicolons (;):
- {ProviderName}: Replace this with the SAML identity provider name that you created on Tencent Cloud. You can view this at Identity Providers - Console.
For example:
- AccountID 1000200000'
- RoleName Enduser
- ProviderName Okta
This will then look like the following format for Tencent Cloud will digest it.
- Value -qcs::cam::uin/1000200000:roleName/Enduser,qcs::cam::uin/1000200000:saml-provider/Okta
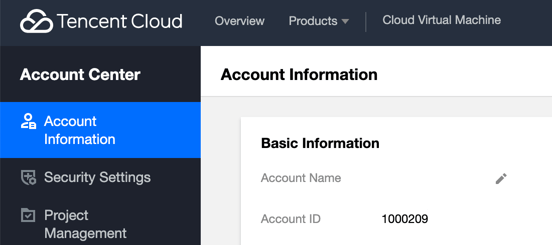
This is screenshots of the Tencent Cloud settings for where you can find your AccountID and RoleName in Tencent Cloud.
AccountID (Account ID)
Located at: Tencent Cloud> Account Center> Account Information> Account ID
RoleName (Role Name)
Located at Tencent Cloud> Access Management> Role > Role > click on one of your roles

Attribute two - RoleSessionName
- Name - https://cloud.tencent.com/SAML/Attributes/RoleSessionName
- Name format - Unspecified
- Value - Okta
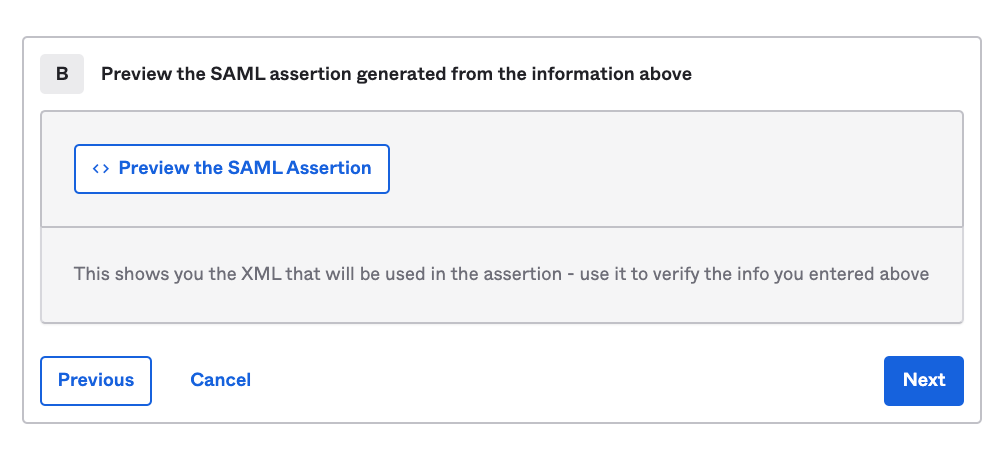
Leave the rest default settings and click Next.
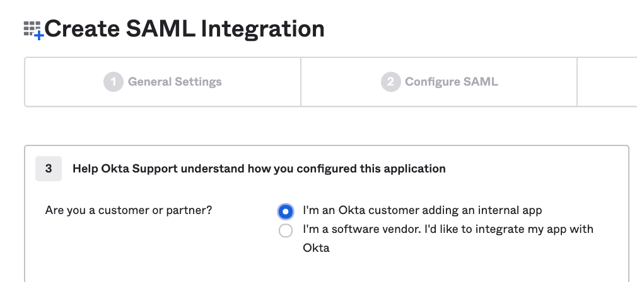
On the next page, select "I'm an Okta customer adding an internal app", and then click Next.
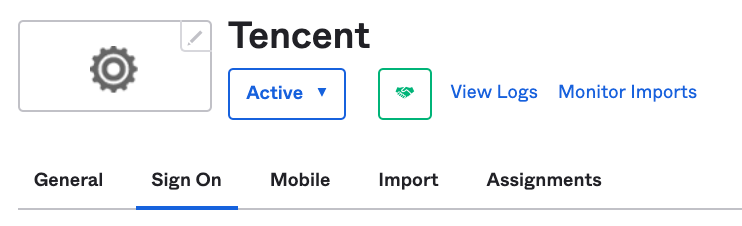
Then click on the "Sign On" tab.

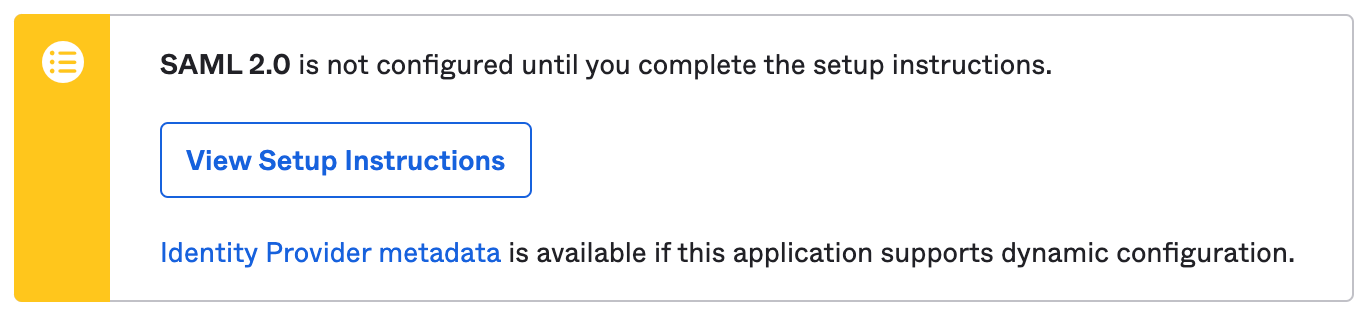
Scroll down and look for "Identity Provider metadata".
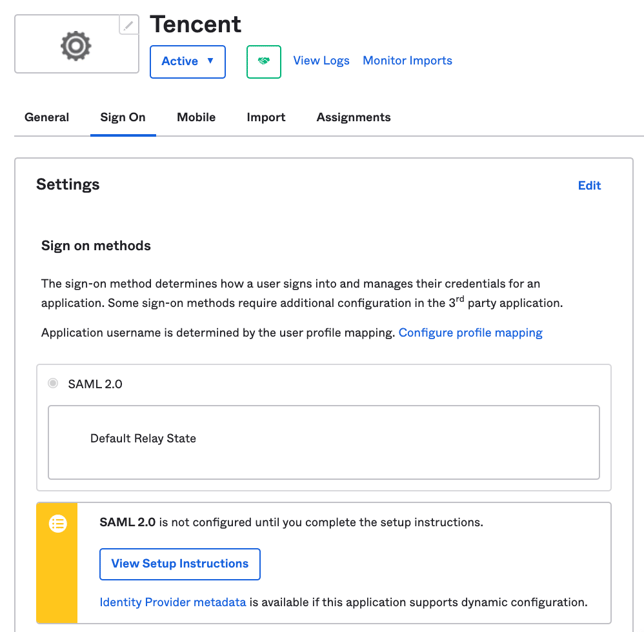
Right click on "Identity Provider metadata".
Click "Save Link As..." from the right click menu.
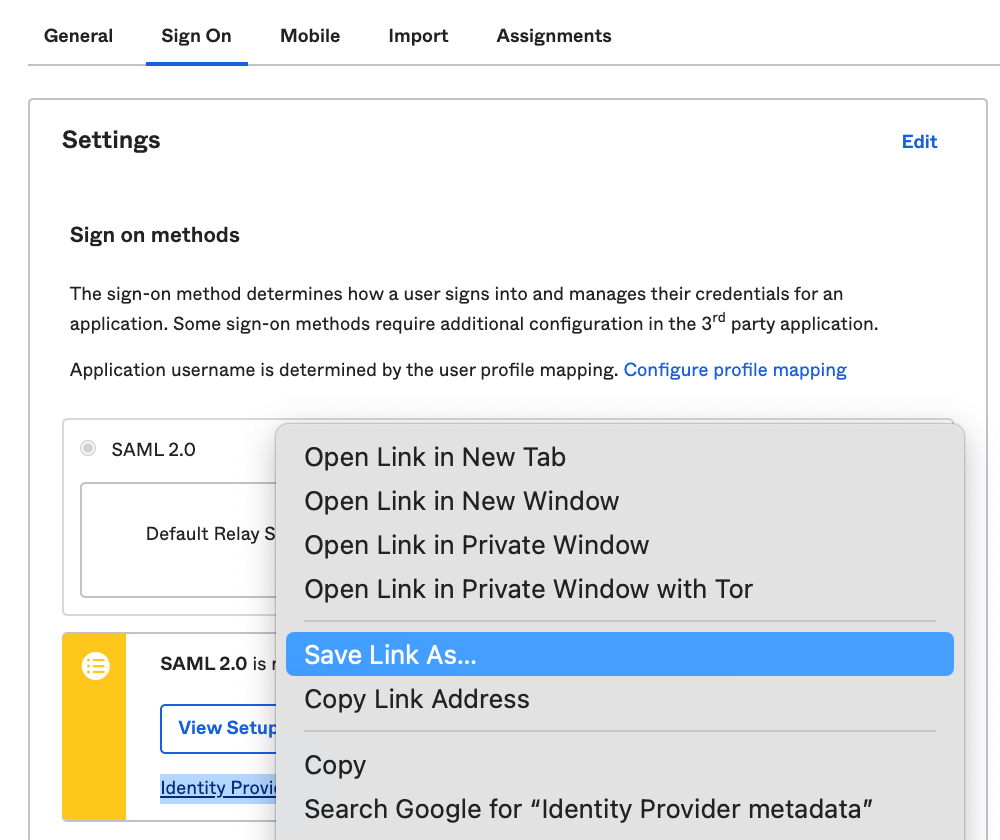
Save this to your computer.
Give it a name, for example "metadata.xml". Please make sure you save it as .xml file extension.

We will now be able to proceed to Tencent Cloud to configure settings there.
Later we will be uploading this metadata.xml file in Tencent Cloud via an option that looks like this.

2. Set up SSO settings on Tencent Cloud
Log into your Tencent Cloud account
In a new browser tab, log in to your Tencent Cloud account as an administrator (with administrator access).
Open Single Sign-On Settings
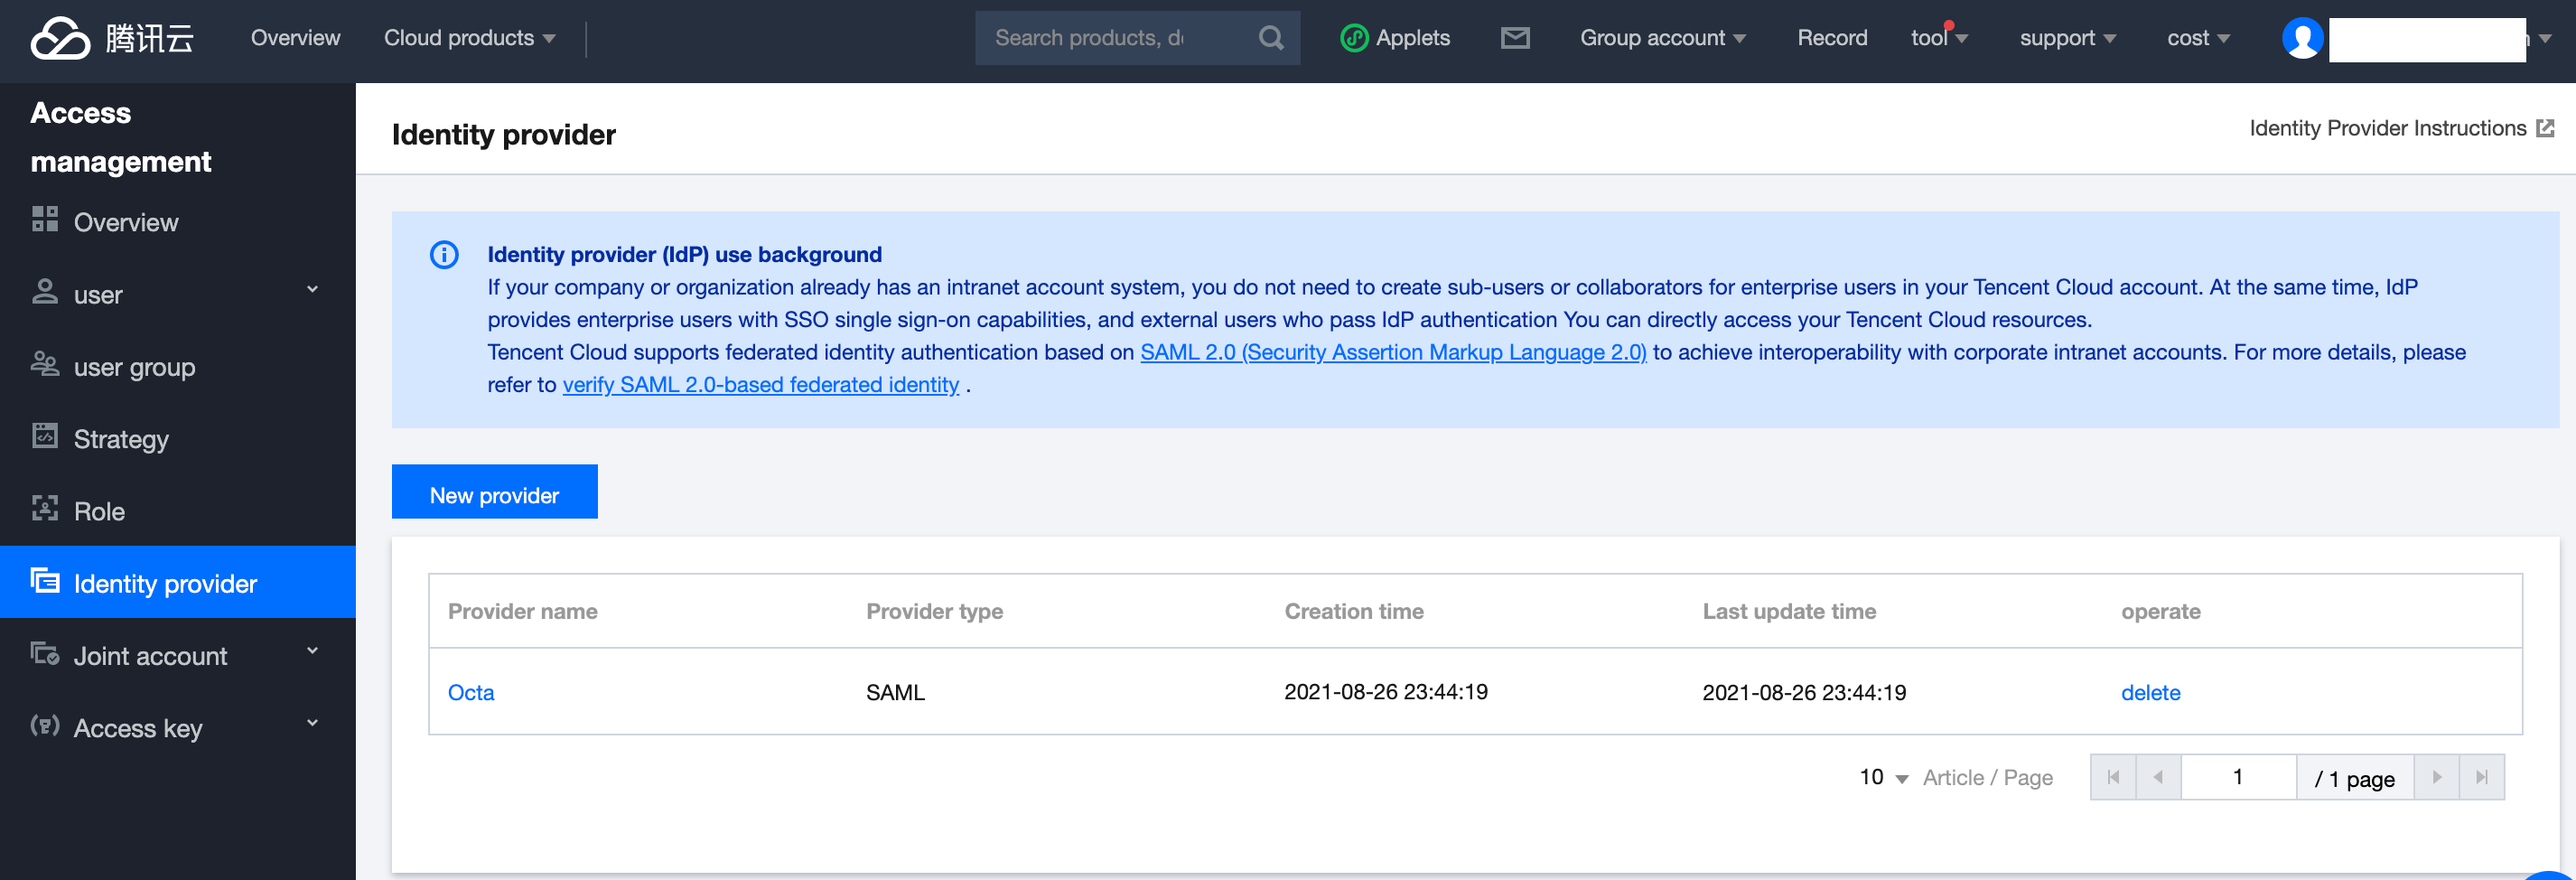
In Tencent Cloud, open your Single Sign-On (SSO) settings.
Tencent Cloud Access Management > Identity provider > New Provider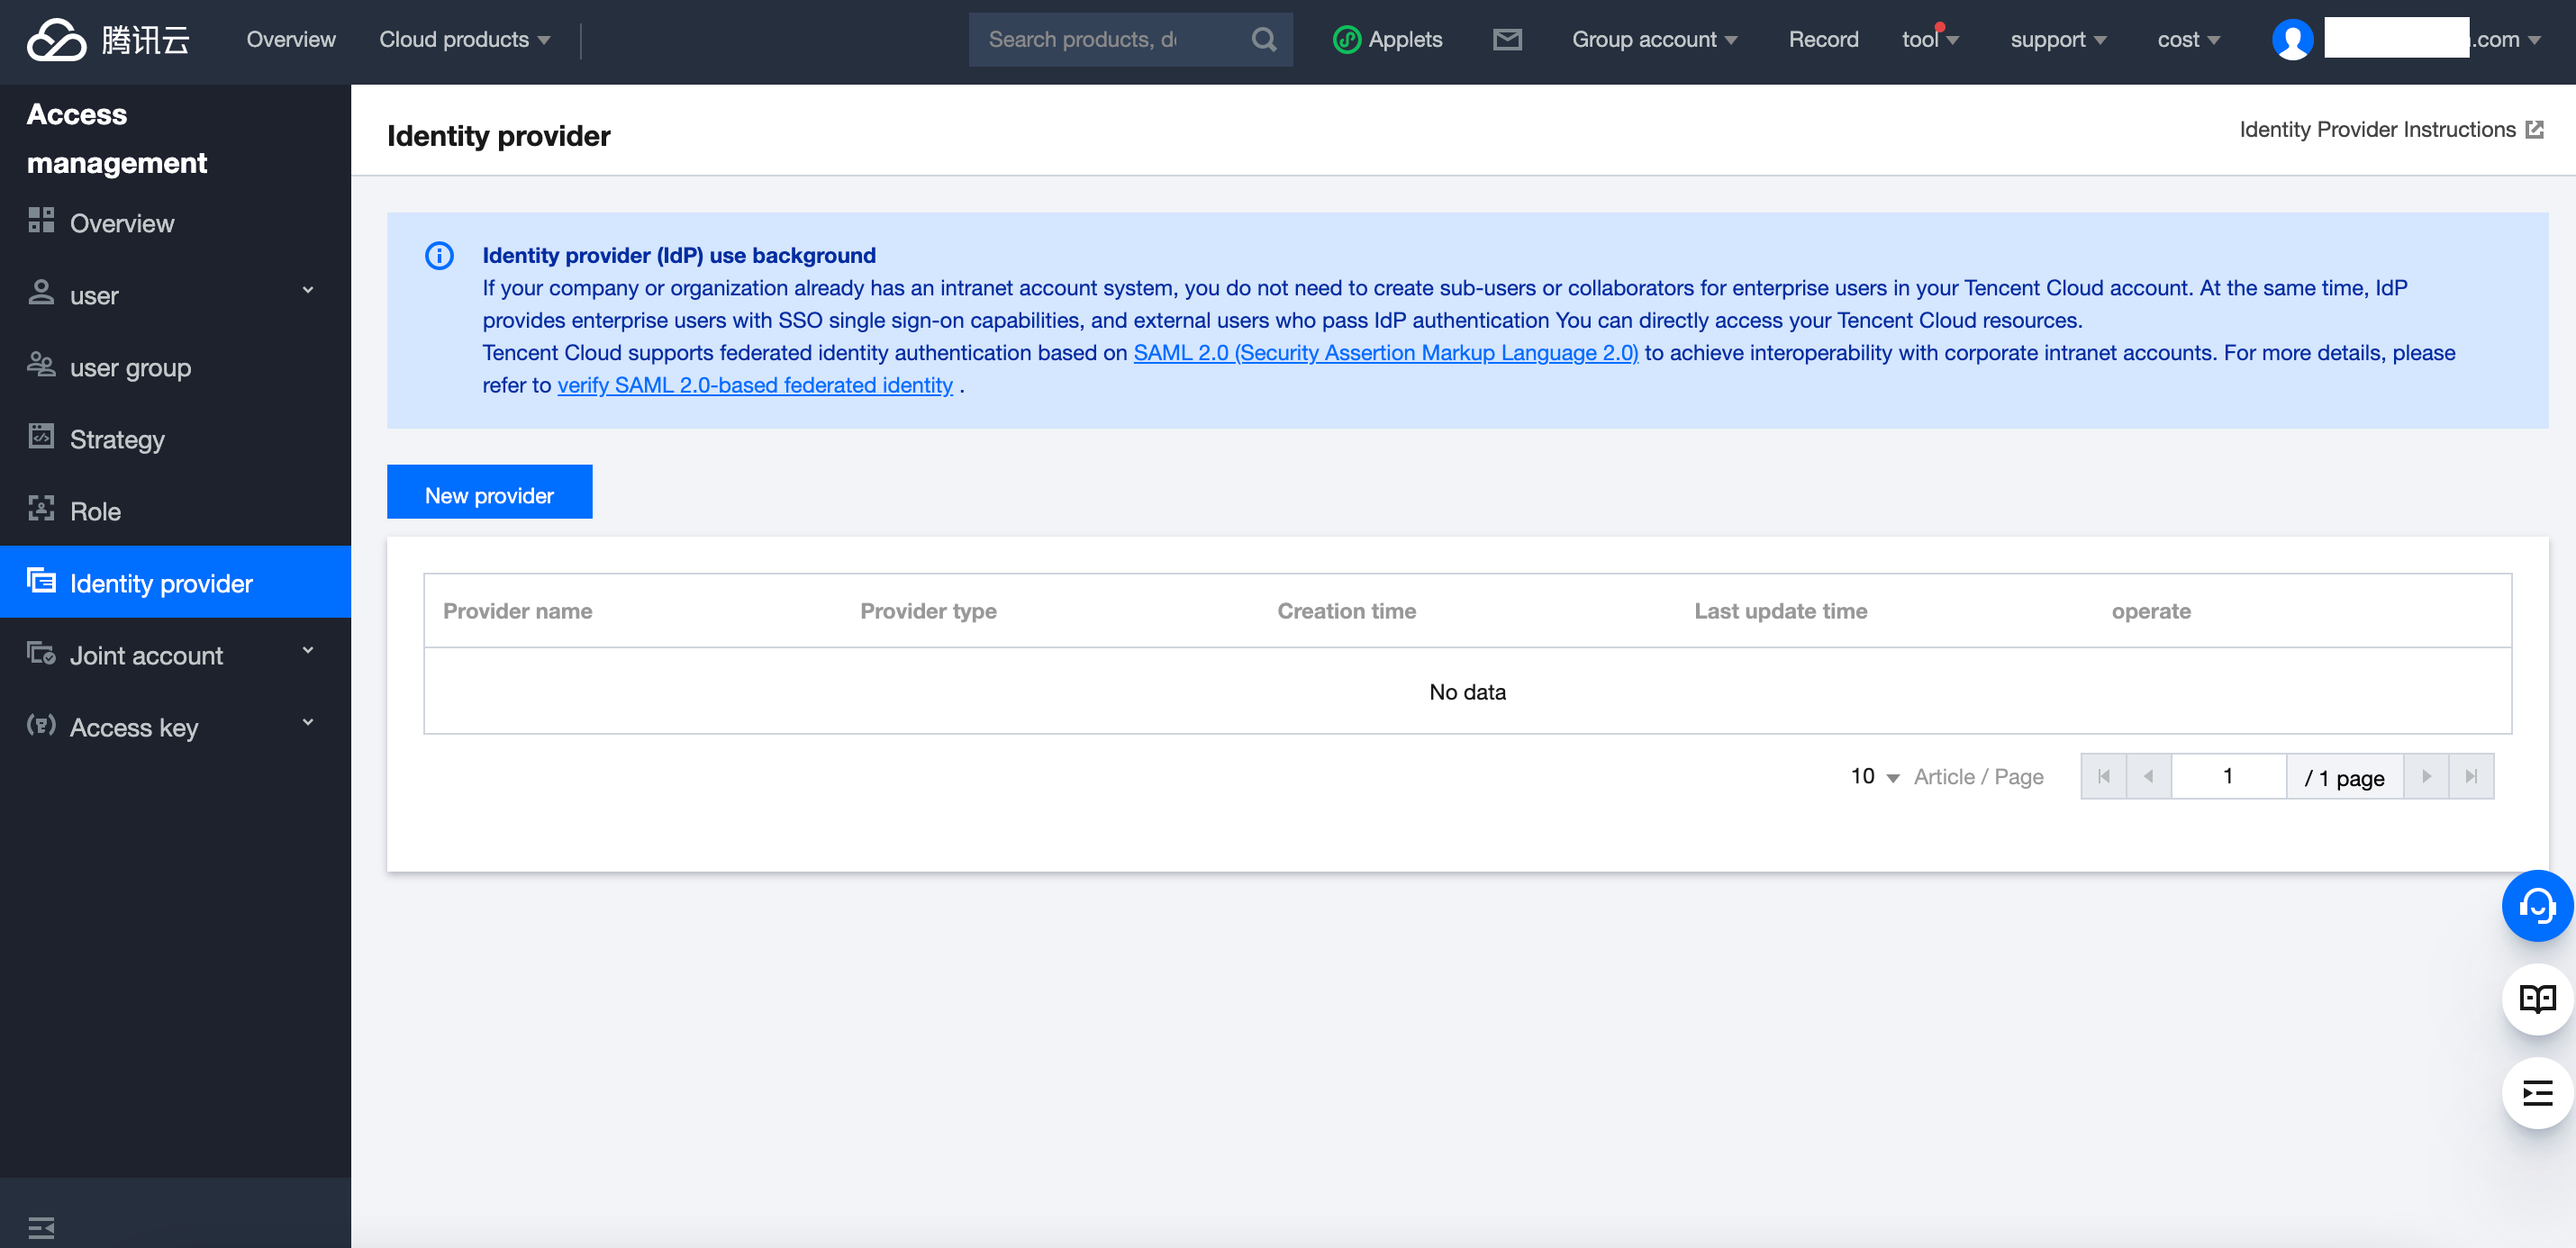

If you have trouble finding it, you can try this direct link to SAML settings, https://console.cloud.tencent.com/cam/idp
Click "New Identity Provider" button.
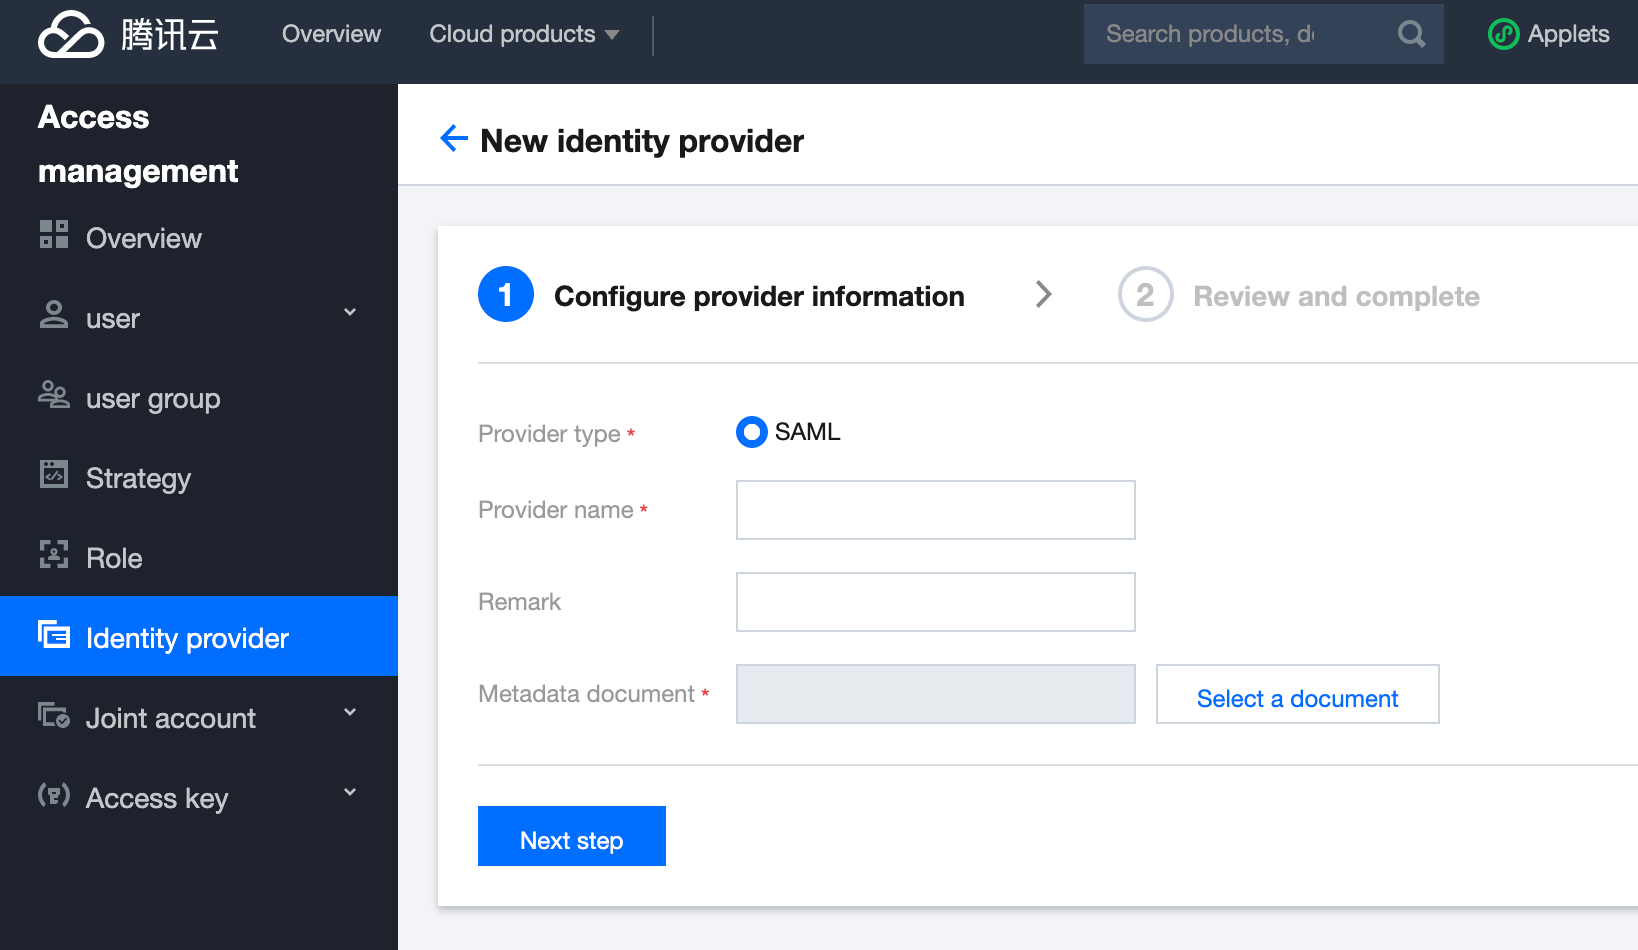
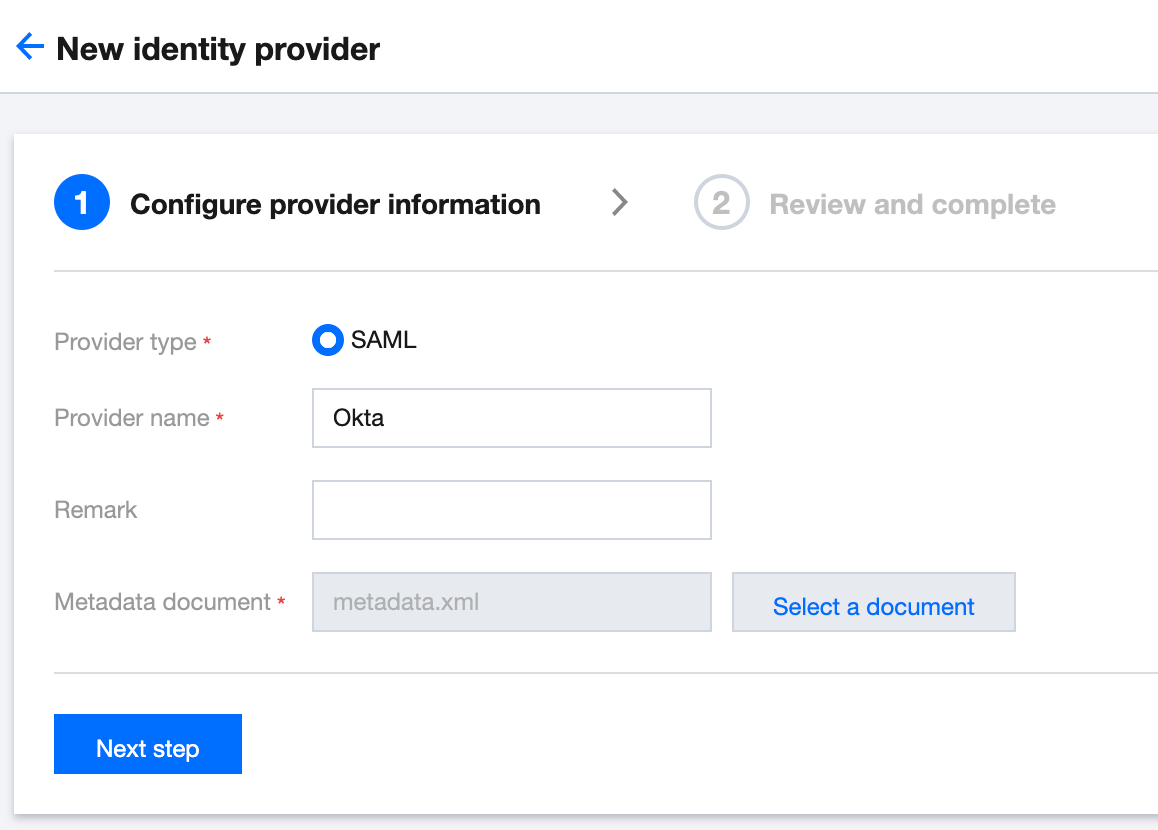
Configure your Identity Provider settings and click "Next Steps" when you are done.
- Provider type - SAML
- Provider name - Okta
- Remark - Leave blank
- Metadata document - Upload the metafile.xml file we downloaded earlier from Okta.
Upload the metafile.xml file.

When you are ready, click on Next Step.
You will then see a summary of the settings just configured.

(Optional) If you click on it, it will look like this.

3. Test that SSO is working on Tencent Cloud
When you are ready, let's test that it works.
In Okta Admin Console, let's assign a user to the application. (Applications> Applications> Tencent Cloud apt our test user, click "Assign" and then "Done".
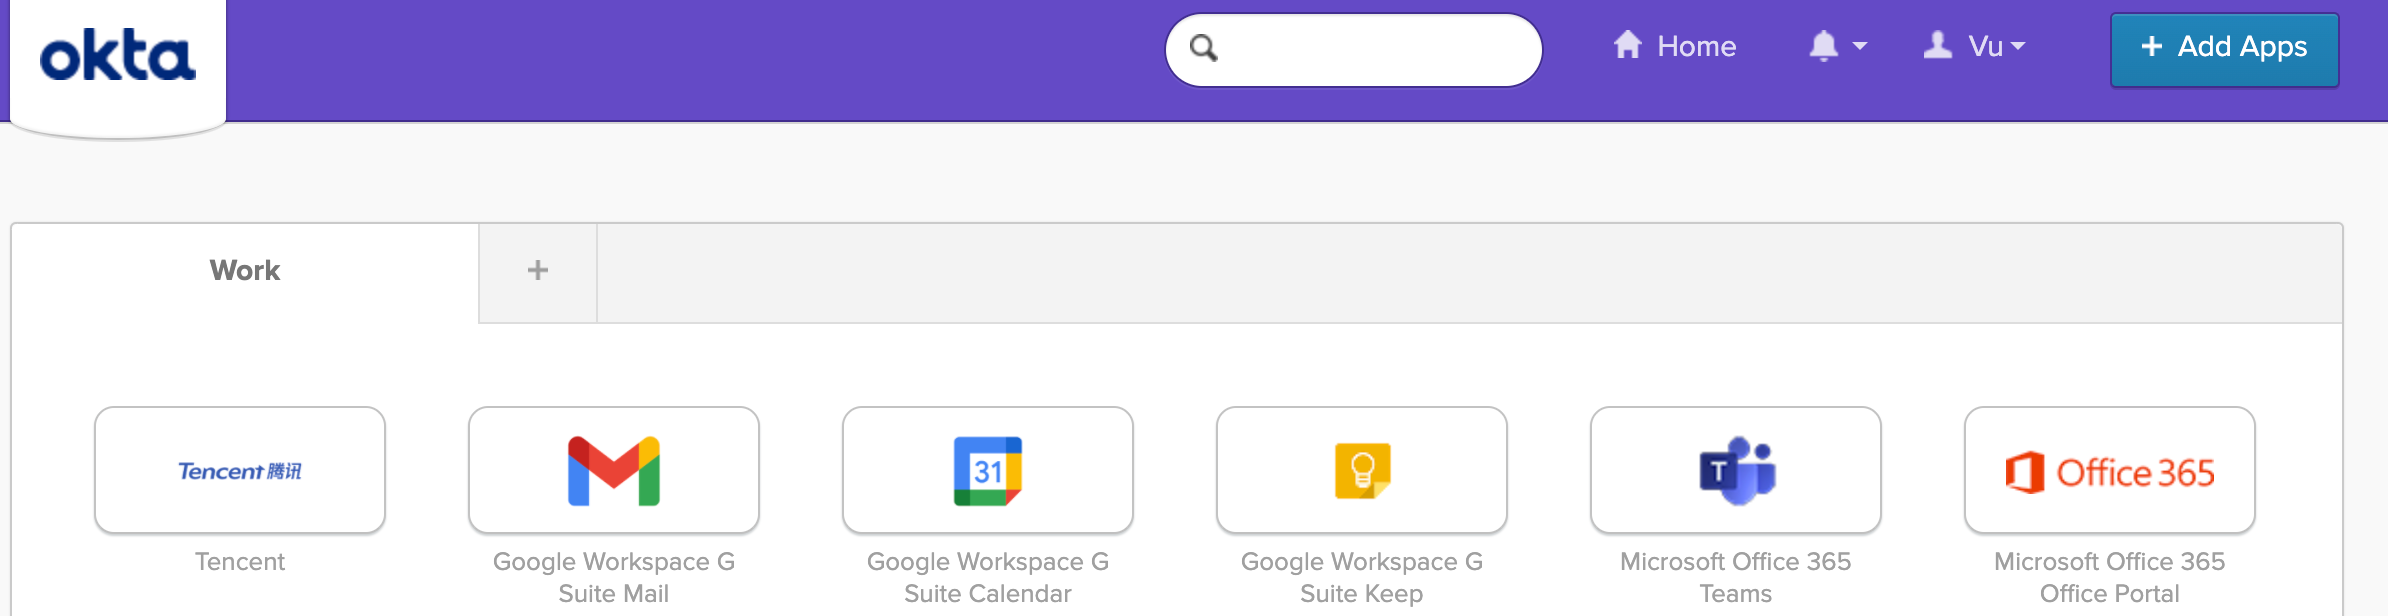
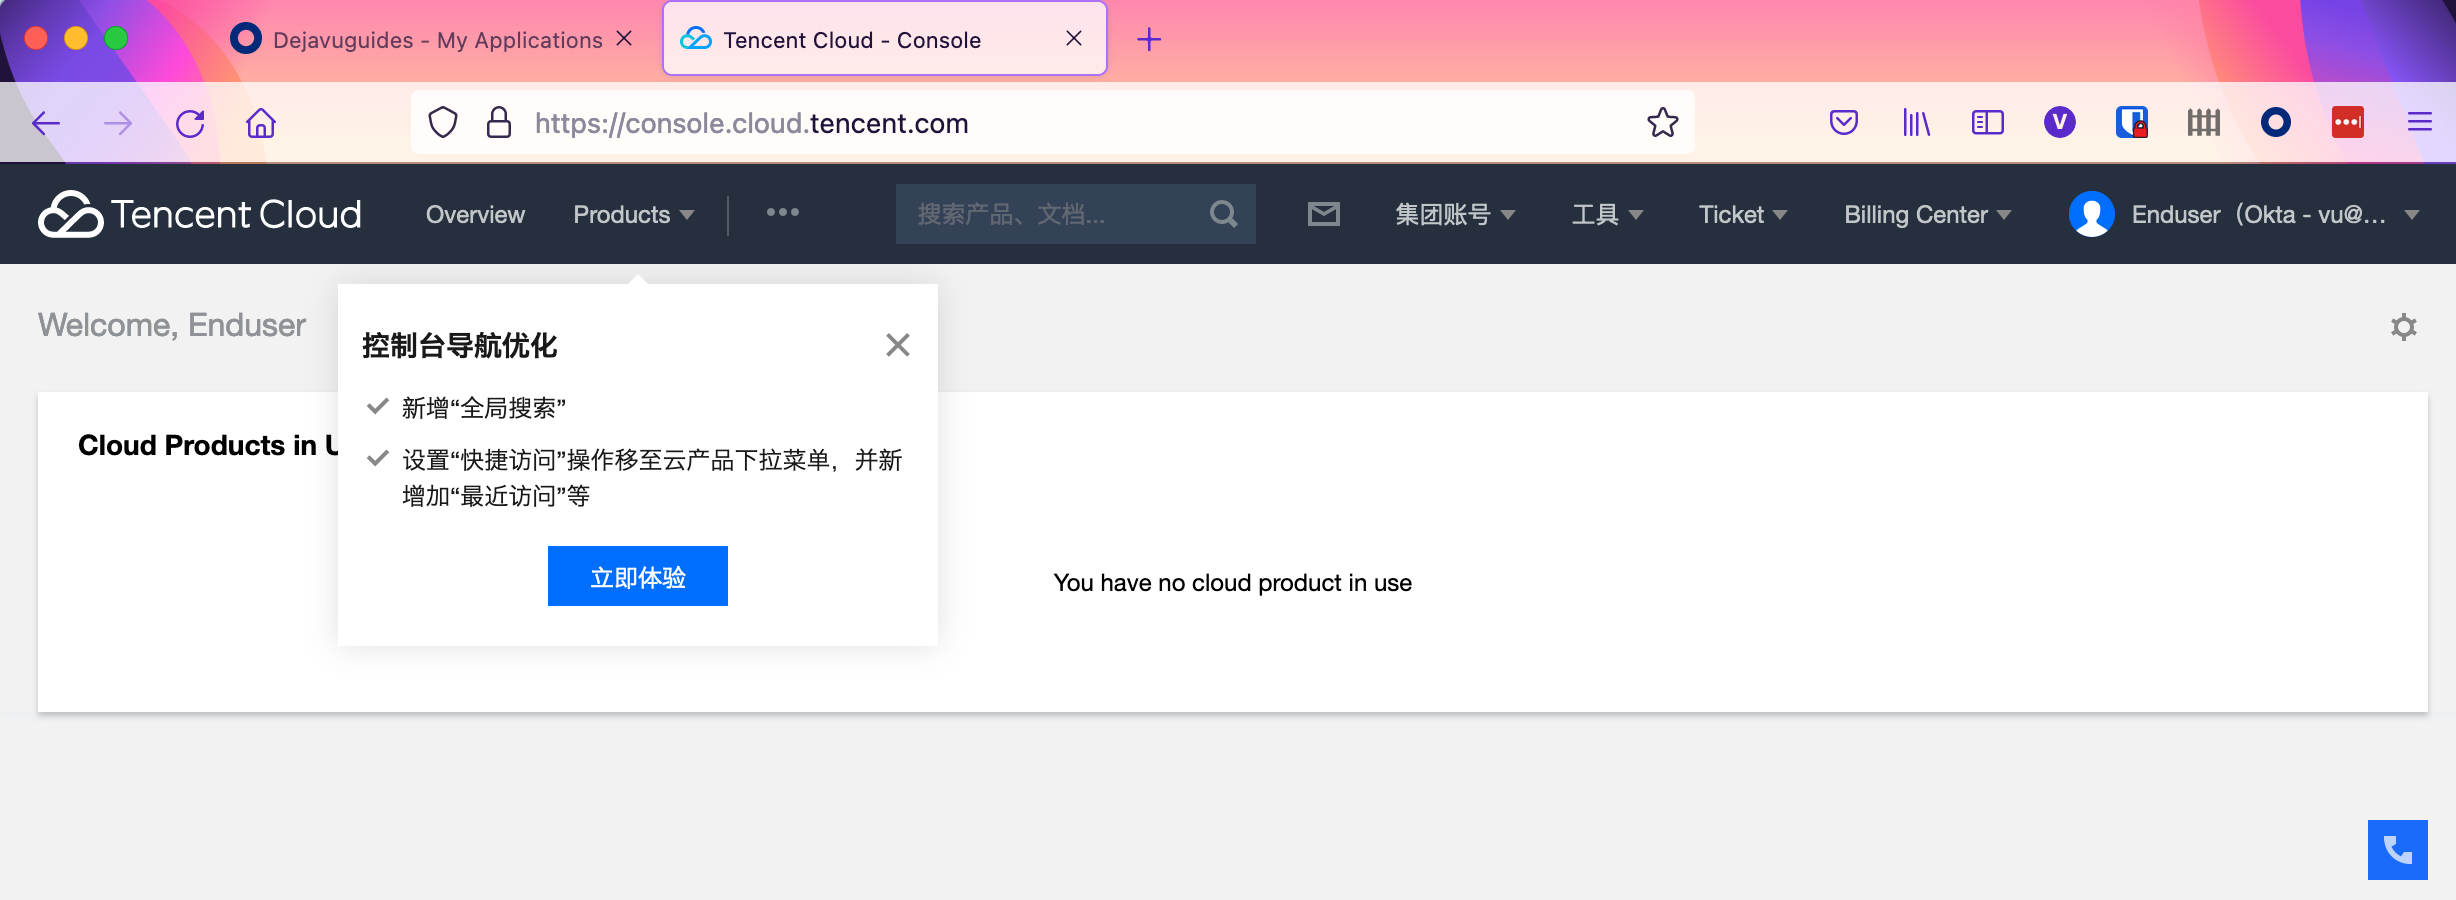
Now let's log into our Okta instance as a test user. You may need to refresh your browser if you had the browser window already open.
Then click on "Tencent Cloud" application icon (chiclet).
Success, you will be logged in successfully to your Tencent Cloud account!
Troubleshooting:
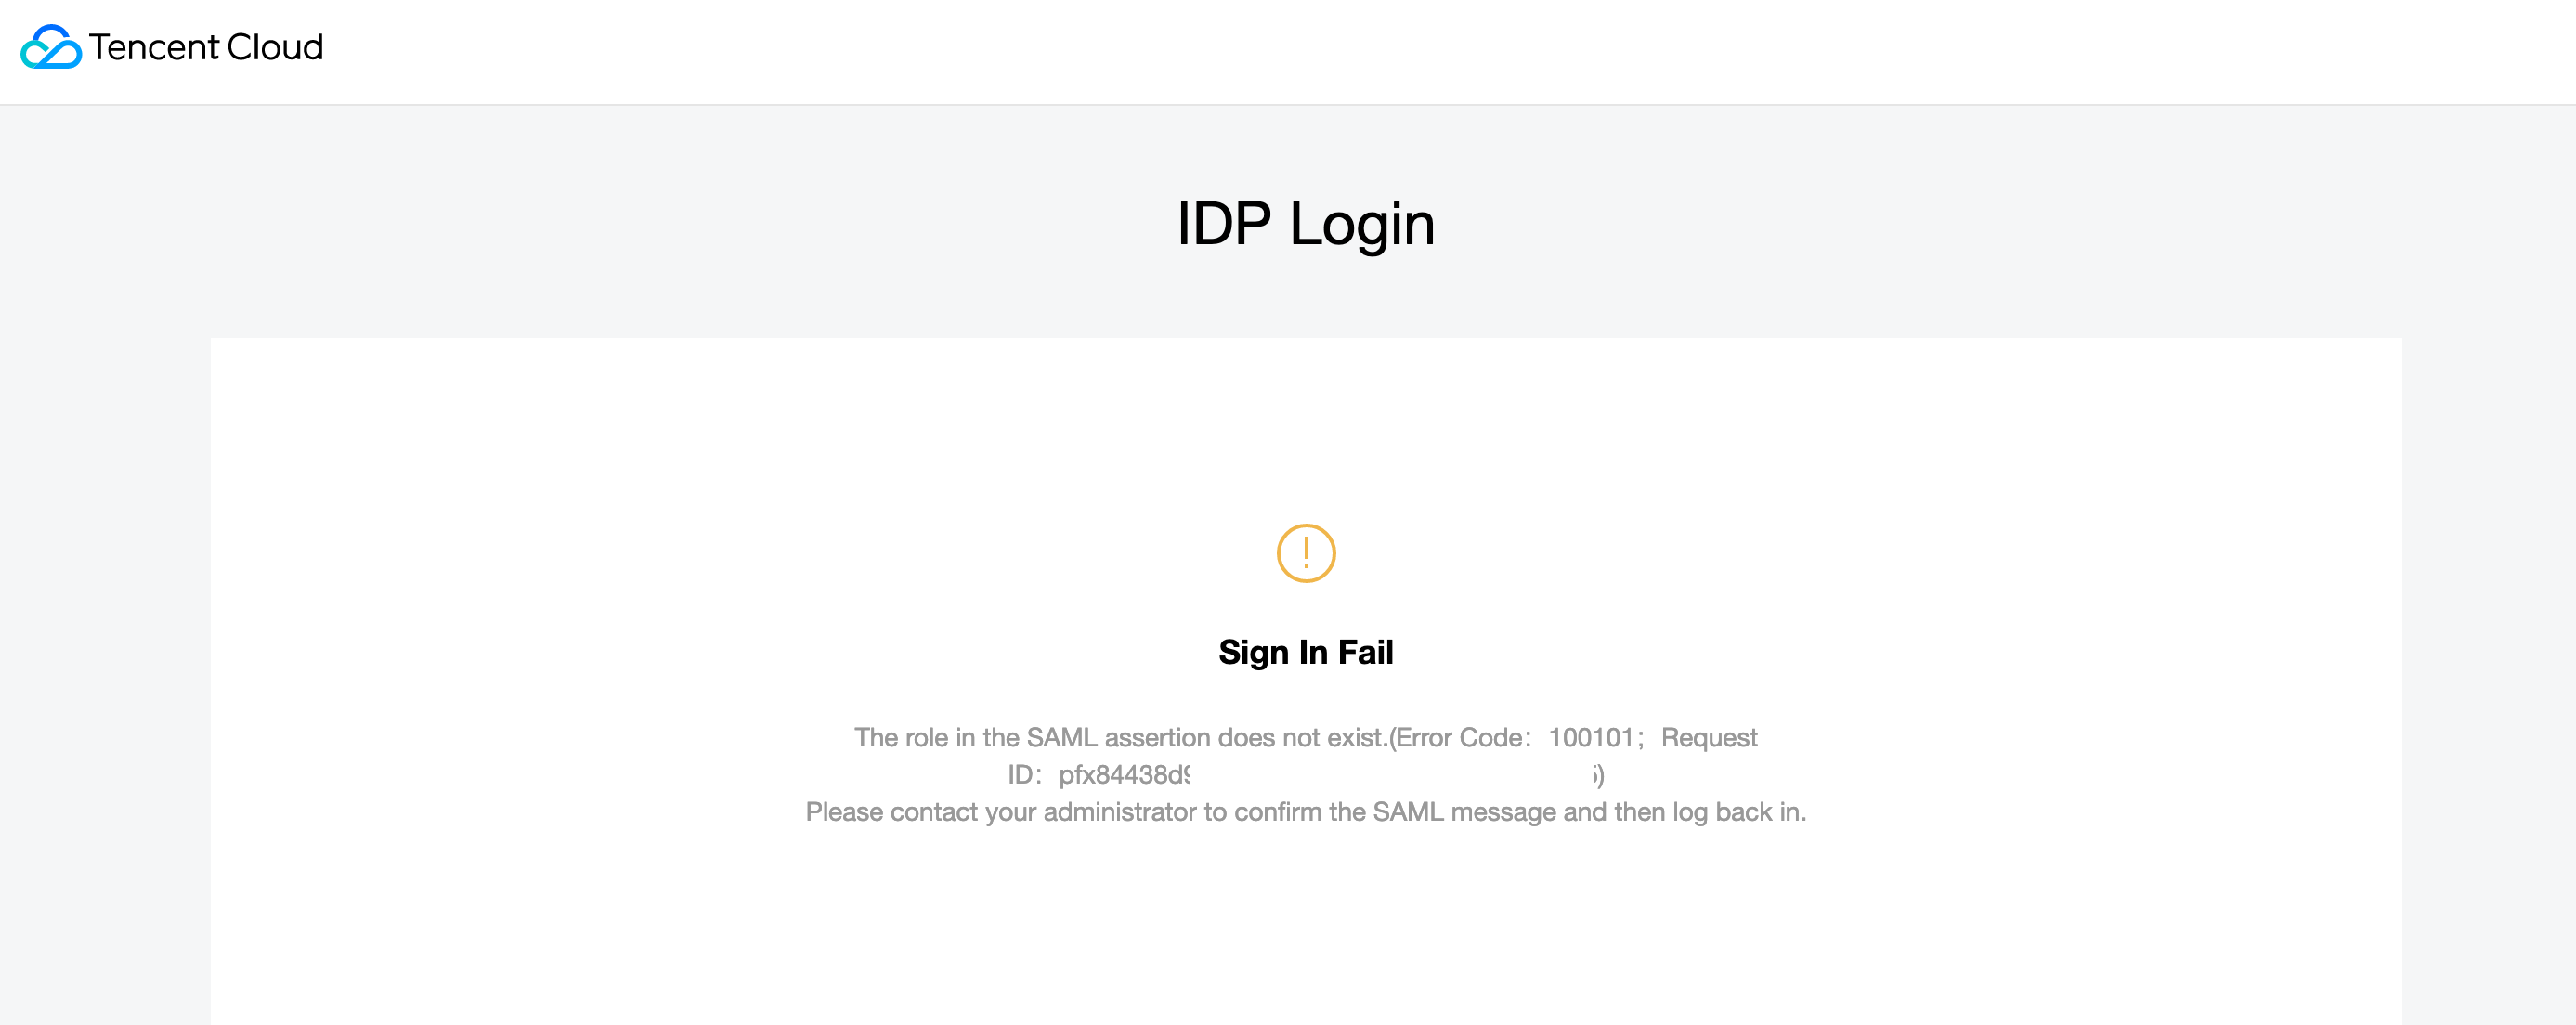
Sign In Fail
The role in the SAML assertion does not exist.(Error Code:100101;Request ID:pfx8.....)
Please contact your administrator to confirm the SAML message and then log back in.
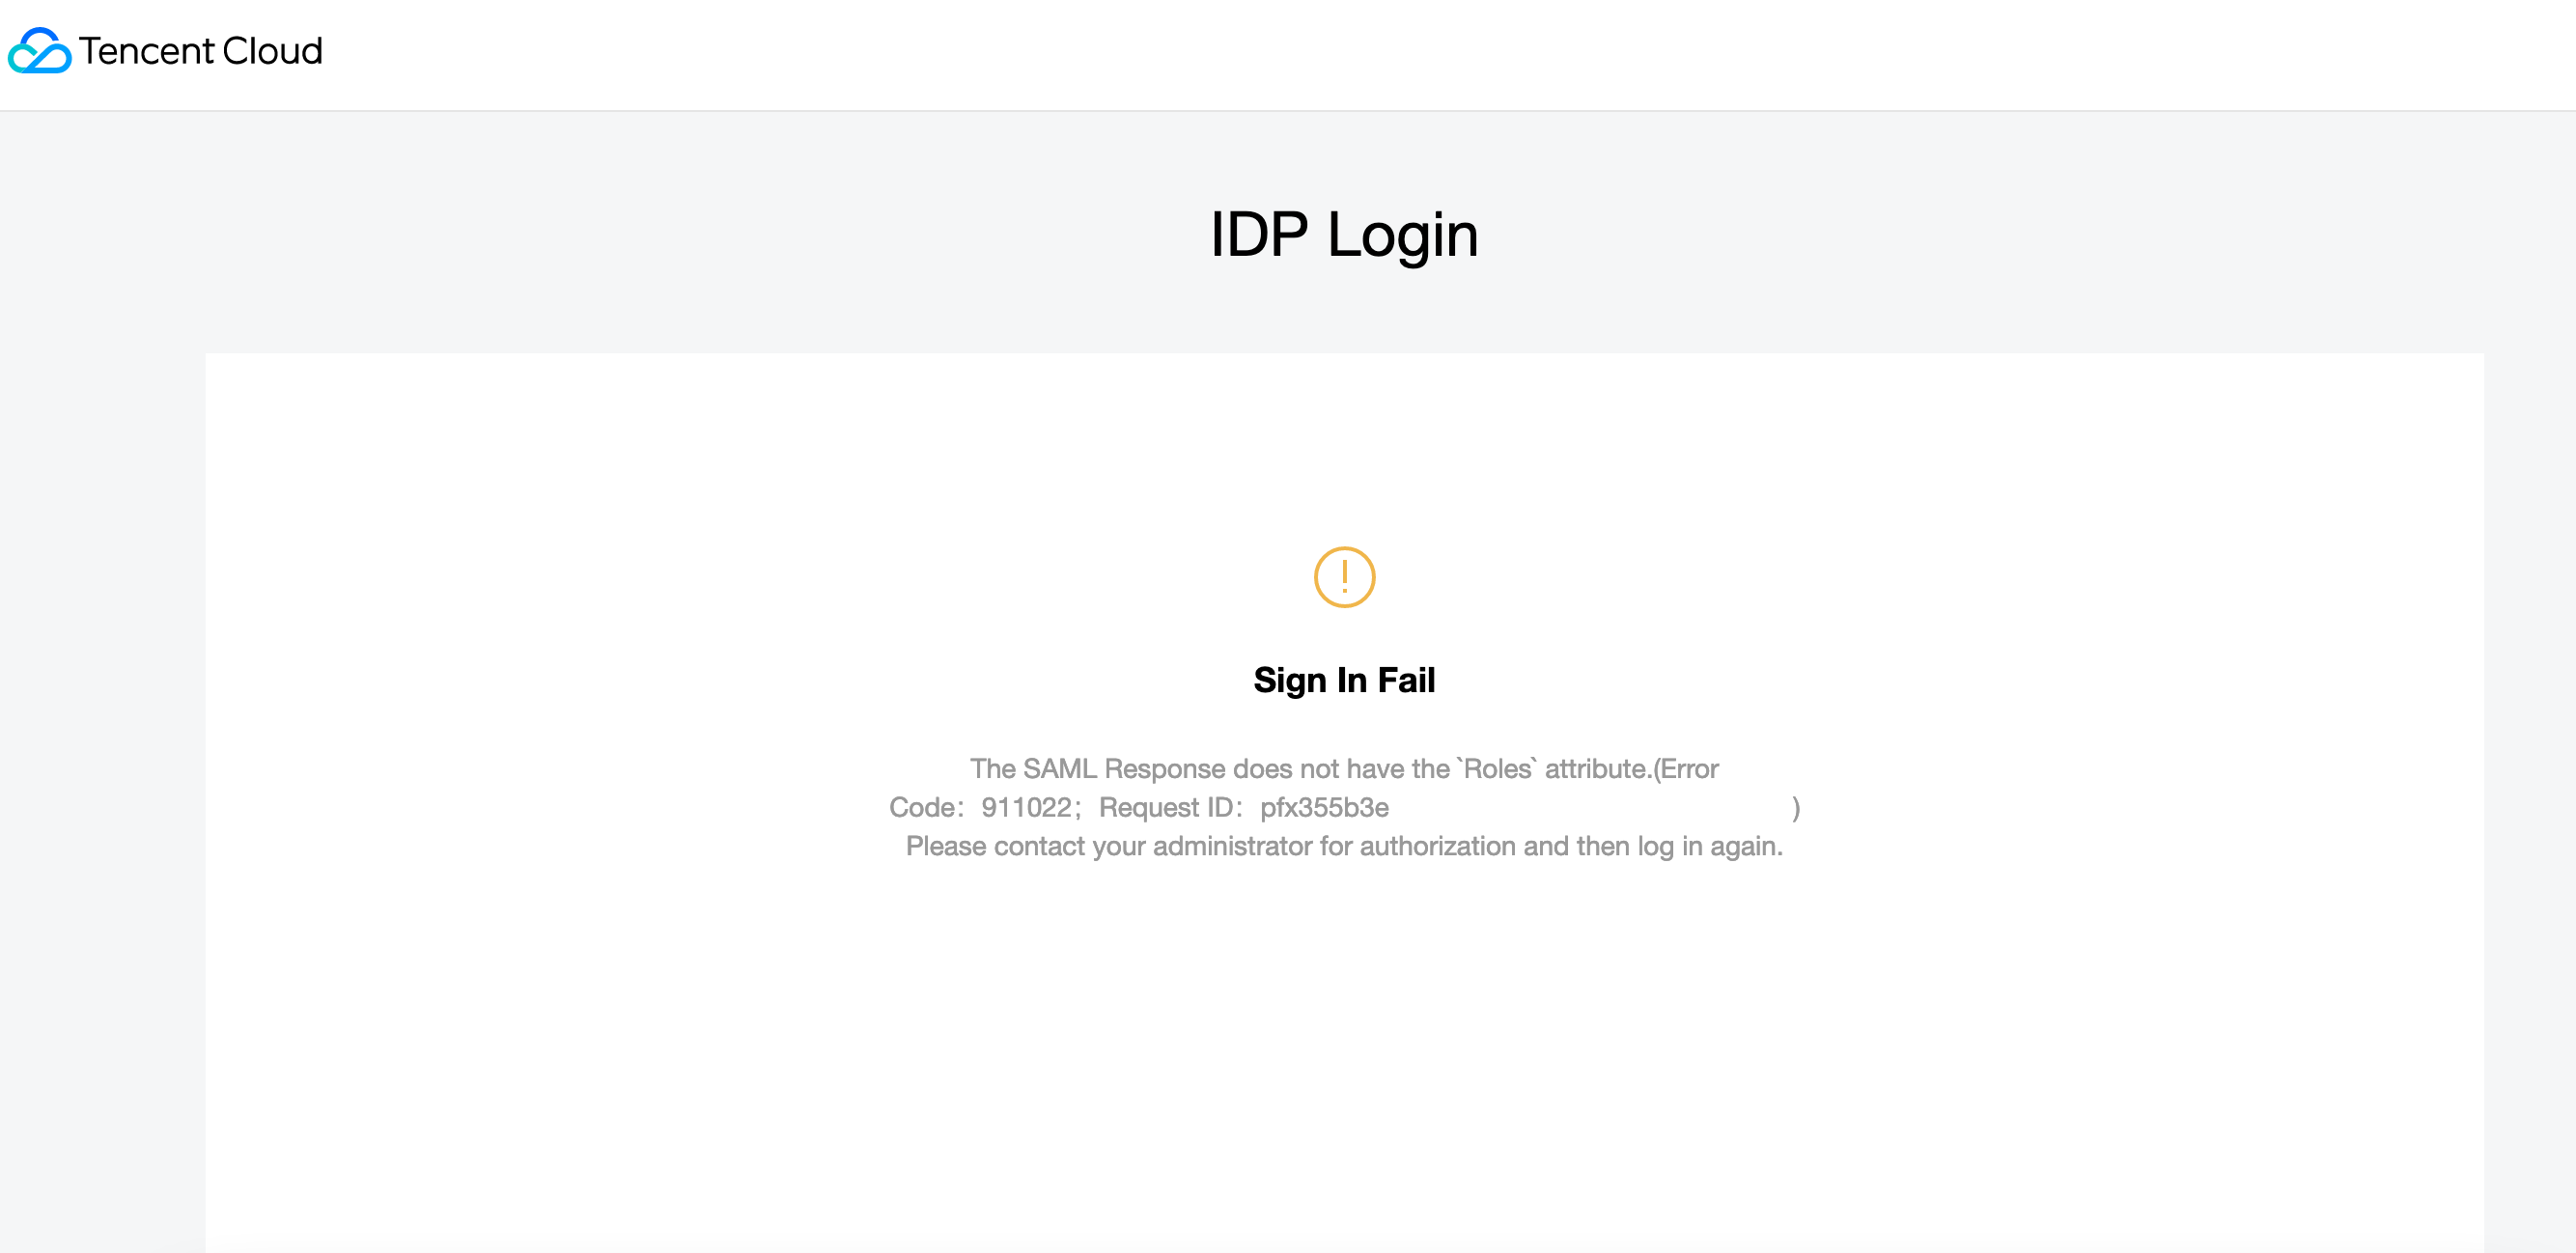
Sign In Fail
The SAML Response does not have the Roles attribute.(Error Code:911022;Request ID:pfx8.....)
Sign In Fail
SAML parsing failed(Error Code:-1;Request ID:BJj....)
Please contact your administrator to confirm the SAML message and then log back in.
Please contact your administrator for authorization and then log in again.
Role attribute does not exist
The role in the SAML assertion does not exist
Solution:
If you see the role attribute errors, it means you have set up the Role Attributes incorrectly in Okta.
Tencent Cloud is expecting Role Attributes to be sent to them in a specific format, so do check that your RoleName, Profile ID, and Provider exists in Tencent Cloud and you have set it correctly in Okta.
For example:
- AccountID 1000200000'
- RoleName Enduser
- ProviderName Okta
This will then look like the following format for Tencent Cloud will digest it.
- Value -qcs::cam::uin/1000200000:roleName/Enduser,qcs::cam::uin/1000200000:saml-provider/Okta
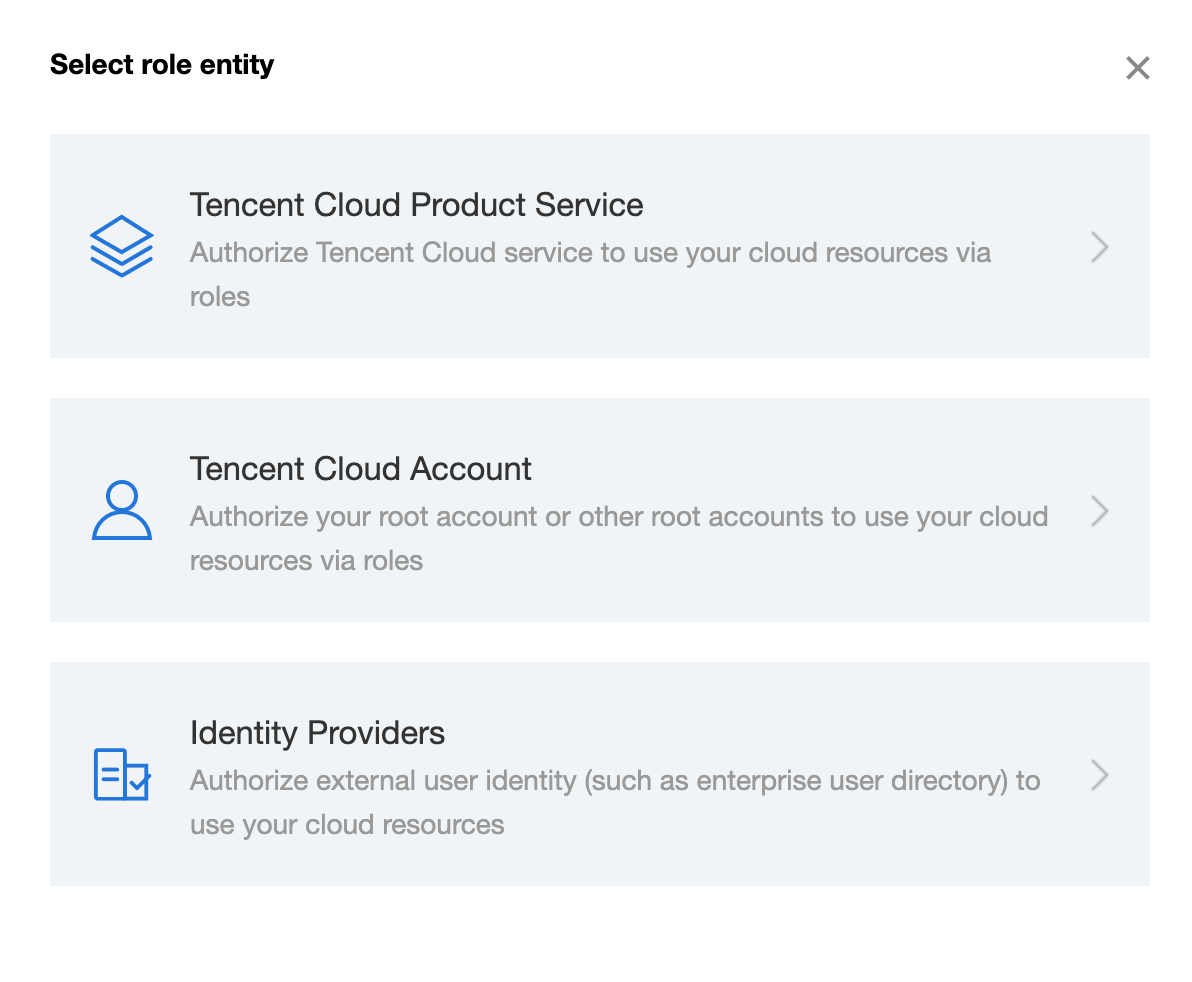
When creating my Role in Tencent Cloud, I also choose the "Identity Providers" option.