- Prerequisites
- Add Salesforce app to your Okta instance
- Set up SSO settings on Salesforce
- Test and confirm that it is working
- (Optional) 4. Set up User Provisioning for Salesforce
Prerequisites
Before you can start setting up Single Sign On (SSO) for Salesforce and Okta, we need to check the following:
- Access to Salesforce Admin Console - Confirm that you have administrator access to SalesforceAdmin Console.
- Access to Okta Admin Console - Confirm that you have administrator access to Okta's Admin Console. If you do not have an Okta account, you can create a free Okta Trial account or Okta Developer account.
- (Recommended) Use the same email address for your Salesforce administrator account as your Okta administrator account. This will make it easier for you to administer the accounts.
1. Add Salesforce app to your Okta instance
Log in to your Okta account as an administrator (with administrator access).
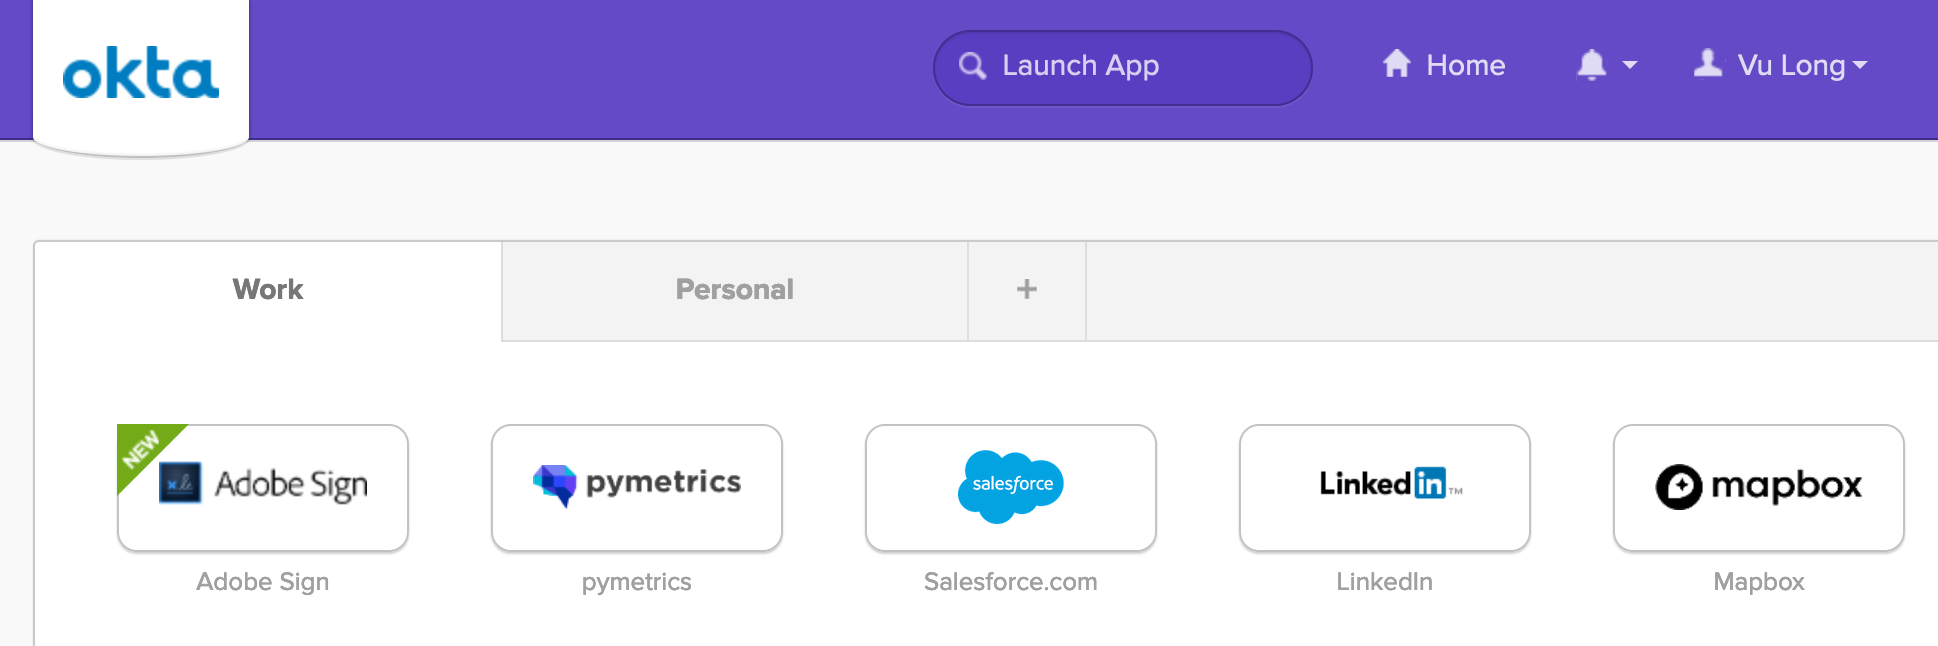
Under Applications> Applications, search for the Salesforce app in the Okta Integration Network (App Integration Catalog). 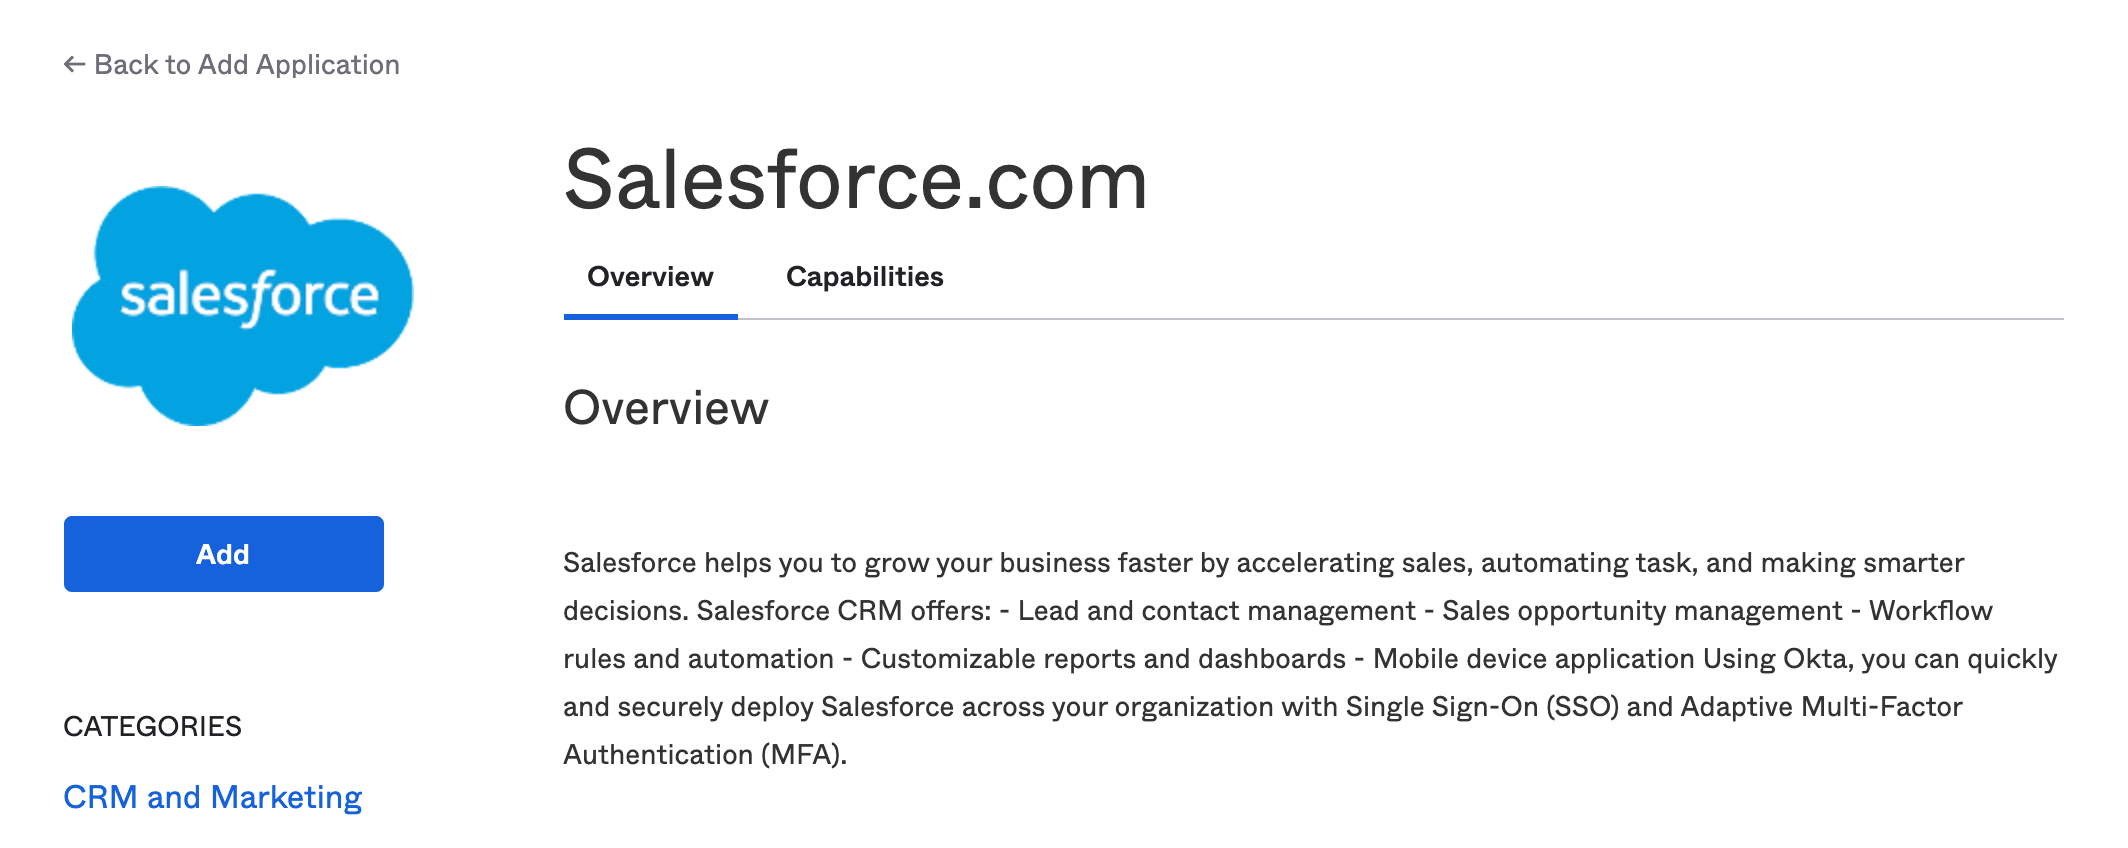
Add Salesforce.com app in.
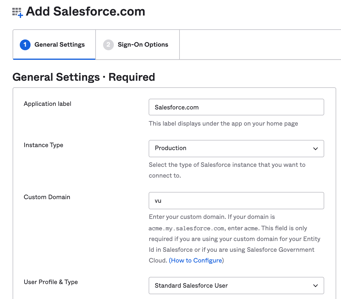
Fill in the Add Salesforce.com options.
- Application label - Name your Salesforce app.
- Instance Type - Production
- Custom domain - Your Salesforce custom domain
- User Profile & Type: Standard Salesforce User.
Then click on the "Sign On" tab.
Click on "View Setup Instructions".
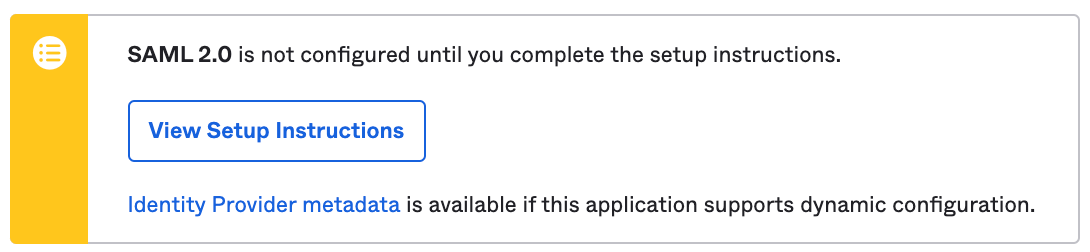
You will then be sent to a customised version with your instance's details prefilled of this generic webpage - View Setup Instructions.
Take note of the details on the page, as you will need to copy and paste these into Salesforce later.
2. Set up SSO settings on Salesforce
Log into your Salesforce account
In a new browser tab, log in to your Salesforce account as an administrator (with administrator access).
Open Single Sign-On Settings
In Salesforce, open your Single Sign-On (SSO) settings.
Navigate to Administer> Security Controls> Single Sign-On Settings.
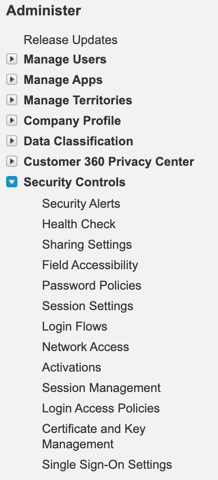
You should see something like this "Single Sign-On Settings" on Salesforce.

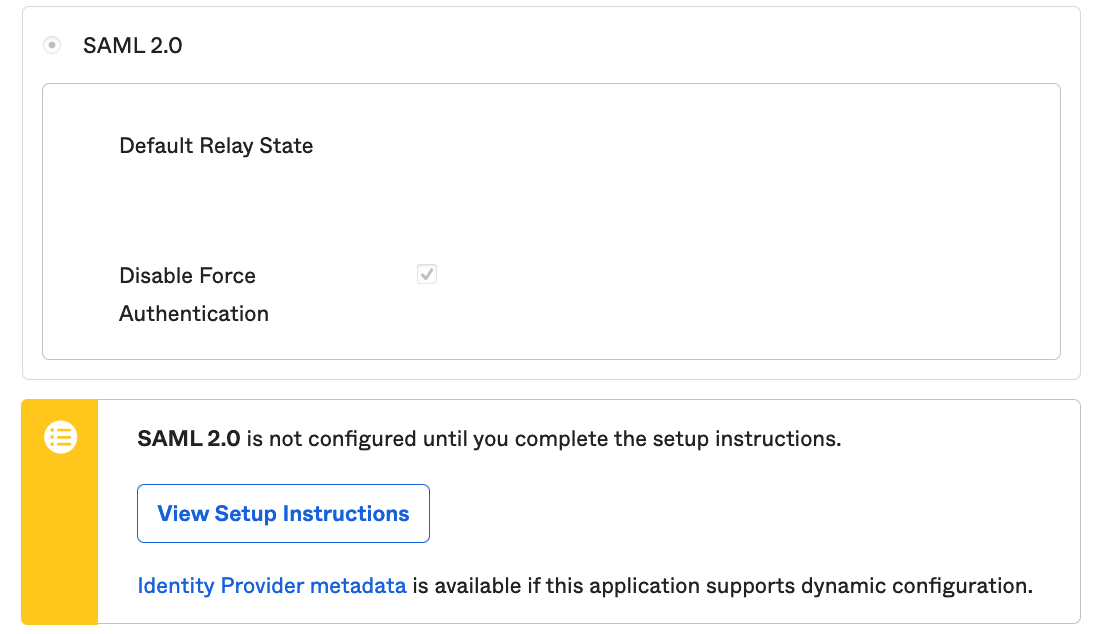
Under "SAML Single Sign-On Settings" section, click on "New".
Add in your Single Sign-On settings.
You can copy SSO settings from Okta (View Setup Instructions) and paste it into Salesforce's sections.

Please enter required information (marked in red) from Okta into the IdP configuration fields and leave the others to the default in Salesforce.
- Name - This name can be anything you want to name it as.
- API Name - This name can be anything you want to name it as.
- Identity Provider Certificate/ IdP Certificate—The authentication certificate issued by Okta IdP.
- Issuer/ Entity ID —This value is provided by the Okta IdP to uniquely identify your domain. e.g. eaxkyasdfasfxEEb7bN83
- Leave the defaults for the following:
- SAML Identity Type - Leave the default. Assertion contains the User's Salesforce username.
- SAML Identity Location - Leave the default. Identity is in the NameIdentifier element of the Subject statement.
- Service Provider Initiated Request Binding - Leave the default. HTTP Redirect.
- Identity Provider Login URL/SSO Endpoint—The URL that Salesforce will call to request a user login from Okta IdP. Okta IdP will then be responsible for authenticating and logging in the user. e.g. https://youroktatenantname.oktapreview.com/app/salesforce/eaxkyasdfasfxEEb7bN83/sso/saml
- Custom Logout URL (Optional) - The URL that Salesforce will send users to after they log out. e.g. https://youroktatenantname.oktapreview.com/
3. Test that SSO is working on Salesforce
When you are ready, let's test that it works.
In Okta Admin Console, let's assign a user to the application. (Applications> Applications> Salesforce app)
Go to "Assignments" tab. (Applications> Applications> Salesforce app> "Assignments)
Select "Assign" and "Assign to People".
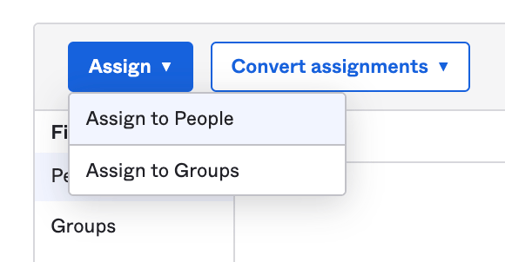
Select our test user, click "Assign" and then "Done".
Now let's log into our Okta instance as a test user. You may need to refresh your browser if you had the browser window already open.
Then click on "Salesforce" application icon (chiclet).

Success, you will be logged in successfully to your Salesforce account!
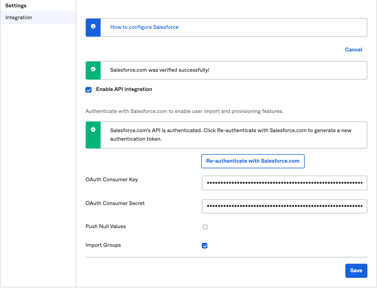
(Optional) 4. Set up User Provisioning for Salesforce
This will allow us to create users, update users and deprovision users in Salesforce from Okta.
In Okta Admin Console, in the Applications> Applications> Salesforce app.
Click on the "Provisioning" tab. (Applications> Applications> Salesforce app> Provisioning).
Click on "Integrations".
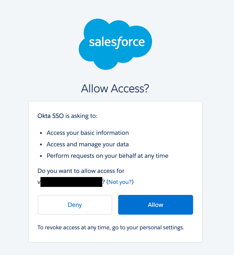
Click "Allow" to Allow Access to your Salesforce instance.
You should then receive a "Salesforce.com was verified successfully!" message.
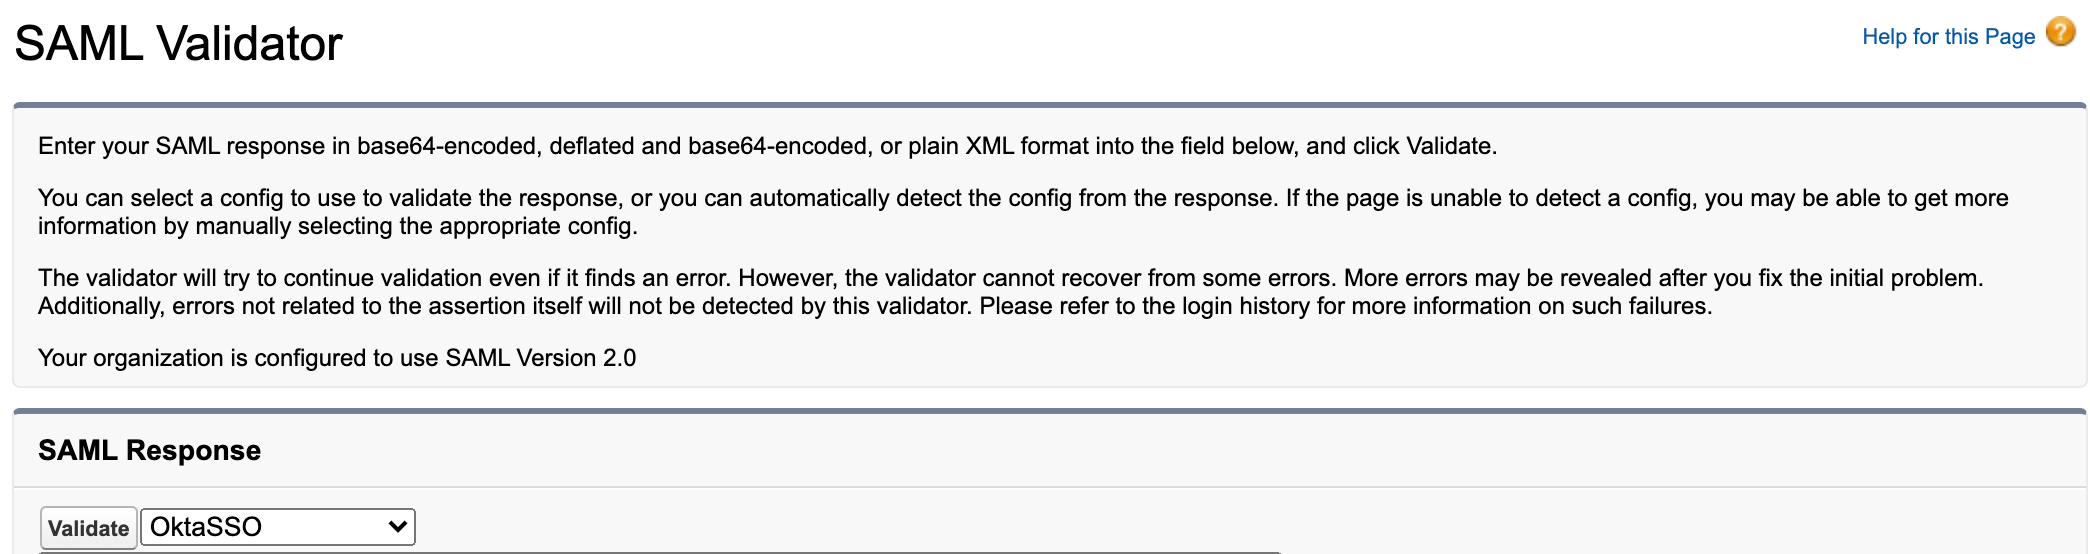
Troubleshooting:
You can use Salesforce's SAML validator if you want to test to make sure your Salesforce Single Sign-On settings have been configured correctly.
Navigate to Administer> Security Controls> Security SAML Validator.