- Prerequisites
- Add Guru SAML app to your Okta instance
- Set up SSO settings on Guru
- Set up SSO settings on Okta
- Test and confirm that it is working
Prerequisites
Before you can start setting up Single Sign On (SSO) for Guru (GetGuru) and Okta, we need to check the following:
- Access to Guru Admin Console - Confirm that you have administrator access to Guru Admin Console.
- Access to Okta Admin Console - Confirm that you have administrator access to Okta's Admin Console. If you do not have an Okta account, you can create a free Okta Trial account or Okta Developer account.
- (Recommended) Use the same email address for your Guru administrator account as your Okta administrator account. This will make it easier for you to administer the accounts.
1. Add Guru app to your Okta instance
Log in to your Okta account as an administrator (with administrator access).
Under Applications> Applications, search for the Guru app in the Okta Integration Network (App Integration Catalog).
Add Guru app in.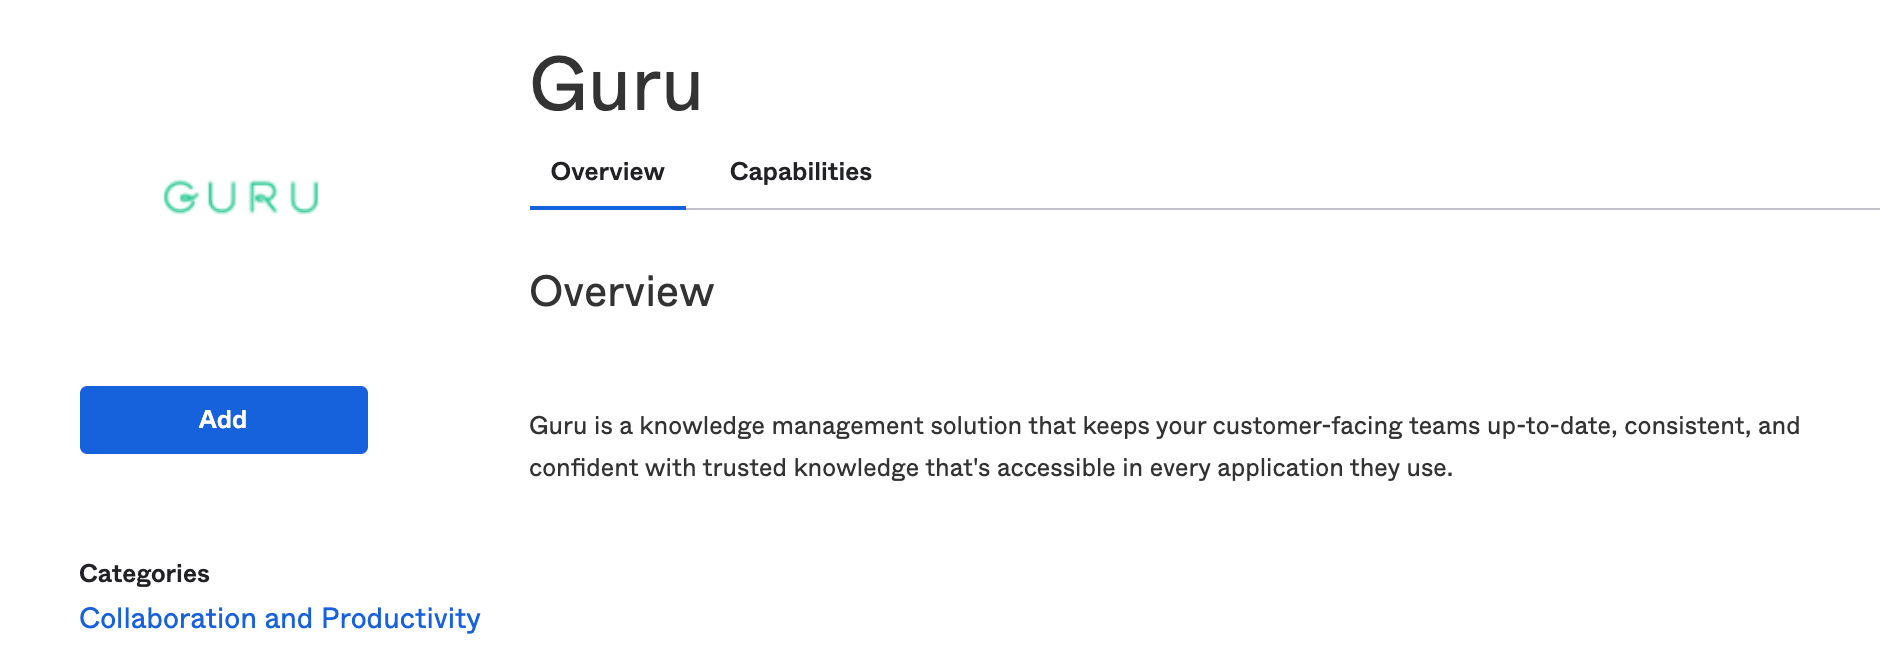
Fill in the Guru options and click Done.
- Application label - Name your Guru app.
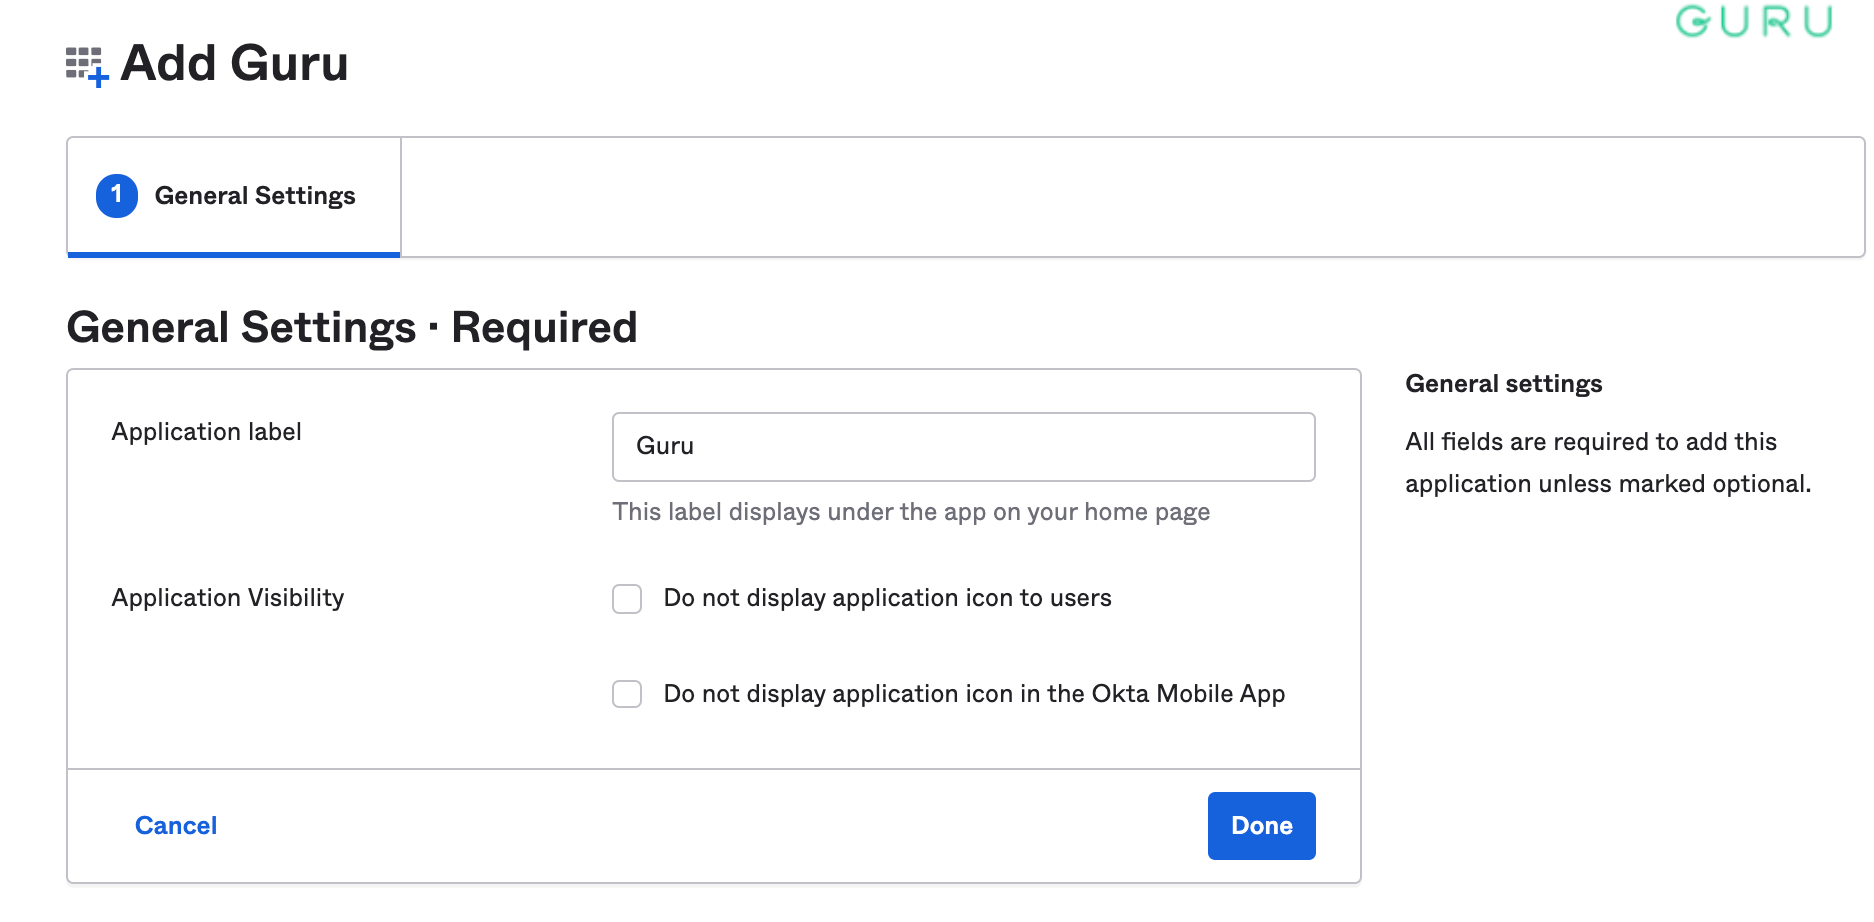
Then click on the "Sign On" tab.

Click on "View Setup Instructions".

You will then be sent to View Setup Instructions for APP.
2. Set up SSO settings on Guru
Log into your Guru account
In a new browser tab, log in to your GetGuru account as an administrator (with administrator access).
Open Single Sign-On Settings
In Guru, open your Single Sign-On (SSO) settings.
Your name avatar (top right corner) > Team Settings > Apps and Integrations > SSO/ SCIM tab
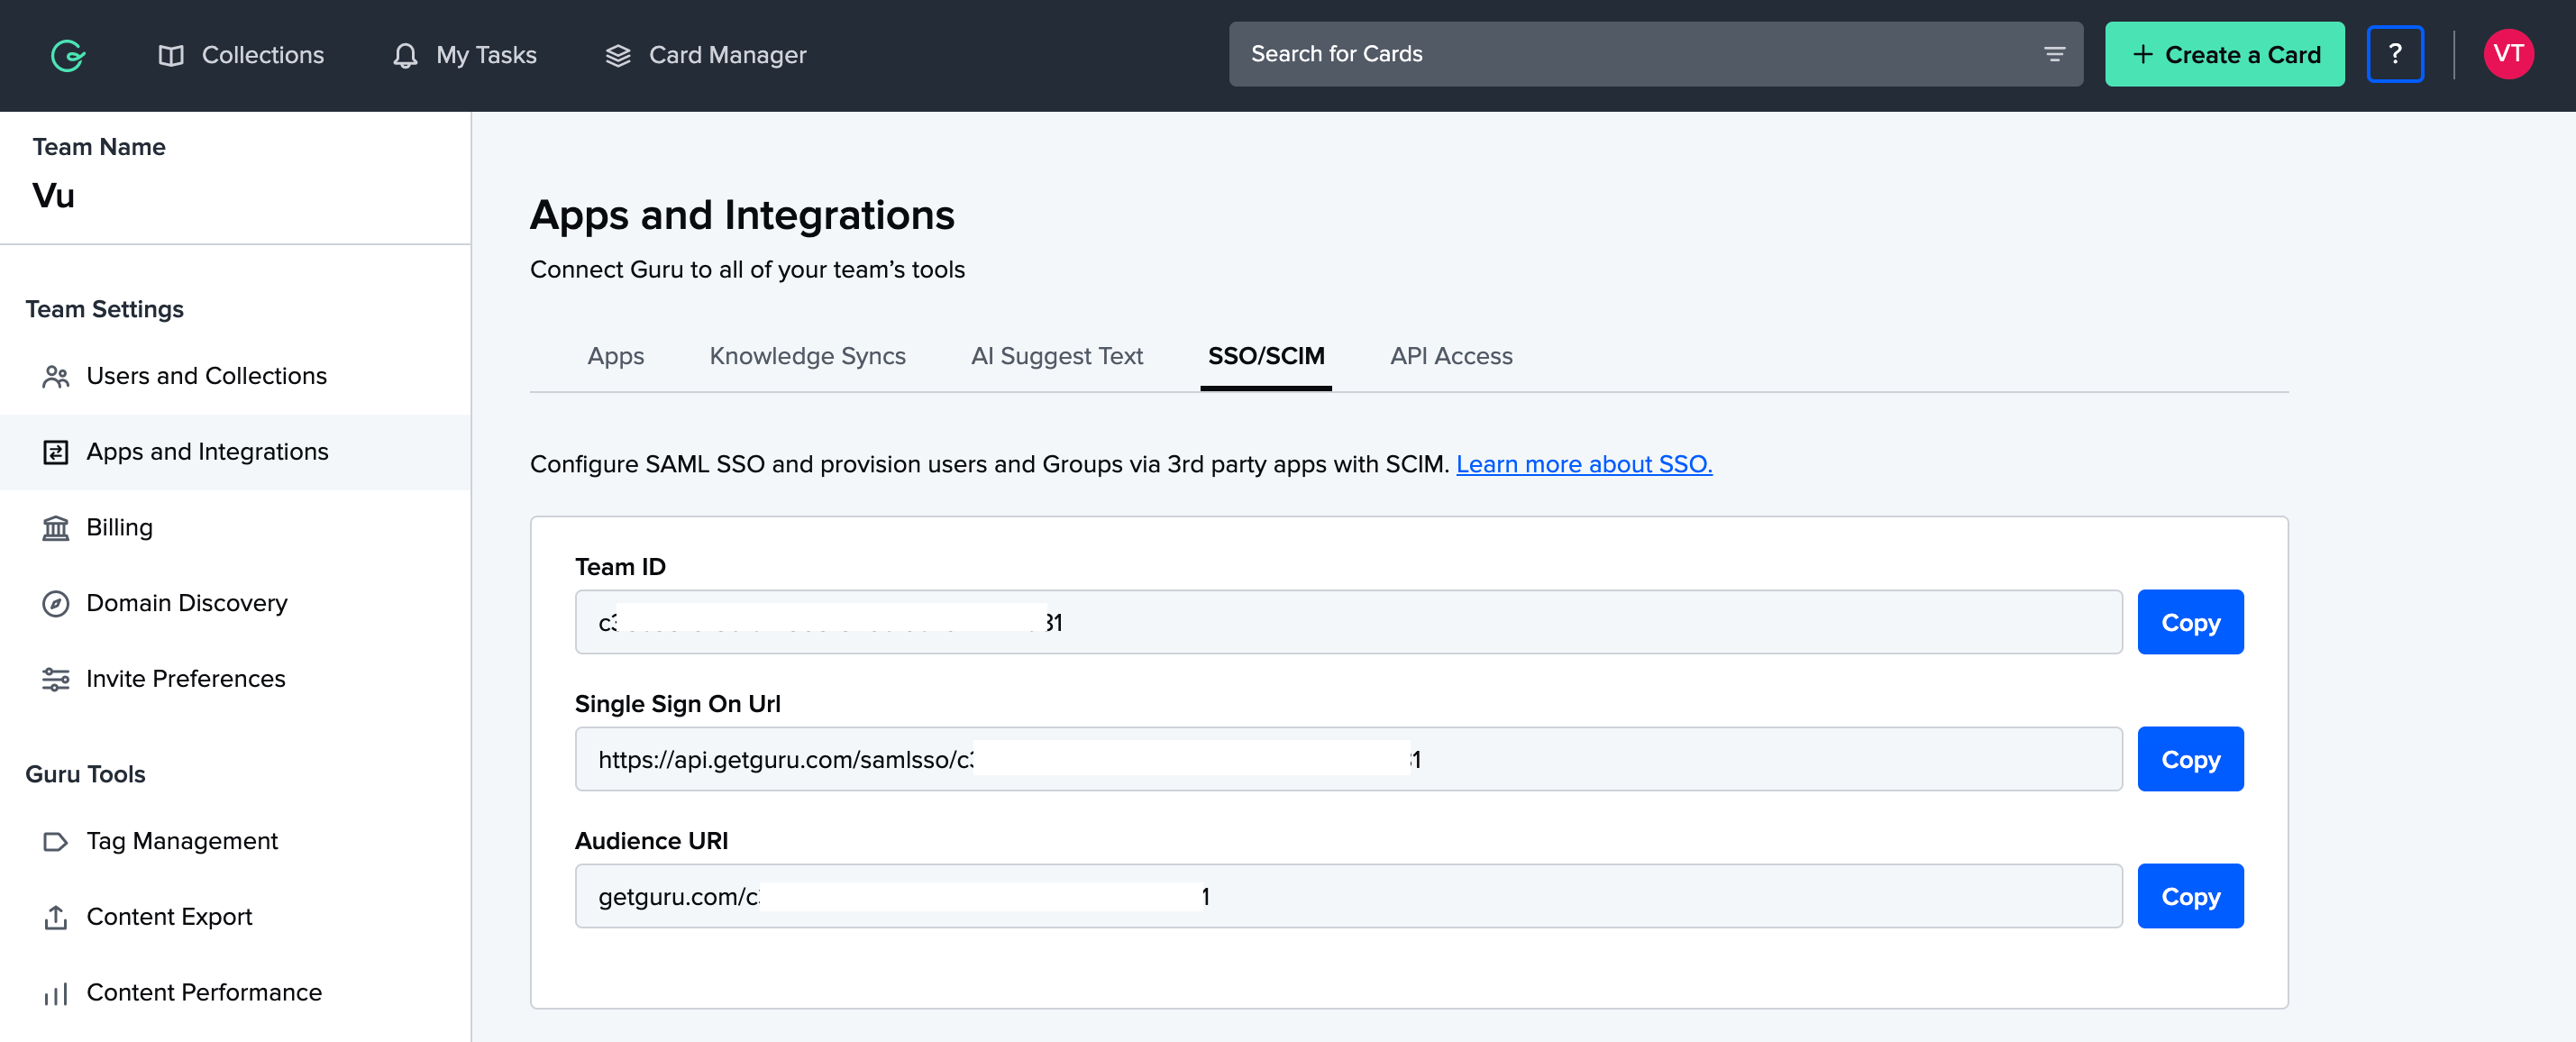
Add in your Okta Single Sign-On settings into Guru settings and click Enable SSO when you are done.
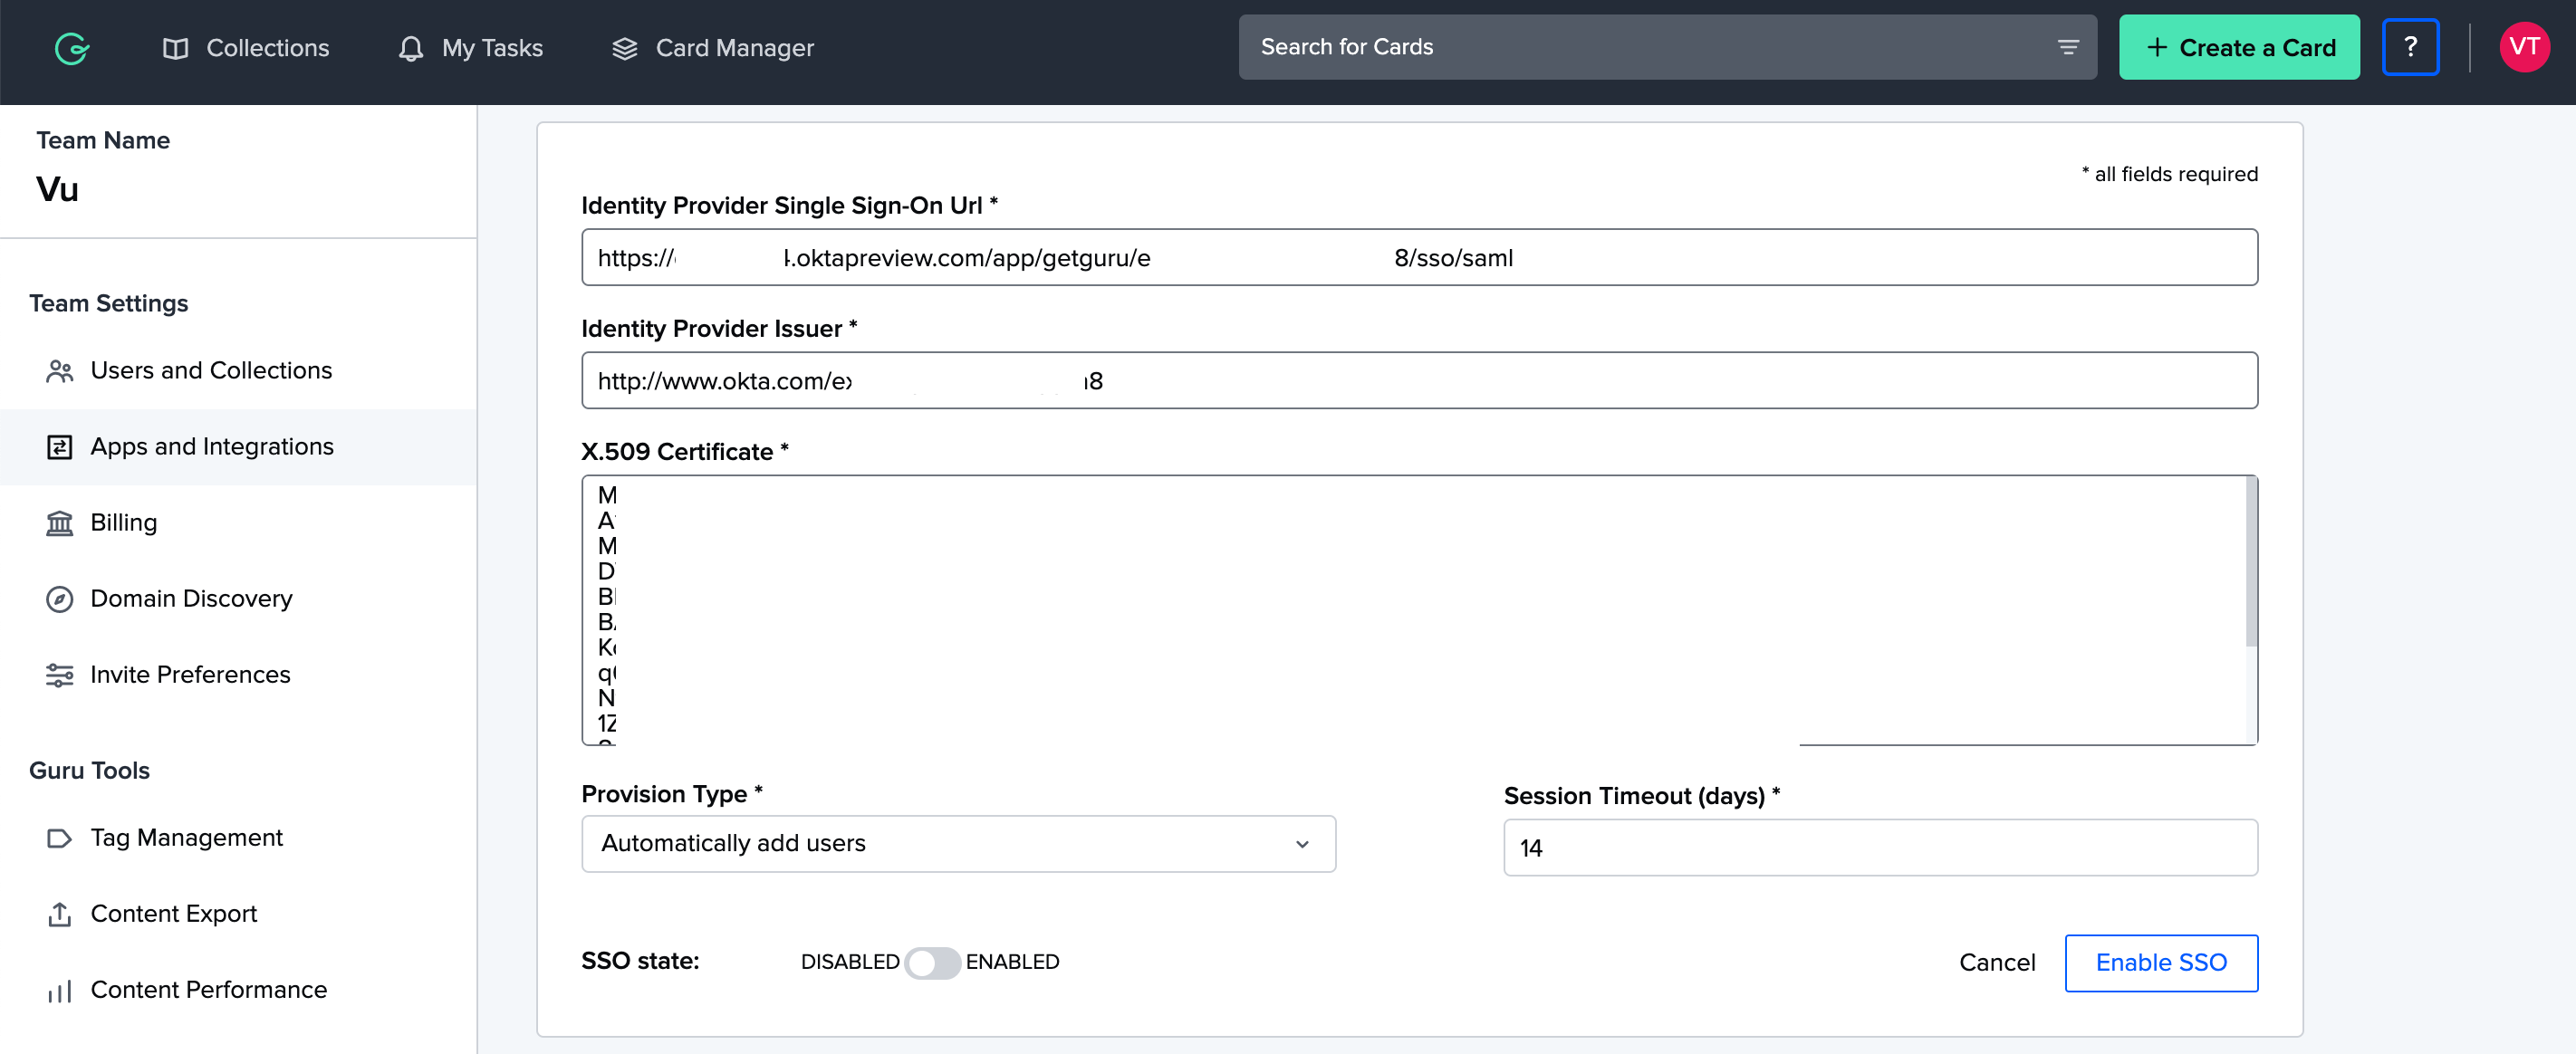
- Identity Provider Single Sign-On URL/ Sign-in URL - https://oktadomainname.okta.com/app/appsaml/oktasinglesignonlinkid/sso/saml
- Identity Provider Issuer/ Entity ID - https://www.okta.com/yourentityid
- X.509 Certificate - Copy from "View Setup Instructions" or "Identity Provider metadata" file
- Provision Type: Leave as default, automatically add users (which is just in time provisioning, so you don't need to add them manually into Guru first before users can sign in).
- Session Timeout: Leave the default of 14 or a number your prefer. This relates to the number of days you want your users to be logged in before their session times out.
"Identity Provider metadata" file - You can find these details from your "Identity Provider metadata" file, under the "View Setup Instructions" link. It will be a link that looks like this: https://youroktadoamin.okta.com/app/entityid/sso/saml/metadata

3. Set up SSO settings on Okta
In Okta Admin Console, go to Applications > Applications > Guru app.
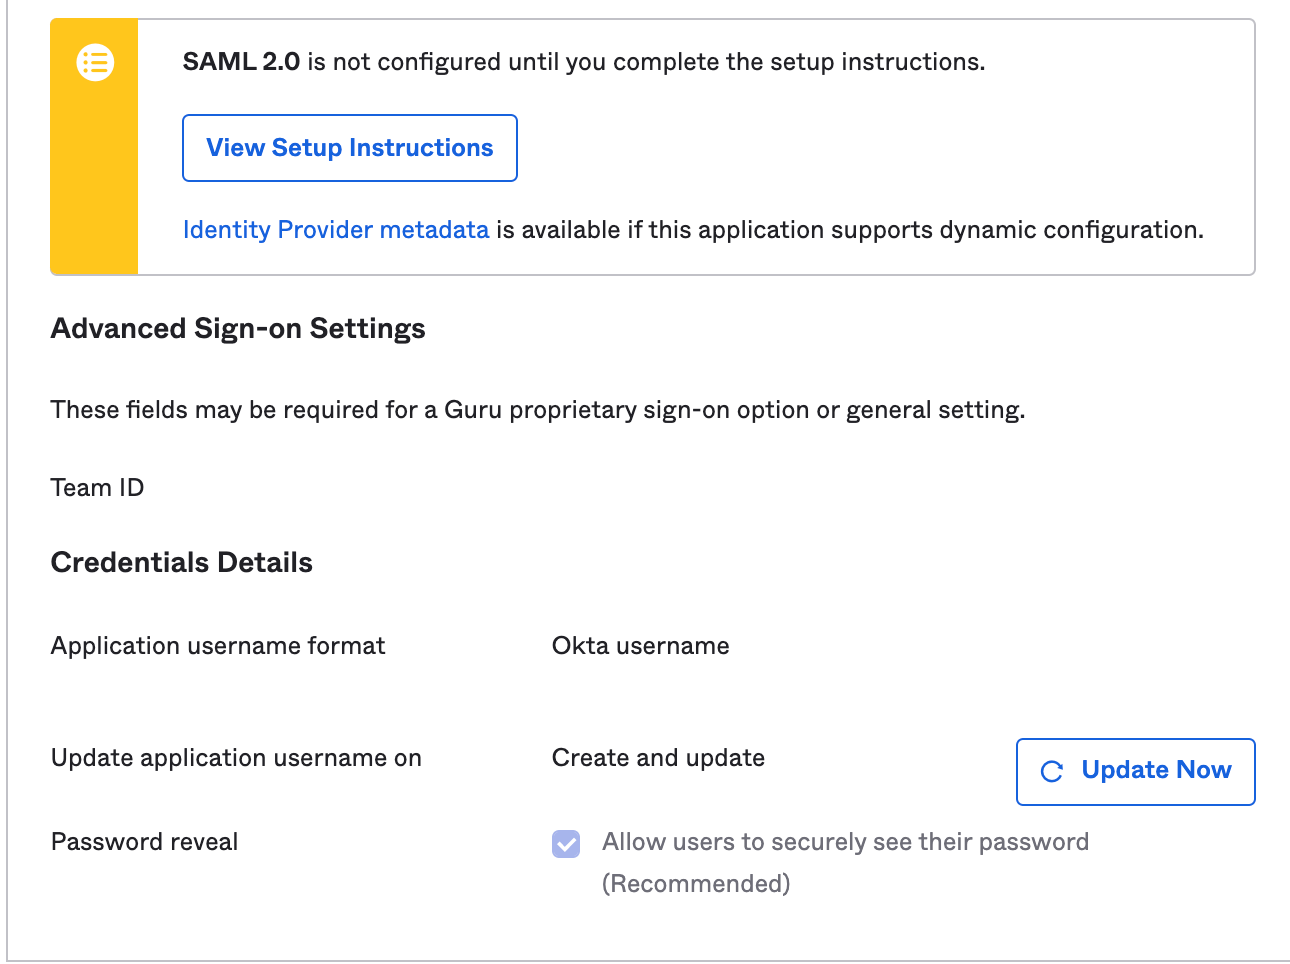
You will see the details you need to fill in your Guru "SSO Provider details". (Under "Sign On" tab).
Check your Guru Single Sign-On settings into Okta. In particular your Guru organisation domain name.
- Application label - Name your Guru app.
- Guru Team ID - Add in your Guru Team ID that you would be able to get from getguru.com SSO settings. Under Your name avatar (top right corner) > Team Settings > Apps and Integrations > SSO/ SCIM tab.
4. Test that SSO is working on Guru
When you are ready, let's test that it works.
In Okta Admin Console, let's assign a user to the application. (Applications> Applications>Guru app)
Go to "Assignments" tab. (Applications> Applications> Guru app> "Assignments)
Select "Assign" and "Assign to People".
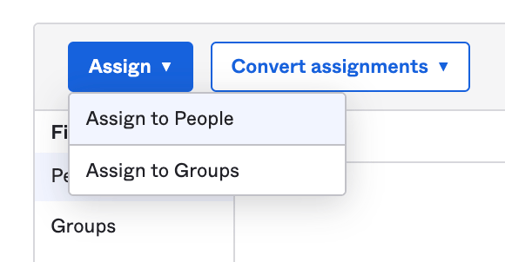
Select our test user, click "Assign" and then "Done".
Now let's log into our Okta instance as a test user. You may need to refresh your browser if you had the browser window already open.
Then click on "Guru" application icon (chiclet).

Success, you will be logged in successfully to your Guru account!
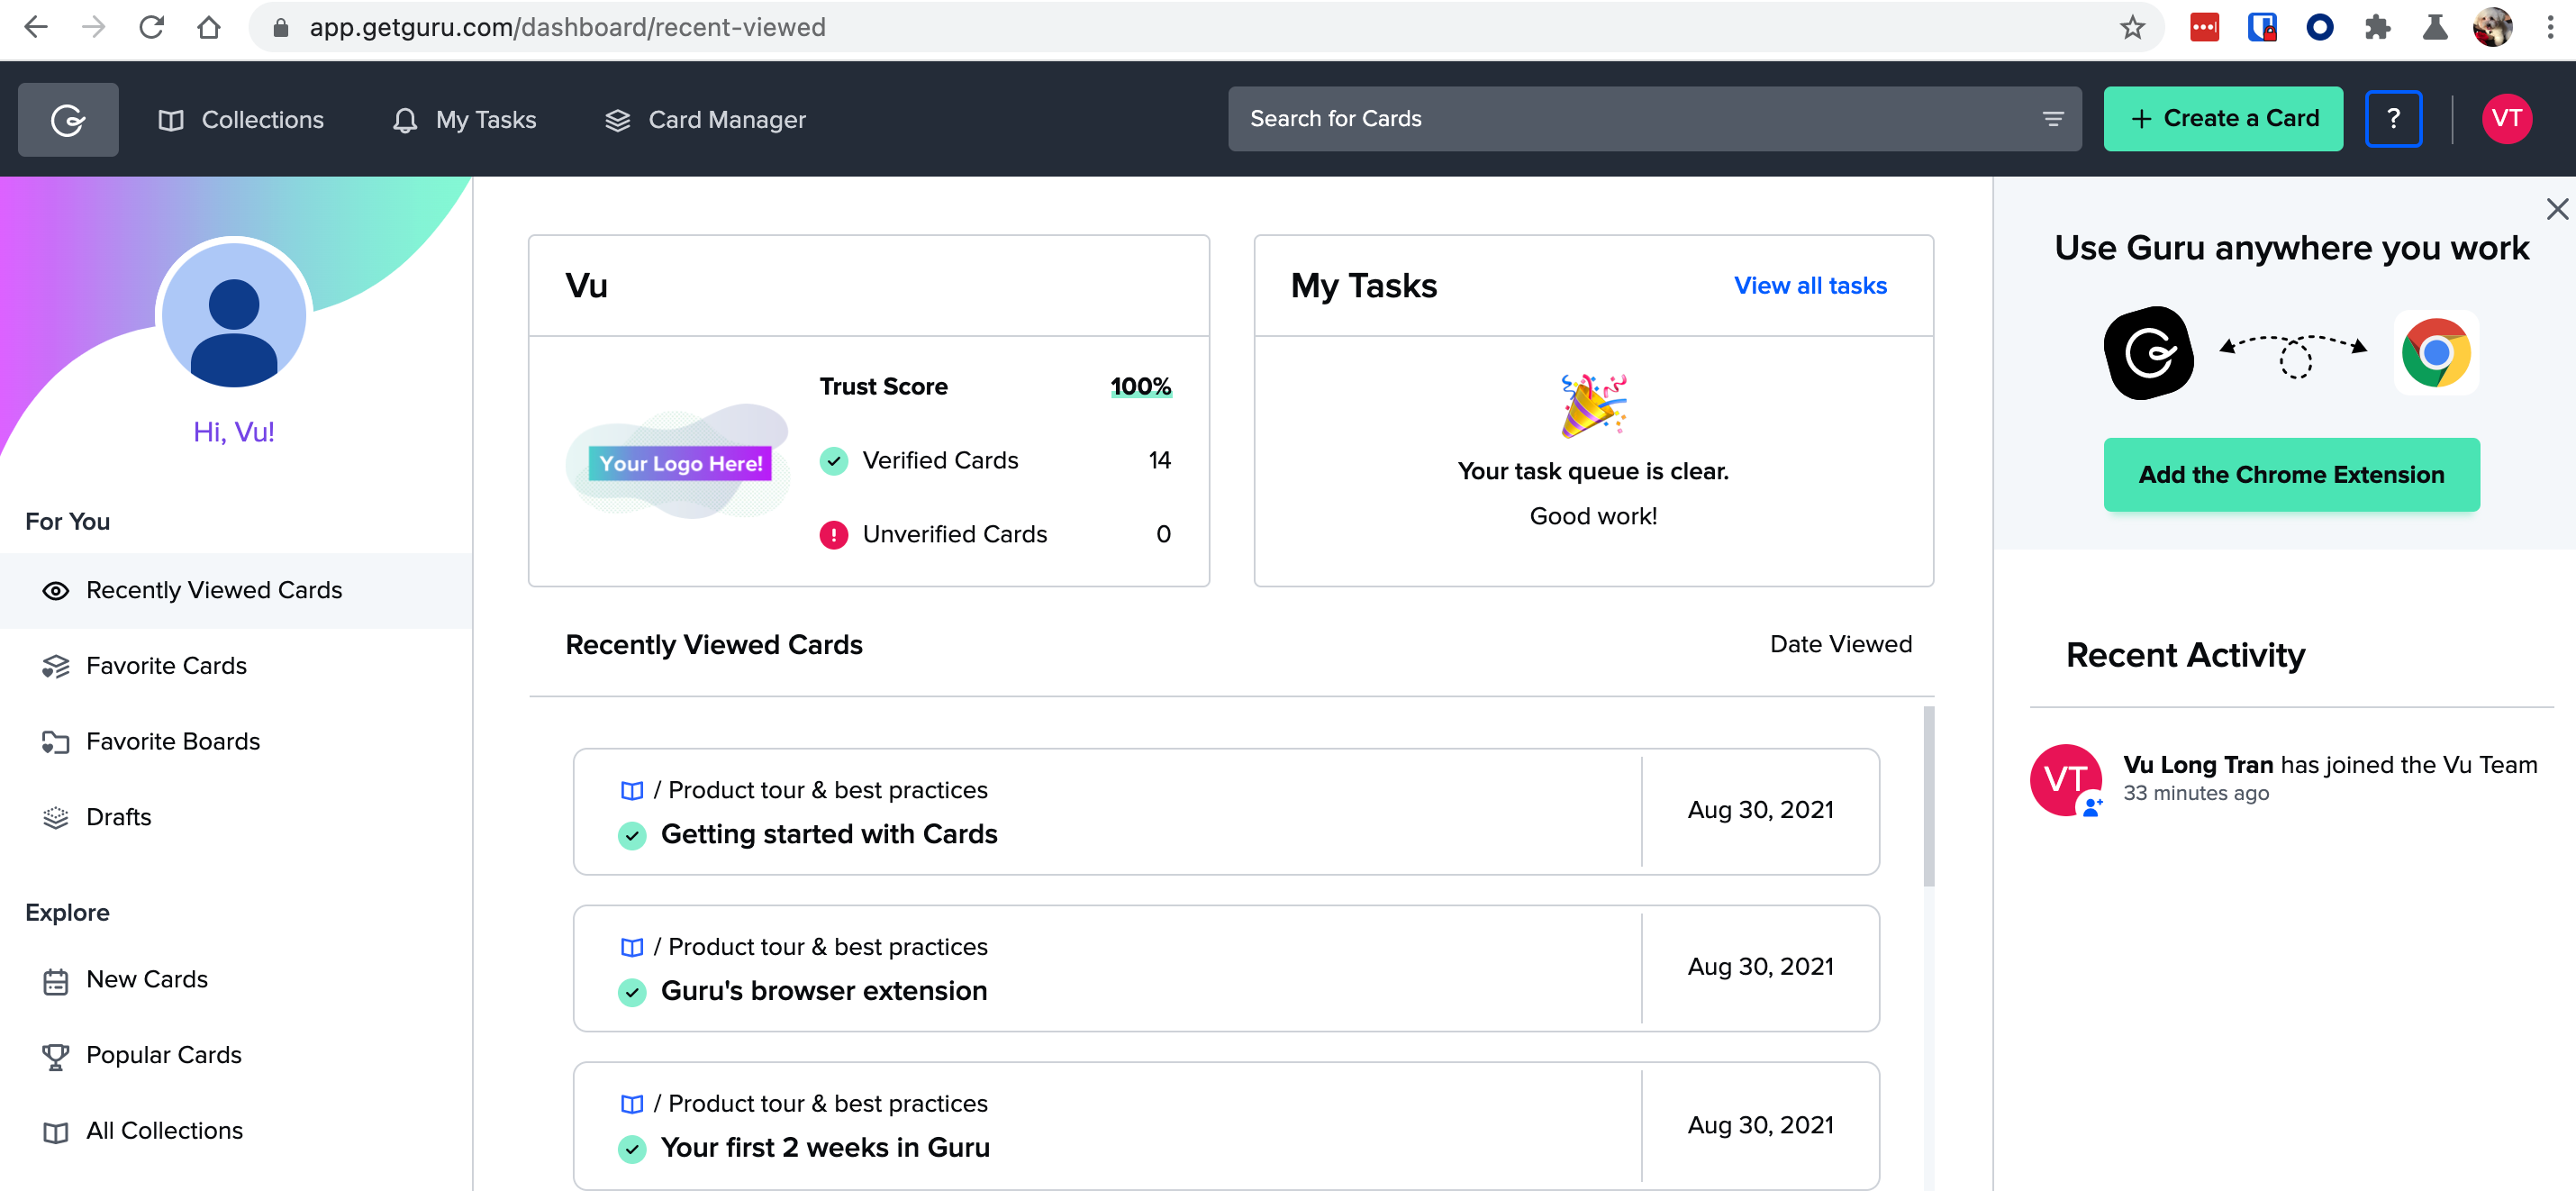
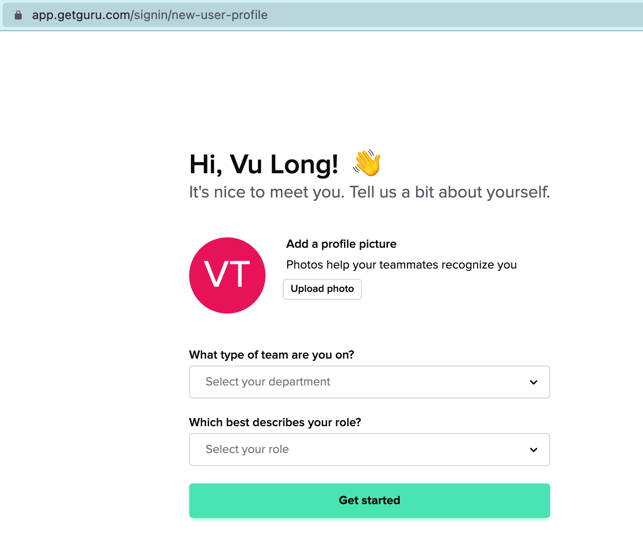
New users will see this page when they log in. That is, if they haven't had a Guru account yet.
