If you're looking to add your app to the Microsoft Azure AD (Active Directory) application gallery here's a quick guide on how I have submitted an app there.
This aims to supplement the guide from the Azure team on how to List your app to the Azure application gallery.
So, let's give you a sense of what we are talking about here and then I can walk you through how I submitted an app to the Azure AD application gallery.
First off, what is the Azure AD application gallery?
What is Azure AD application gallery?
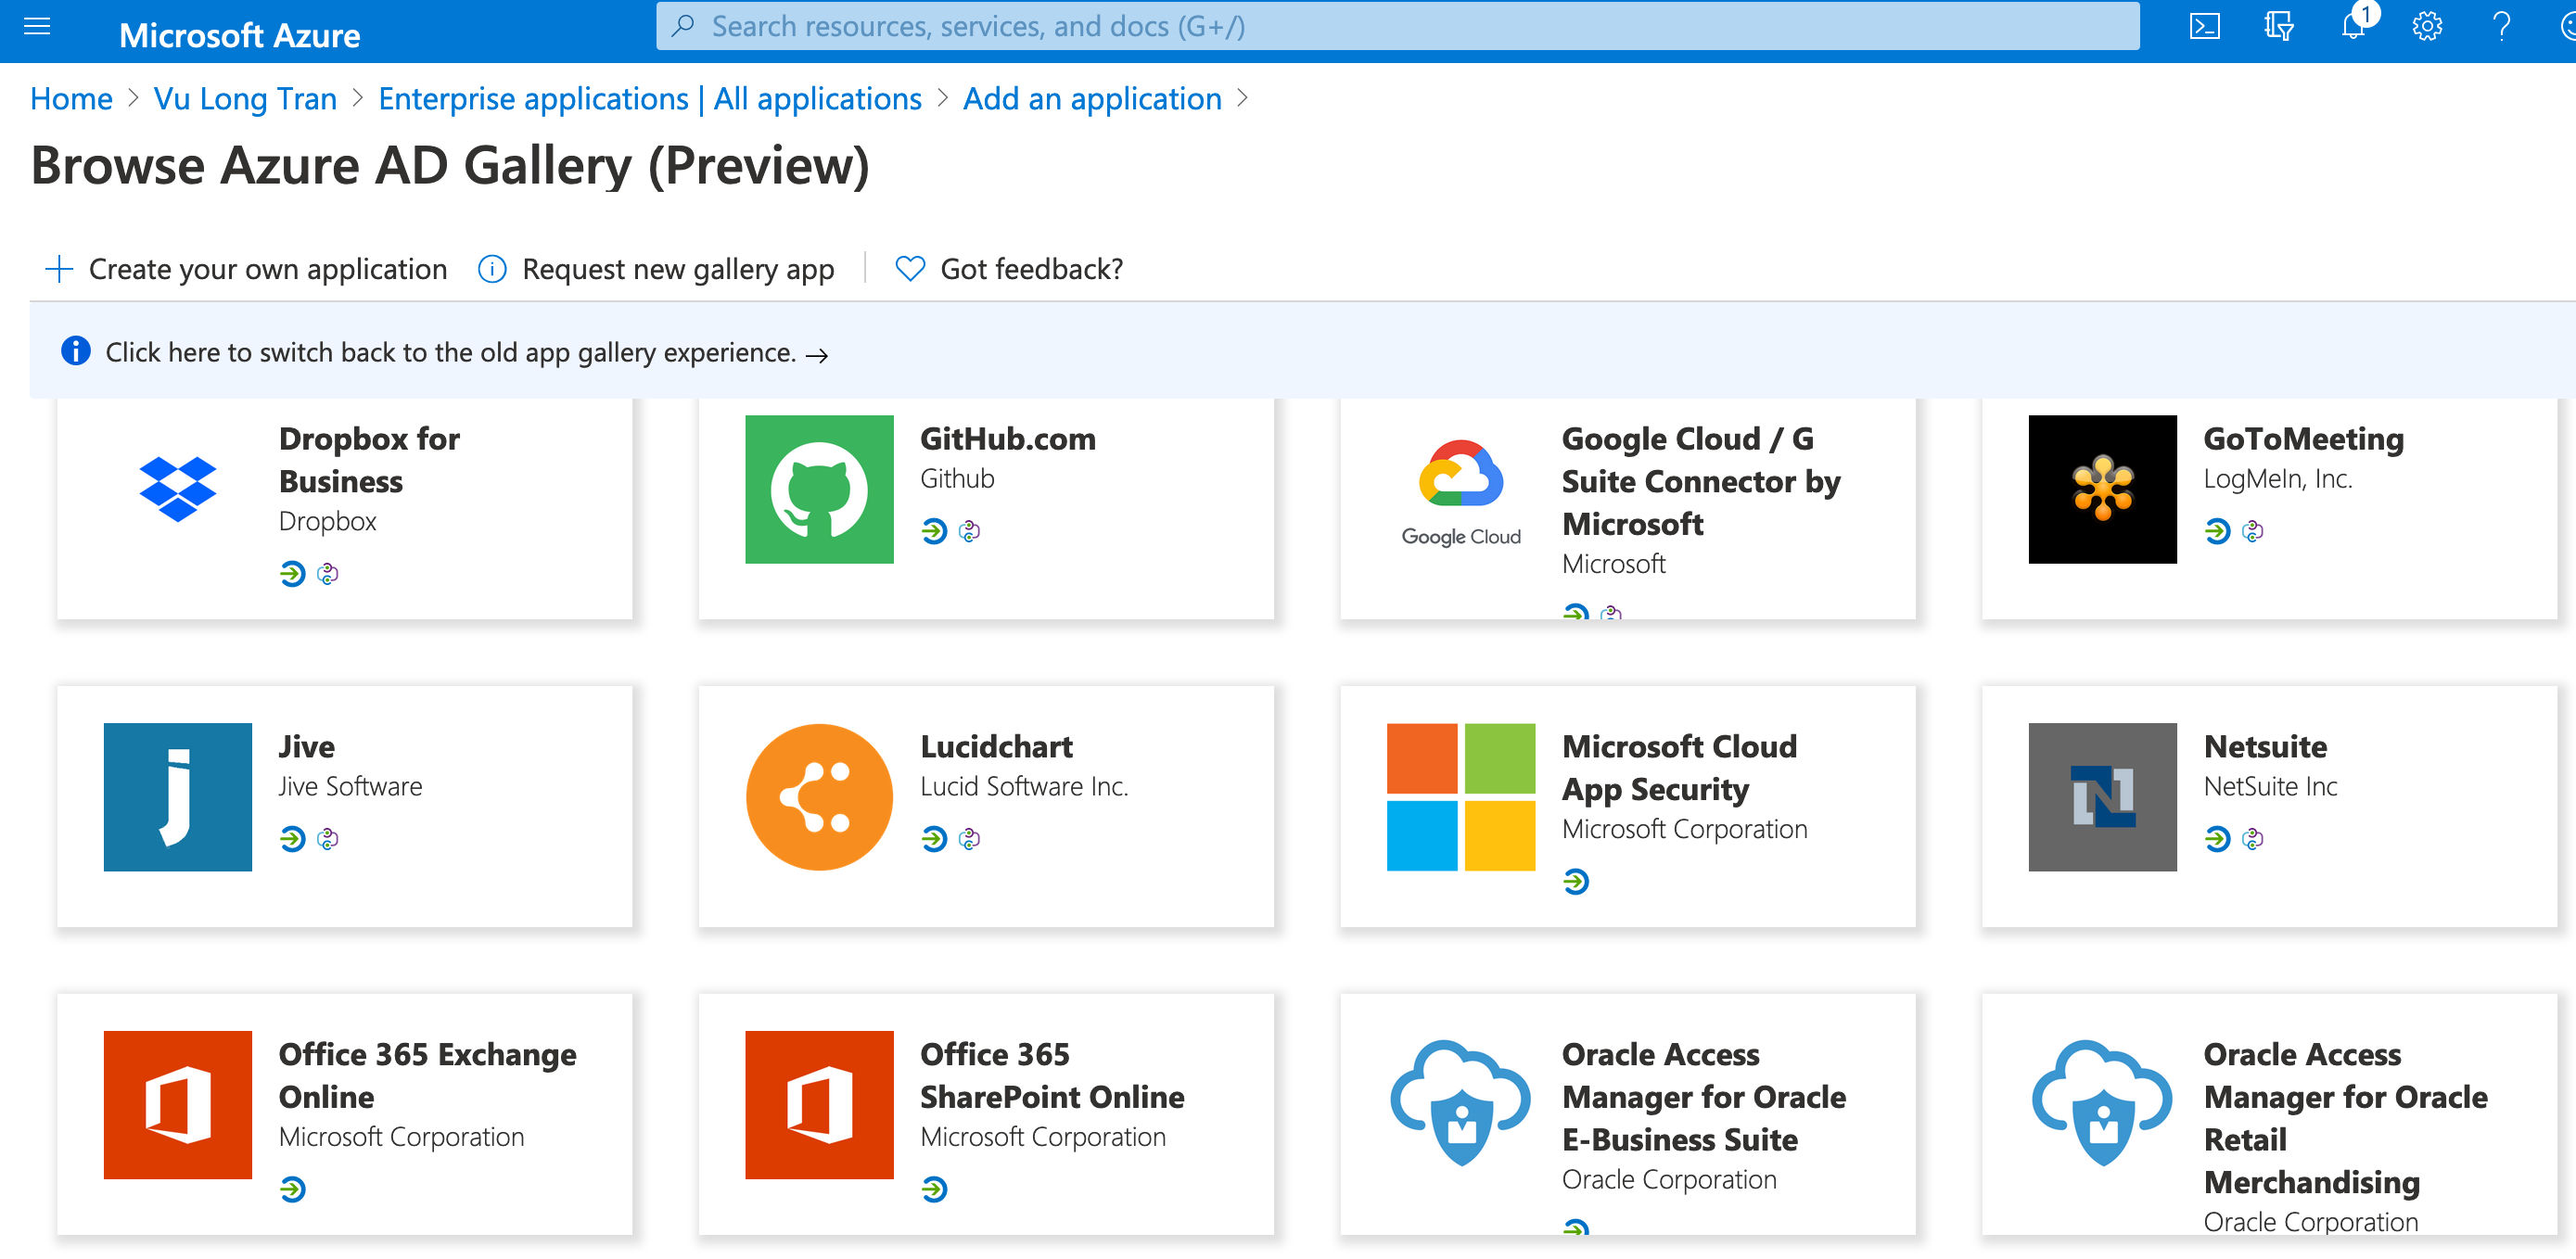
Azure AD application gallery is simply Microsoft's app store for developers, where you would see apps with step by step configuration tutorial walkthroughs with the aim to make configuration of applications as simple and minimal as possible.
Note, there is also the Azure Marketplace as well. So this is different. Specifically:
- Azure Marketplace is an online applications and services marketplace.
- The Azure AD application gallery is in the Azure Marketplace app store, where all application connectors are published for single sign-on and user provisioning.
Why add an app to the Azure AD application gallery?
If you are working for a vendor like me, you want to make it easier for your customers to be able to set up and configure your application on Microsoft's Azure platform. As any steps that helps to reduce the configuration errors, will save everyone time.
For my example which I will share, I will be looking to add an Azure AD app for a SAML SSO app.
How to add your app to the Azure AD application gallery marketplace?
To add your an app to the Azure AD application gallery you need to do the following:
- To list an application in the Azure AD app gallery marketplace, you first need to implement one of the federation protocols supported by Azure AD.
- After testing of your application integration with Azure AD
- Submit your request for access on our Application Network Portal.
Here is a step-by-step walkthrough of the steps below:
Step 1 - Create an Azure account (if you don't have one already)
You will need to have an Azure account, you can have a normal Azure account or sign up for a Azure developer test account.
The normal account gives you trial credit you can work with, so you can consider that one if you need to get something up and running fast. Though the developer account is just as good as well. Microsoft offers their premium Azure AD features for 90 days free and you can get extended as long as you do dev work with it.
Step 2 - Set up your app on Azure as usual
Set up your app in Azure as per usual as a non-gallery app.
You can follow the steps from Azure via "Add an unlisted (non-gallery) application to your Azure AD organization". As you can add any application from a vendor who is not already part of the Azure AD gallery.
Once you get it successfully up and running, then you can look to register your app.
Step 3 - Request for permission to submit app to the Azure portal
After you've tested that your non-gallery app works with Azure AD, request for permission to the Microsoft Application Network portal. The Microsoft Application Network will be where you will ultimately submit your app.
You can do so following this current link:- Join the Microsoft Application Network Portal https://aka.ms/AzureADListYourApp which should lead you to https://microsoft.sharepoint.com/_forms/default.aspx.
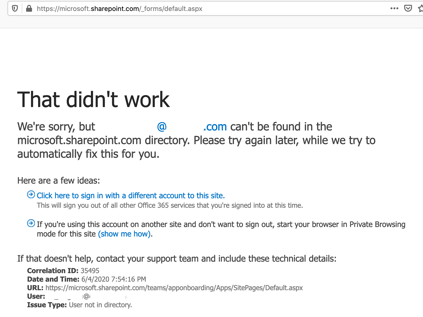
If the following page appears after you sign in, contact the Azure AD SSO Integration Team. The Azure AD team will add the account in the Microsoft Application Network portal.
Step 4 - Submit app your app to the Azure Microsoft Application Network portal
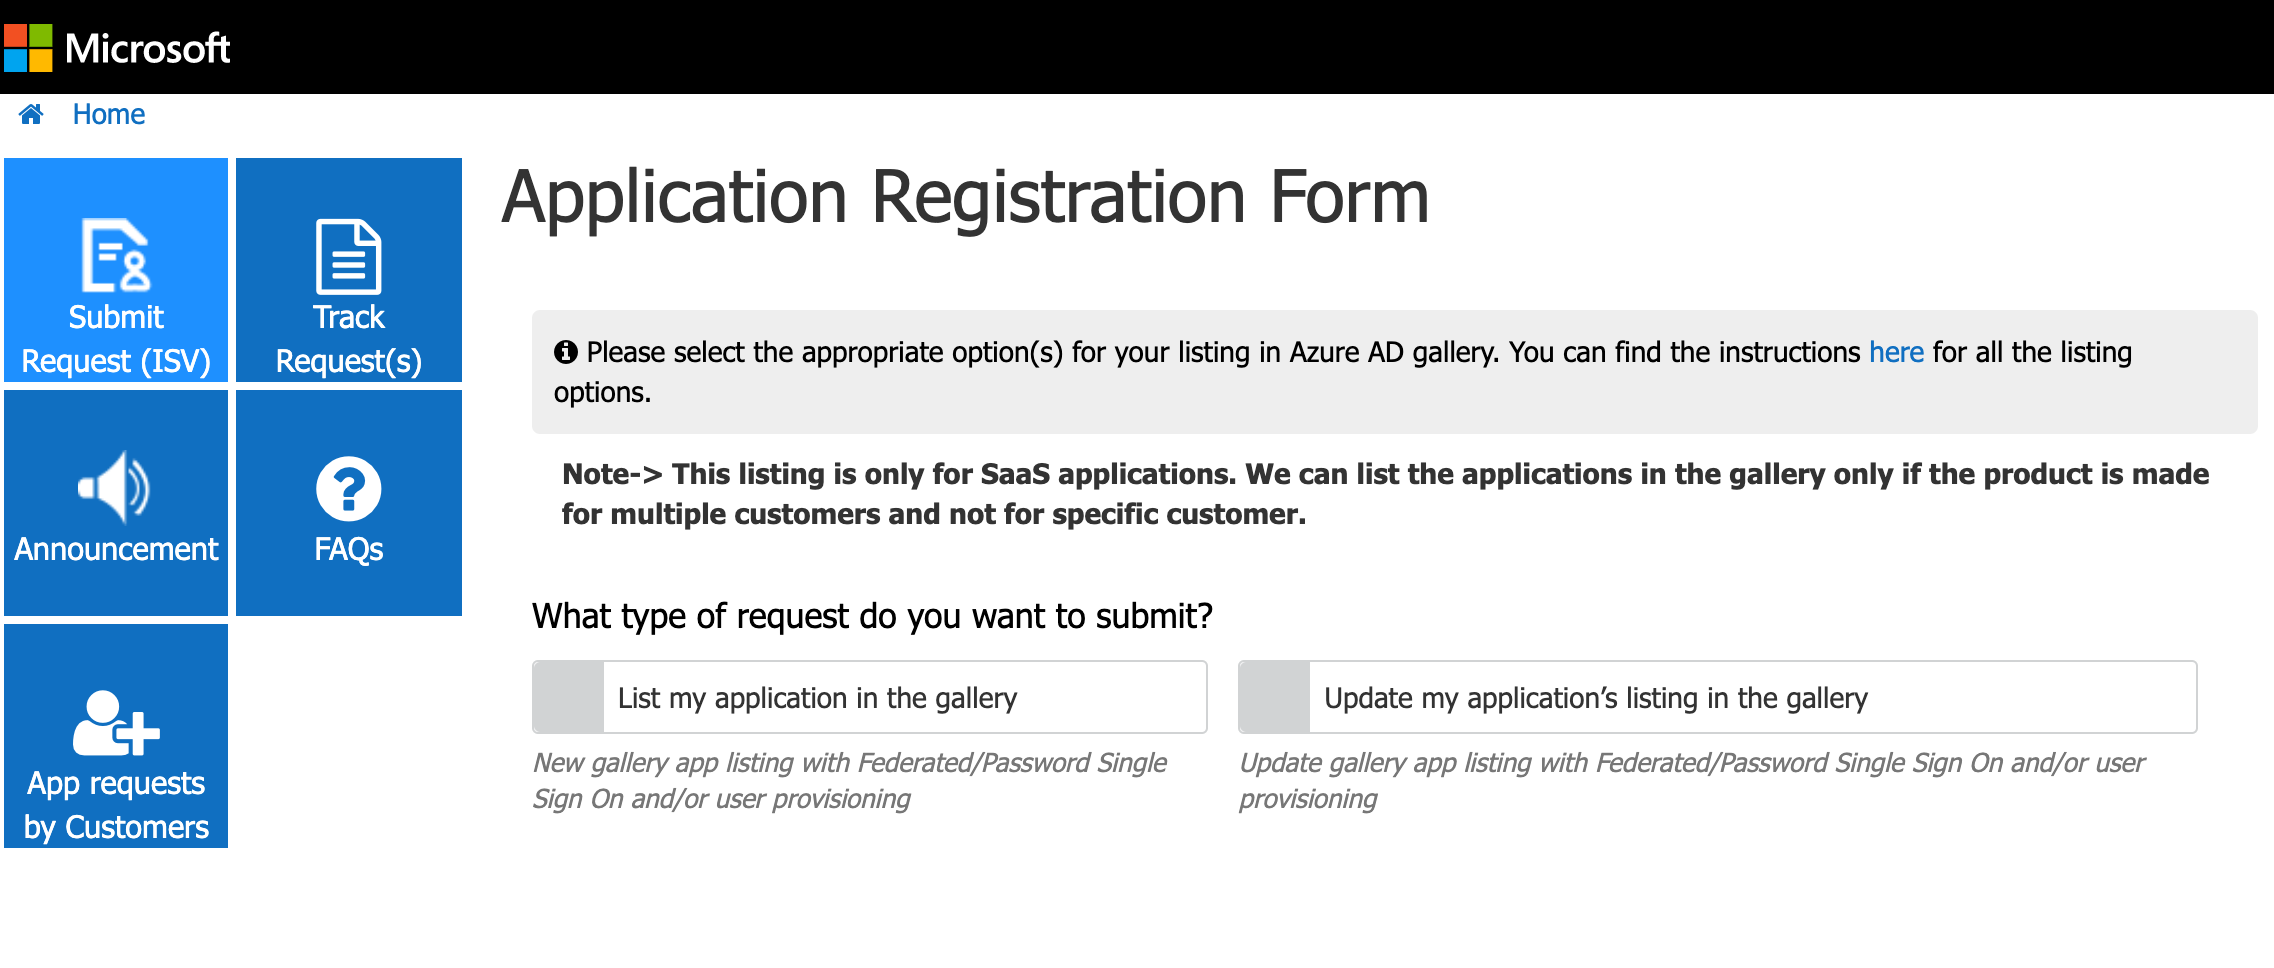
Once you have access you should see this in your Azure Microsoft Application Network portal. This is where you will be able to make your new app submission.

Step 5 - Submit your app to the Azure AD App Gallery
After the account is added, you can sign in to the Microsoft Application Network portal, and submit your your app to the Azure AD App Gallery request using the "Submit Request (ISV)".
Notes for your submission:
- Please join Microsoft's Azure Application Network Portal https://aka.ms/AzureADListYourApp and make sure that you open the invitation in the new browser InPrivate window. You can then submit the request in our portal for listing the application in the gallery.
- This listing is only for SaaS applications. We can list the applications in the gallery only if the product is made for multiple customers and not for specific customer.
- (Note: Save and close option will create DRAFT of the request.)
- Please refer to FAQ’s on the Azure site for guidance.
Step 6 - Fill in the required details for your Azure AD App Gallery submission
Select "List my application in the gallery" and fill in the required details for your Azure AD App Gallery submission.

Step 7 - Wait for your Azure AD App Gallery submission to be processed
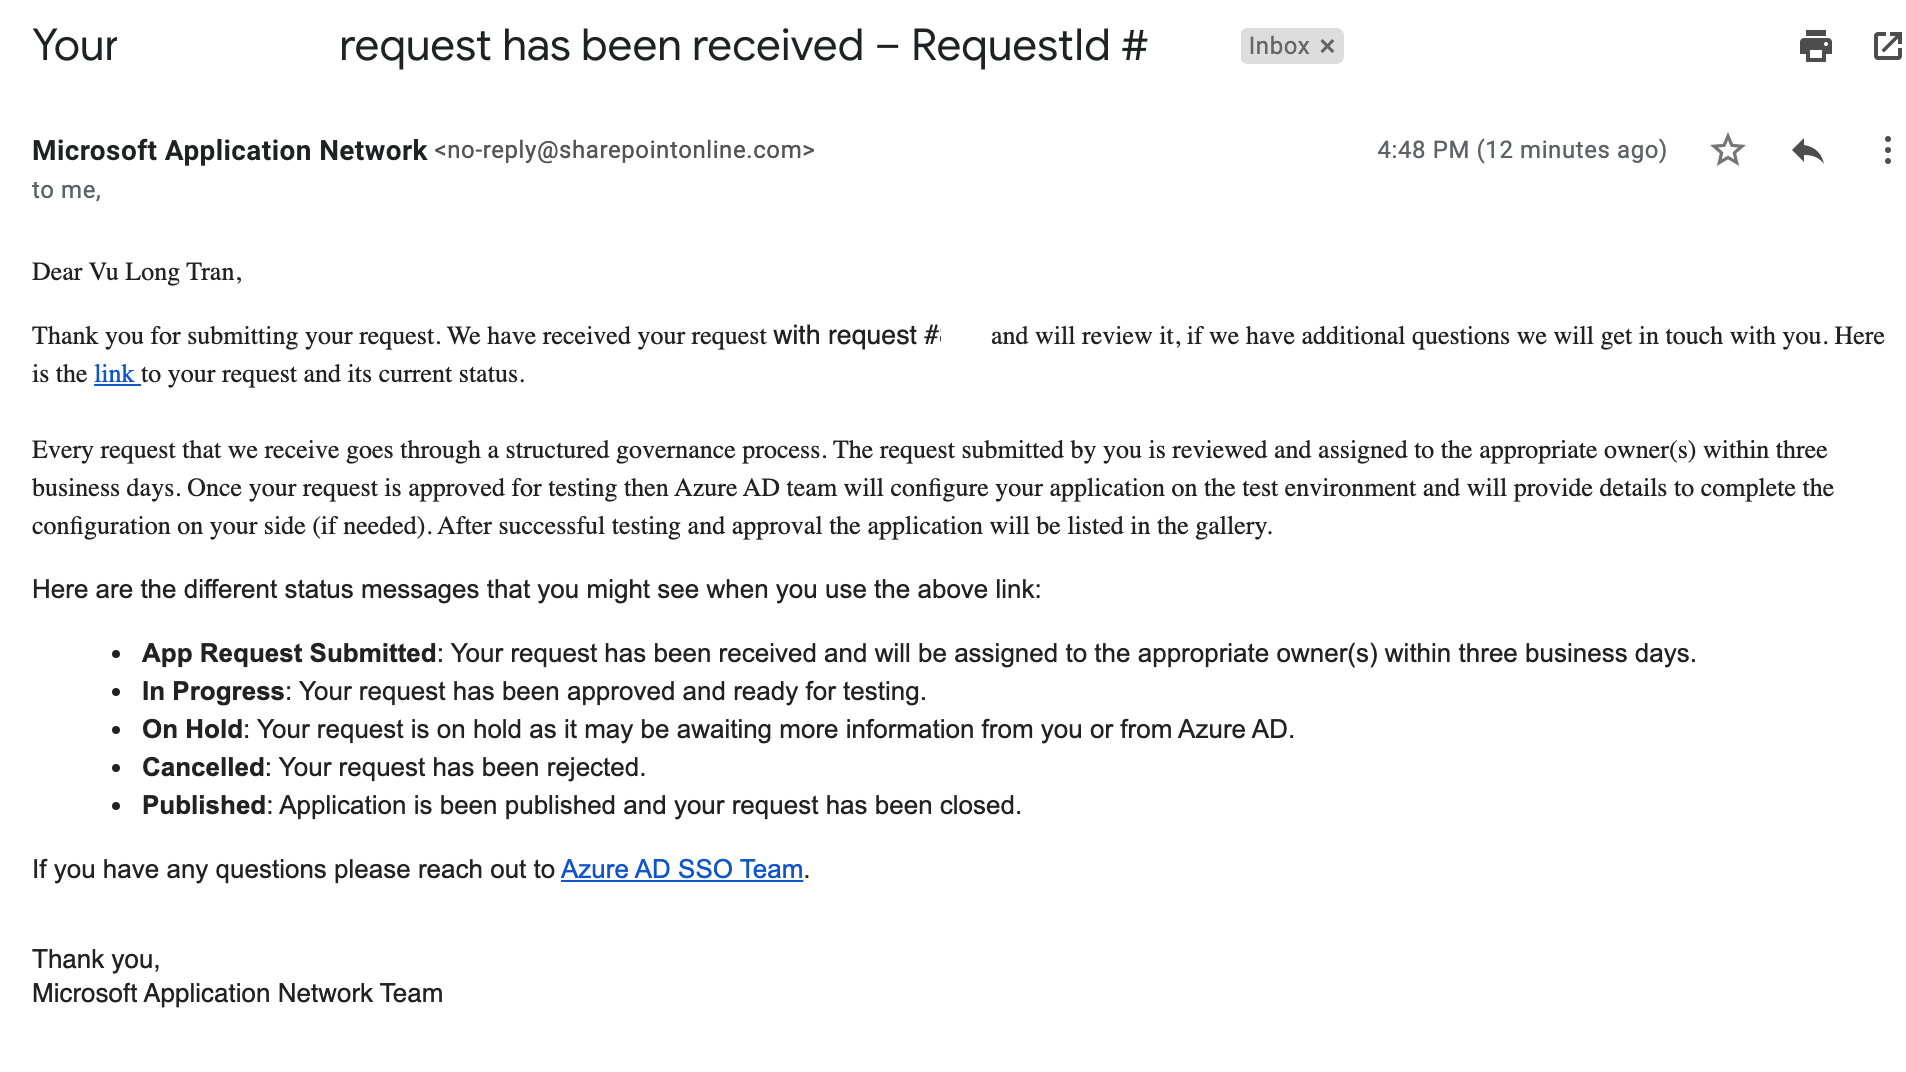
Once your request is submitted you will receive a confirmation email from the Microsoft team.
Additionally, you can check on the status of your app submission via their online website.

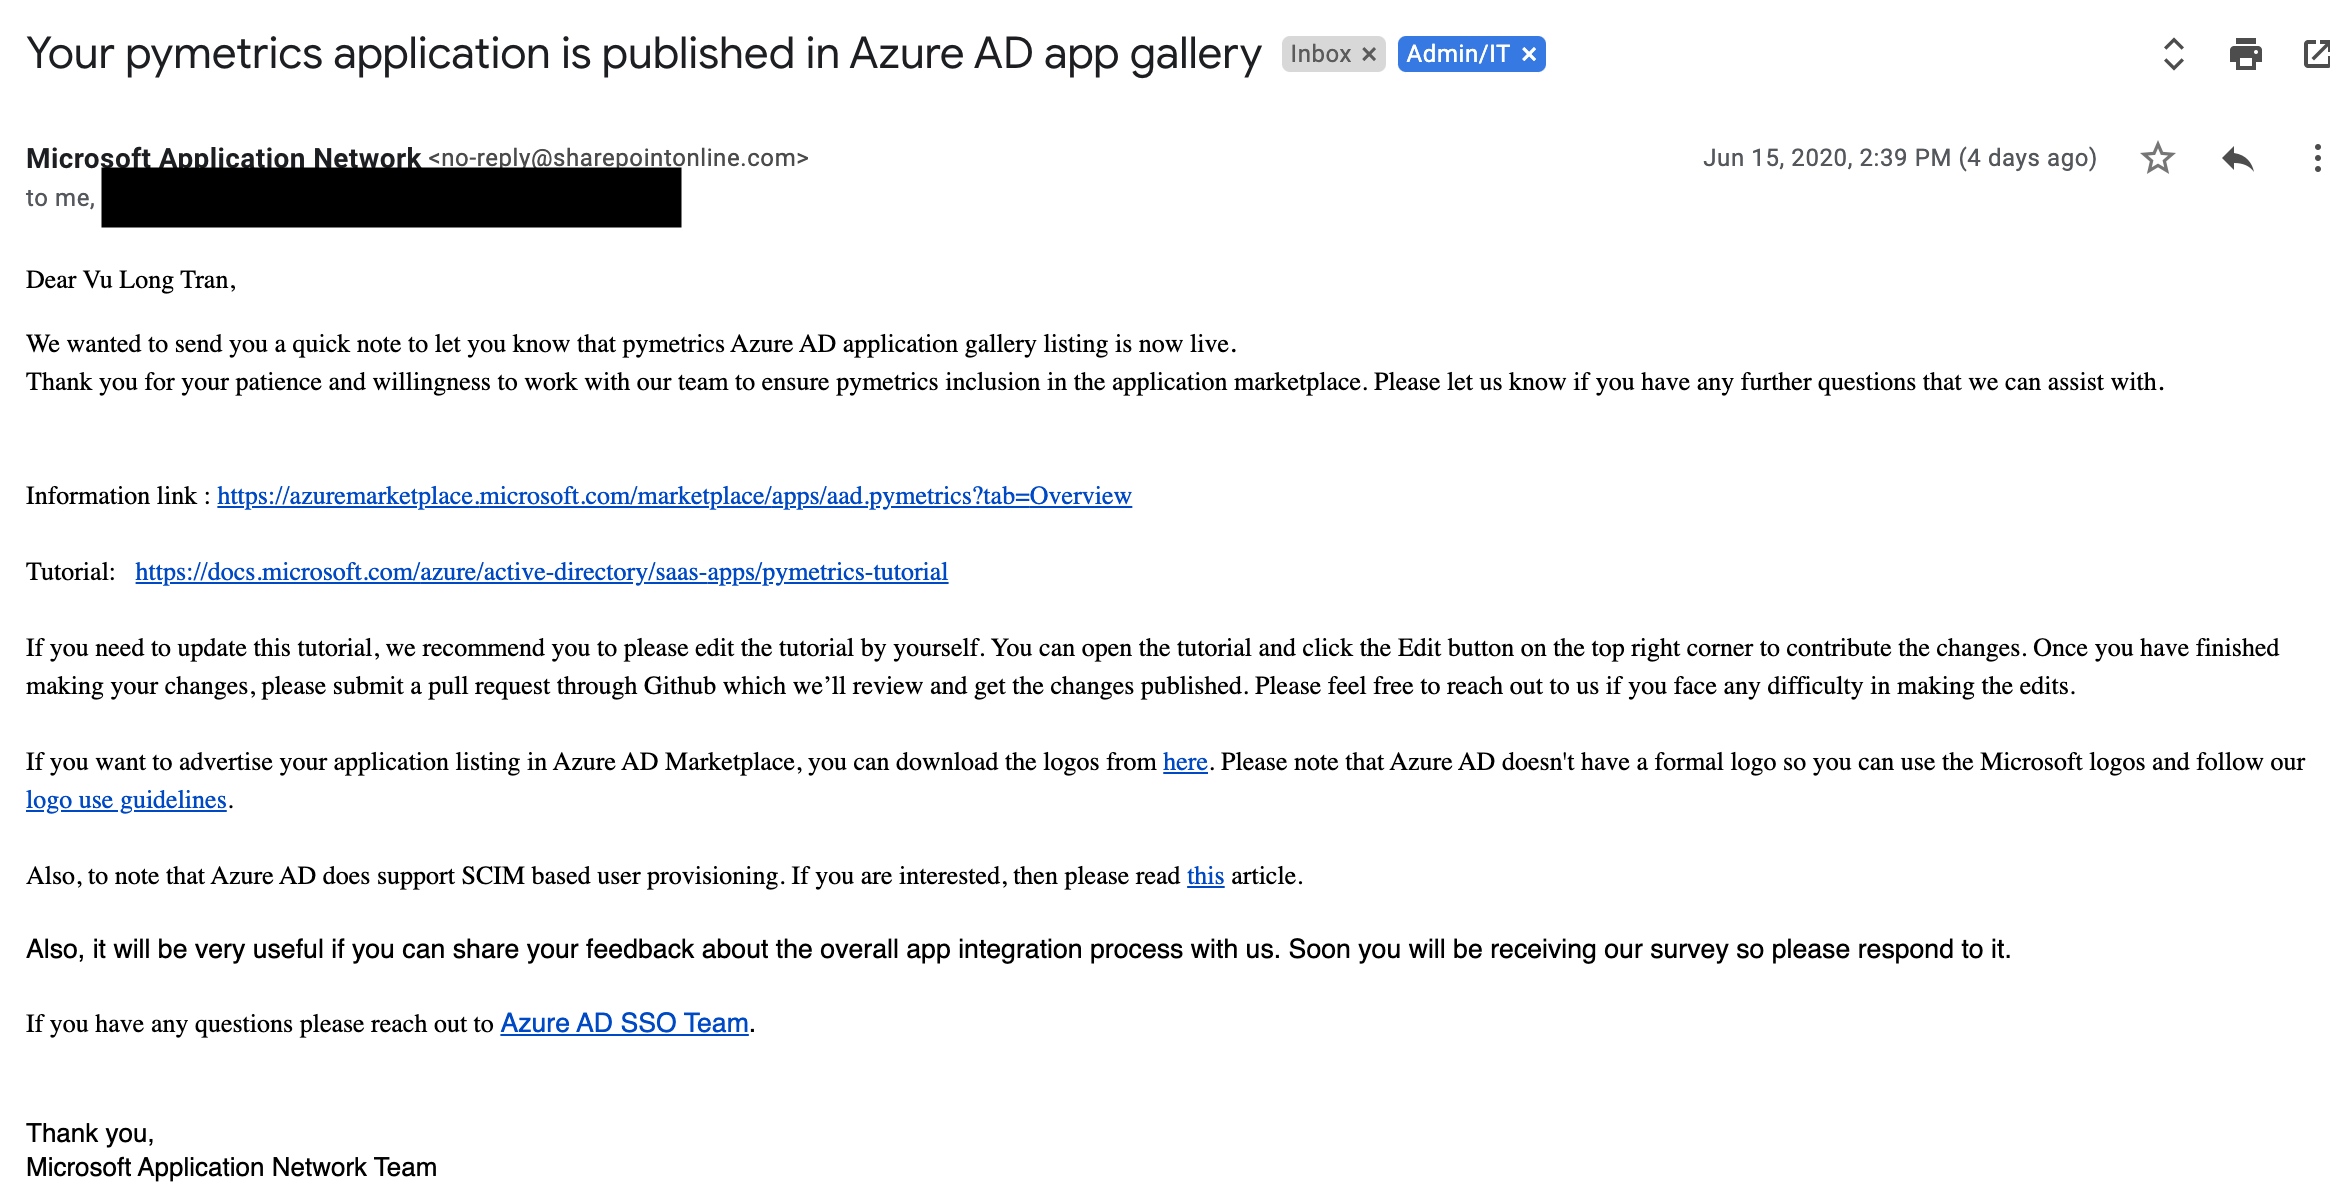
Azure AD App Gallery status
Here's a sample status preview for the app that I have submitted.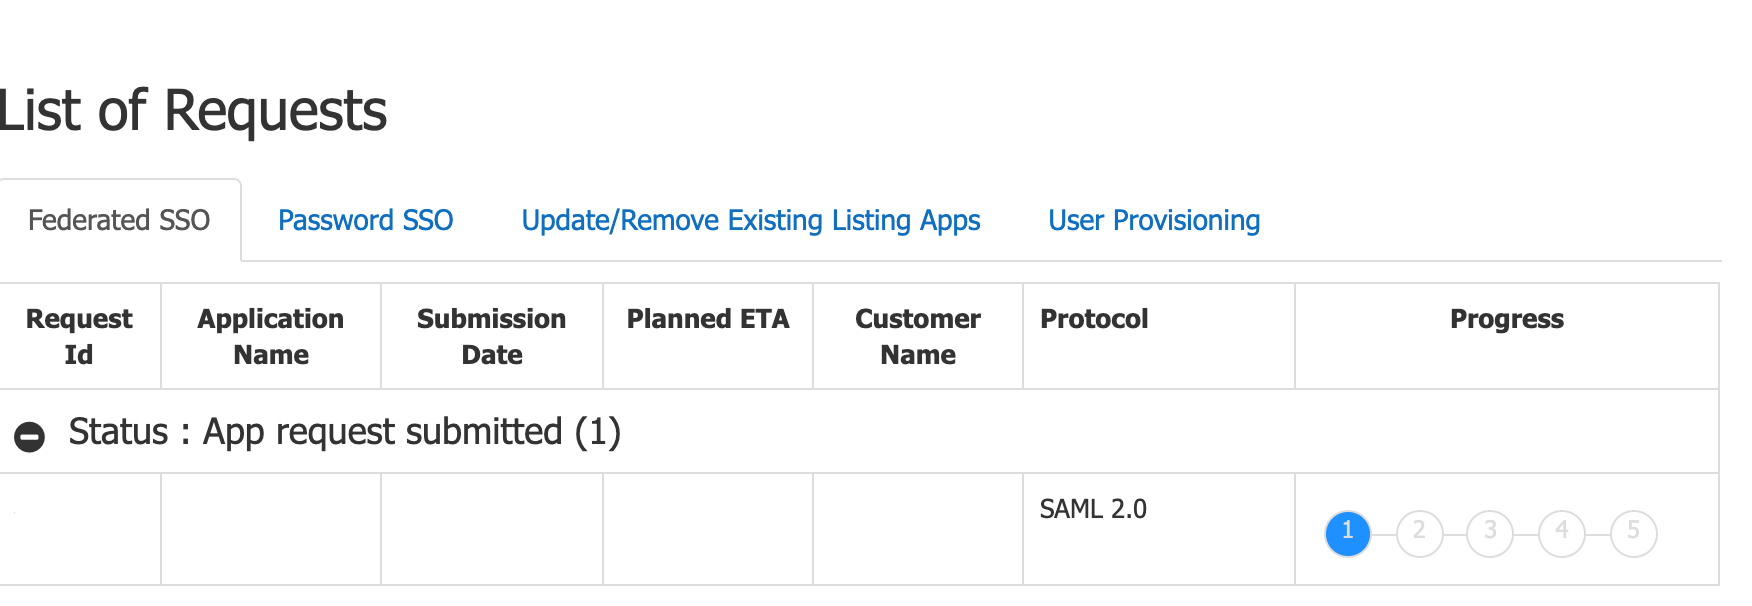
Wait for your Azure AD App Gallery.
Here are some timeline and process details shared by the Azure SaaS team.
Process of listing application into the gallery

Process of getting user provisioning enabled


How much time it will take to list the application in the gallery?
The timeline for the process of listing a SAML 2.0 or WS-Fed application in the gallery is 7-10 business days.
The timeline for the process of listing an Open ID Connect application in the gallery is 2-5 business days. For more details, Refer here.
Can we test the application using Azure test environment?
We recommend the ISVs to test the application in their Azure tenant and once it's ready to go in Azure gallery then approach us. If they still need any environment for testing, please contact the Azure AD SSO Integration Team (SaaSApplicationIntegrations@service.microsoft.com ) for further assistance.
Does Azure listing supports multiple environment? Do I need to submit the request again if we move from one environment to another (e.g. testing to production)?
Yes, Azure listing supports multiple environment. If information for both the environment is given at the first time itself, then we can provide the support for both environments in that listing itself. But, if the different environment is provided after the listing then ISVs have to submit an update application listing request from this.


