

So my initial thought was to create a bootable USB installer for my Mac and erase my hard drive and load it onto the Mac. But I found that I kept receiving errors while trying to create this, as it seems like it is not something that is easy to do.
Reason - I was reading online that it's mainly as Apple wants to give mainstream users a simple and easy experience. You can read my attempts steps below in the second section (which I have labelled Section 2).
So after realising this, I logged into my Disk Utility via the Mac's Recovery Mode, wiped the hard drive, and then reset my Mac and then attempted to reinstall my macOS.
Section 1 - Steps to reset your Mac through connecting it to your Wifi
How to format your Mac and reset it back to Mojave or High Sierra
You can do this by:
- Loading Recovery Mode on your Mac - by pressing Command + R during startup of the Mac
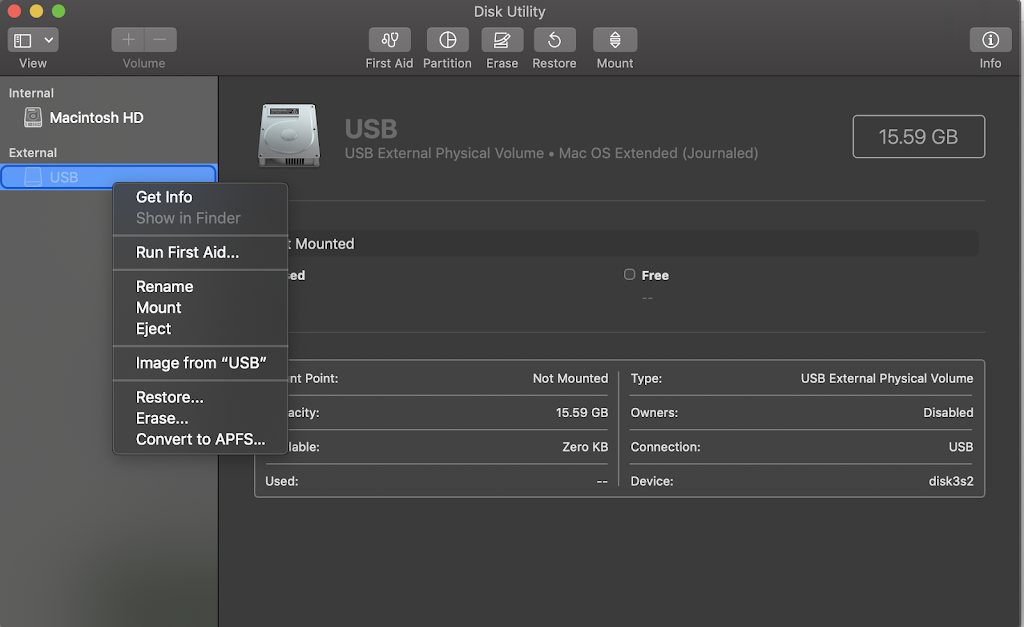
- Using Disk Utility erase your hard drive, select the hard drives you want to delete. I deleted my one which was called "Macintosh HD".
- Close windows and Shut down your Mac
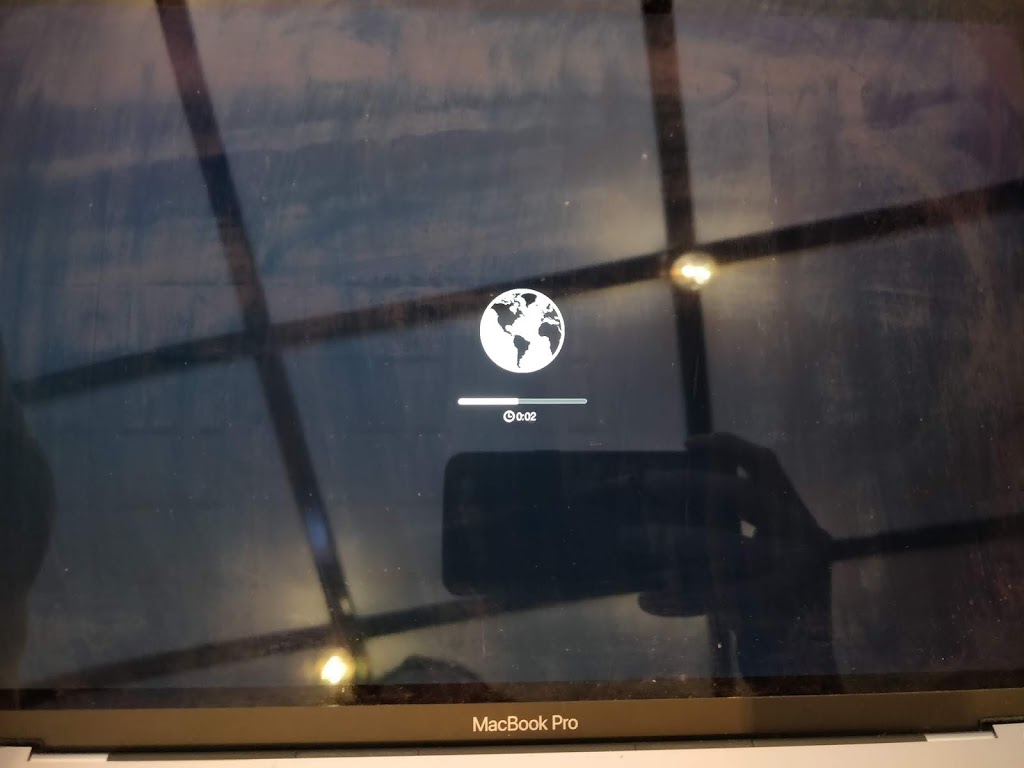
- Turn on your computer. You may need to Shut down and turn it on if you do not see a Wifi option pop up
- Once you do see it, connect the Mac to Wifi.
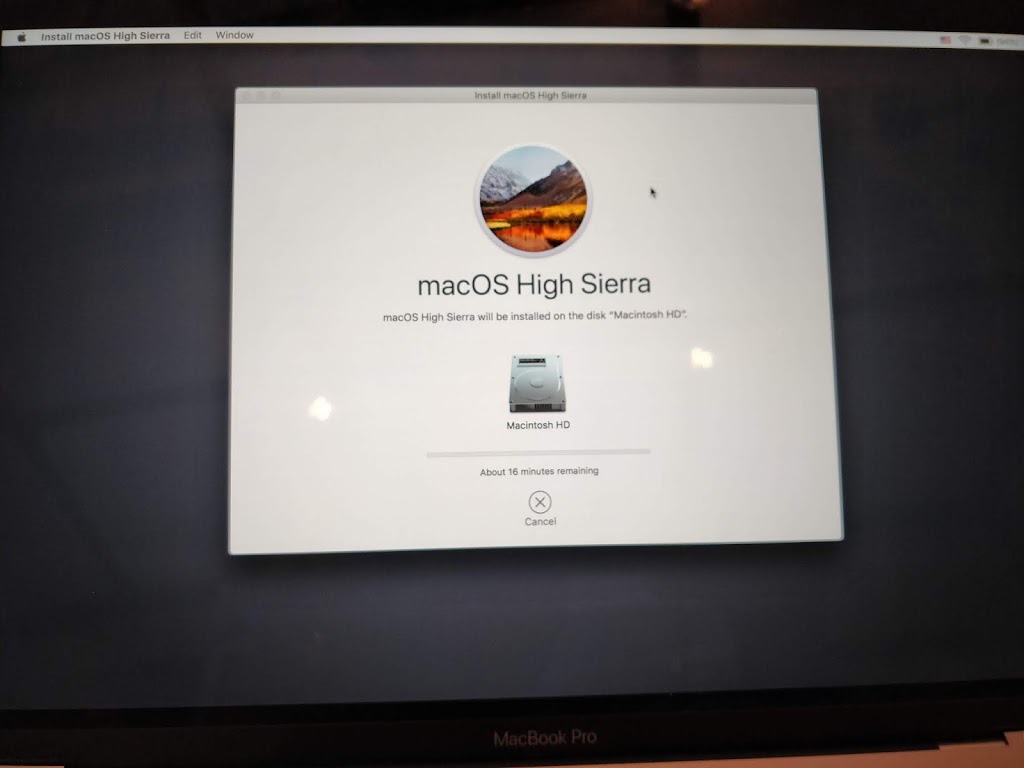
- Once connected, it'll open up "Disk Utility" where you will be able to select "Reinstall macOS" option.
- Follow the prompts to install as required.
If you are keen on creating a bootable USB installer, you can review my attempts below and see if they are helpful for what you're looking to do.
Section 2 - Steps you can try based on my attempts
Can't create bootable USB installer Mojave error?
Did you just receive this error?
Well, I am writing this guide to help you based on my own experiences. Note, this assumes you have attempted the steps here from Apple's website - How to create a bootable installer for macOS, including:
- Download macOS via Apple macOS app store
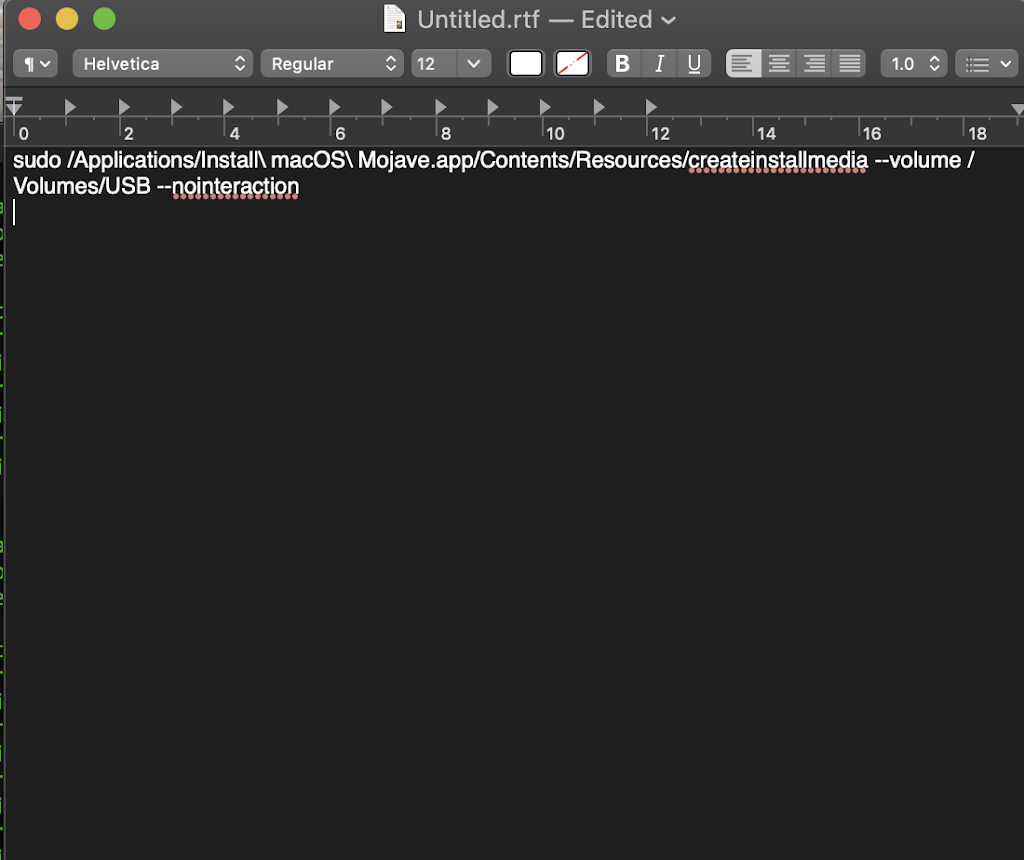
- Use the 'createinstallmedia' command in Terminal
Example: createinstallmedia --volume /Volumes/Untitled
The --downloadassets function can be helpful in situations where you cannot download the latest version of macOS to be able to run this command off.
As the prerequisite of being able to create the macOS start up disk is to have a version of macOS available on your Mac. So you do that by going through the Mac App Store and downloading the app, but choosing not to install it until you have created this bootable USB installer that you want.
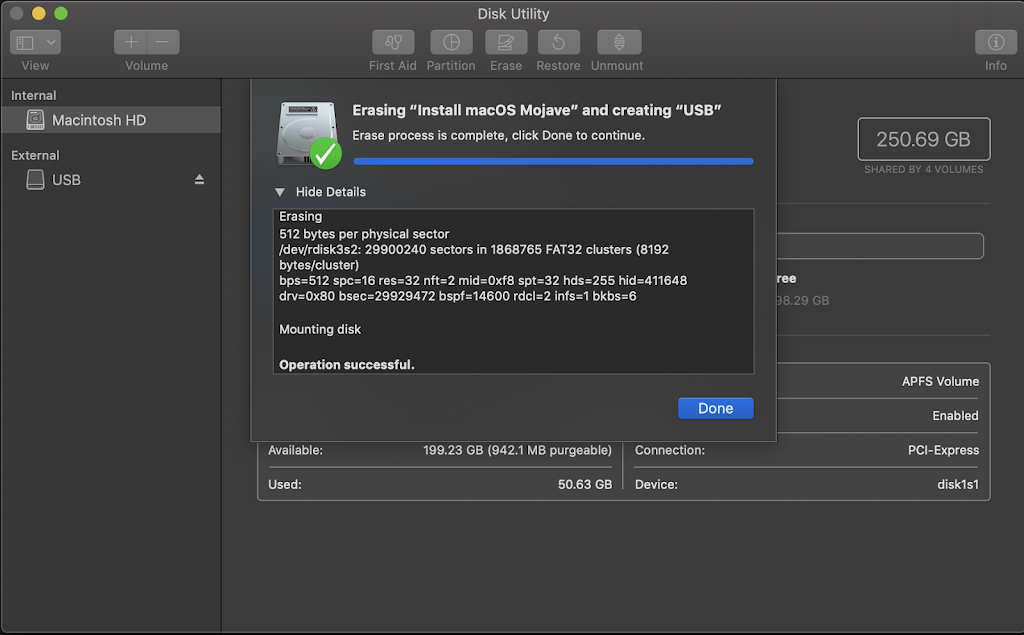
How to create a create bootable USB installer for macOS Mojave
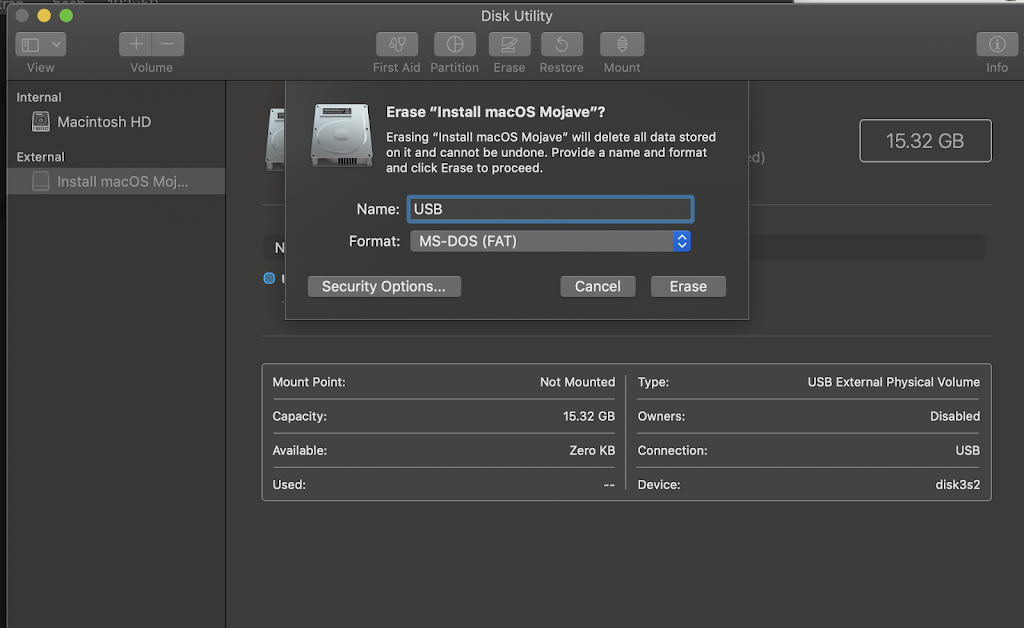
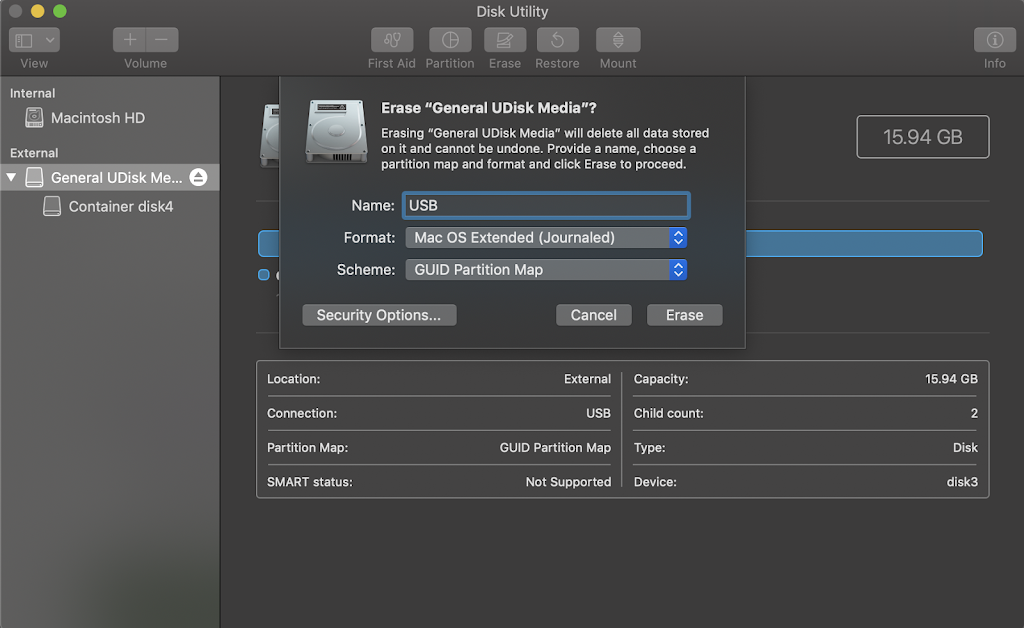
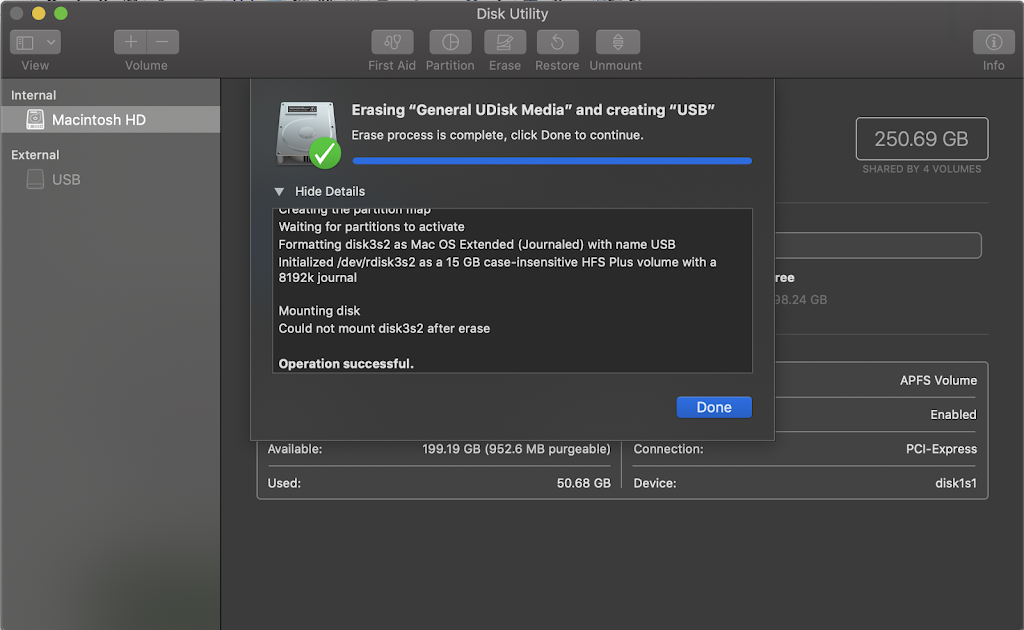
1. Unplug and plug in your USB stick
2. Use a plain-text editor such as TextEdit for the command line
3. Check the Mount Point
5. Use unofficial macOS Mojave Patcher
1. Unplug and plug in your USB stick
2. Use a plain-text editor such as TextEdit for the command line
Try pasting this into a window in TextEdit, then delete the blank character between "MyVolume" and "--applicationpath", and type a space in its place. It will probably look exactly the same. Then copy from there and paste into a Terminal window.
3. Check the Mount Point
4. Try formatting using a different Format type

5. Use unofficial macOS Mojave Patcher
Are you about to install macOS High Sierra or later on the disk?
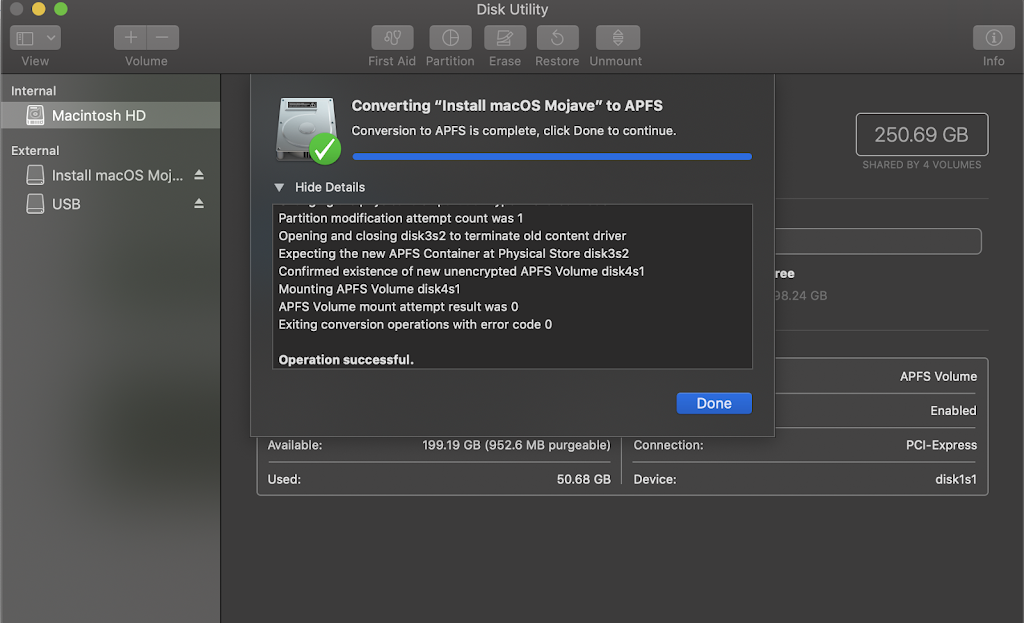
If you need to erase your disk before installing High Sierra or later for the first time on that disk, choose Mac OS Extended (Journaled). During installation, the macOS installer decides whether to automatically convert to APFS—without erasing your files:
- macOS Mojave: The installer converts from Mac OS Extended to APFS.
- macOS High Sierra: The installer converts from Mac OS Extended to APFS only if the volume is on an SSD or other all-flash storage device. Fusion Drives and traditional hard disk drives (HDDs) aren't converted.
If you do select APFS for your USB, it won't let you use it as a bootable install media.
My machine
If you're troubleshooting and keen to understand if it could be the machine you are using to try create this bootable USB, here is my machine specifications that I used to carry out the troubleshooting steps above:
MacBook Pro (15-inch, 2018)
Processor: 2.2 GHz Intel Core i7
Memory: 16 GB 2400 MHz DDR4
Graphics: Intel UHD Graphics 630 1536 MB
I hope that helps!
Reference/s:
How to erase a disk for Mac - https://support.apple.com/en-sg/HT208496
Can't create bootable USB installer High Sierra - https://discussions.apple.com/thread/8414680
How to make your own bootable macOS 10.14 Mojave USB install drive - https://arstechnica.com/civis/viewtopic.php?f=2&t=1438629
macOS Mojave Patcher http://dosdude1.com/mojave/


