Applicable to: WordPress users
You may have been thinking whether you can monetarise the photos that you have posted on your website.
So that instead of just storing all these images on your phone or computer, you can showcase them and actually sell them to magazines and bloggers using Symbiostock!
Download Symbiostock Pro from Symbiostock. Just download the free version of it. As they are currently offering the Pro version for free. https://www.symbiostock.org/shopUploading the files to your server via the WordPress Plugins section, and activate it.
Note - you'll need to also have Symbiostock Lite installed as well, as it has some core components which the Symbiostock Pro relies on - https://wordpress.org/plugins/symbiostock/
If you do not already have WooCommerce, you will be prompted to install it. Just click the link and it will be automatically installed.
I used a free WooCommerce Theme, Storefront, to make the push from Symbiostock to WooCommerce easier and consistent with the key features and functions I would like to have. However, you can opt to modify your current website to support it as well, if that's what you prefer.
You're ready to start uploading media!
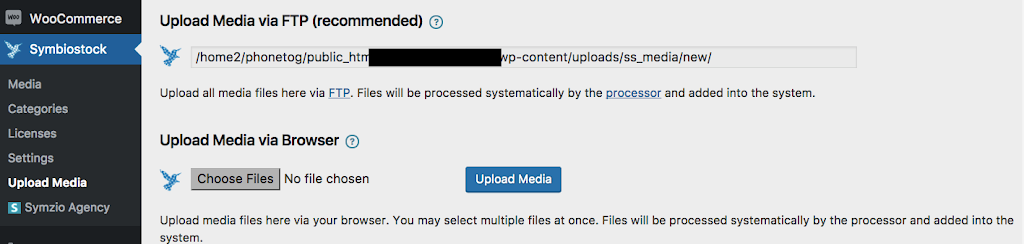
Scroll over the ‘Symbiostock’ tab and click on ‘Upload Media’. Upload an image via the web form.
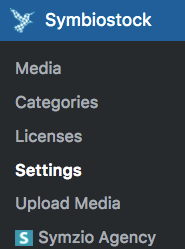
Once uploaded, click on ‘Settings’ under the same ‘Symbiostock’ tab.
You will see the Maintenance Command/Processor. You will see a link that says ‘Run Now’. Click on this. It may take a minute for your image to get processed as Symbiostock waits a certain amount of time prior to processing all new images to ensure they are finished uploading. Refresh that page a few times until you see that your new image has been parsed.
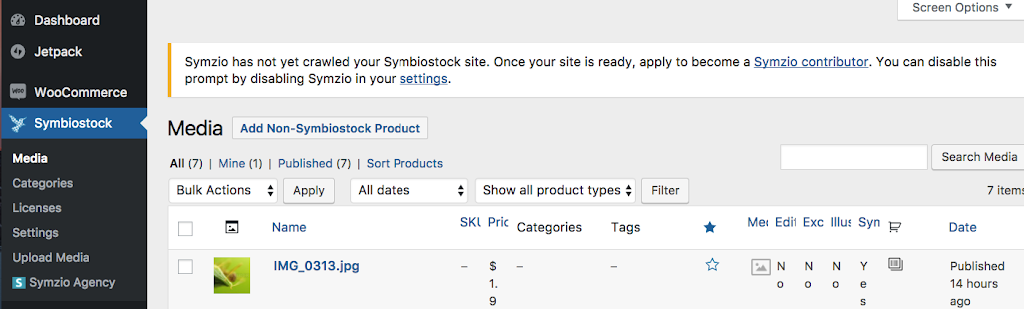
Soon, the image you uploaded will show up under the ‘Symbiostock’ or ‘Media’ tabs. If it is still in draft mode, edit it and click on ‘Publish’. After that, you can click on ‘View’ or click on ‘View’ from the previous list page.
You will see your live, new image available for sale in your store. Customers can actually buy and checkout that image now. It’s that easy.
More details on the upload of images on Symbiostock wordpress plugin process here - https://www.symbiostock.org/docs/3-minute-guide-to-launching-your-store/
Note - This requires access to your backend cPanel or Plesk.
The core functionality of Symbiostock Pro is built into the processor. This is a process that is run once every minute in order to process images, clean up data, organize downloads, and do a whole lot of other stuff. Symbiostock will not operate correctly if this processor is not run periodically, and should ideally be run once every minute.
You can manually run the scheduler by going to Symbiostock > Settings > System and clicking on ‘Run Now’. A window will pop up and this initiates the scheduler.
If you prefer manually doing it, you can do that – but it is highly recommended that you tell your system to run this automatically as it just makes things a whole lot easier. On Linux, these jobs are called ‘cron jobs’.
Different systems will implement this differently, but here are some links to some popular control panels:
Cpanel OR
Plesk
Please note that the script to run is in Symbiostock > Settings > System – copy that entire line into your scheduled task.
Once the processor is scheduled, it will keep checking and adding new
images, regenerating thumbnails, and doing all the organization in the
background.
https://www.symbiostock.org/docs/setting-up-the-schedulerimage-processor/