VLT-Website-Heading

How to update your subdomain on your Blogger.com account

Dec 23, 2015 3:11:00 PM / by Vu Long Tran


How to update your subdomain on your Blogger.com account while minimising downtime 

I have been updating my subdomains on my Blogger.com account so that I can better manage my blogs and give it a more representative website address than the default one. 
 
Managing downtime on my current blog is important to me. So while I still have a new website, I wanted to make sure that I minimise errors and direct people to the helpful content that they are looking for.
 
So here's the process that I followed to do this.

Step 1 - Add subdomain on your domain name registrar account

By adding my subdomain to my domain name registrar account, this will allow me to update and create the subdomains that I would like for my website. In this case, I wanted to have sg.mysgmyhome.com. 
 
In the example below, I just created a new subdomain called, "https://singapore.mysgmyhome.com", so that I can show you what "https://sg.mysgmyhome.com" originally looked like when I first added the subdomain to my domain name registrar account. 
 
Domain name registrar is the organisational body that manages your website domain names. In my case, I am using Hover, and they are managing my "mysgmyhome.com" domain name. 

Step 2 - Wait up to 24-48 hours for your DNS to resolve

Wait up to 24-48 hours for your DNS to resolve. DNS resolving is a technical term. What this means, is that the servers need some time to update their records so that it directs traffic to your subdomain.

In my case, I am waiting for it to direct traffic to sg.mysgmyhome.com.

Step 3 - Confirm that the DNS has resolved

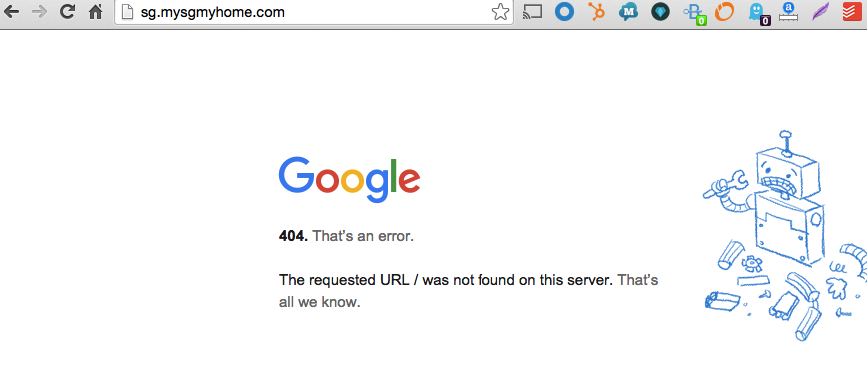
Confirm that the DNS has resolved. This took less than 24 hours for my domain name, but this varies. You should see this website page from Google when it is ready. Notice how it differs from the Hover page earlier.

When I see this screen, this confirms to me that Hover's DNS servers has directed traffic from sg.mysgmyhome.com to Google. This is correct, as Google is currently hosting my website.

Step 4 - Update blog settings on Blogger.com

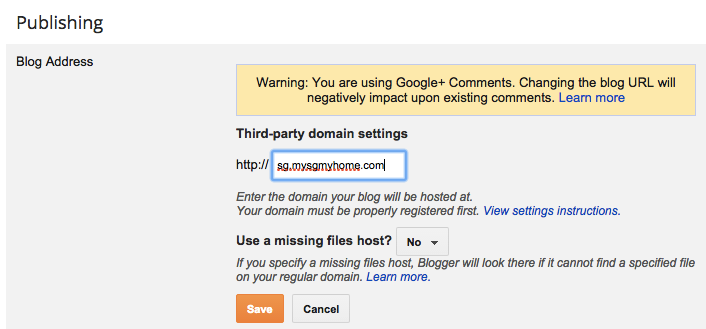
Update blog settings on Blogger.com.

The aim of this step is to l direct the traffic that is heading to sg.mysgmyhome.com to sg.mysgmyhome.com. As right now, Google is getting the traffic, but doesn't know where to send that traffic to, so you need to tell it to direct your traffic.

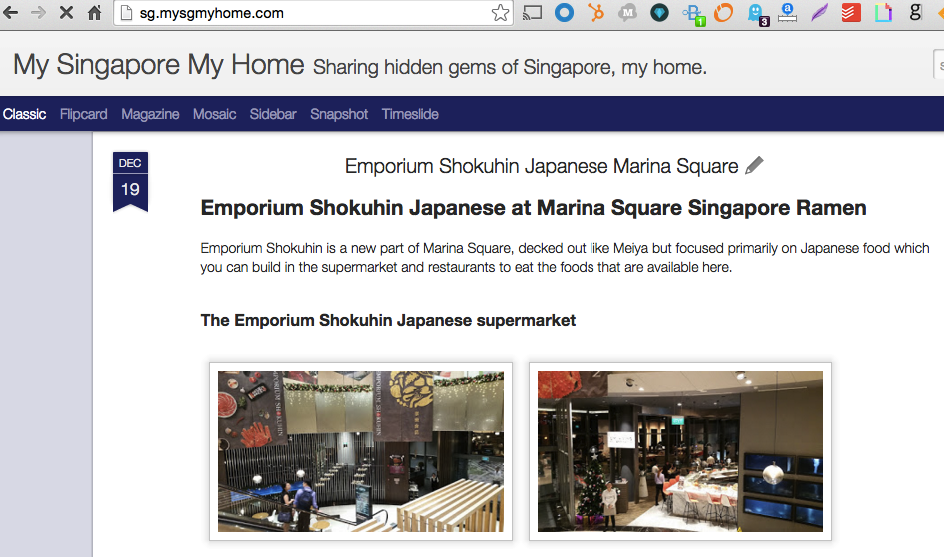
Step 5 - Confirm that your website subdomain is working

Confirm that your website subdomain is working and that your update for your subdomain has gone through. I have checked this and as an example you can see this by visiting my subdomain website. In my case it is https://sg.mysgmyhome.com and as you can see it is now working.

Step 6 - Enjoy your new subdomain!

Enjoy your new subdomain - Happy blogging!

Topics: web development, blogging, blogger

Vu Long Tran

Written by Vu Long Tran

Solutions Engineer APAC. ex-@Forrester consultant. Writing on #cloud #howto guides and #tech tinkering!